Plan Your own colour scheme
Recommendations: 18
About the Project
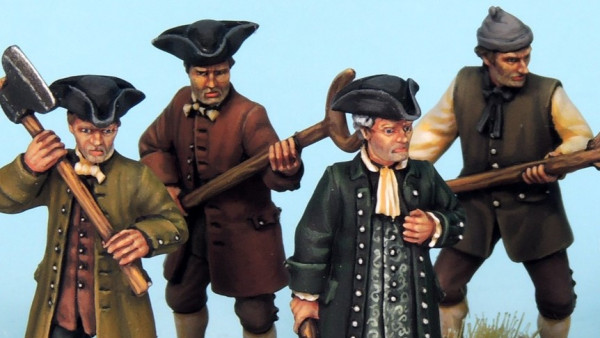
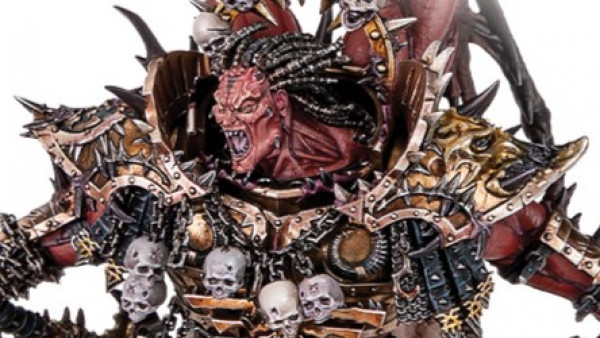
Making your own paint concepts based on other people art or real-life photo's
Related Genre: General
This Project is Completed
Use Free tools to create concept paint schemes for your models.
Let’s get started this is a One and done project / post
 Open copy or otherwise use this green as your green screen. literally have it on your monitor or mobile device. This will be your backdrop to take your photo, you could always print it but save yourself time and printer ink and just put it on a screen.
 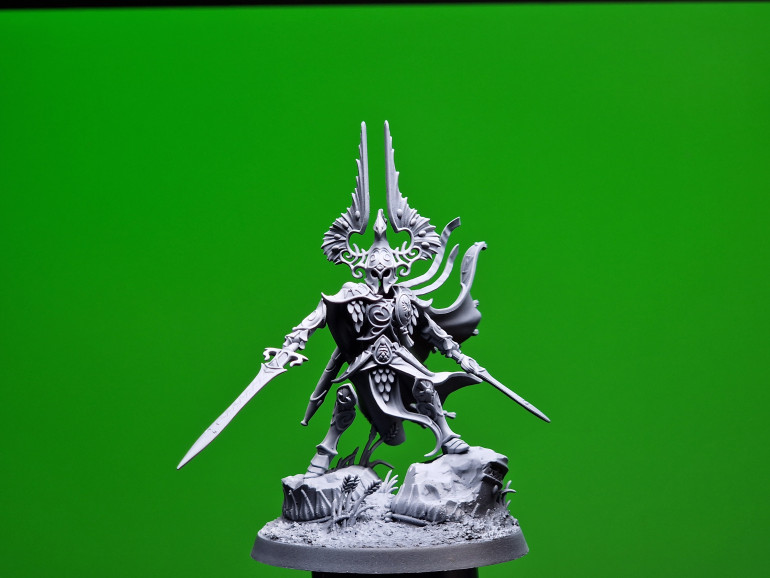 Zenith your model and take a picture of it. With your green background. Zenith is a little important as it will set the light of your model. Save this onto your device.
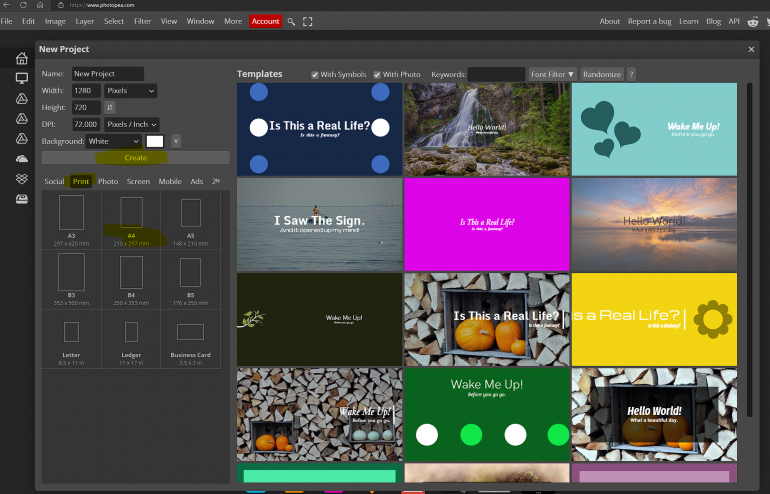 go to https://www.photopea.com/ no signup or anything required. select new project, select pint and A4 then create (if you know what the settings you want are use those instead.
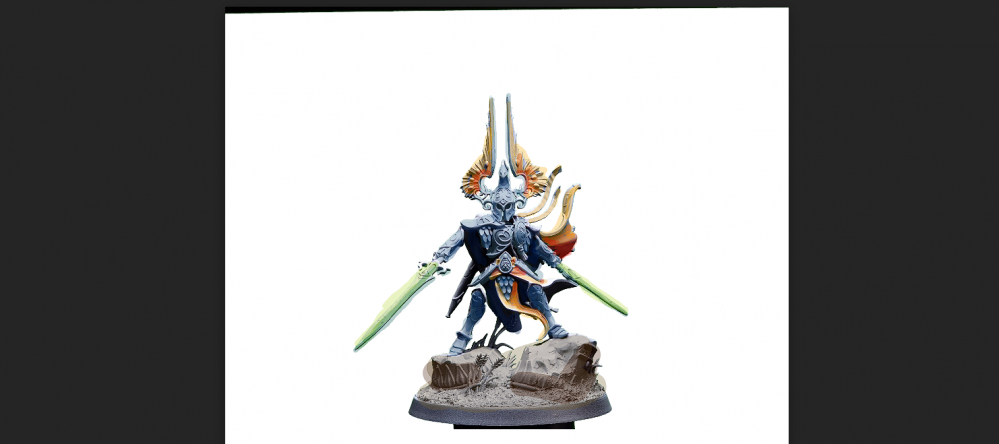
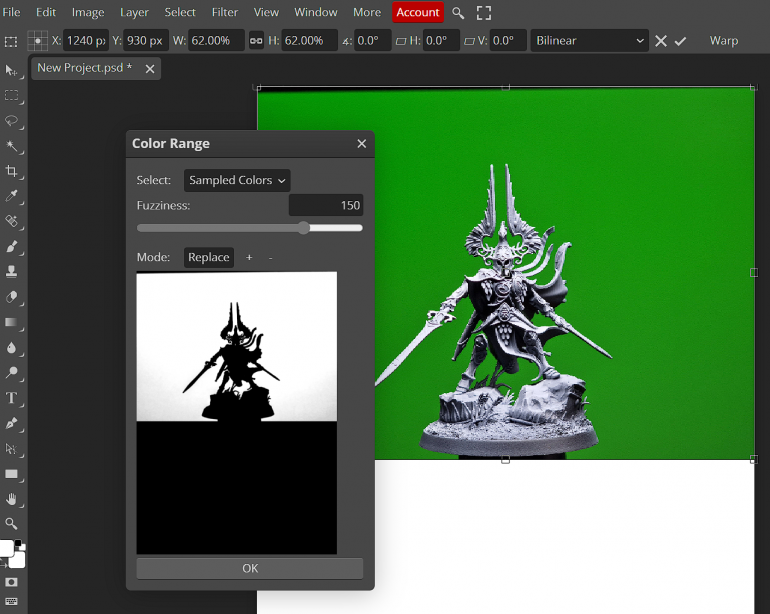 Drag your photo into the web browser or figure out how to get it onto the screen, you may depending on how you entered the picture need to right click the small preview under layers and select rasterize, then select the picture by clicking the main screen. Then go to select on the top bar and colour range and drag the selector up to around 150 fuzziness and click on the green behind the image and press ok then on your keyboard press delete a few times until the background is done and it's just your model.
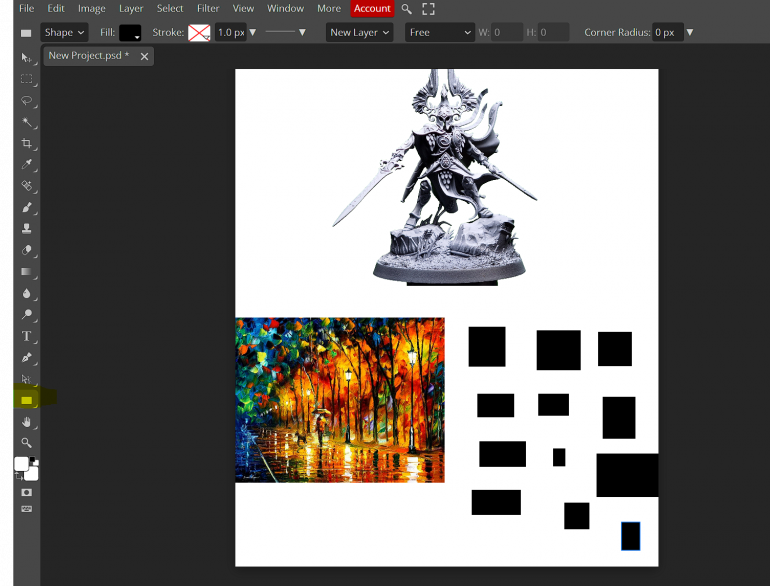 Find and drag in using the same method you used before or copy pasting from a webpage your concept colours. click ona bank area of the page and press U on your keyboard or select the rectangle tool and draw a few boxes. then click shape 1 and then holding in shift click the highest number of shape you have to select all, right click any shape and select rasterize and then right click any again and select merge layers
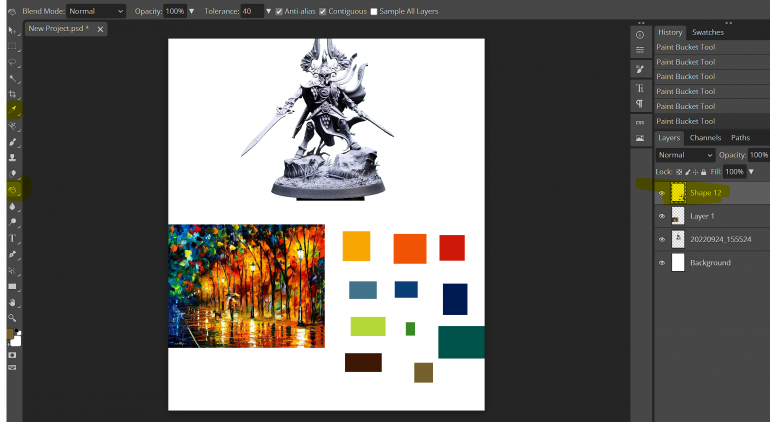 Press I on your keyboard or select the eye dropper tool and select a colour you wish to capture, and you change the sample size at the top to get the average colour over a larger area left click and hold over your concept colours until you see the colour you want and then release click the gradient tool on the left and change this to paint bucket then click in one of your squares to store your colour. do this a number of times to fill each square up. I would suggest picking a shadow colour, mid tone and highlight for each element you wish to capture. to make this faster I is for the eye dropper and now you have changed to paint bucket G is got that. I select a colour G click into a box.
 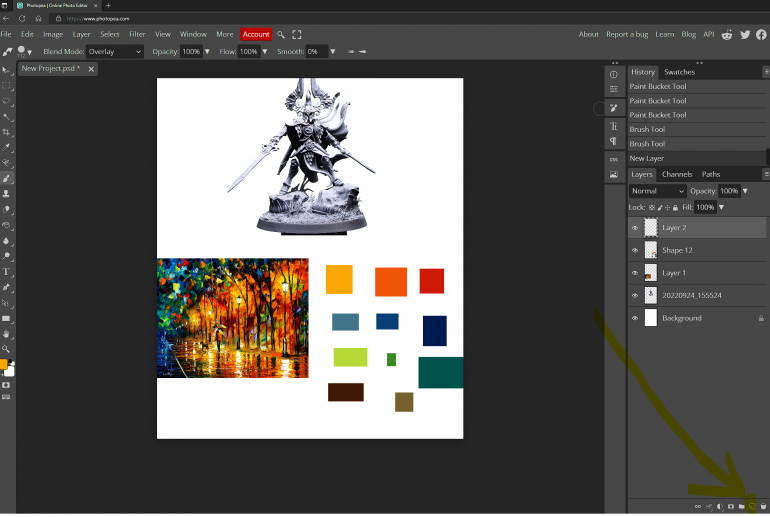 Create a new layer for your first virtual paint job it's the little paper icon on the bottom right of the screen
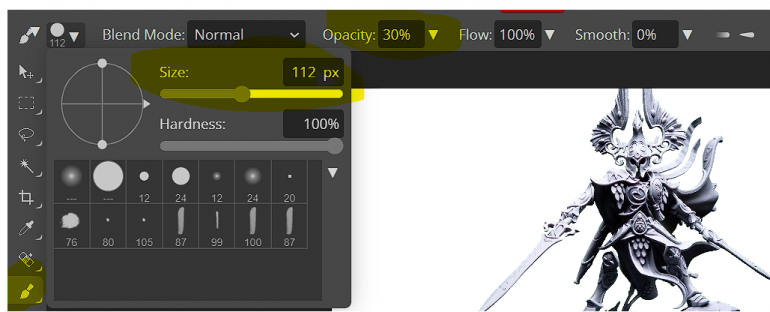 Press B or select the brush tool change the opacity to 30% and change your brush size to something you feel comfortable with (remember it's not a colouring competition it's to give you an idea of what the colours will look like at the end.)
 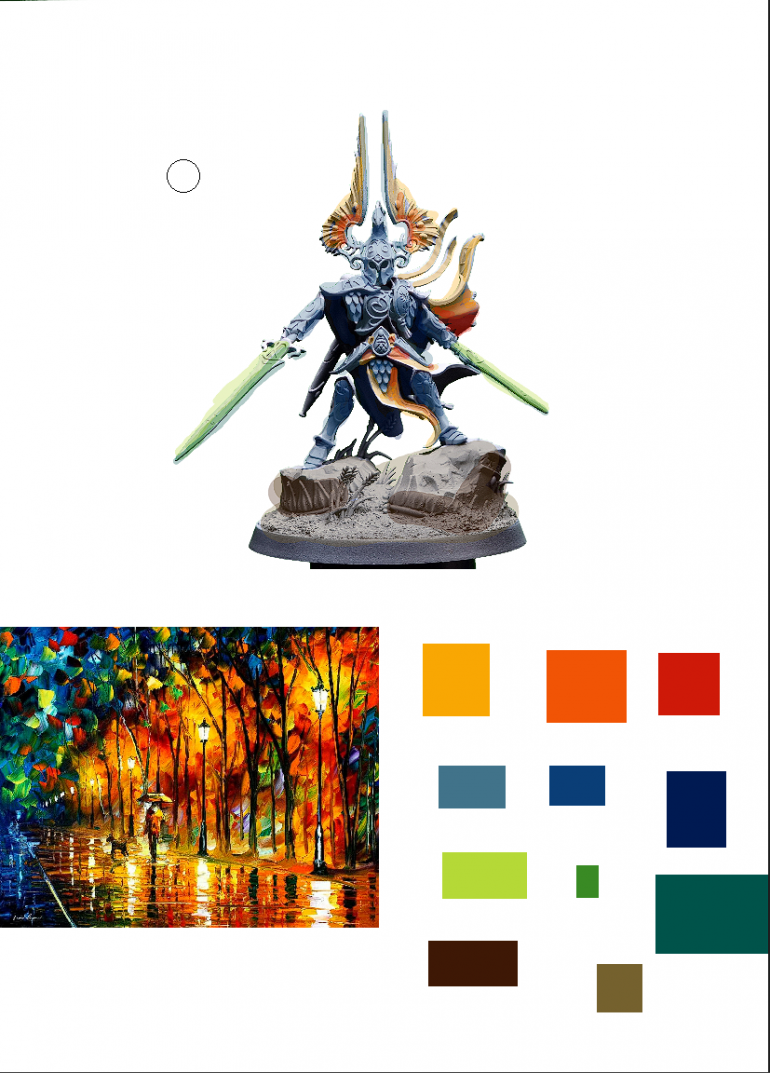 Select your colour by pressing I and clicking on one of your boxes. press B to switch to your brush and left flick and drag colour over your model picture. Want a stronger colour? Go over it again. Made a mistake? Click edit undo or CTRL+Z on your keyboard. Do this until your happy with the results. You can click the eye side the layer your selected and create a new one and have another go. You can also save each picture by going to file and export as and select PNG or JPG. I would advise doing your highlights first then work down to shadows.
 I have to point out, I know there are neater, better ways of doing this, I discounted a lot of them. I wanted to put a quick tutorial on how to achieve this with the simplest of steps. without worrying about deselecting or creating masking layers to make the painting neater. (They are hard to explain, I was aiming this at Gerry who asked). I prefer to just change the brush size, so I don’t go way over what I am trying to tint.
This is not final artwork you would wish to hang on your wall. That comes when you paint the thing. This is a concept. It’s to either try out some stuff, be more accurate with colour, plan, get approval or just to share an idea.
You use the colour swatches to select your paints and setup your actual pallet if you wanted more saturation, you could do that on this website, however I get by, by telling people to look at it while closing their eyes to about 70% and looking at it. The colours saturate and it blends the model. additionally zooming out of the picture by clicking CTRL and using the scroll wheel also works.
I hope this gives you a free option to concept your colour choices or to use another artwork to steal its pallet.


