Orinoco's Occasional Forge Fathers Project
You can't always get what you want
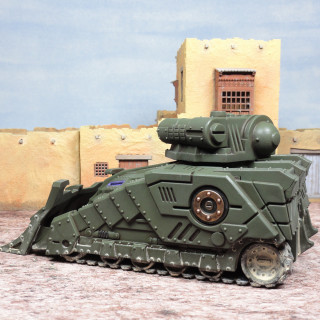
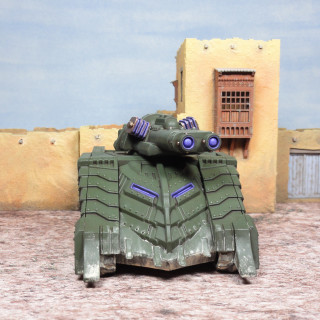
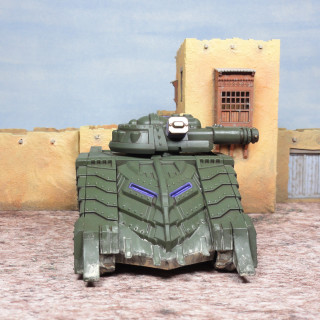
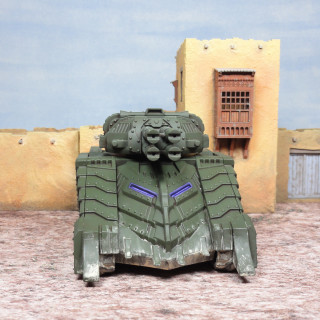
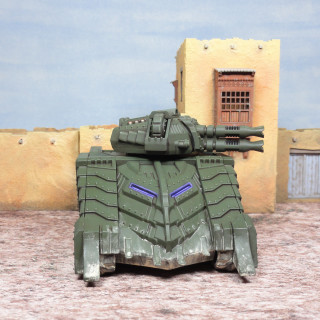
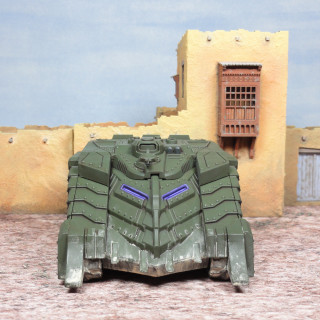
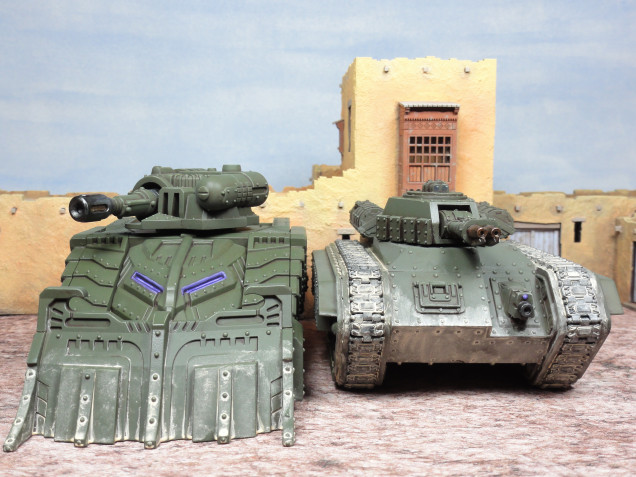 Left: Brandr Urban Assault variant from Mantic's Sturnhammer Battle Tank kit. Right: A 1995 GW Hellhound being used as a Brandr Urban Assault Vehicle
For the Mantic kit I followed Mantics assembly video https://www.youtube.com/watch?v=frioedUc67A
The video shows the same method that Gerry described in an XLBS.
The only things different I did was drill holes in the front forks to bury magnets underneath a layer of overly thick Sprue Goo ( https://www.youtube.com/watch?v=BH8xp0BJwQo ) for the bulldozer blade to attach and I had a thin disc magnet taken from a box of fudge that glued nicely to the underside of the turret ring. The different turrets had a 1mm magnet stuck to the underside. It’s is only really the Heavy Magma Cannon variant that needs this as the others will sit in the turret ring with out magnetization.
I might trim down the internal post on the vehicle as it is quite tight for changing the rear pieces.
Painting both vehicles
I primed everything with Vallejo Russian Green Surface Primer, then everything got an all round 45 degree spray of Medium Olive (Vallejo Model Air RAL 6003).
Next anything I wanted highlighted got a touch of Pale Sand (Vallejo Model Color) followed by a glaze of Vallejo Glaze Medium mixed with Reflective Green (Vallejo Model Color RAL 6003).
Anything metal was given a coat of black and the road wheels/runners/round things in contact with the tracks were painted Panzer Dark Grey (Vallejo Model Air) around the exterior edges.
I then proceeded with my first attempt at an oil wash. Firstly everything was gloss varnished. I then mixed some Burnt Umber Oil Paint (Winsor and Newton Winton Oil Colour) with some Artists’ White Spirit and a drop of Liquin. This wash was applied to everything, left an hour, then removed with eye shadow pads and makeup sponges dampened with the same white spirit from areas I didn’t want. In future less oil paint to white spirit would be better.
Oil washes Gerry: https://www.beastsofwar.com/painting/oil-washes-basics/
Vince: https://www.youtube.com/watch?v=oQmhcSRsiPo
Everything was Matt Varnished after the oil wash was dry.
The metals were given a coat of Gun Metal Grey (Vallejo Model Color) mixed with the tiniest amount of Panzer Dark Grey. Anything bronze then got a coat of Bright Bronze (Vallejo Game Color) mixed with the tiniest amount of Red Leather (Vallejo Model Color). All the metallics were then washed with Army Painter Strong Tone. The Bronze was then highlighted with the Bright Bronze Red Leather mix with a touch of Silver (Vallejo Game Color) added.
Then came my first use of weathering pigments. I decided that I would mix Light Yellow Oxcide (Vallejo Pigments) with Vallejo Airbrush thinner then apply to the track and lower areas. Then tried to correct anything with thinner. Like the oil wash less pigment to thinner in future.
Last any purple glow was applied in the same way as described in previous posts and a mixture of Panzer Dark Grey and white were applied to any possible rubber type bits on the guns and used for any possible periscope lenses.
Thoughts on:-
Oil Washes and pigment powders: I’ve ended up half way between the two. I could have not used the pigment powder and left the vehicles with a factory look or not used an oil wash but a low concentration wash of pigment powder and airbrush thinner to give an overall dust effect.
Photography: I’ve also managed to take pictures that don’t show the shading properly. A better angle from slightly above might help.
Finished result: I’m happy. They’re gaming pieces and I can always go back to them.
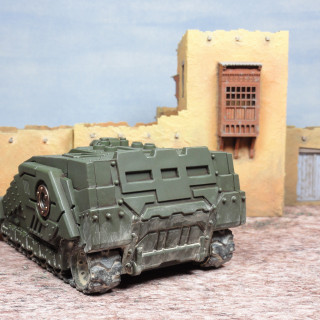
Below are two images each for the Sturnhammer Battle Tank Heavy Magma Cannon variant, Sturnhammer Battle Tank Quad Heavy Hailstorm Cannon variant and the Drakkar APC.
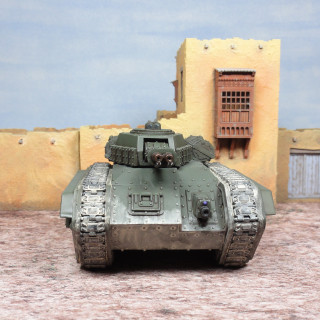
Below a 1995 GW Hellhound with one set of tracks glued the wrong way round by an younger me and never painted until now. The Hellhound was originally meant for my Blood Axes.










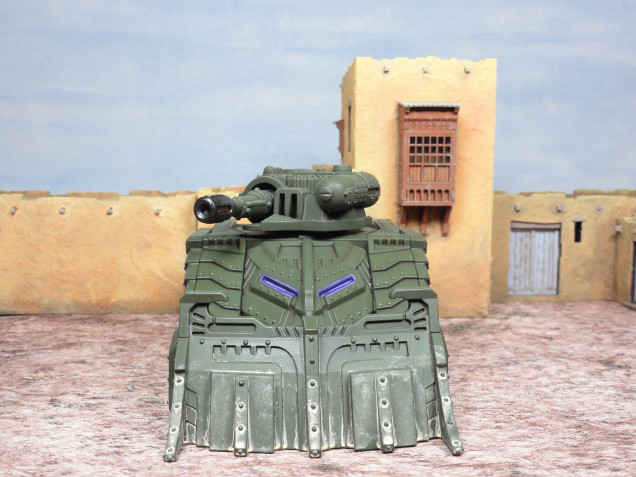
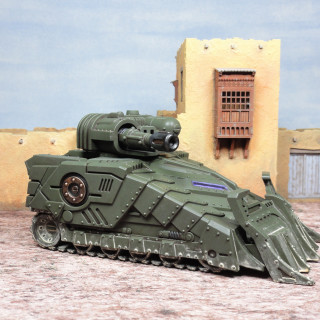
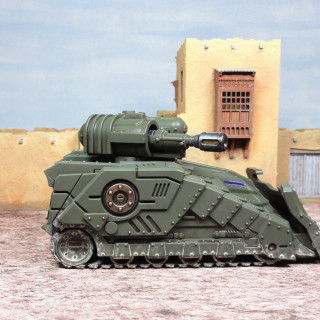
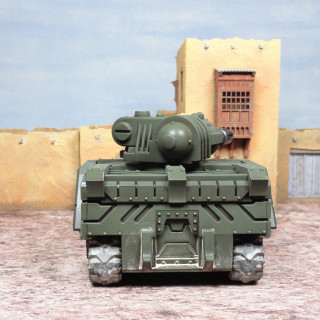
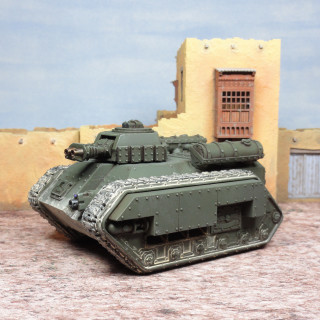
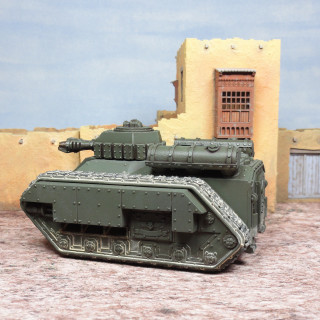
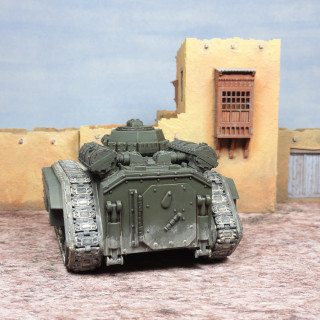
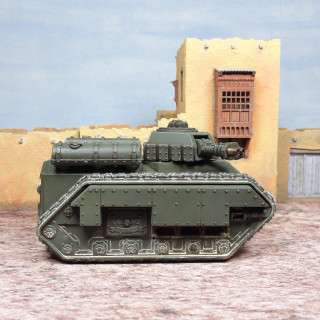









They look good. I am looking forward to blowing them to pieces
2022-08-02 Your project has been visited by the unofficial Hobby Hangout. Huzza!