Building my gaming table
The plan, the features & the materials.
When you’re approaching a very large project that’s going to require a lot of your time, patience and investment you want to be sure you’re not going to get half way through and realise you need to start again. This particular project is easily the most complex woodworking project that I’ve approached and by a large margin, I mean the bed itself isn’t exactly simple either but we made it in a very simple way so this is why I’ve taken my time, or at the very least it’s my excuse.
So I guess it’s about time I started talking about the features I wanted within my table, I mean that’s why we’re not just using a giant piece of MDF over the kitchen table right? I mean I could have just FIXED the old table and put up with it but I want something nicer, I want to build something I can be proud of but okay enough rambling, let’s list off the actual set of features I want to include into this project.
- Functional dining table
- Comfortable resting height
- Tall enough for peoples legs
- Removable tabletop in multiple pieces
- Need to prevent the top pieces being too large and too heavy.
- Each piece should be equal in size
- The number of pieces will likely be between 4-6
- Gaming vault underneath the tabletop
- 6foot by 4 foot vault for gaming
- Deep enough to hold some smaller mini’s and scatter terrain.
- Accessory rail
- Drink holders
- Mount that will accept my camera arm/microphone arm
- Token holders?
So a lot of this should sound pretty standard with the game tables I’m talking about right? But I’m sure some of you are asking a couple of questions.
Why no charging station?
Honestly I just don’t feel I need one build into a table, I would like this just to feel like a table to those who don’t realise.
You need LED’s
Honestly no I don’t, I get why it’s important for some people but I really just don’t feel a need for it myself, I mean it’s a nice feature but I just don’t need it.
The construction plan
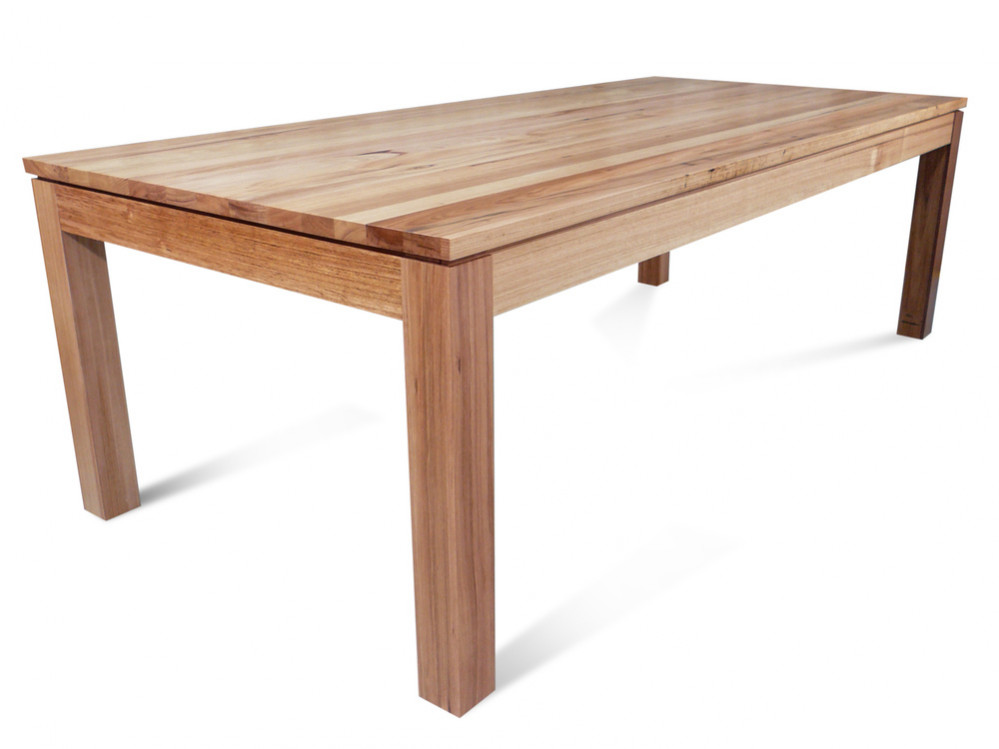
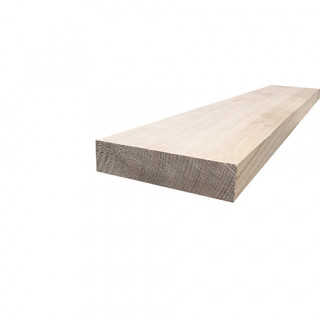
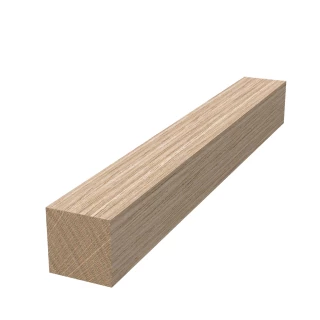
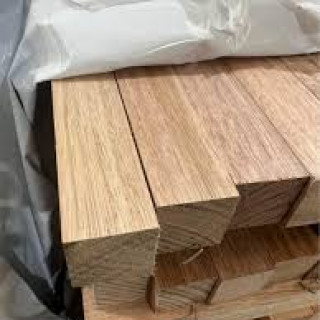
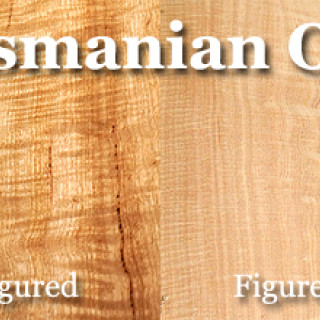
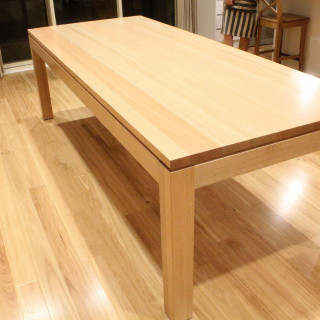
So how are you going to keep this within your budget? How much are you actually going to spend in total? Well that last question is hard to anticipate right now but I do hope that I can answer it in time. I can confirm one thing however the entire table is planned to be built from Tasmanian Oak, a hardwood easily available within Australia, that ironically isn’t actually Tasmanian (well not exclusively) or Oak, its actually fairly wide spread also known as Victorian Ash (which isn’t an Ash), it’s basically 3 different species of eucalyptus that’s very common, it tends to be a lighter colour, straw to a reddish grown a hint of grey in there as well, some pictures below are going to give you a little bit of an idea of both the wood itself and the finished look of some furniture I could find through the google machine. The thing I learned from a Wyrmwood video was that if you buy smaller pieces and are willing to spend the time buying smaller sizes of wood and not being so picky about the sizes you want can save you a lot of money, laminating boards together to make then thicker, to make them wider and so on and so forth so what am I buying, well Im buying a mixture of two sizes. 90mm x 19mm & 65mm x 19mm stock, depending on what their for, this exact measurement at this stage is still subject to change I do plan to buy dressed wood.
The exception to the Tasmanian oak will be the plywood for the bottom (it would be silly to use Tasmanian Oak for this I feel (I mean I could I just would rather save thr money given its a part no-one will ever see). Thick enough to be stable is really the only consideration here. Now as for the bottom mat my original plan was just to put this on the bottom of the table but I’ve since realised that it would be smarter to have this removable, for the small amount of money it will cost overall for an extra bit of ply, thin ply but the question most will be asking is what will I be using. I still have options here but I’m going to list off the most common options.
- Neoprene
- Mousemat material, espensive but a gaming stable for a reason
- I do love these mats but Im going to save these for actual gaming rather than a perminant surface.
- Speedcloth
- Poker table material
- Sadly in Australia you simply cannot find this stuff in a plain material its all covered in poker suits.
- Worsted Wool
- The poker table felt
- Yeah I know right, I had no idea about this either, came across it in a reddit thead I was randomly reading.
- It can be expensive it can be cheap, this is actually the direction I am leaning at this time
- Felt
- If I were to go this way it would be the indistrial grade stuff
- Honestly I havent really been able to source anything locally
- Price’s are all ‘to quote’ which makes me reluctant to ask
- When I can get Worsted Wool material at a reaspnable price why would I even consider it?
- Headliner
- This is the material you have lining the roof of your car
- A cheaper budget option that doesnt look too bad from what I’ve seen.
As I’ve already kinda hinted at Worsted Wool is where I am leaning, I’d like to source some locally so I can see it before buying it, ideally somewhere around 270gsm, whether i feel the need to put some padding underneath it at this stage is unknown but in theory I dont think I will need to, its between this and felt at the end of the day, if I can find a source that is reasonable. I should reach out to one of the providers and atleast get a price. Its most likely going to be a dark grey, just because Id rather have something generic personally rather than the blues greens and reds.
The magnetic rail
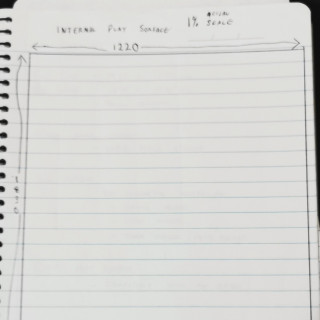
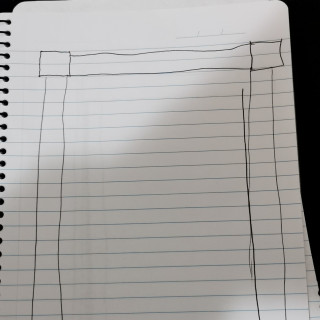
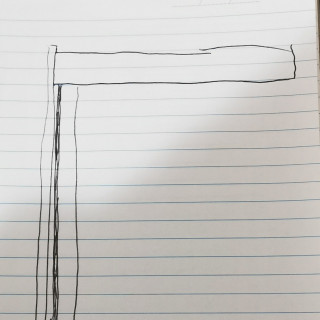
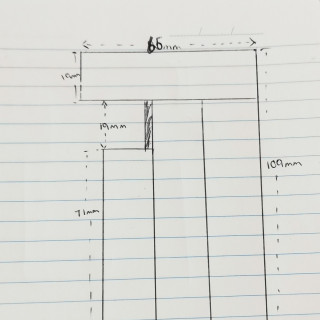
Okay so first things first, the rail itself isn’t magnetic (and they almost never are) the magnets are in the accesories, my plan for this is essentially stealing the way I’ve seen it done in Wyrmwood video’s. I will be buying some 3mm flatbar, getting it cut to size and glueing it into the rail itself. The stock I will be using for them will be the same as the table itself, I will be cutting one section of the rail down to size prior to glueing it all together and that way when the armrest is glued downit will create a channel to hold them in place. Now I’m going to show you my drawing’s now, you will see the changes over time, orignally my plan was to have the armrests smaller but I’ve at this stage increased the height of them to 90mm from 65mm so the “real size” cut section is no longer accurate but it gives you the idea of how they look.




Leave a Reply