An Infinite Problem
Recommendations: 126
About the Project
A log for all my Infinity projects, new and old, as I try and clear the backlog whilst staying on top of releases (yes, yes, stop laughing at the back)....
Related Game: Infinity
Related Company: Corvus Belli
Related Genre: Science Fiction
This Project is Active
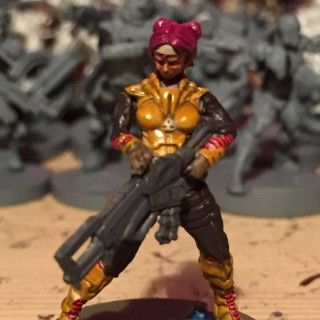
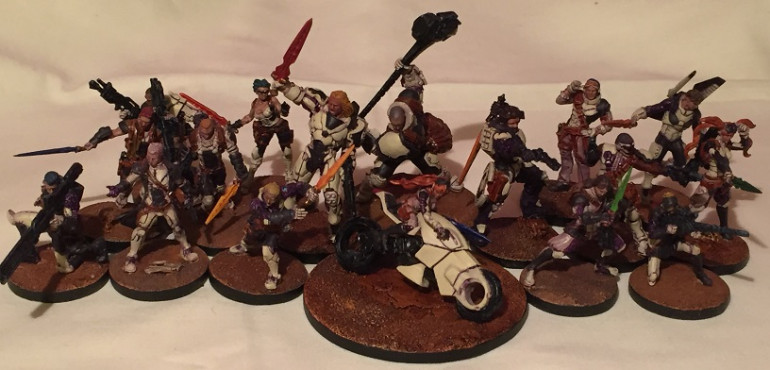
Process - Nomads "Yellowjackets"
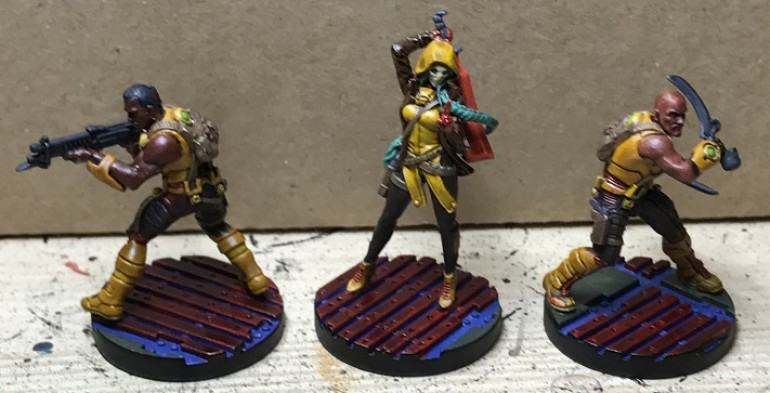
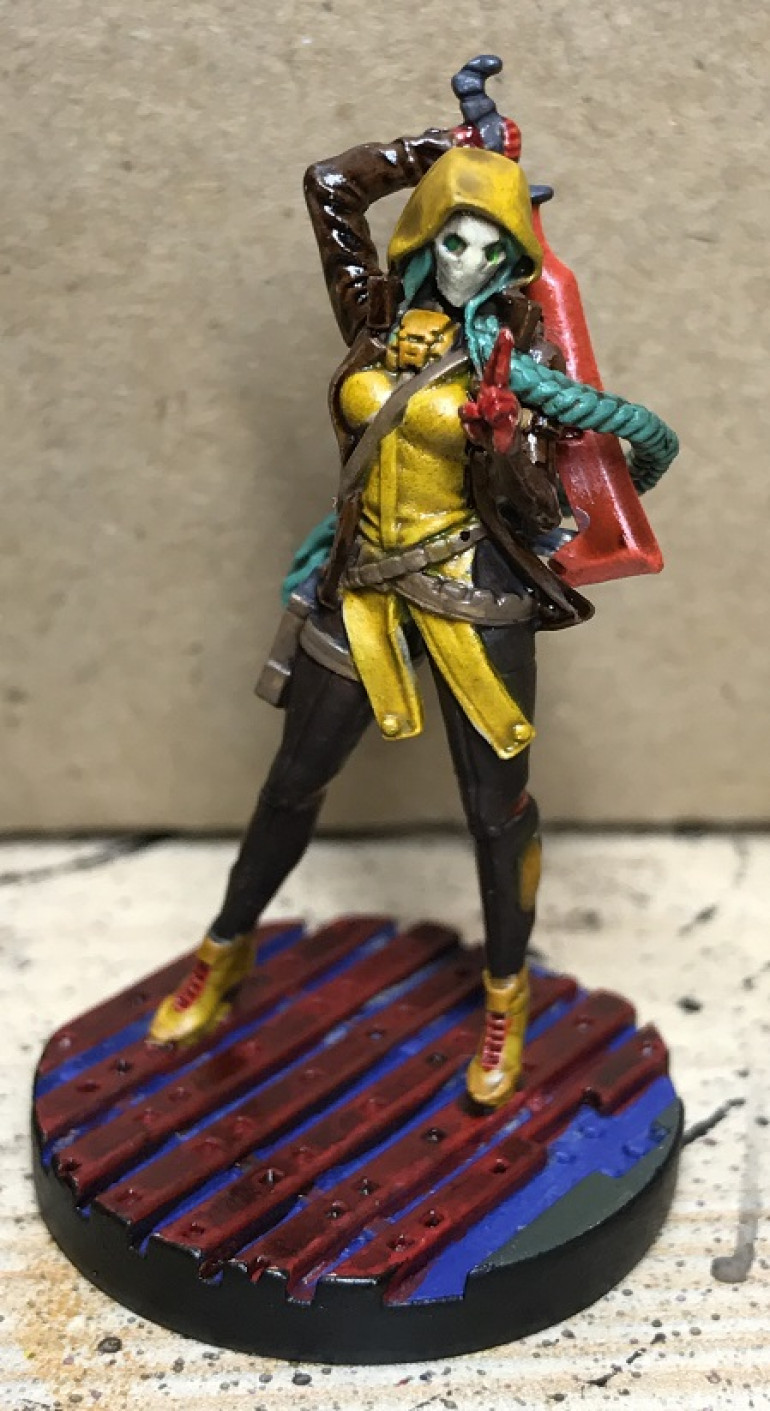
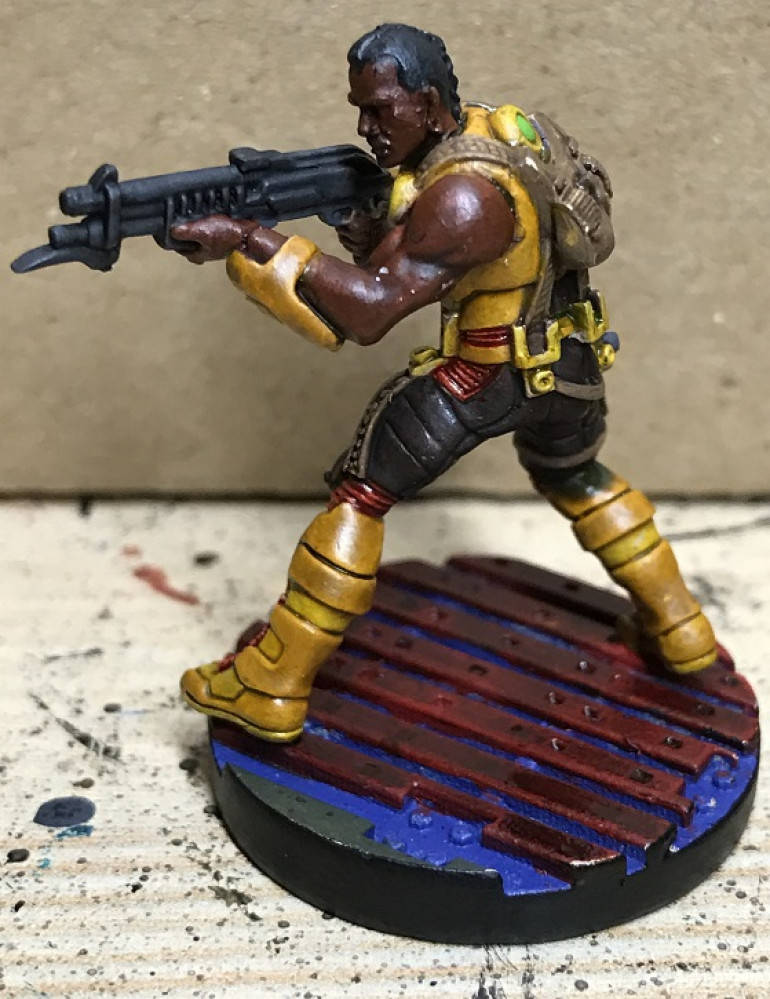
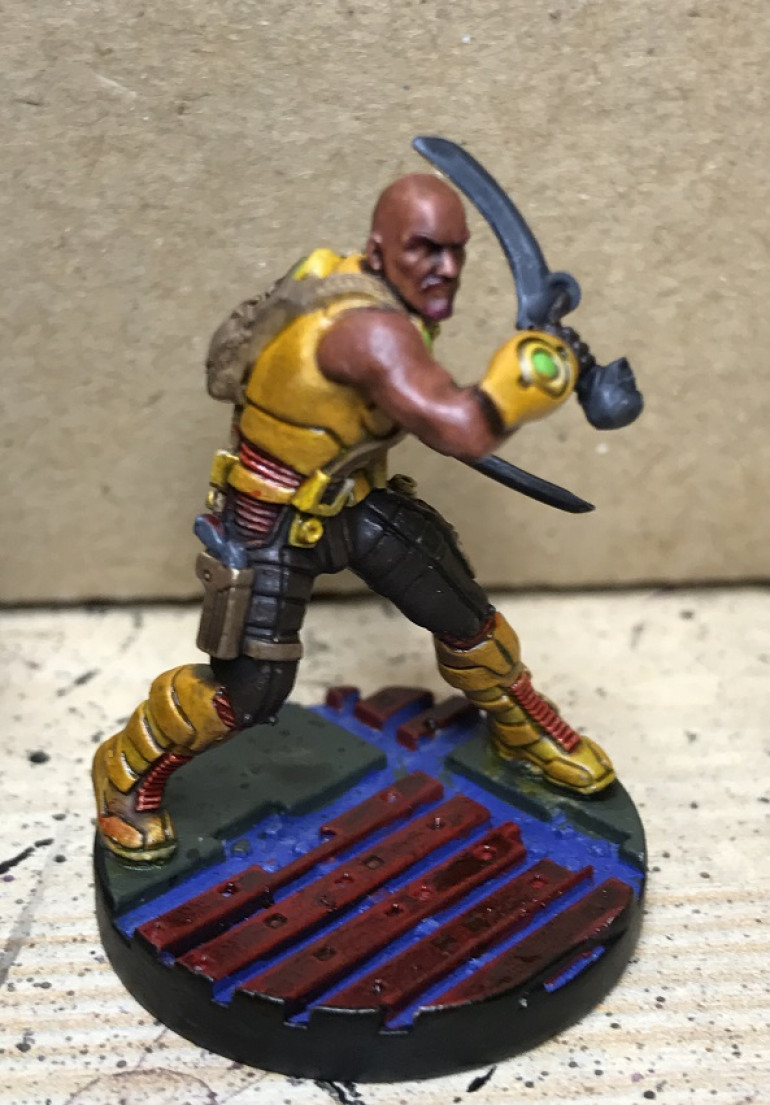
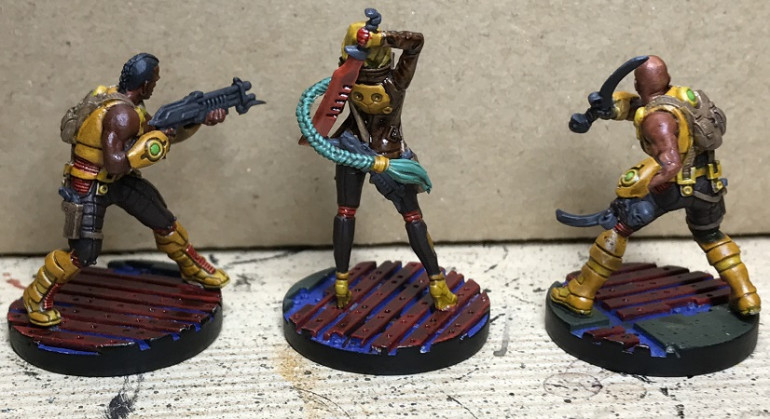
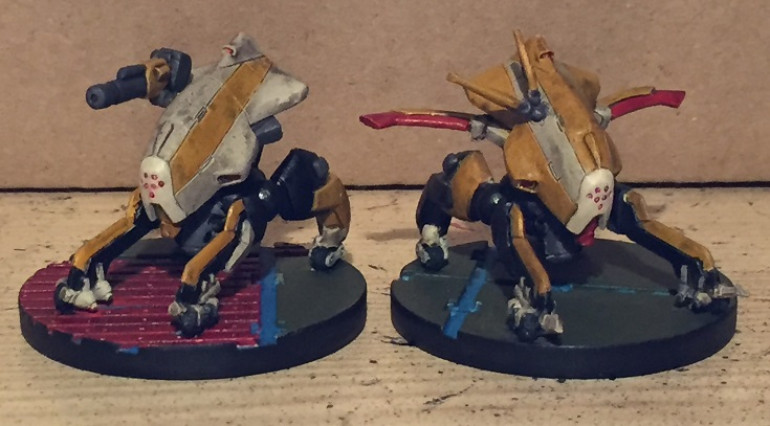
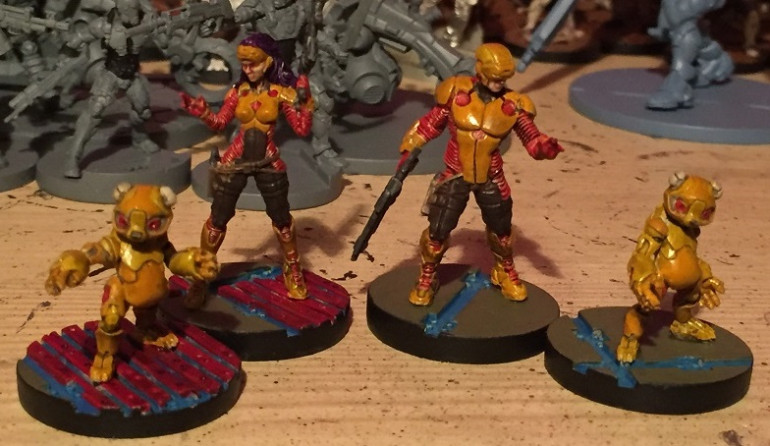
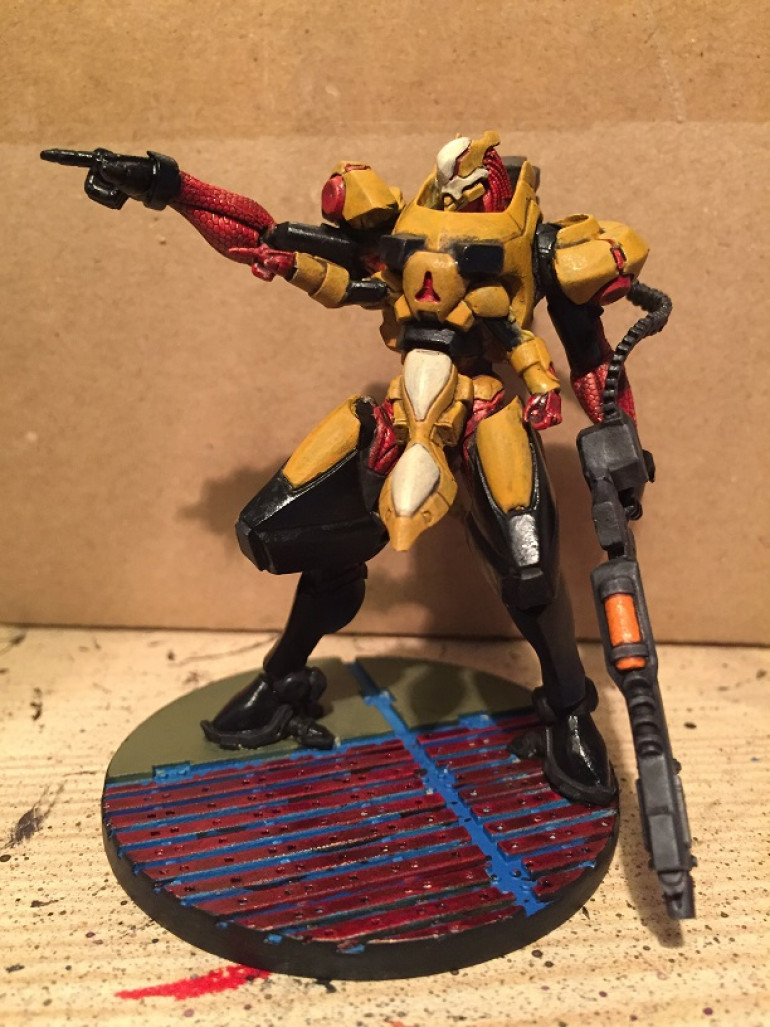
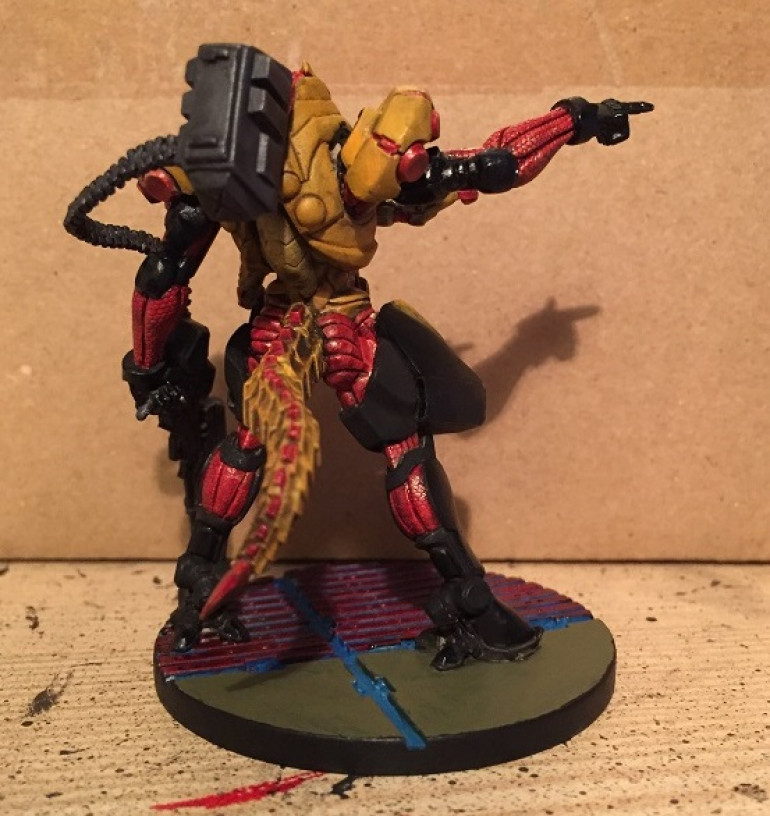
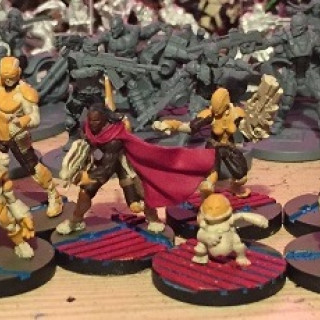
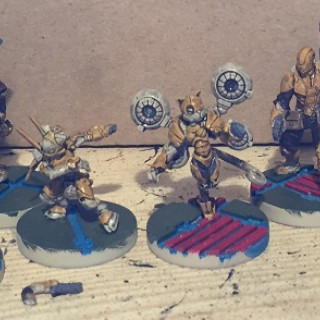
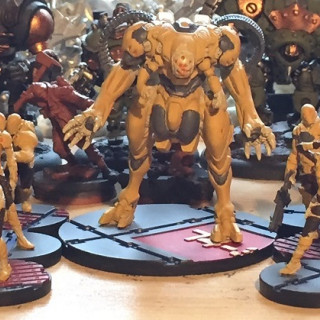
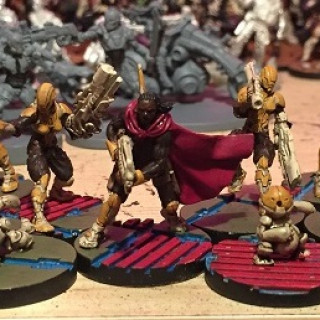
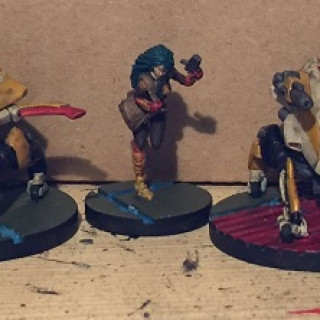
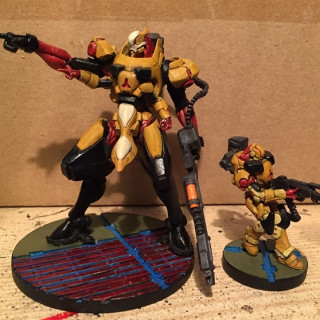
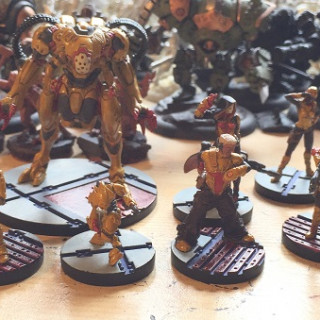
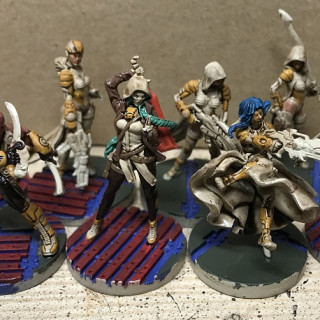
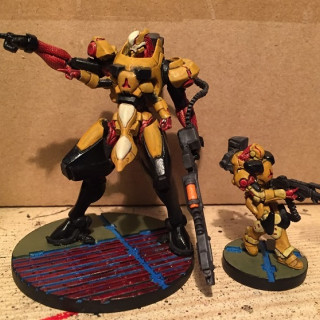
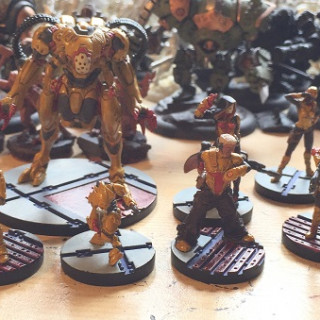
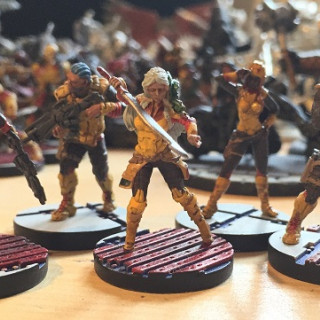
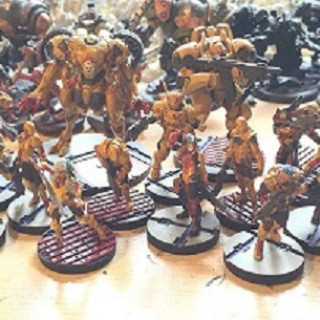
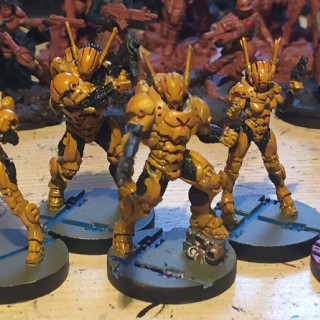
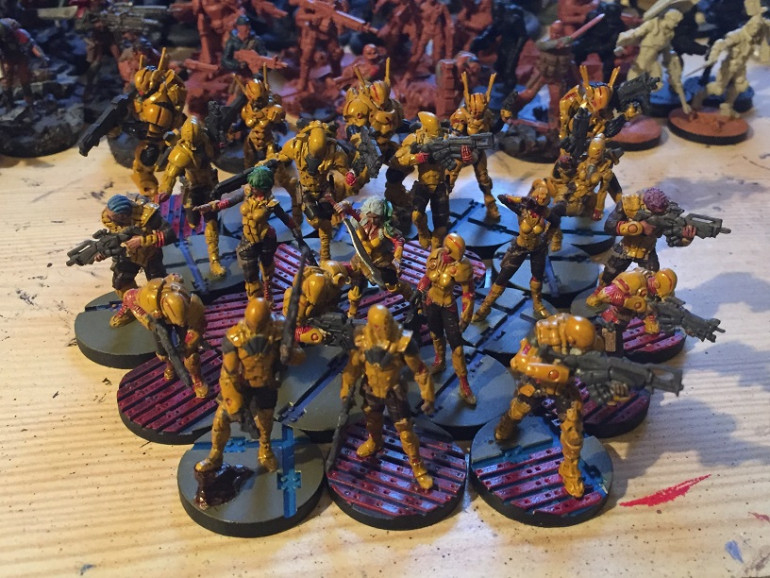
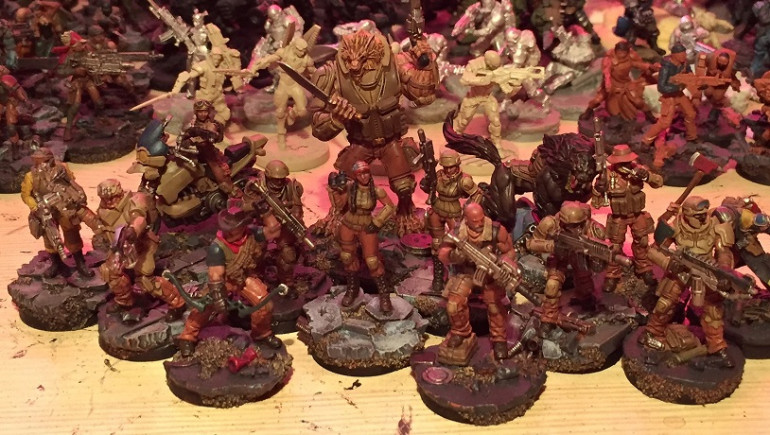
Okay, next up for a process exploration are the myriad forces of the Nomad Nation. Right off the bat I knew I didn’t want to follow the broad strokes of the red that CB has used, and thought they’d be a great range to test out a mainly yellow paint scheme. At the same time I took the choice to base all my Nomads on Landing Pad resin bases from Antenocities Workshop.
So the first step was to hit everything with Skeleton Bone primer from Army Painter. I’d found in the past using a creamy bone-colour led to yellows that skewed warmer than if painted over whites whilst still letting the yellow cover particularly well.
Next, blocked in most of the main details – armour, skin, cloth, straps etc. Weapons and anything that was likely to be black or grey was normally painted later, although on some occasions I did paint them at this stage….
- Armour – Averland Sunset
- Cloth – Rhinox Hide
- Straps – Steel Legion Drab
- Weapons – Mechanicus Standard Grey
- Skin – take your pick – I’ve tried to represent multiple ethnicities.
And then hit the whole thing with Aggrax Earthshade
The next stage is where it all comes together with a series of heavily saturated washes (and Nuln Oil, because of course).
- Anything you want to be yellow – Yellow ink wash.
- Undersuit “ribbing” – Red ink wash.
- Black cloth & black panels – Black ink wash.
- Weapons – Nuln Oil wash.
The Aggrax Wash gives depth to the red wash used on the undersuit ribbing, whilst on the yellows it gives a worn look to anything that is just the primer with the Aggrax wash, whilst on the hard armour it makes a much more mustard-toned yellow.
Now this is not a perfect method. The inks used are the old, OLD white-screw-top-lid GW inks and I have begun to run low on all of them. I’m thinking Contrasts might prove a good alternative, but I may need to experiment. They also have a gloss finish to them, which I’m fine with but may not be fir everyone.
As you were....
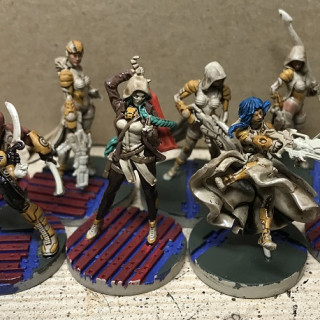
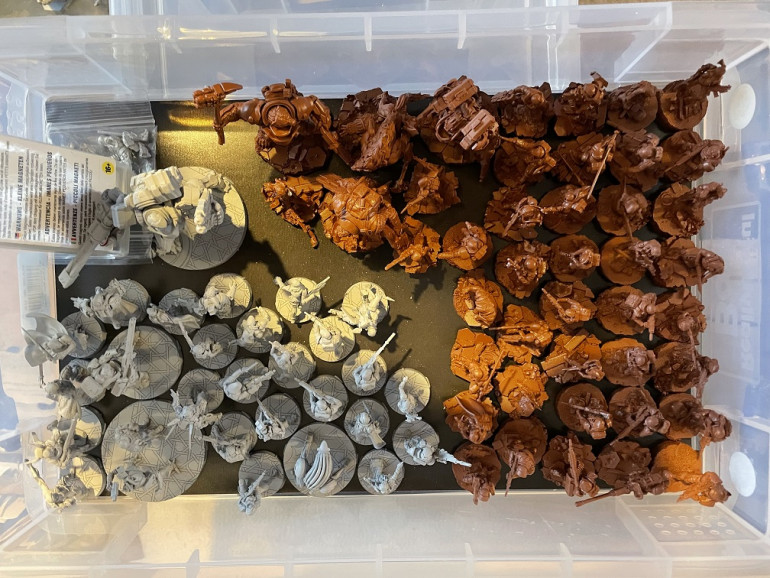
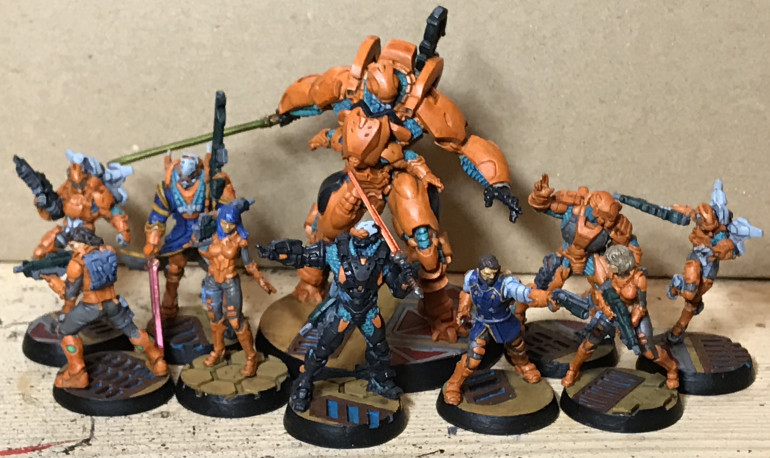
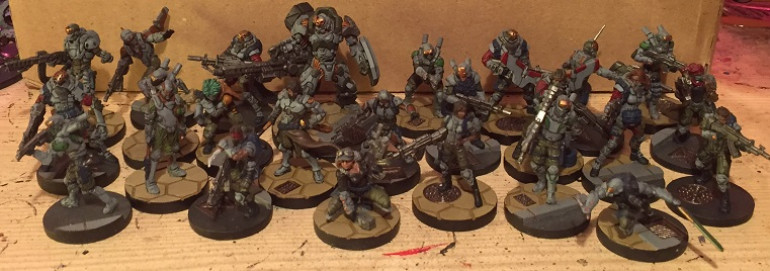
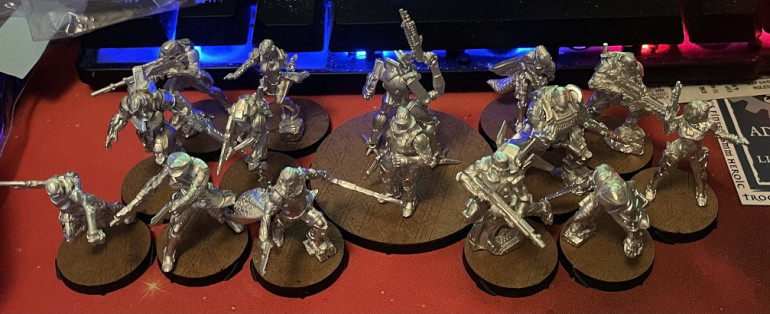
So I figured whilst I’m working out what to do with the bulk of my Infinity, I could carry on with my Ariadnans (based on Micro Art Studios Urban Fight bases) and O-12 (using Customeeples Haqqislam base toppers), so went on a major priming session during my week off
So barring a few odd extras here and there, this consists of:
- Ariadna – TAK Action Pack, Highlander starter, Kosmoflot starter from Operation: Crimson Stone & Beyond Crimson Stone. All primed in Army Painter Fur Brown.
- O-12 – O-12 Action Pack, Starmada Action Pack. All primed in Games Workshop Grey Seer.
The O-12 I’m thinking I want to try out Contrasts, but I may hold off until some of those new, brighter colours they anounced today come out….
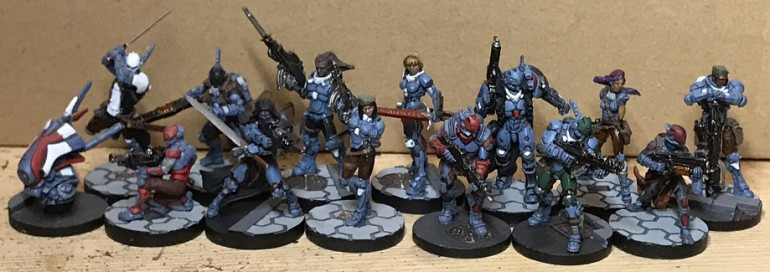
Process - Pan-Oceania
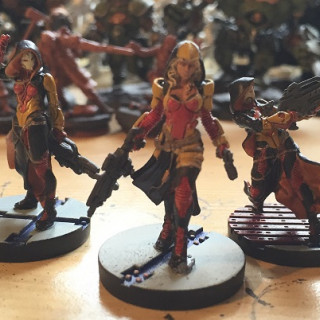
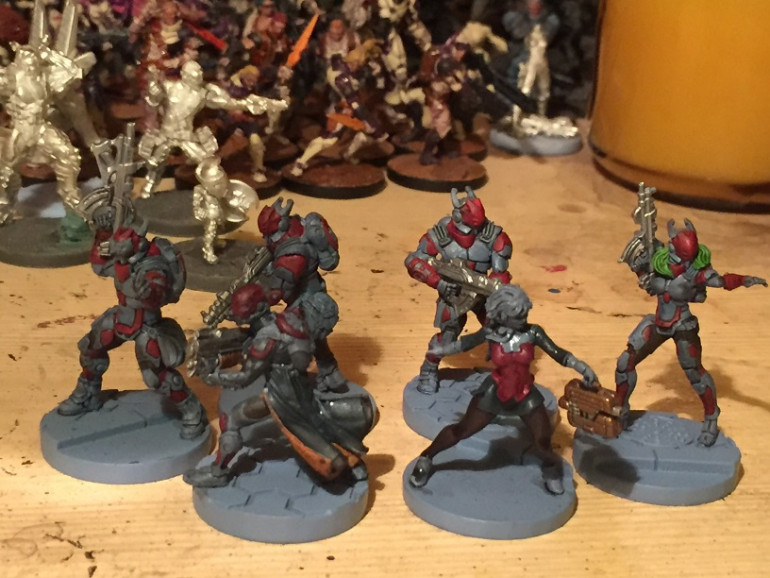
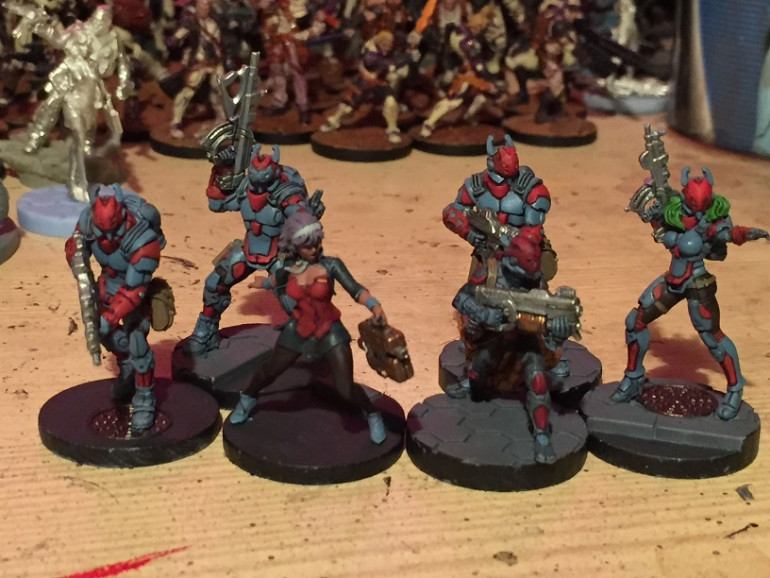
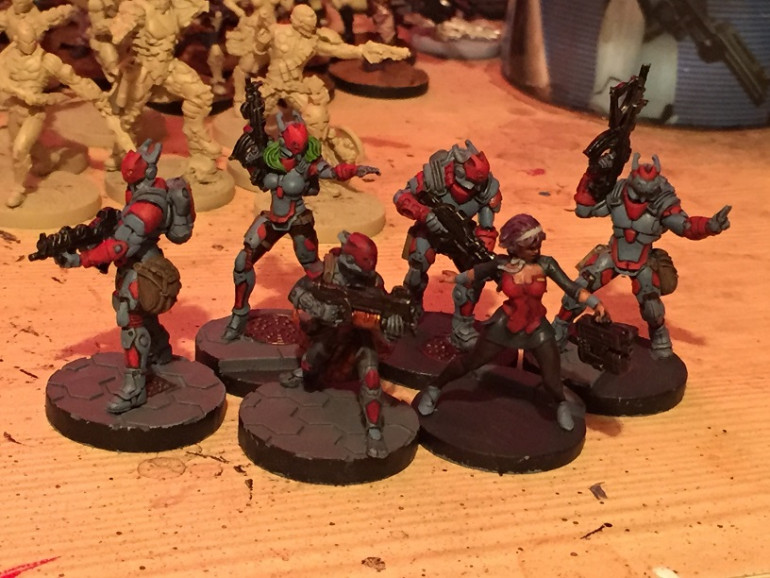
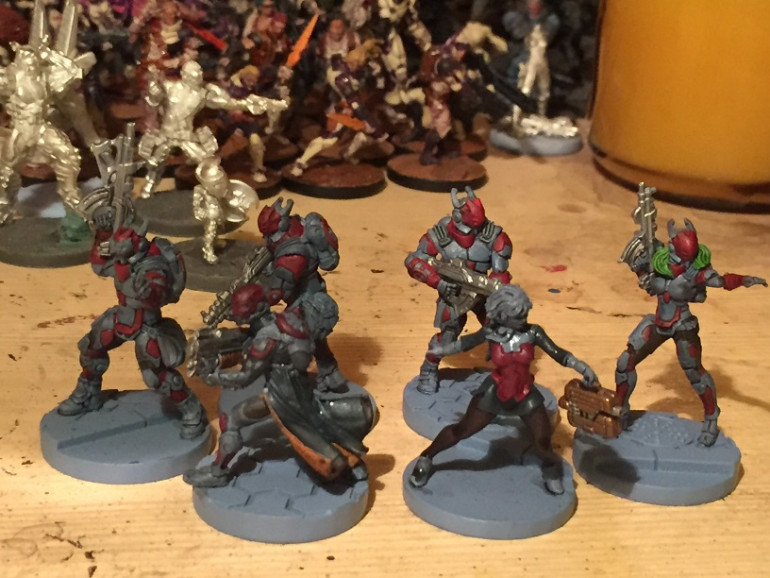
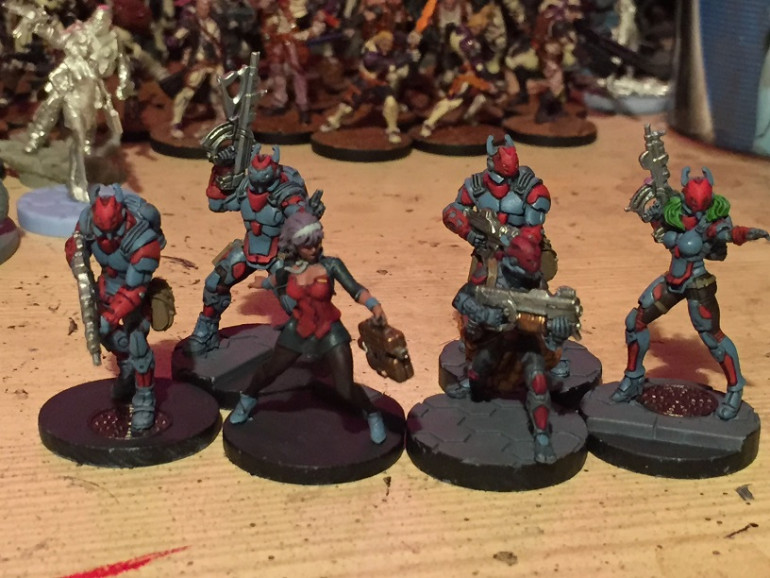
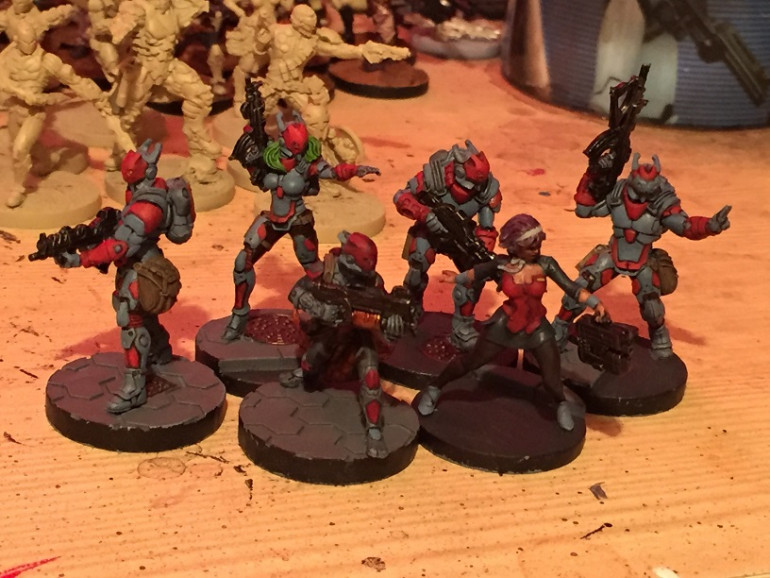
Thought it might be handy just to note down each of the processes I used for painting each faction. Now off the bat when I began painting Infinity I was a bit intimidated by those wonderful Angel Giraldez paint jobs and the many (many) superb paintjobs that the community put out, especially as they were (and remain) some of the nicest minis going. I was also in the process of returning to the hobby having found myself struggling towards the end of 4th/start of 5th ed 40k completing projects. This meant that even with the reduced model count of Infinity I wanted something relatively quick that also would highlight the sculpted detail on the minis. With this in mind I opted to break from the safety of priming in black, and delved into Army Painters range of coloured primers and colour matched Warpaints and what could be done with washes & shades.
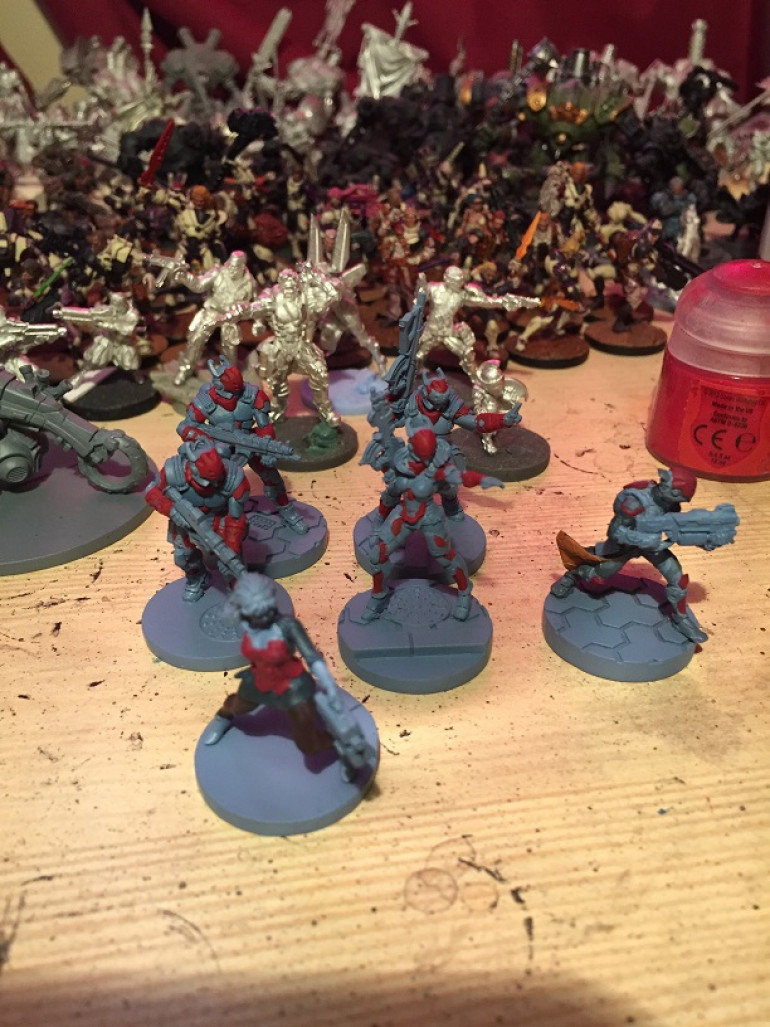
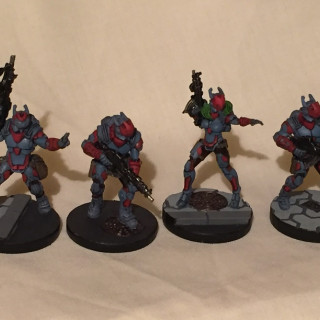
So my process for the forces of the glorious Hyper-power of Pan-Oceania was thus:
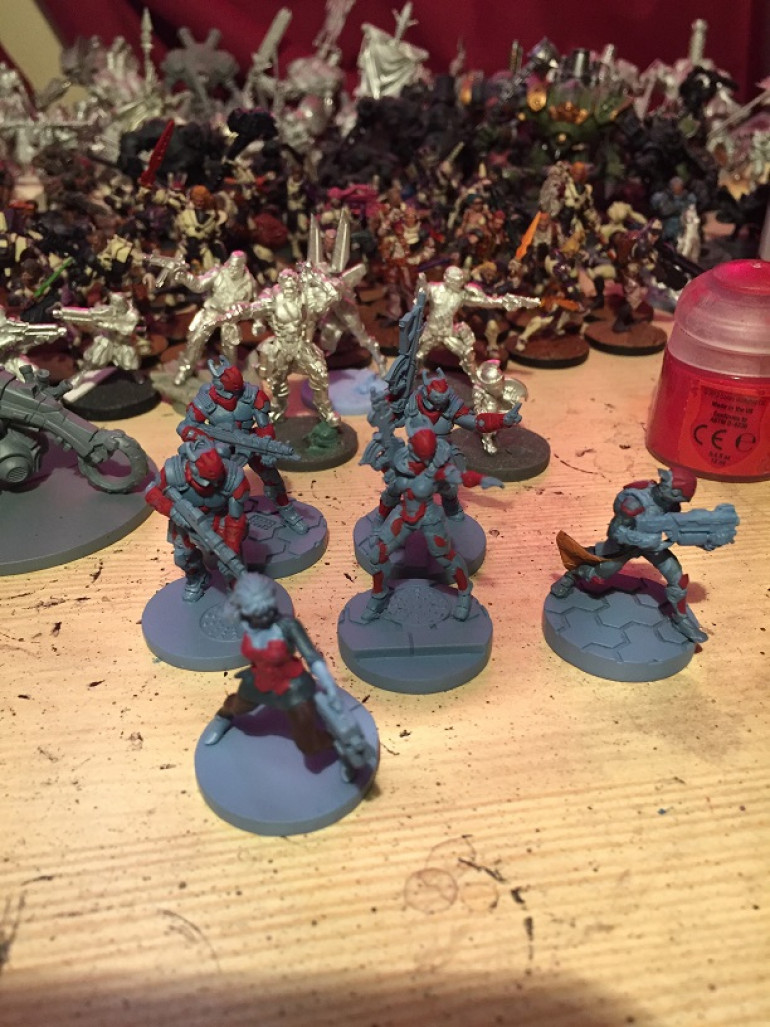
- Primer -Wolf Grey (did try Ice Blue to start but it came out very coarse and grainy)
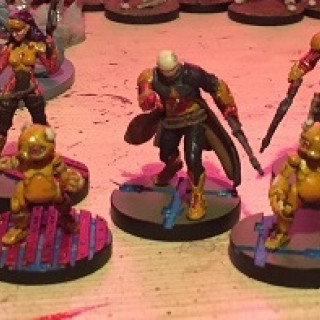
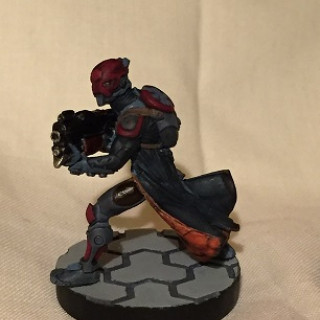
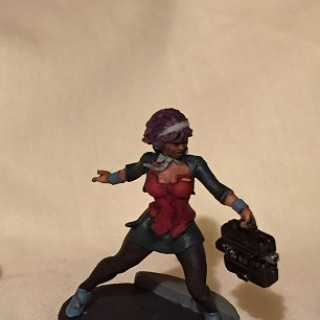
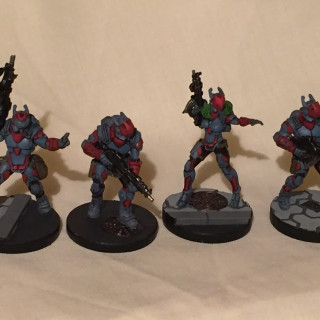
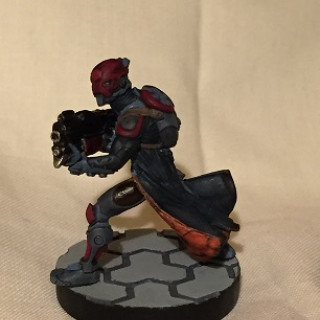
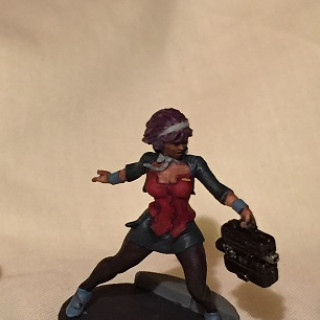
- Block in base colours (in this case red for the the NCA Sectorial, dark brown for the fatigues, dark green for the CSU’s dress, orange for the coat inner and dark grey for the coat exterior)
- Wash the whole model with Nuln Oil (or equivelant)
- Repaint the armour with the base colours leaving the wash in the recesses.
- Paint all straps, webbing, bags & backpacks with Steel Legion Drab, and the weapons with Boltgun Metal.
- Wash the weapons with Black Ink and the webbing with Aggrax Earthshade.
At this point I was more or less done, barring getting the bases done and any skin if the model had it exposed or any unique elements. Now yes there is no highlighting done here, but overall I was quite happy with the overall effect.
Whatcha gonna do!?
So I have a problem. I’ve been collecting & painting Infinity minis since just before the release of N3, and it’s what helped me rediscover my painting mojo (as well as an appreciation for utilizing elements of the Army Painter method). I’ve collected forces from across the Human Sphere, encompassing every faction barring Tohaa.
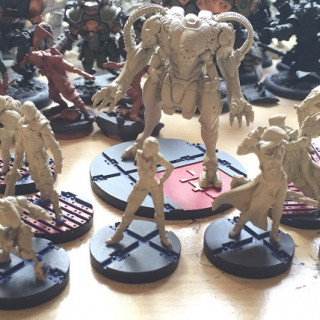
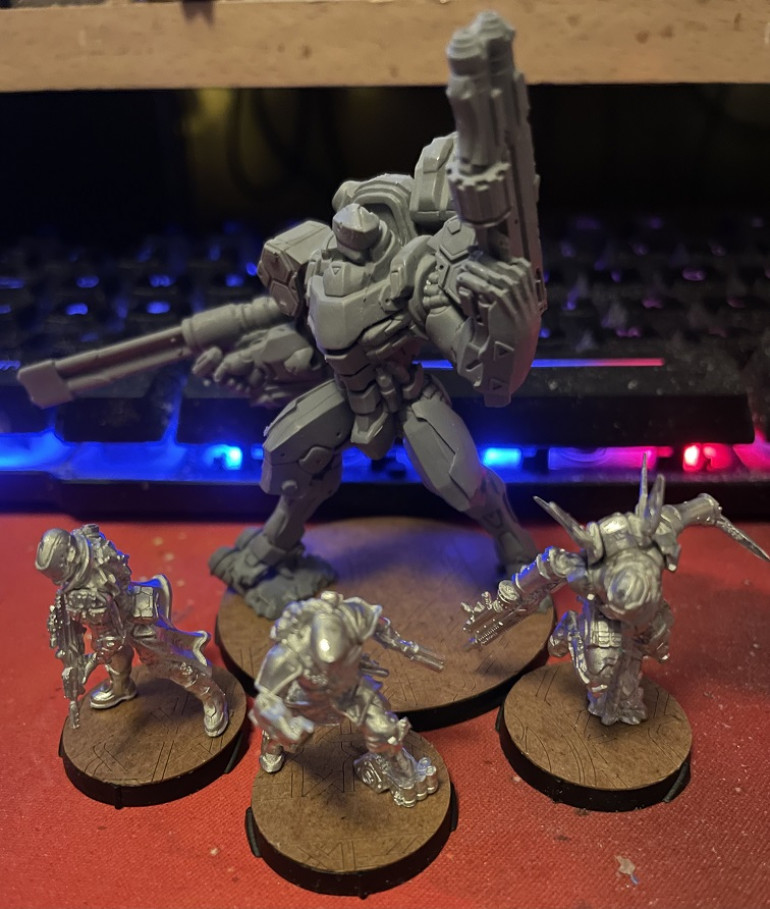
Now one of the choices I made was that I didn’t want to muck about with basing as it’s always been something I struggled with, so decided to make extensive use of resin bases, with a different style for each faction. My problem now though is that the two companies I brought almost all of my resin bases from – Antenocitis Workshop and Secret Weapon – have ceased operations and stocks of all their bases have now dried up.
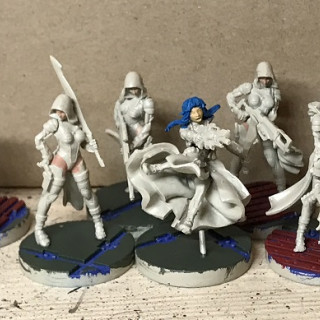
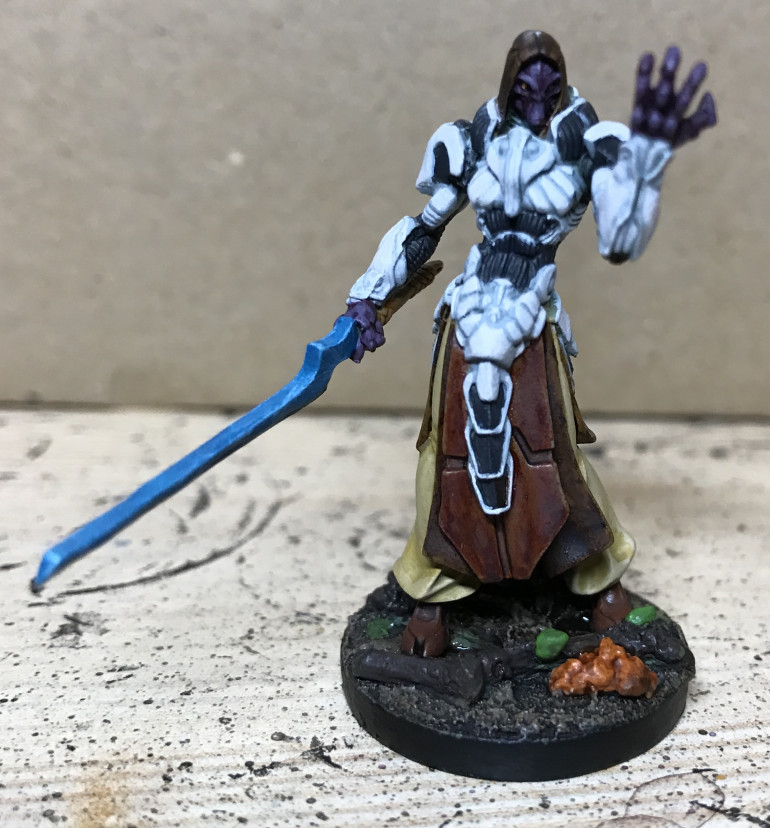 Really fancied painting the Combined Army in a more clean, heroic pallet - mounted on an AW Forest base.
I think I may have to look at either a mass re-basing (ouch) or starting from scratch (even bigger ouch!)…
Happily Micro Art Studios don’t seem to be going anywhere, so sourcing Urban Fight bases for my Ariadnans doesn’t seem to be an issue. Ditto Customeeple for O-12 base toppers.


