Zona Alfa – A Club Donation
Recommendations: 176
About the Project
This is a Zona Alfa project where I paint up the hostiles needed for the game. I will be donating these miniatures from my collection to my club so anyone can set-up a game any time they want. It is also my first time using Speed and contrast paints; so this will also be a testing ground for them.
Related Game: Zona Alfa
Related Company: Osprey Games
Related Genre: Post-Apocalyptic
This Project is Completed
This Mini-Project Begins!
Hi everyone,
Today begins my 5 days off work. During the morning I am helping a friend with his business and in the afternoon I will work on this project.
My club has dropped all restrictions, so I am donating a ‘pick-up tabletop game‘ to the club so anyone can play. What better pick-game than Zona Alfa!
Zona Alfa is published by Osprey in their blue rulebook format. It is what I call a finite game, in the sense that once you have all the minis you need to play, you don’t have to buy anything else – ever.
This game plays somewhat like Frostgrave in concept, in that you have to get the treasure and run – from a lot of hostiles.
So in order to play the game I went through my model collection trying to find anything that suited the various types of hostiles in the book.
I found all I needed and more. These are mostly cheapish miniatures but ideal for the game. I did this over the weekend and I also did some converting in preparation for the painting with my Speed Paints and some Contrast paints as well.
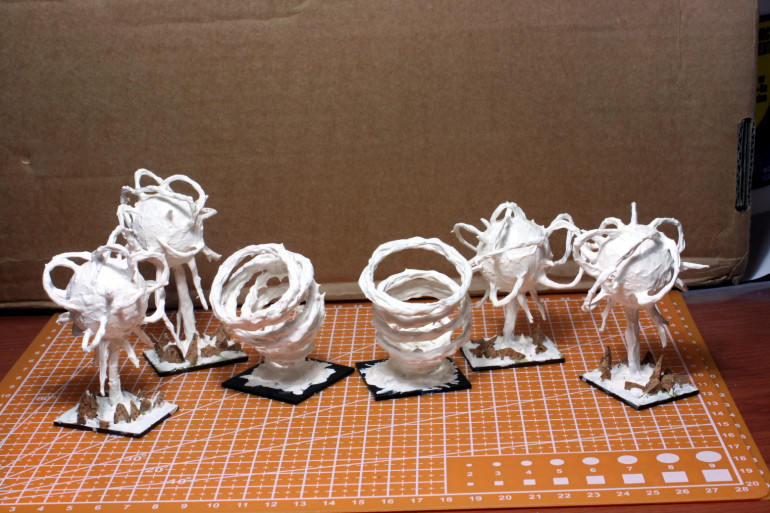
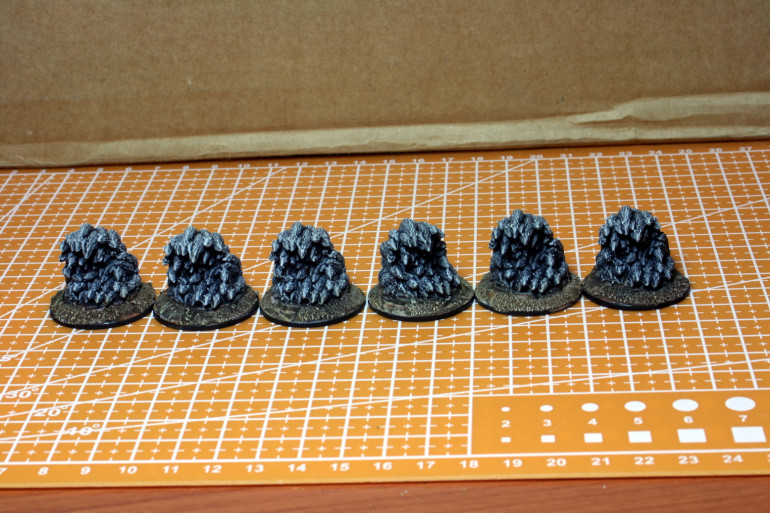
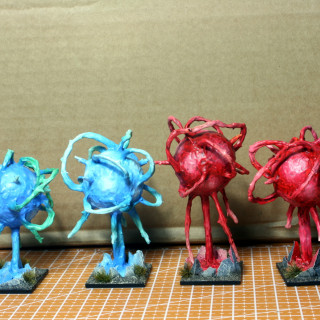
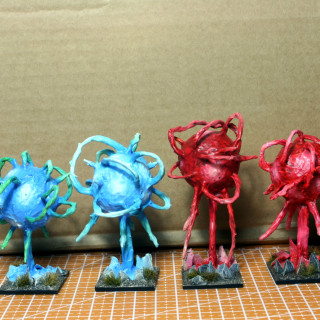
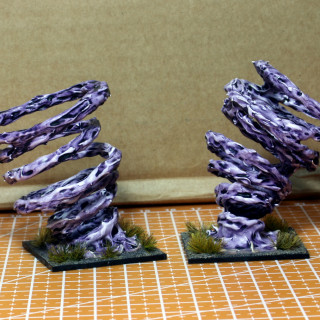
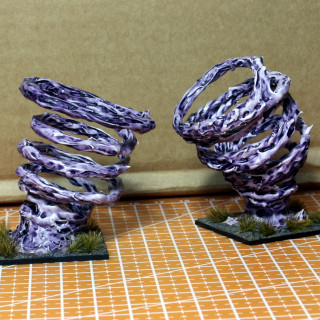
What I did not find was some anomalies. These are space-time distortions in reality from which hi-tech pours forth – as well as nightmarish monsters. Therefore I decided to build my own with styrene balls, paperclips and cheap gesso.
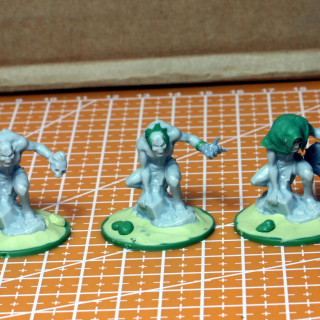
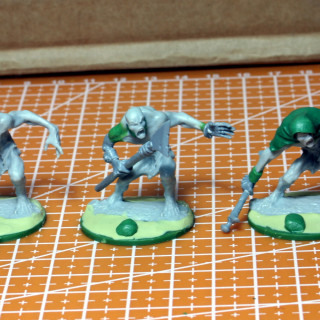
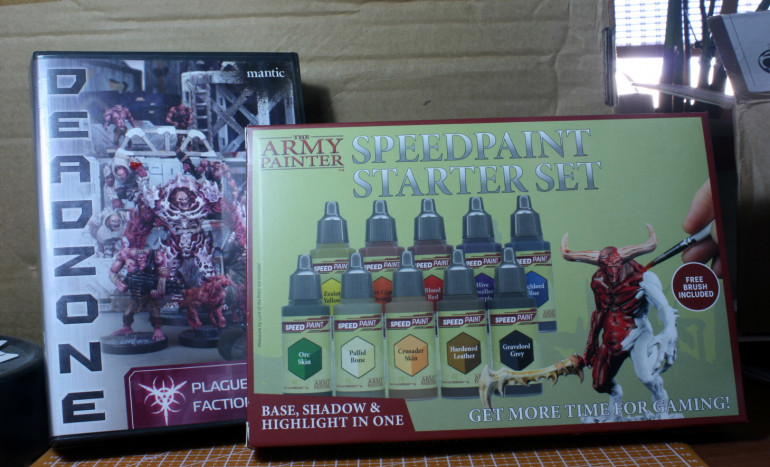
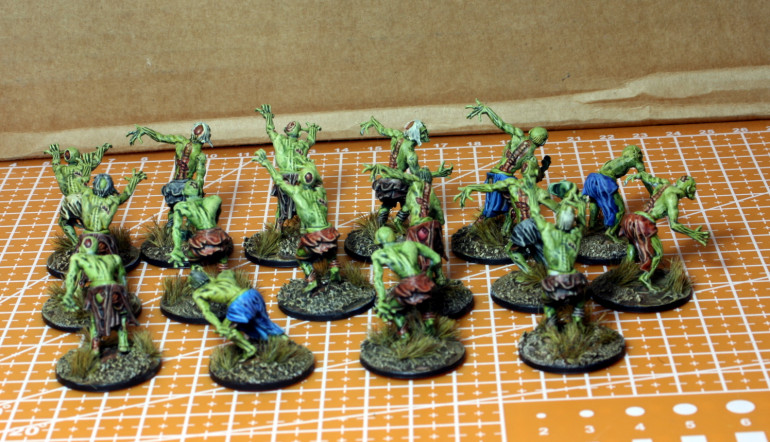
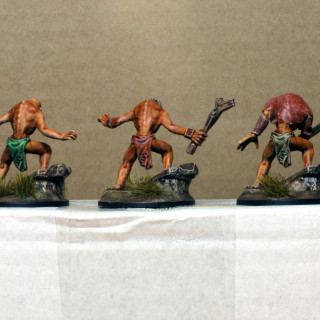
I also had some plague models from Mantic which I converted to make them low-tech rad-ghouls.
I also had bought three packs of plastic Reaper Ghouls at a Black Friday sale several years ago and I thought they were perfect to compliment the Mantic plague warriors as rad-ghouls. I just needed to convert them a bit for variation’s sake.
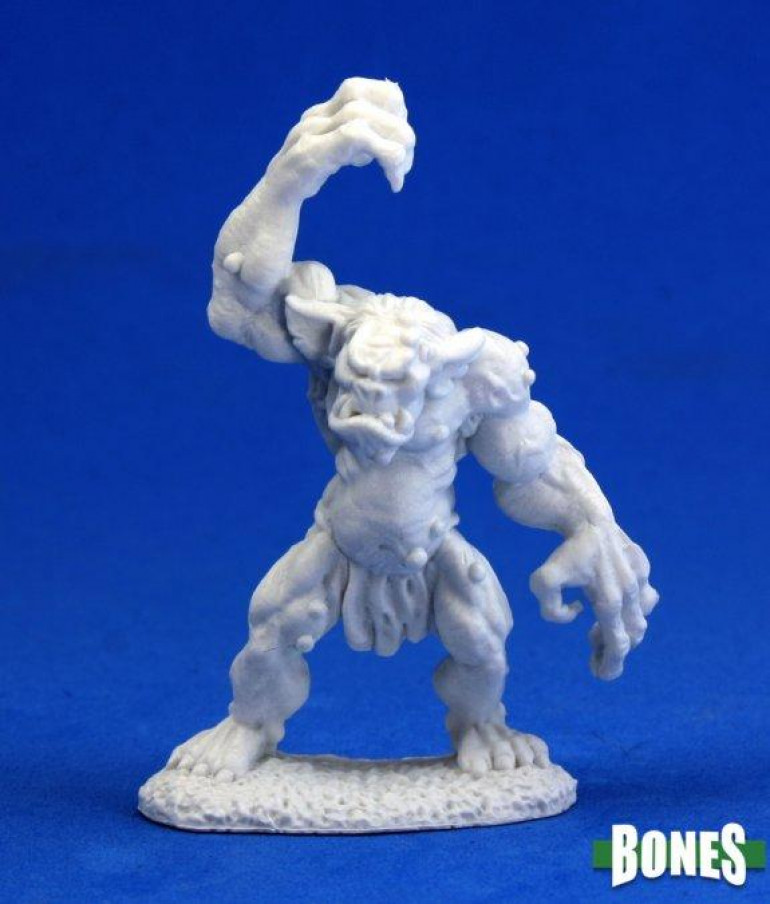
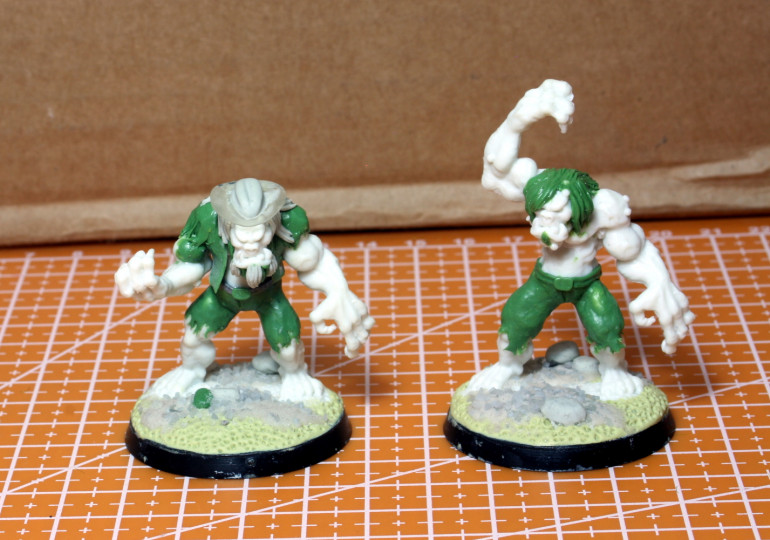
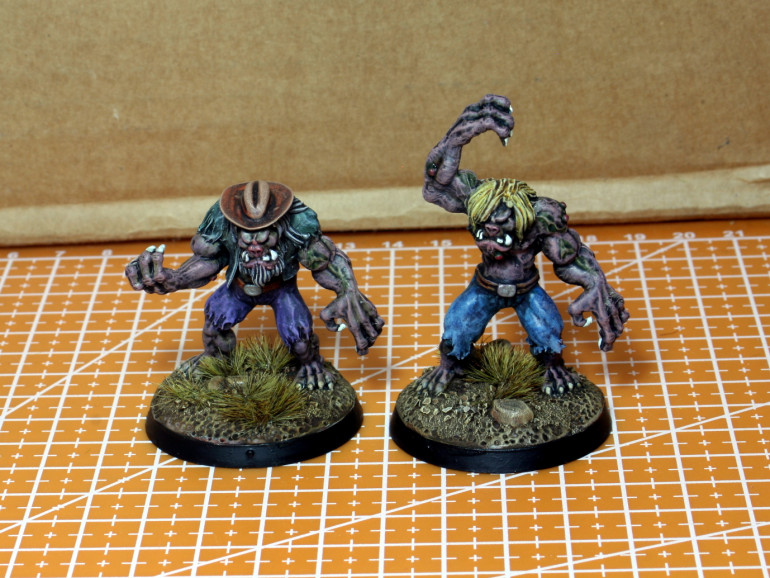
Last but not least I had two plastic Reaper Cave Trolls that were perfect for mutants. They just need a bit of work to take them out of the realm of fantasy and into more modern times.
Before I sat down to write up this post, I undercoated all the hostiles with my airbrush. Tonight I will start painting them up.
This is the first time I am using Contrast paints and Speed paints, so I am approaching this as an exercise and as an experiment. I will time myself and see how fast I can paint up each batch of miniatures.
Until next the post.
NR
I Am Quite Surprised!
Hi everyone,
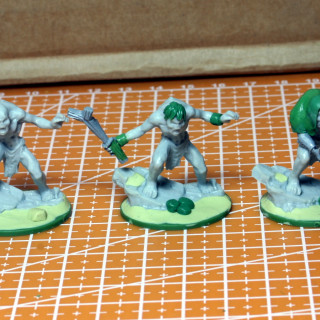
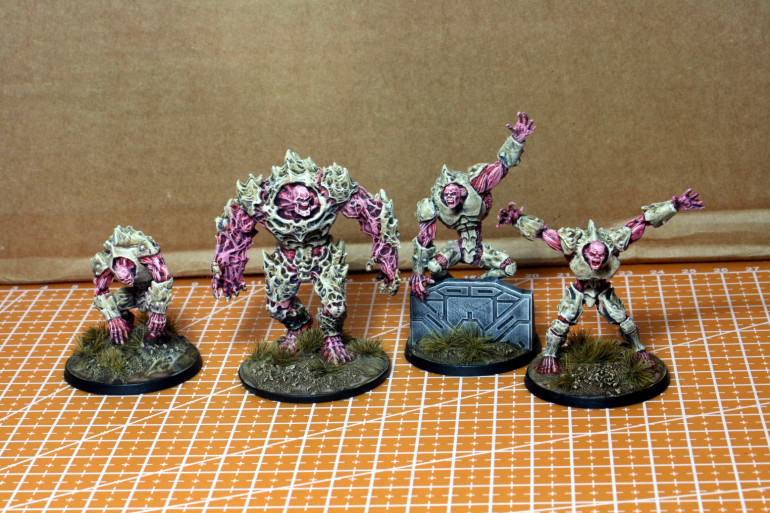
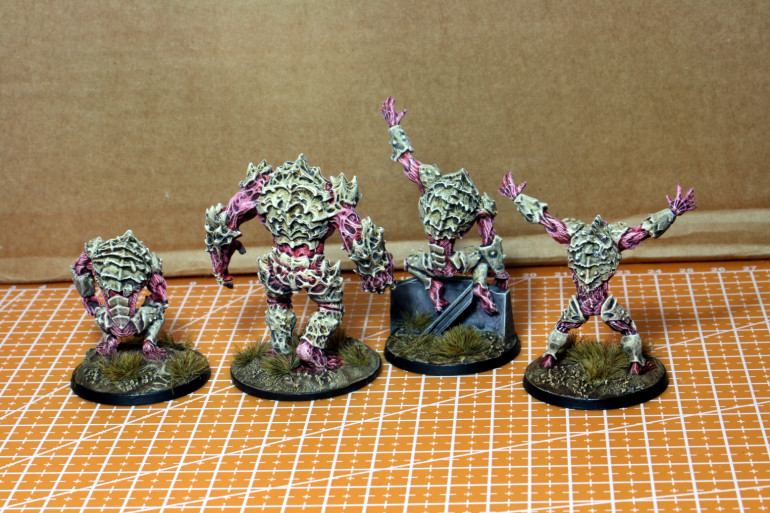
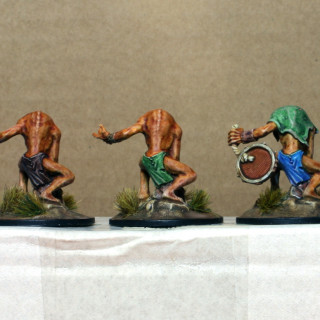
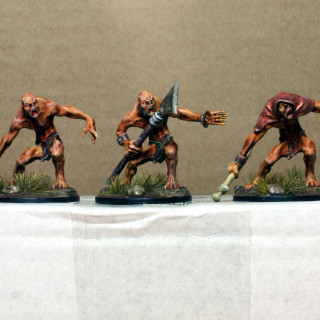
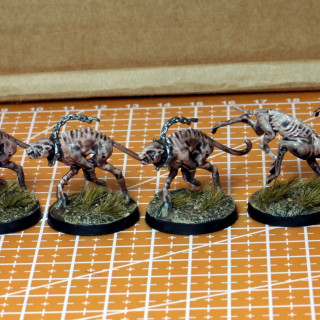
So I stated painting up my miniatures. I started with the mutants which I took from the Plague box set for Deadzone 1st edition. The leapers I used as mutants and the big guy as a large mutant – as per Zona Alfa rules.
I decided to paint them as their original colour scheme so they can be used in Deadzone in anyone needs to.
I also noticed that I over-sprayed the white foundation, so I gave all the models a thinned down black wash. This way I darkened up the crevices.
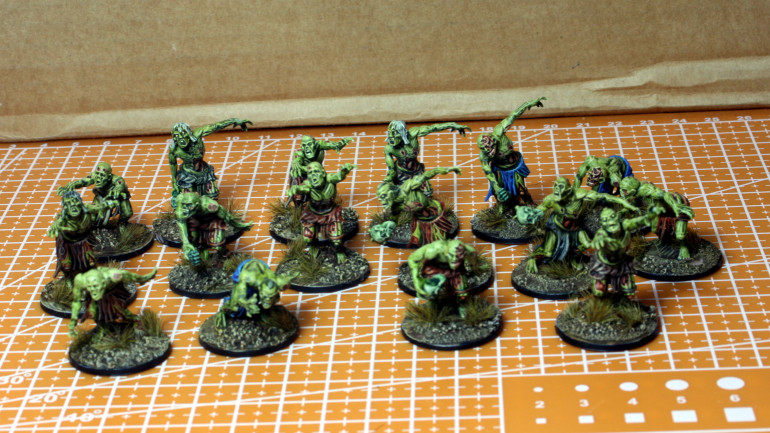
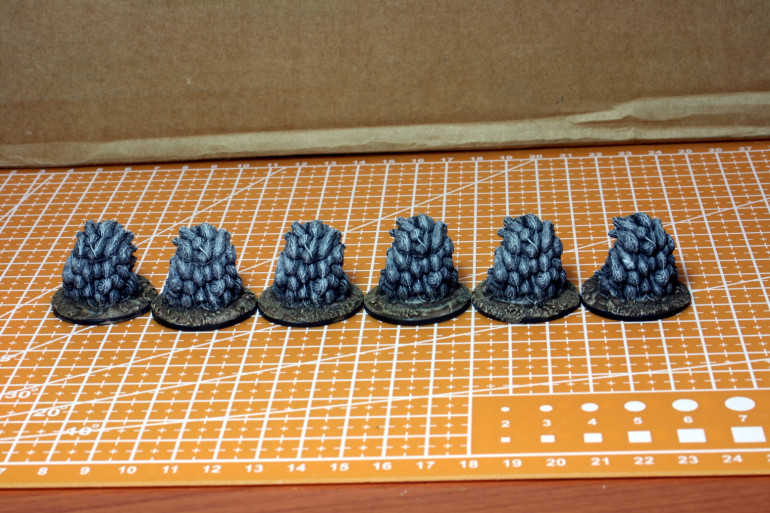
I had prepared and put together the zombies over the weekend. The rat swams were full of mould lines which I did not bother with – way too much work.
After using the Speed paints – just two colours – red and bone. The miniatures were basically ready. This took me 25mins.
I went on to do the 16 zombies as well as 6 rat swarm bases – another hour.
When they were dry, I decided to help the paint cure a bit better by hair-drying them.
I then proceeded to dry-brush the models with lighter colours (including the bases), and pick out details like the teeth, eyes and tongues. This took me another hour and a half.
Viola! I had finished 26 miniatures in a bit under 3 hrs. I have been painting miniatures since 1985 and I have never managed to paint more than 5 in 3 hours with my conventional techniques!
As you can see for yourselves, these miniatures a very good tabletop standard. What I find amazing is that this level was achieved so quickly and with such little effort!
I still prefer to paint with conventional paints and in a conventional method, but this is certainly something I will look into more.
A special thanks to Marco Frisoni from NJM on youtube for his tutorials. Watching his videos made me take the plunge into using these types of paints.
I will be back tomorrow with more fully painted miniatures. Heck at this rate I will be ready by Friday with time to spare!
Until tomorrow,
NR
Another Productive Day
Hi everyone,
I have passed the afternoon and evening getting to grips with Speed Paints and Contrast. I am trying to push the quality of the painting outcome without sacrificing the time taken to paint them.
Having said that, I have taken a bit longer to paint this batch, but I think I have achieved a higher quality.
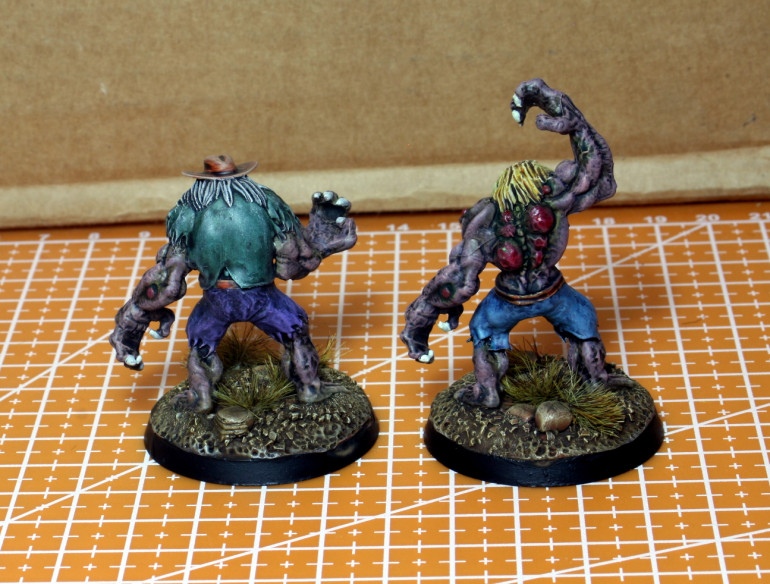
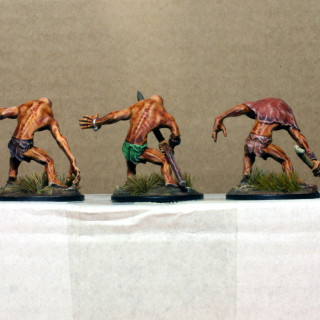
The first up are the two mutants I converted. I did an experiment on the skin. I tried giving two coat coats of different colour speed paints to see the outcome before drybrushing.
With these mutants I gave their skin a first coat of grey then of purple.
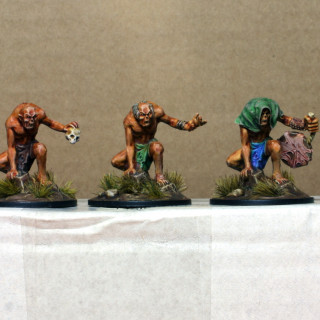
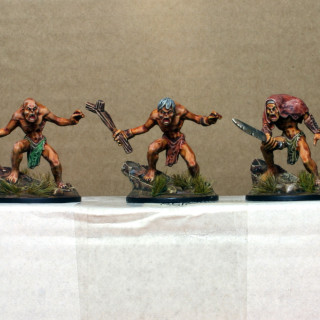
Next up are the rad-ghouls I also converted. Ghouls are normally painted in greens, greys and purples. So I decided to break the mould and go with yellow. They are irradiated after all!
I them a cover of yellow first, follow by a layer of skin colour and finally, after curing the paint with a hair-dryer, a diluted wash of violet.
After the Speed paints, I went through them all and picked out the details like teeth, tongues, eyes, belts etc. Altogether I spent 4 hours and 20 minutes on these miniatures.
Hopefully, I will finish painting all the hostiles by tomorrow. Then I will create a storage solution for them.
Until tomorrow.
NR
Nearly All Painted.
Hi everyone,
I had this morning off, so I got up early and started working on the last few hostiles I have left.
I went through the ‘wild packs’ very quickly, but I slowed down somewhat with the mercenaries/scavengers/bandits.
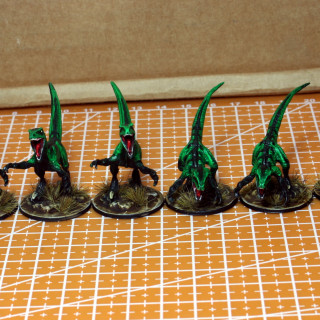
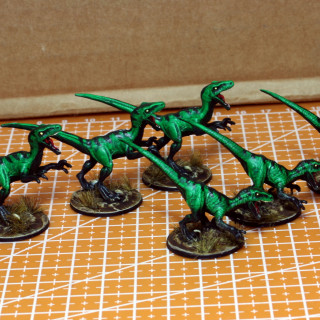
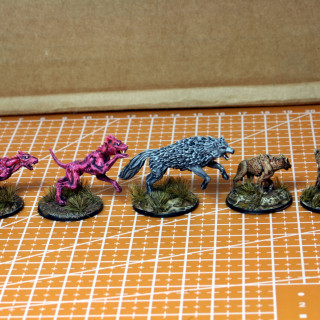
The first of the packs were the raptors. I gave these a green Speed paint coat, let it dry, continued to cure the paint with a hairdryer on warm air. Then I gave two coats of black Speed paint on the green to bring out the pattern. A light drybrushing followed.
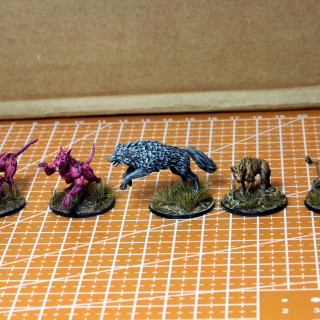
Next I did the demon hounds from Mythic Battles Pantheon. With these all I did was give them two coats of flesh colour Speed paint (naturally leaving time to dry in between). I did not even drybrush.
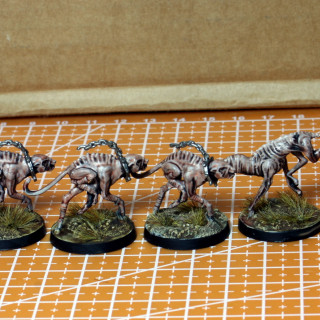
The last of the hounds are a mish-mash from three companies. The Mantic plague dogs were given a red coat and drybrushed. The wolf was treated like the rat swarms, but I did more drybrushing. The hyeanas were given a leather Speed paint colour and drybrushed as well.
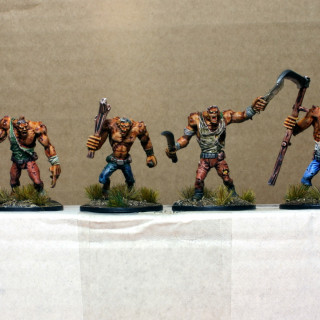
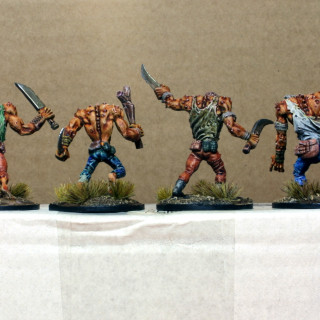
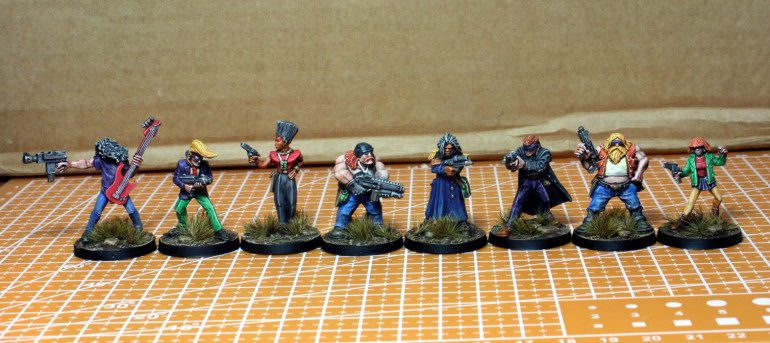
The rogues/mercenaries/bandits below took the longest to paint. I had to go in with a smaller brush at times due to the detail. Nonetheless, the process was mostly the same. One coat and a drybrushing. I naturally used a smaller drybrush due to the tiny areas involved.
Altogether I worked for about 3 and a half hours, excluding breaks . Now I just have one larger figure to paint and the project is over. I will continue to work on the cheap storage solution I have come up with for the club.
Until tomorrow,
NR
All The Models Are Now Paint!
Hi everyone,
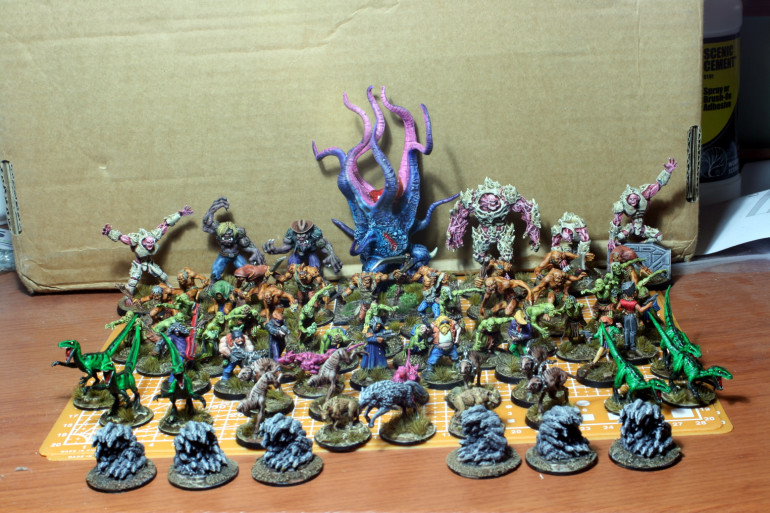
All the minis for this project are now painted up. I have literally painted all the hostiles I will ever need to play this game!
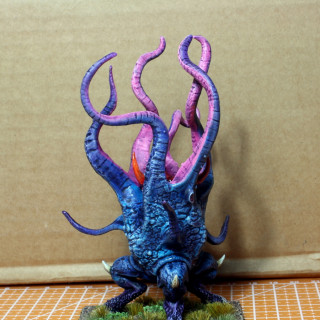
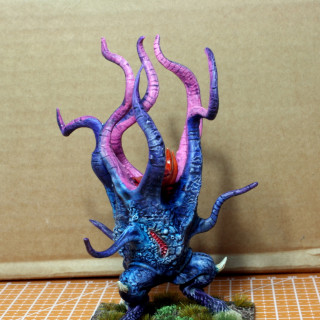
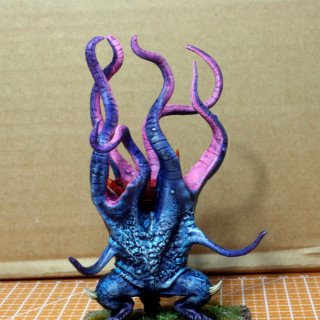
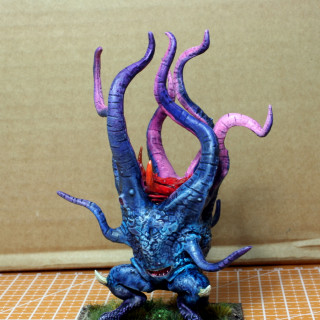
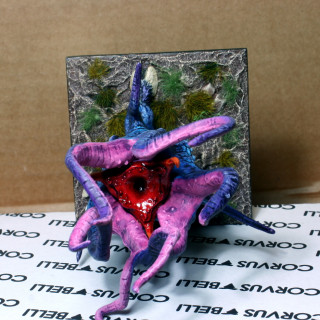
The last miniature was what I call ‘the creature from another dimension’. It definitely looks like something that came out of some anomaly!
Unlike the other figures, I painted this one over a period of three days, spending about 45mins to an hour per session. I went about it this way because I did a lot of experimentation with my Speed Paints and washes. To be honest I did not achieve what I envisioned, but the result is good enough for this game.
Also over a period of three days I painted up the anomalies I made over the weekend with paperclips, polystyrene and gesso. The whirlwind type anomalies were simply given an application of purple speed paint. That is it!
The ball effects I wet-blended with artist acrylics and paint retarder to give me extra time to work.
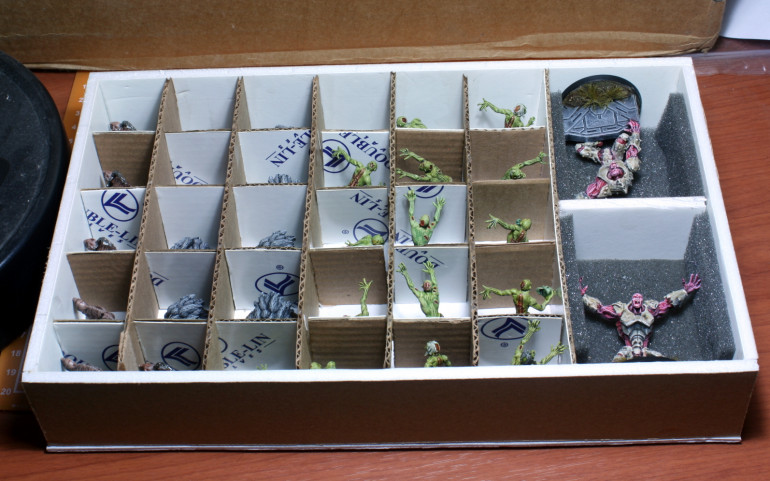
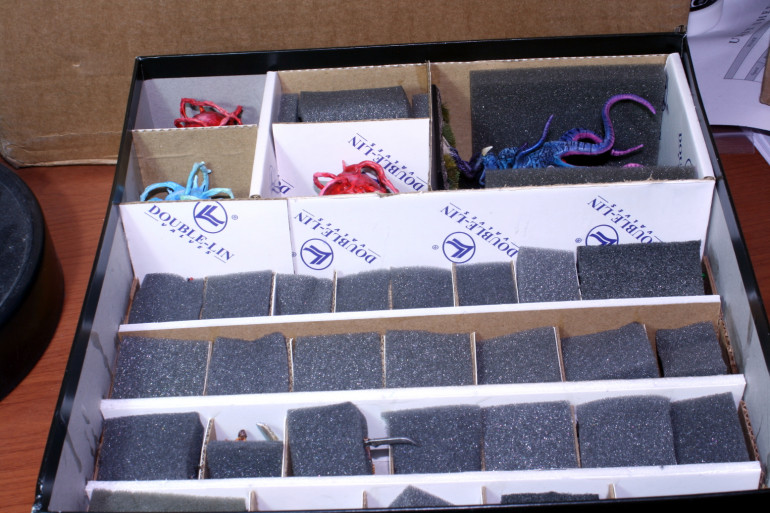
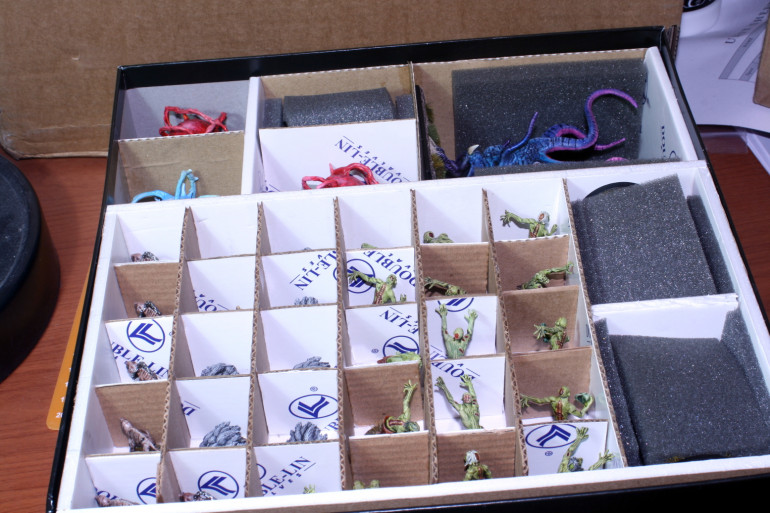
I spent most of this afternoon working on a storage solution for these miniatures. Several months ago I ordered some Battletech from Ebay Germany and they were packed in a Star Wars Legion box. So I went about creating compartments from cardboard to create some storage.
The picture below is only part of it.
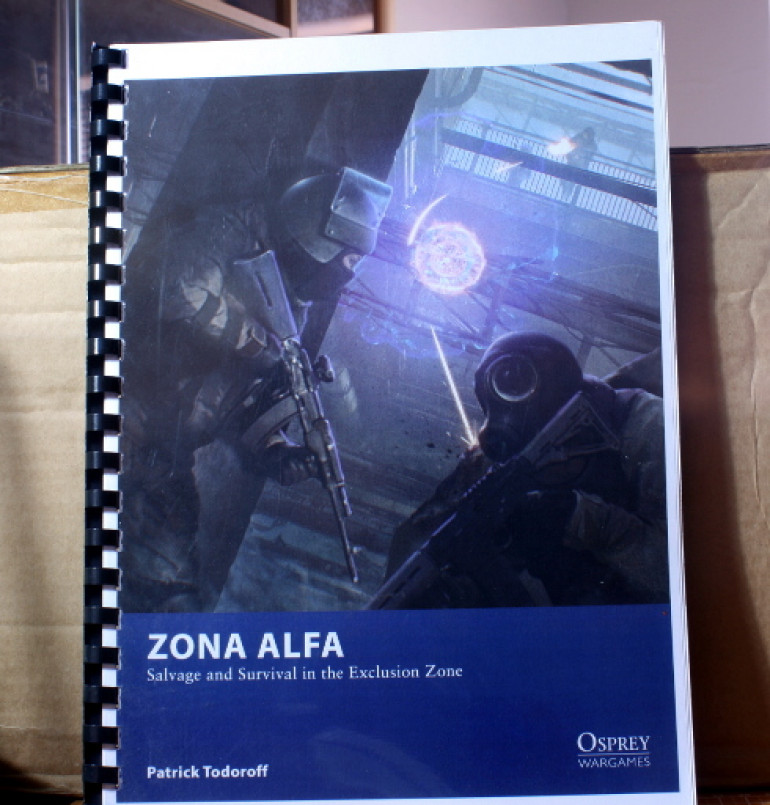
Last but not least, I needed a copy of the rules – you can’t play a game without rules surely! So I printed out my PDF copy and ring-binded it. This way it can be opened flat on the table or folded in on hand without damaging it.
I will bring this project to a close on Sunday with a group shot and the finished storage box. An enjoyable week overall, I must admit.
So until Sunday keep your laser-gun batteries charged.
NR
Finally Finished!
Hi everyone,
The project is now finished. I spent the day working on the storage box and it is now ready as well.
So what do I think of Speed paints in general? I think they are great for specific jobs that require speed. I don’t like painting this way, nor will I convert to Speed Paints or Contrast. They are just not my thing. I do not enjoy the process as much I do with my more conventional painting techniques and paints.
Having said that, if I ever decide to paint up the miniatures of one of my board games, like Blood Rage, I will definitely use these paints. So basically for any set of miniatures that are not handled exclusively by me.
The storage box is a Star Wars Legion starter set box. It comes from an order I made from Ebay Germany. It was for two boxes of Battletech miniatures and the seller sent them in this box. I kept it at the time thinking I it might come in useful one day. And so it did!
I fitted the miniatures inside the box and cut out compartments from cardboard for the figures. Since the box is quite deep, I made part of it into a two tier system. Overall it is a cheap yet sturdy solution for a club project.
There you have it. A game system ready to be taught, demoed and played at our club. I will leave this project open for now because I will use it to display my Zona Alfa team when I get around to painting them.
I hope you enjoyed this little journey with me and I hope this makes you think of playing the game or giving it a go.
Until next time, may your lasergun batteries never run out.
NR
(P.S. Oh no, I have to go back and paint up more 10mm Elf cavalry. Aaaargh!)
The Last Piece of the Puzzle - So To Speak!
Hi everyone,
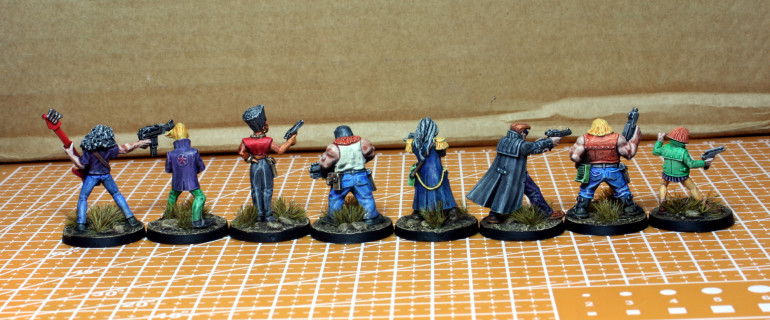
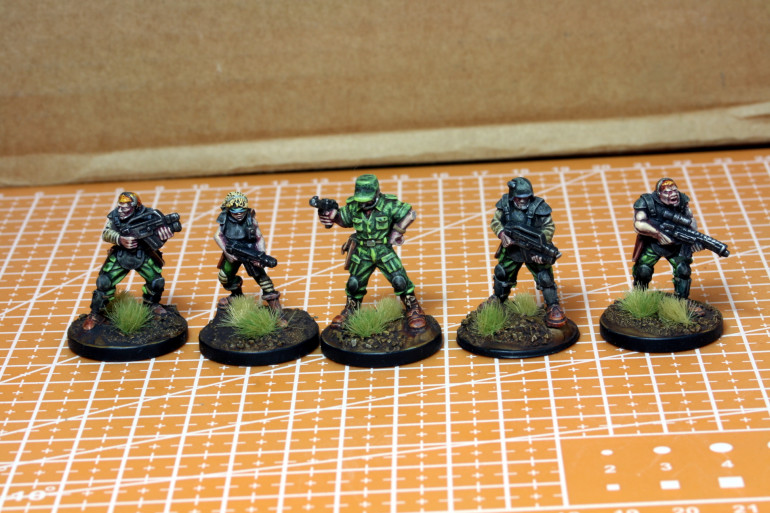
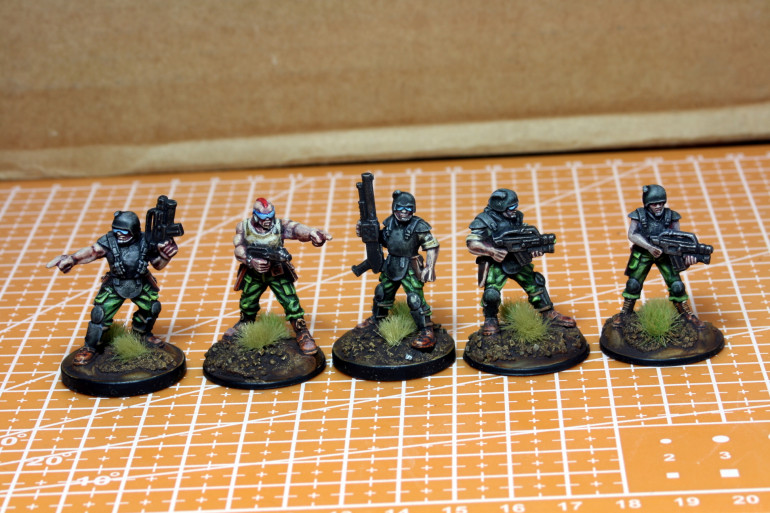
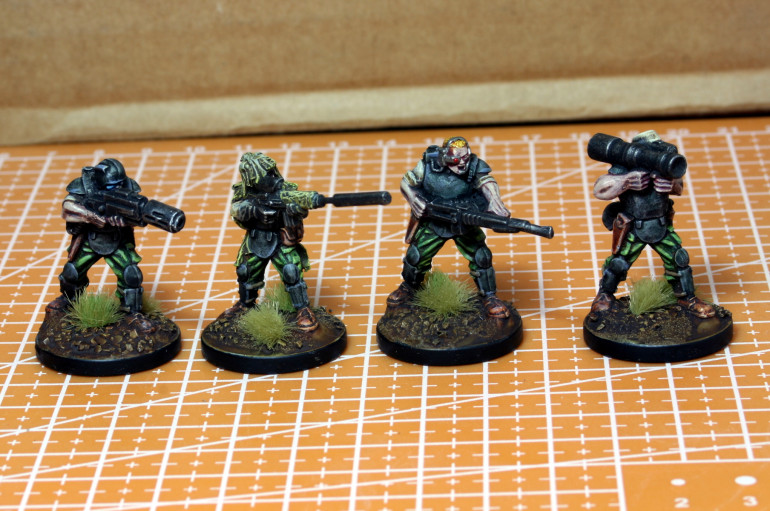
So after painting these miniatures for my club, I played Zona Alfa for nearly three months with my unpainted team! I finally decided to paint my team up with the same speed techniques I employed with the hostiles. I painted all 14 miniatures in 3 and a half hours.
The miniatures are all from Mark Copplestone’s early sci-fi ranges. If you are interested in buying these miniatures for your games, I bought them from Forlorn Hope Games.
Now, this project is also – and finally – completed and done.


![TerrainFest 2024 Begins! Build Terrain With OnTableTop & Win A £300 Prize! [Extended!]](https://images.beastsofwar.com/2024/10/TerrainFEST-2024-Social-Media-Post-Square-225-127.jpg)


