Rocky Terrain Refresh - A Spring Clean
The Painting and Finishing Touches
I didn’t want to paint the rocks with just lighter variants of grey drybrushing as I wanted the terrain pieces to be used in a variety of landscapes.
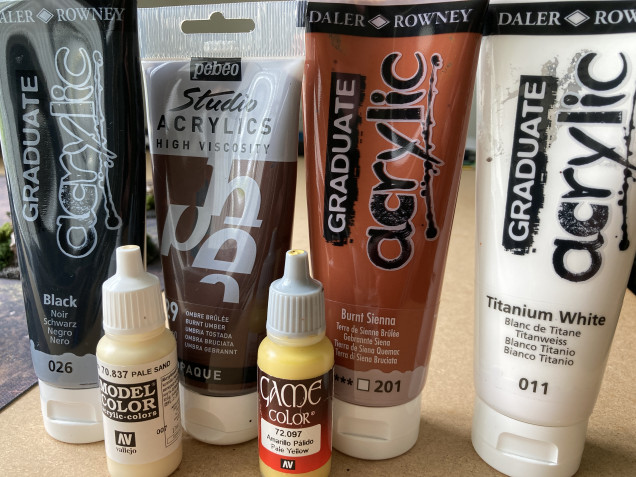
For paint, rather than using the standard tiny expensive pots of miniature paint I used tubes of inexpensive craft acrylic I got from Hobbycraft a year or so ago.
Ok I lied in that I used some miniature paints, but only a small quantity. The two colours have been added to my list for the next time I go shopping for hobby materials.
I don’t have any pics of the process during the painting as I got carried away and forgot.
To start with I covered the whole terrain with a watered down Burnt Umber (the dark brown), with a little washing up liquid added to improve the flow, allowing the paint to seep into the nooks and crannies. Once this was dry I painted in random patches burnt sienna (the lighter brown), followed by a lighter mix of first burnt umber and white then burnt sienna and white. Finally I did a few patches and dottings with the Vallejo pale yellow.
The whole lot was drybrushed with pale sand, just to bring out the texture.
Finally I made a wash of black and burnt umber, plenty of water and washing up liquid which covered the whole terrain pieces.
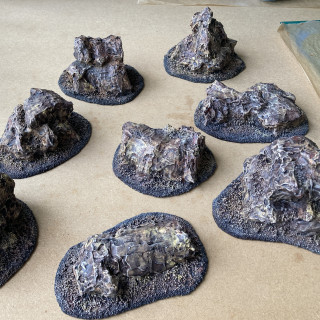
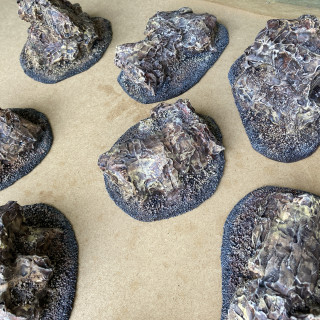
Here’s what I ended up with.
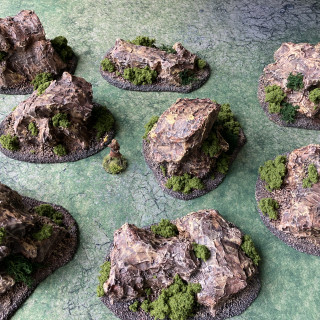
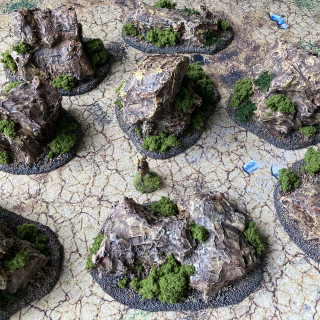
I was pretty happy with the result so next up I added some foliage and after sealing with watered down pva glue and yet more washing up liquid as a flow aid this is what the finished terrain pieces look like.
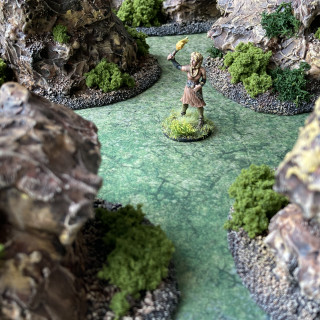
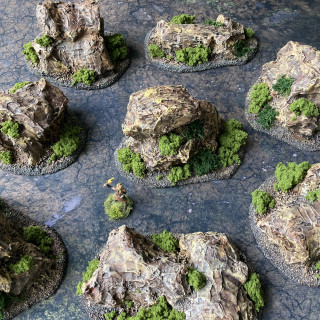
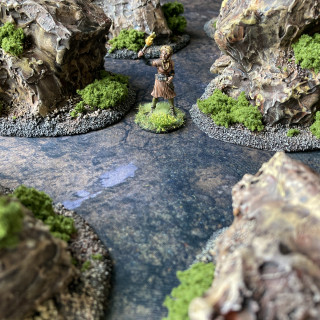
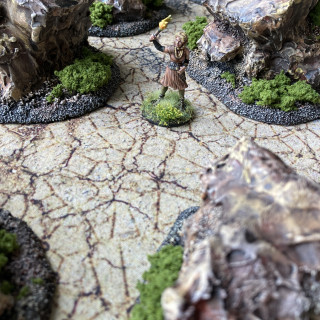
I thought I’d show the rocks on different mats to see how well they fit with different tables. I’m pretty happy and confident that they’ll work well in a large variety of games.
I did think about adding more foliage and static grass but I think I prefer the more stony bases.
I’m calling this project complete. I set out to improve my old collection of rock terrain and I think I achieved that. I’m looking forward to getting some games in with these new rocks.


![How To Paint Moonstone’s Nanny | Goblin King Games [7 Days Early Access]](https://images.beastsofwar.com/2024/12/3CU-Gobin-King-Games-Moonstone-Shades-Nanny-coverimage-225-127.jpg)




Leave a Reply