
Annihilation Looms
Deployment
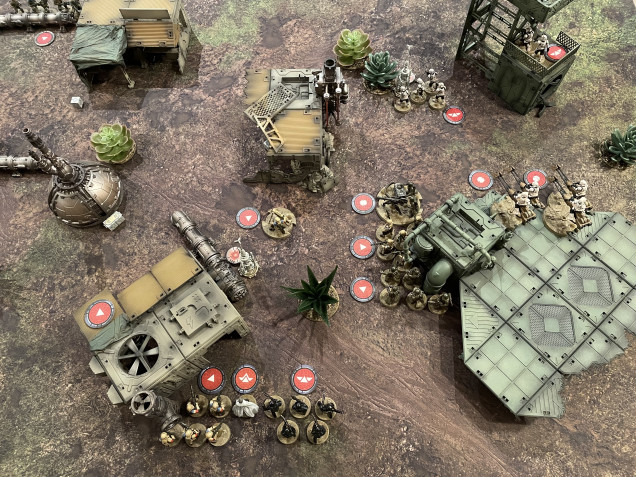
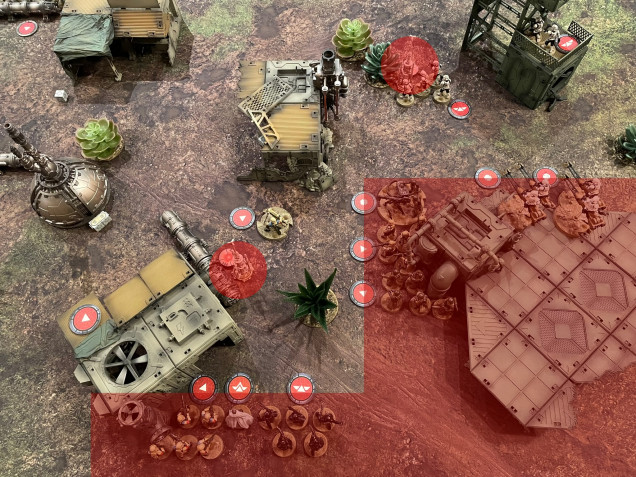
The Major Offensive deployment gives each player a fairly generous deployment area, in opposing table corners. The Relays and supply crates had to be placed at least range one away from the deployment zone as well as at least range one away from any other objective. I opted to place my Relays to the North and West of my deployment zone, in the direction I intended my forces to move.
Although this brought my objectives closer to the enemy, it meant I wouldn’t have units left behind while they spent activations on the objectives. This was important as it would take a unit two turns to download the two available Intel tokens placed on each Relay. I would use the two work shacks close to my deployment zone to offer cover to my gun line. Meanwhile the scouts would use their scout move to reach the first coms relay early, while the sniper team occupied the tower behind to provide them cover.
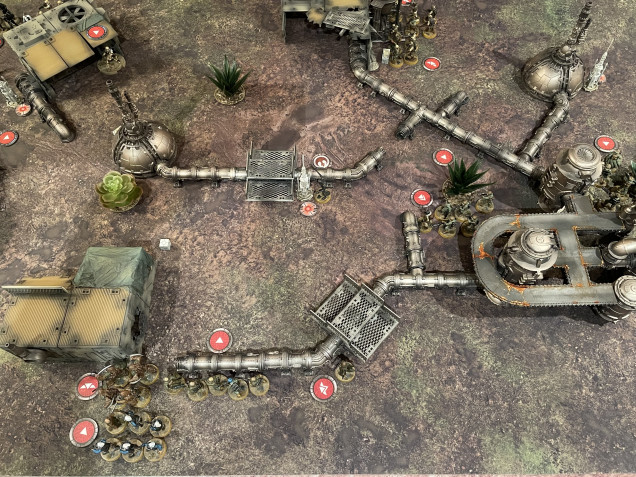
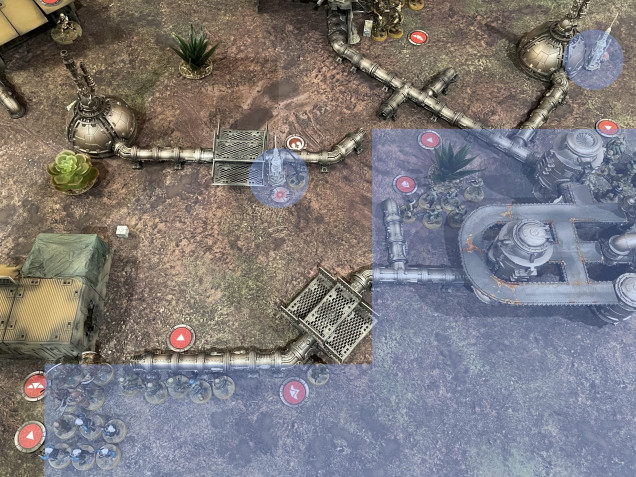
The Rebels approached things very differently, placing one relay close to the very back of their deployment zone and the second, close to the centre of the battlefield. A loan Rebel Trooper unit was placed to deal with the rearmost objective while the bulk of the force was split into three distinct detachments.
Cassian and a unit of Troopers were placed close to the central objective. K-2SO took advantage of the ‘Detachment’ rule to set up beyond the deployment area, in range 1 of Cassian. On the northern flank Jyn Erso led a combined force of Rebel Troopers, Fleet Troopers and Wookiees, close to the imperial lines. Finally, two units of Pathfinders led by the infamous Pao, had infiltrated along the southern flank to take up a position behind a work shack.
























Leave a Reply