Hunting in the Darkness - KD:M
29 Nov 21: Bases? Tokens!
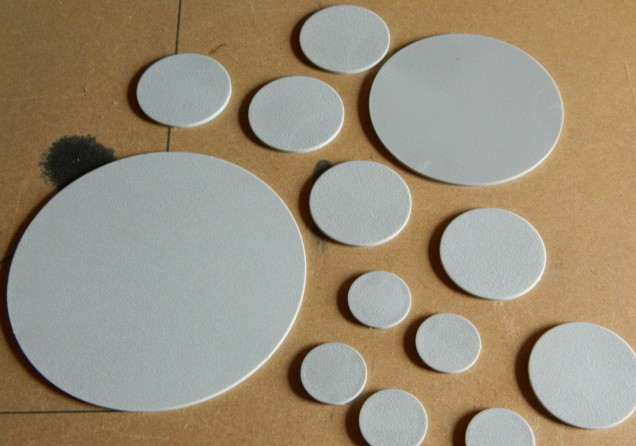 Plastic inserts: KD bases are a two-part deal. Except Monster included optional scenic inserts with the iconic stone faces. This means a leftover pile of flat plastic 27mm discs...
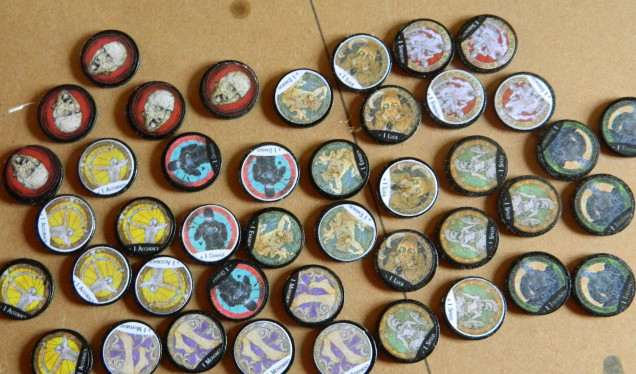
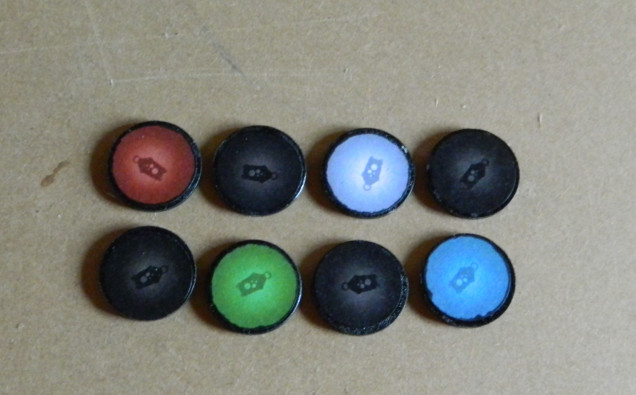
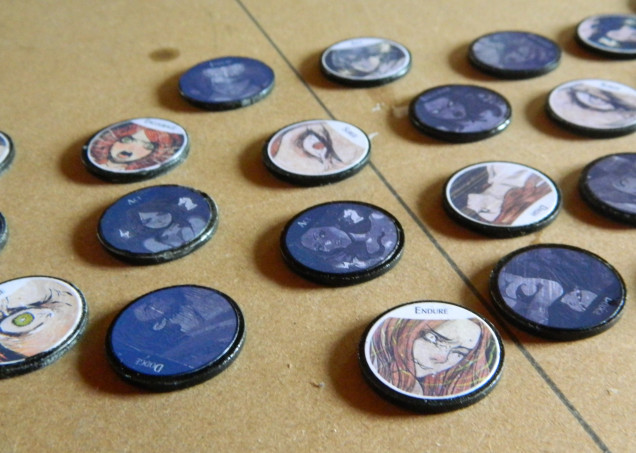
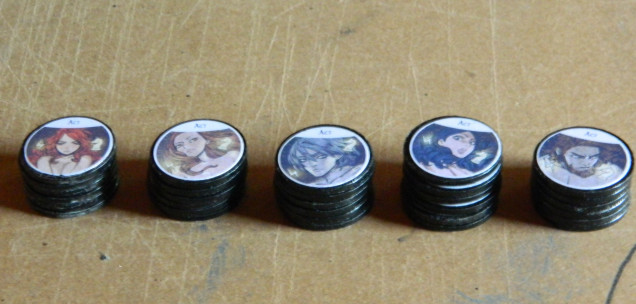
Being one who’s loath to waste something, I pondered how best to put these left over discs to use. I wondered if I could use them to create more durable tokens?
And then @avernos published this inspiring piece… it was on!
8 Jul 21: Prep and prototype
I didn’t take many photos, but basically:
- clean up the discs: mold lines and join points needed removing
- prime: car body matt black acrylic primer
- Punch tokens: Using a 25mm punch, pop the tokens out
- Glue: Using spray adhesive on both surfaces.
- Tidy: Use a marker to cover the edge of the paper.
- Seal: Using spray varnish.
Clean Up: each disc had a slight mold line and 3 sprue points to clean up, very quick with a hobby knife to clean.
Prime: The primer was a matt black acrylic spray primer.
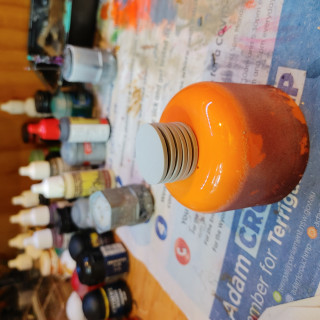
Initially I was stacking the discs on a lid with blu-tack to prime them. Later I simply laid them out flat and primed each side, angling the spray to catch the edges .
Punch: I had tried circles by hand… yeah, nah.
I went hunting in stationary and craft shops and invested in a 25mm circle punch. So much easier.
I should also say, my prototypes were copied onto glossy photo paper. This worked for some of the tokens, but not the original token sheet. THe punch went through both easily.
Glue: I had spray adhesive already here from some papercraft projects I’d done earlier, so I figured it was an option for this project. Carefully spray both surfaces, allow to set for 2 minutes then bring the coated surfaces together. There’s a few moments that the paper can be slid to centre it, but it takes pretty soon.
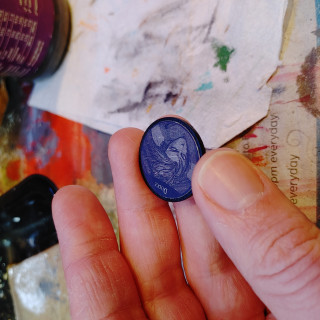
Tidy: The edges of the paper are visible! (Look carefully at the token prototype above). More noticeable on the thicker photo paper on the dark/used side of the token. Less so on the regular 80gsm paper and the light/ready side.
I went around the edges with a black Sharpie.
Seal: A couple of coats of spray gloss varnish to protect the tokens. Gloss, because I had plenty available and I rarely use it!











Leave a Reply