A Middle-earth Diorama
Recommendations: 330
About the Project
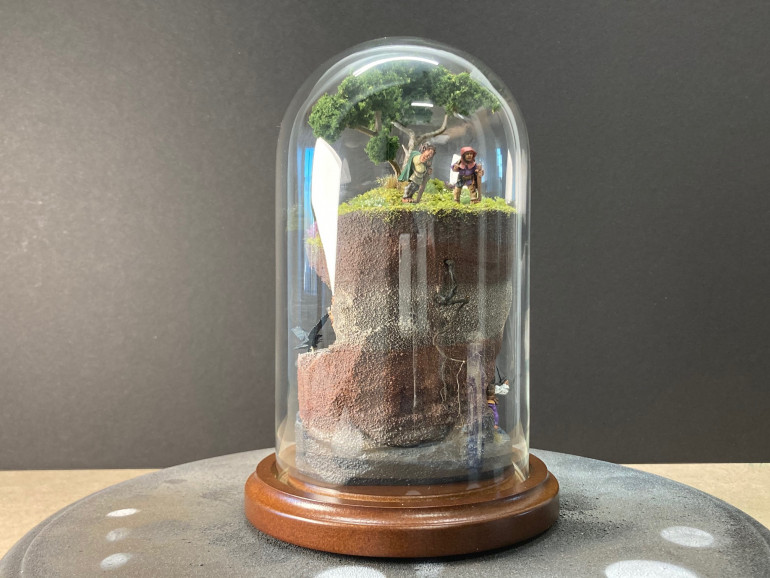
I bought a pack of "Halfling Adventurers" from Copplestone Collections to add to my Wargames Atlantic plastic Halfling collection. Next to each other, I found the Copplestone figures a bit disproportional. So I decided to make a diorama with them. It will depict other lesser know Hobbit adventurers. It will have three points of interest and fit into a glass dome cloche that has a 3.5" base and is 7" tall. I'm gifting this diorama to the OTT community for X-mas 2021 so...fly you fools!!
Related Company: Copplestone Castings
Related Genre: Fantasy
This Project is Completed
Prologue
How did we get to this point anyway? Well like anything else hobby related to me, from an unrelated place. With the release of Rangers of Shadow Deep, Dungeons Dark supplement book I choose to paint up Halfling companions to go delving with my ranger. I had five decent halflings painted up; almost enough for the group. I remembered that Copplestone has halflings, I’ve been wanting to try them, so I ordered just one pack. When they arrived I immediately noticed the difference in personality they had. The Wargames Atlantic halflings look rough and battle worn, while the Copplestone figures are cute and innocent. Well to me anyway.
So instead of dropping them into the Lead pile I stoped everything I was doing and started something that I have never made before. A diorama.
Chapter 1
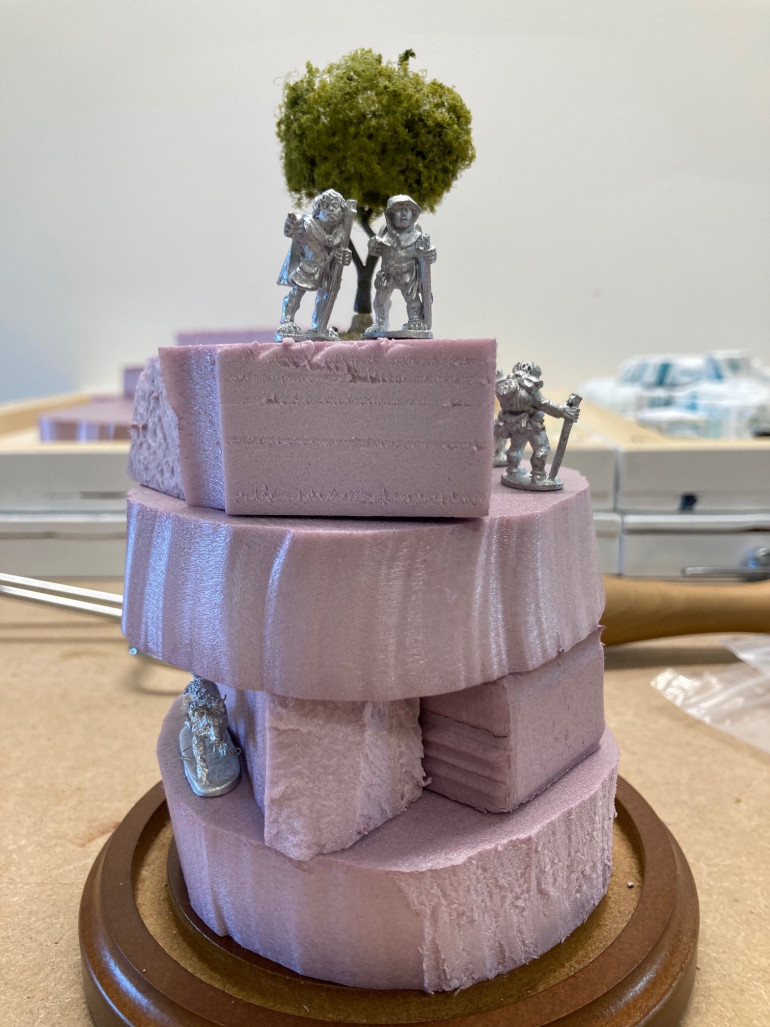
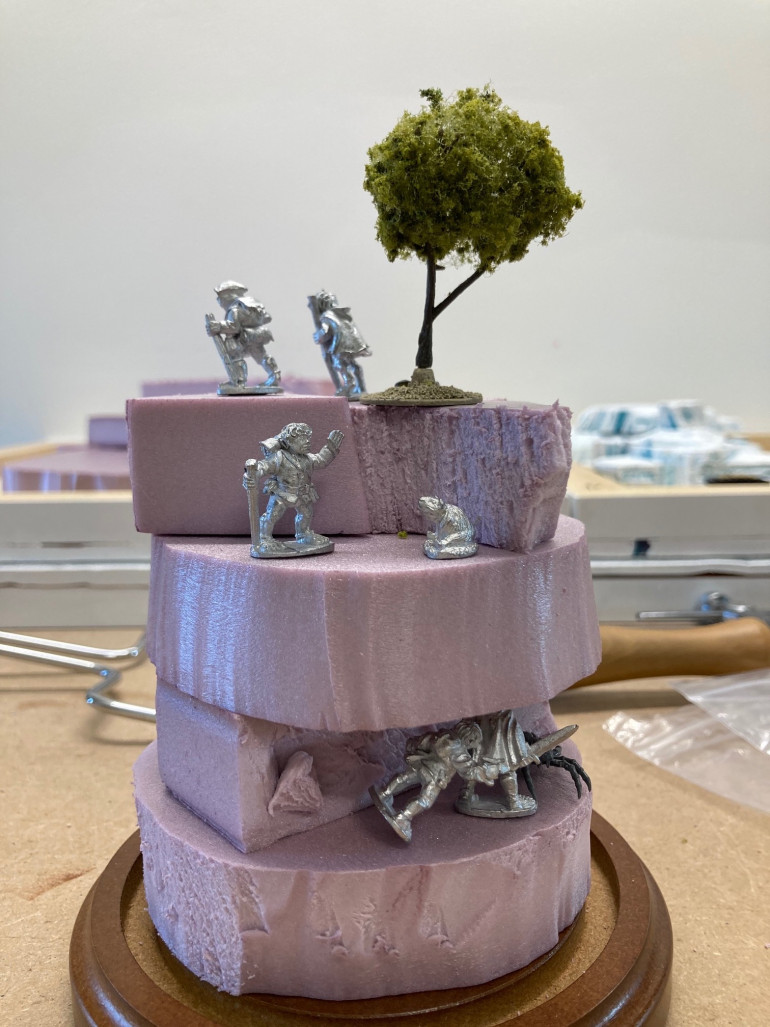
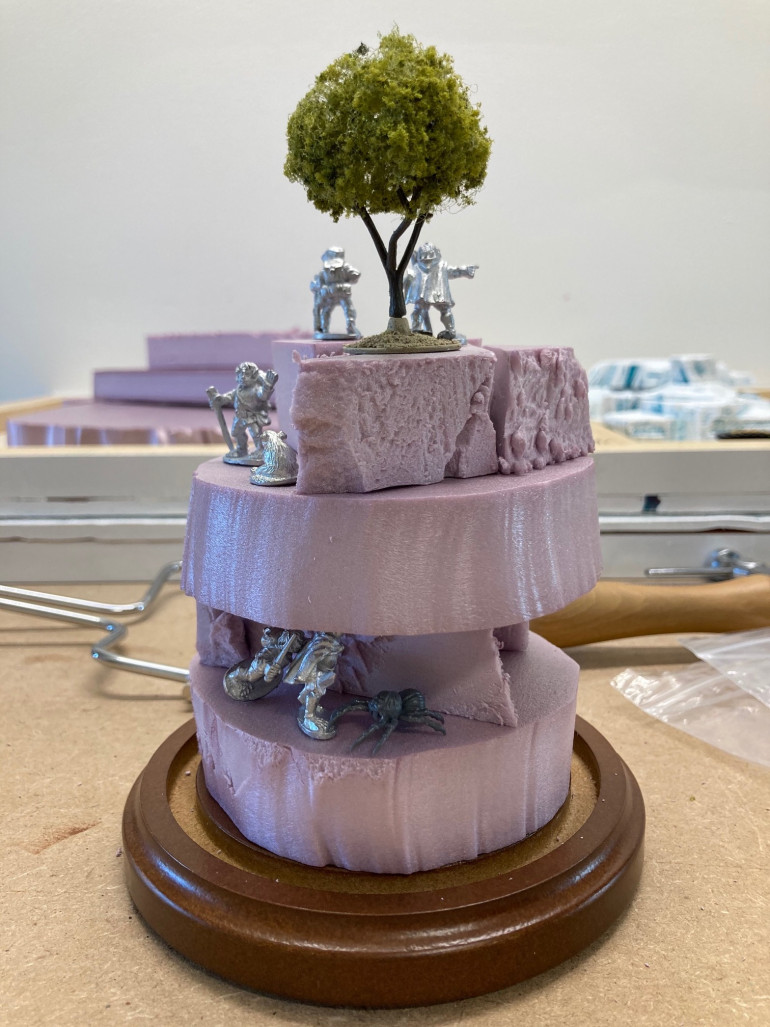
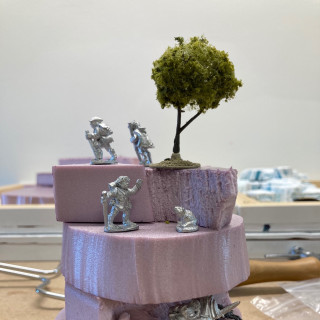
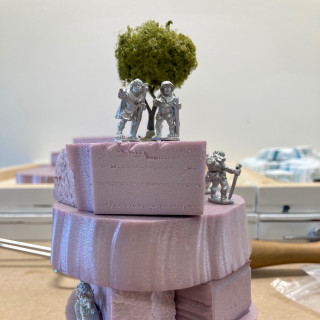
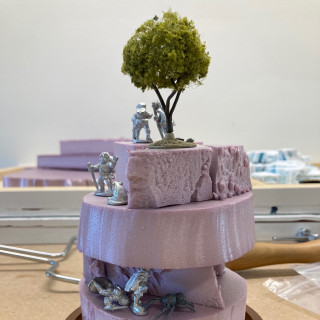
The display base has a diameter of 3.5″. I cut four foam circles roughly to that shape. I then used scrape pieces to represent the “cut out” parts of the final piece. I’m dry fitting to get a visual representation of my idea and to pull out a bit more narrative. It should be interesting from any angle, much like Trajan’s Column, only smaller…and Hobbit.
Cheers!
Chapter 2
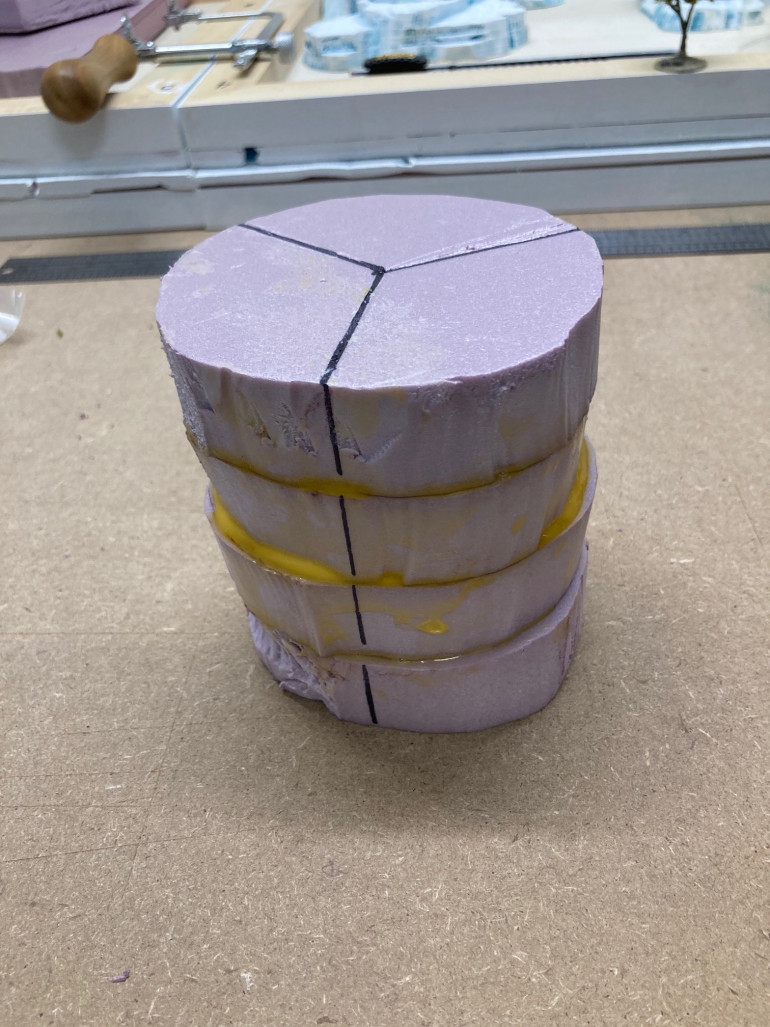
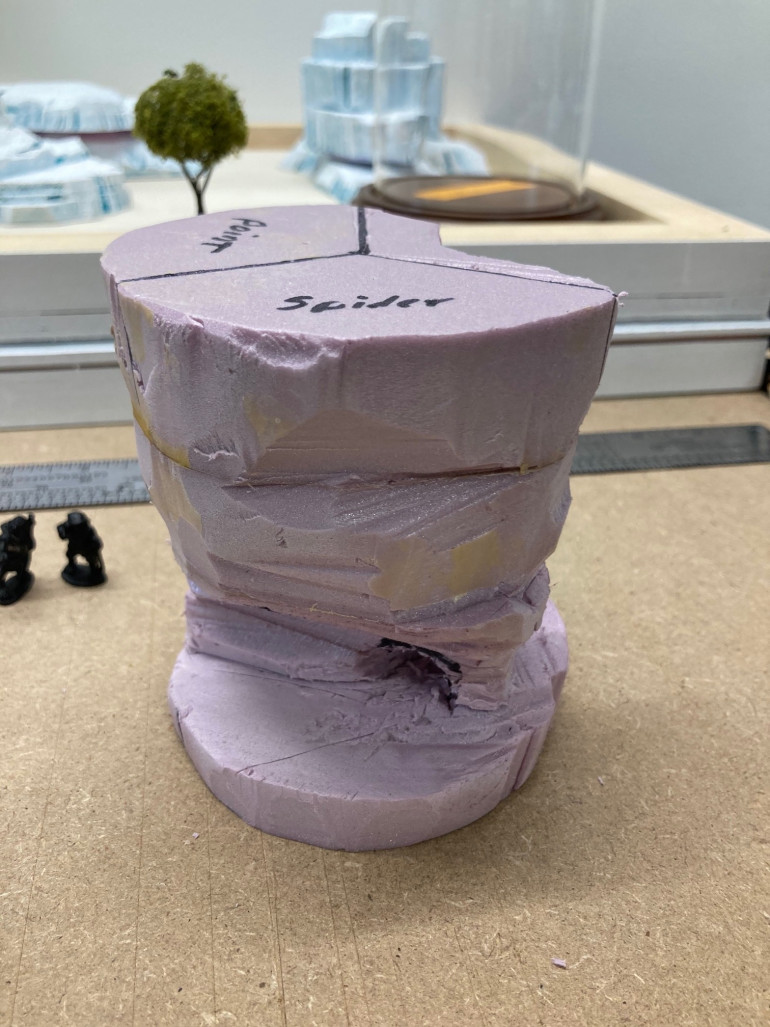
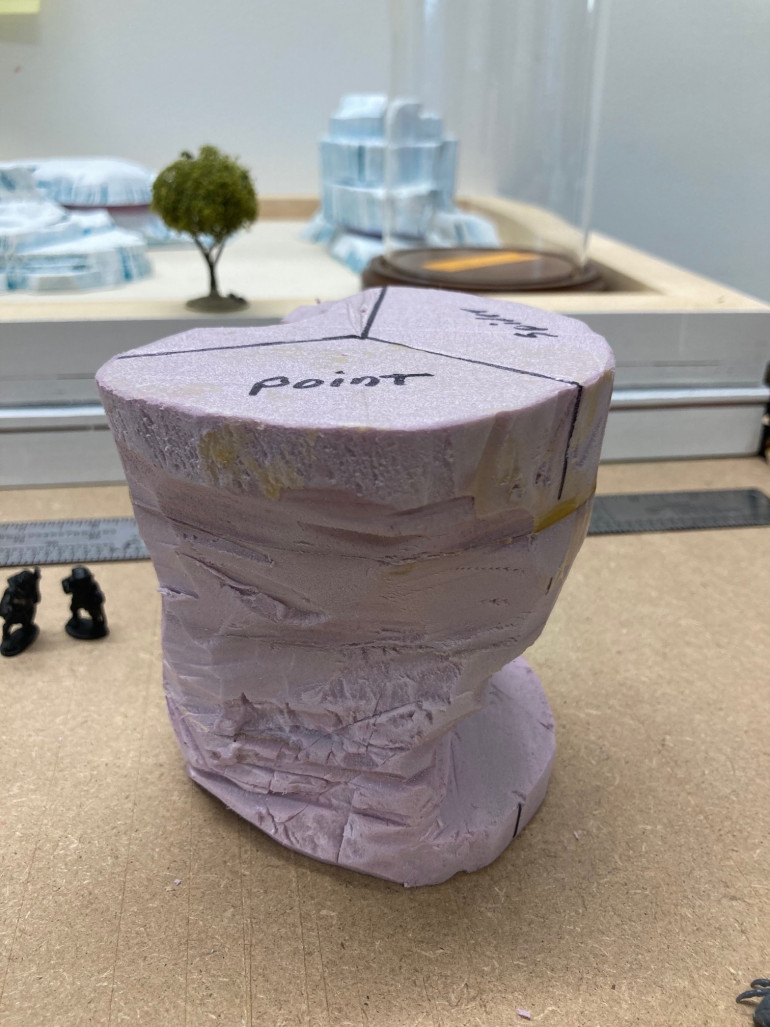
After glueing the four pieces of insulation foam together and letting them dry over night, I divided it into three parts. I see each side of the diorama as a separate story. Three equal parts, in the whole.
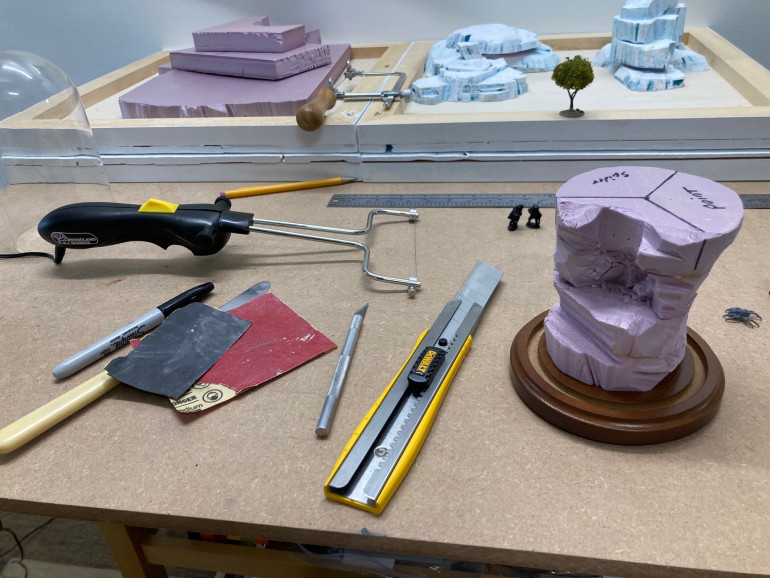
Using a variety of tools including a hot wire knife, x-acto blade and box cutter among others, I started to carve out space for the miniatures.
Chapter 3
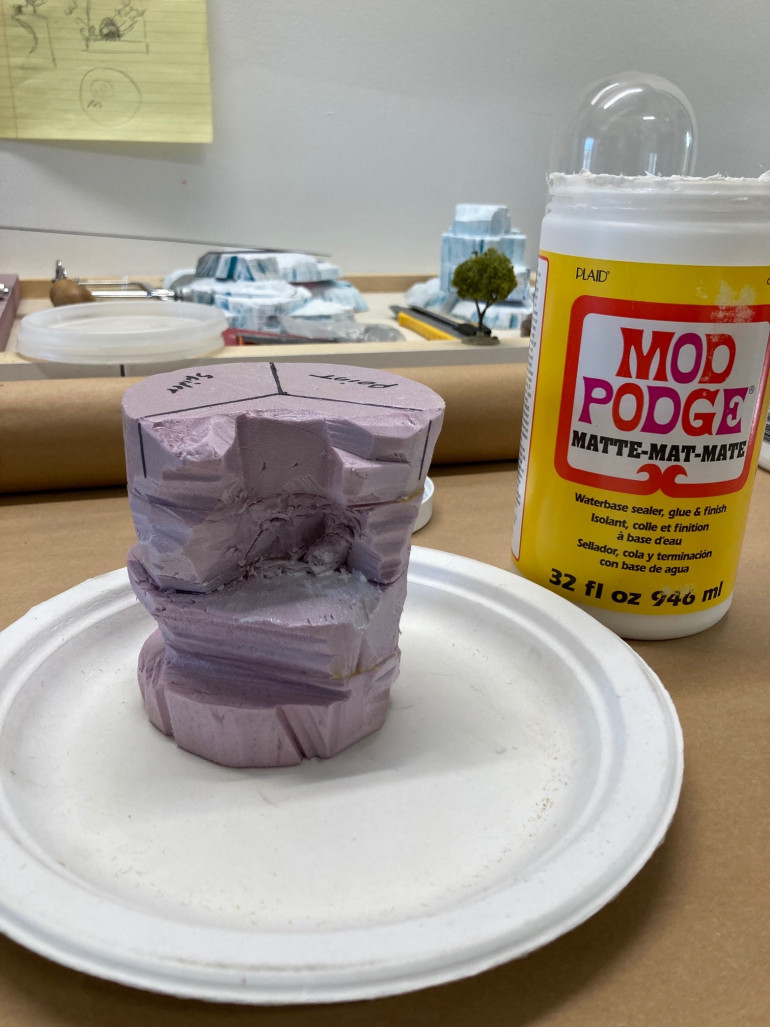
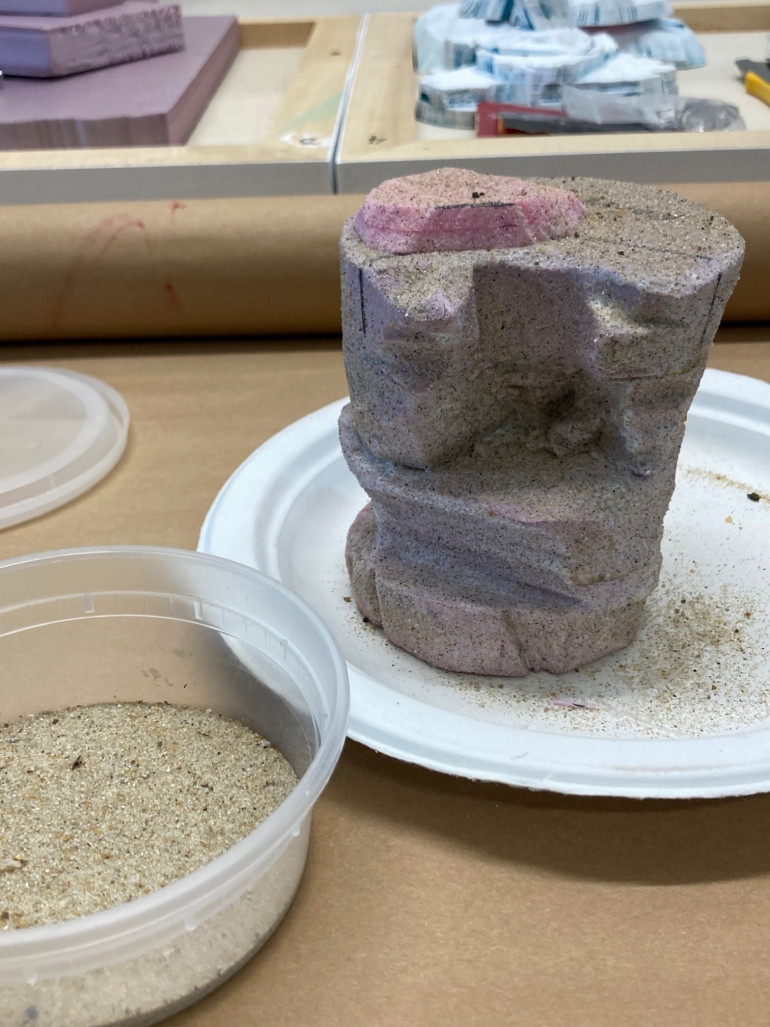
After carving the cylinder, I brushed on Mod podge to the whole piece and sprinkled sand onto it. It helps to seal it and give some texture.
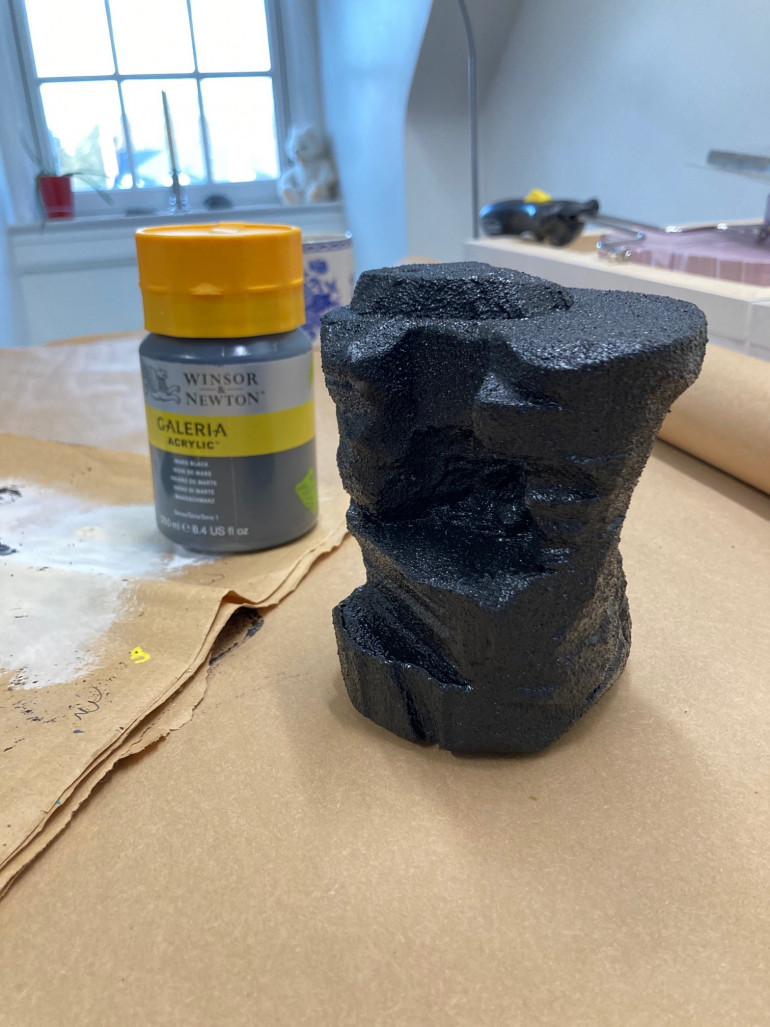
The next day I painted the whole cylinder with black acrylic to prime it.
Chapter 4
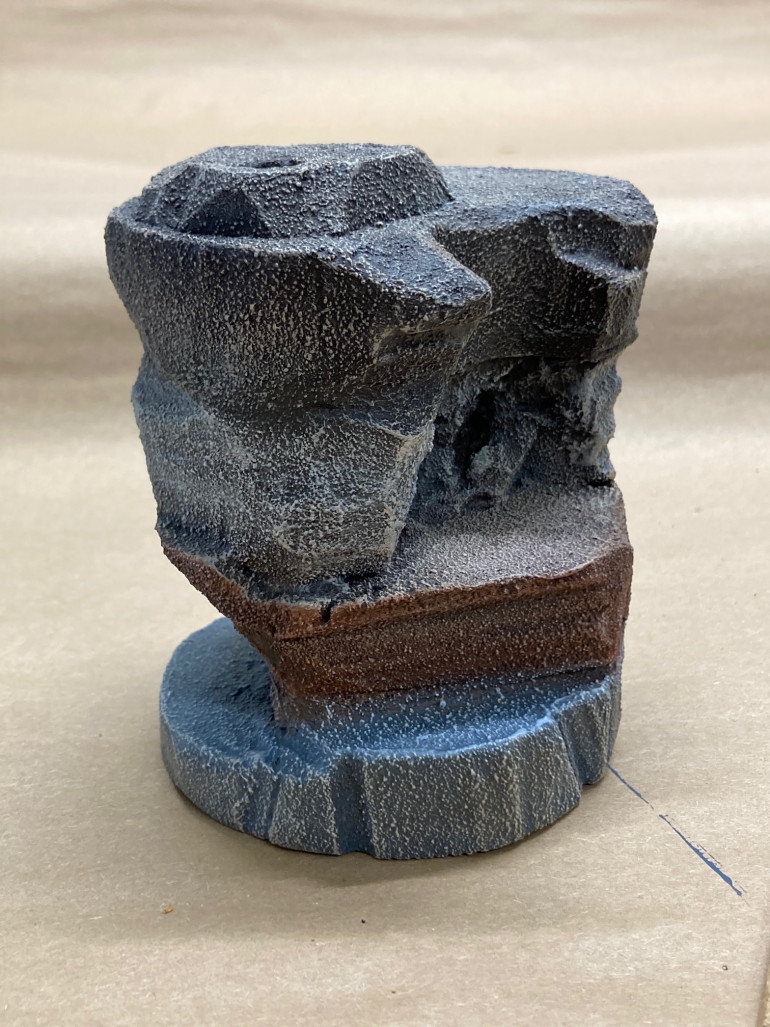
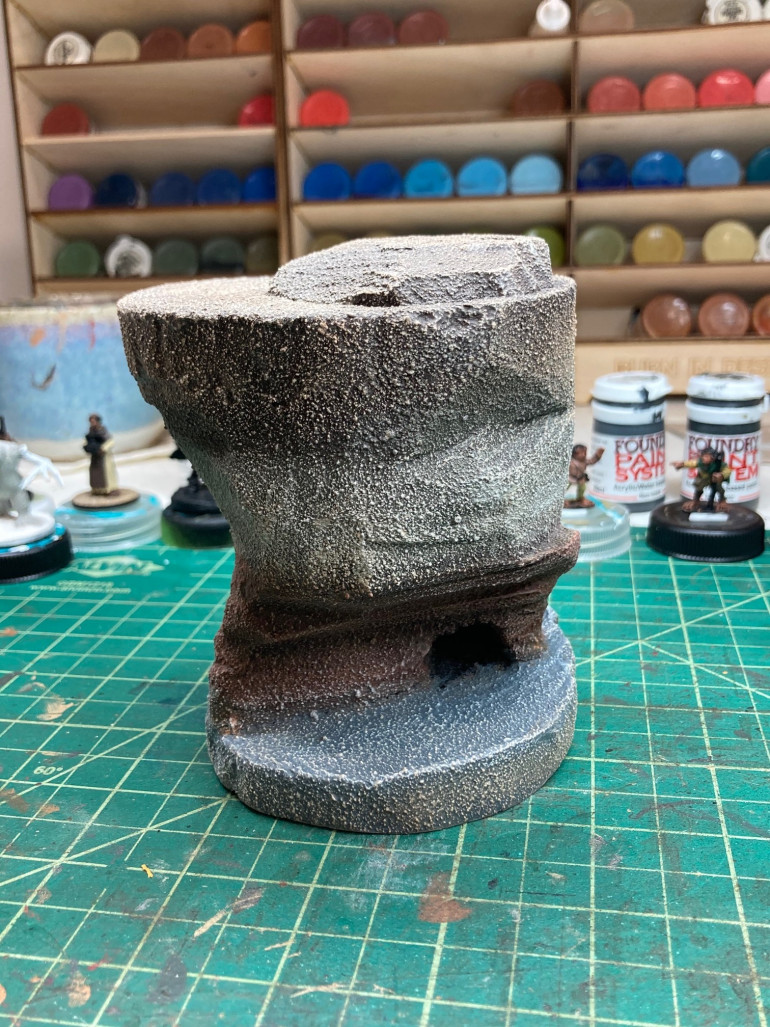
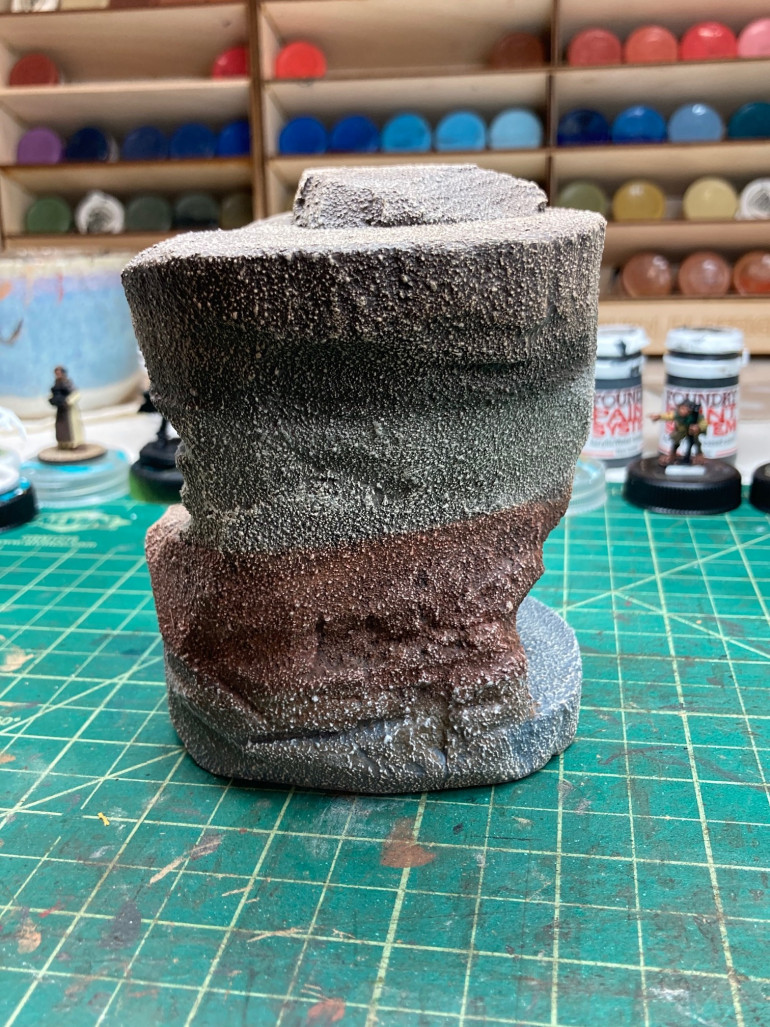
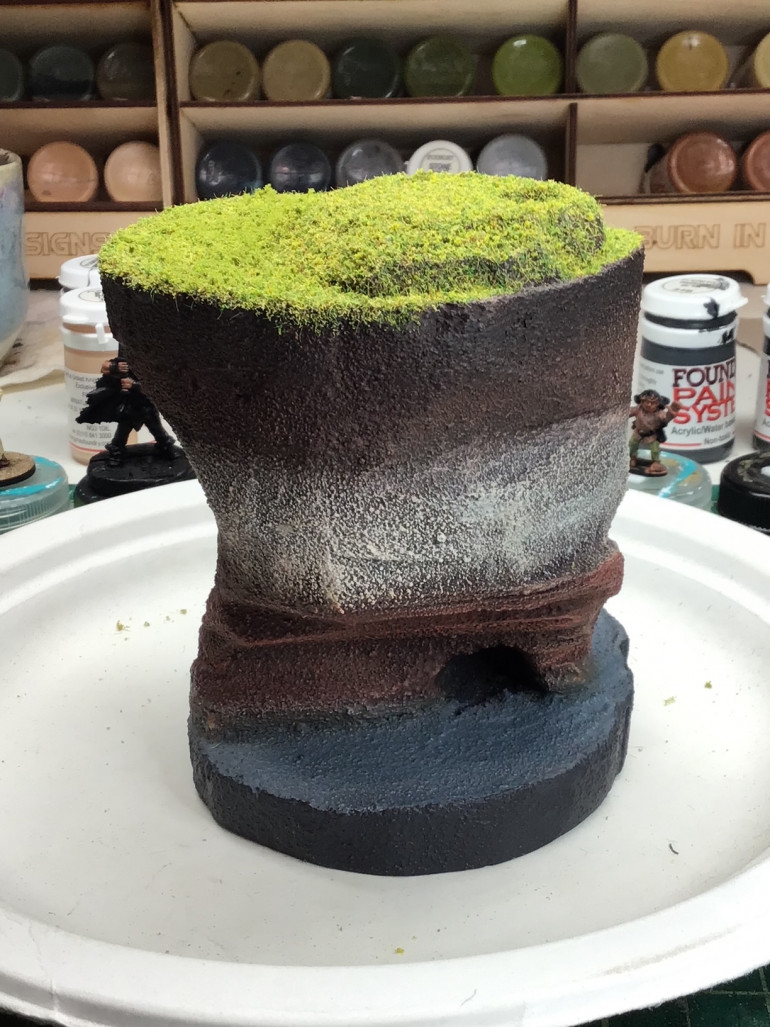
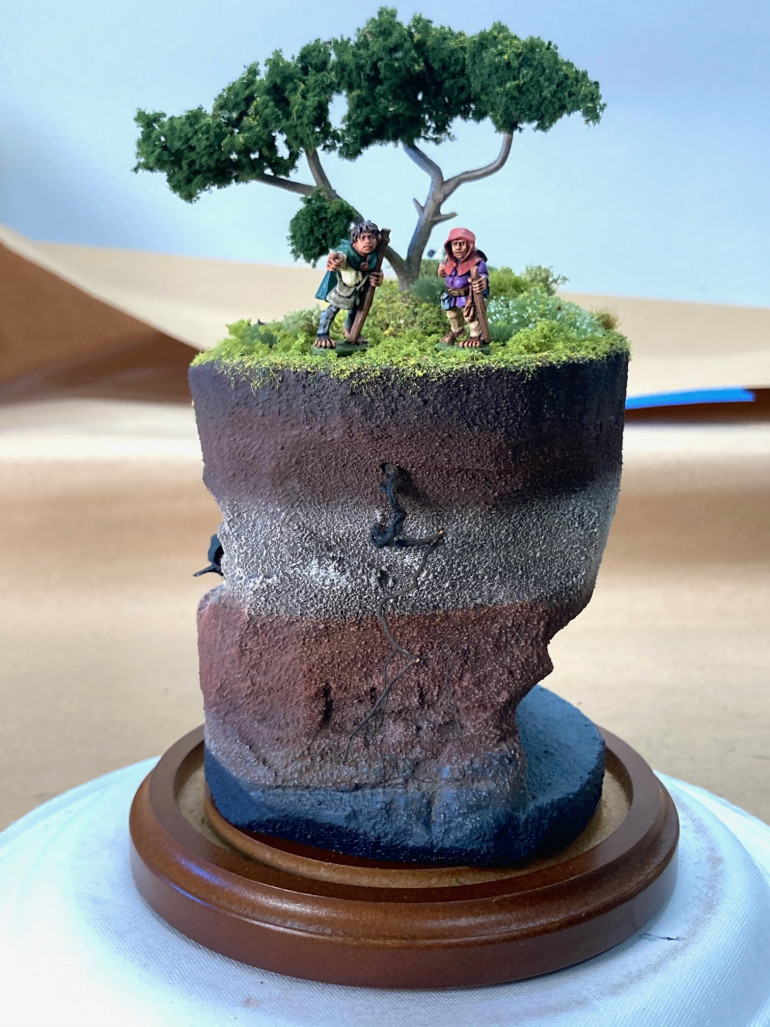
Because the diorama has three main “stories” I chose to paint the cylinder in four different color layers. The top layer is the base to an eventually flocked top. The second layer in tan is there to give a back drop for the “wandering Hobbit”. The third is a back drop for the “friend or foe” scene. and the grey is like the Base on a Miniature. I dry brushed the whole thing mostly the same color to incorporate every layer together. I’m not thrilled with it, but it’s supposed to be a “back drop” to the Miniatures so I hope that once I have the next layer of detail onto it, it will look less simple.
Cheers
Chapter 5
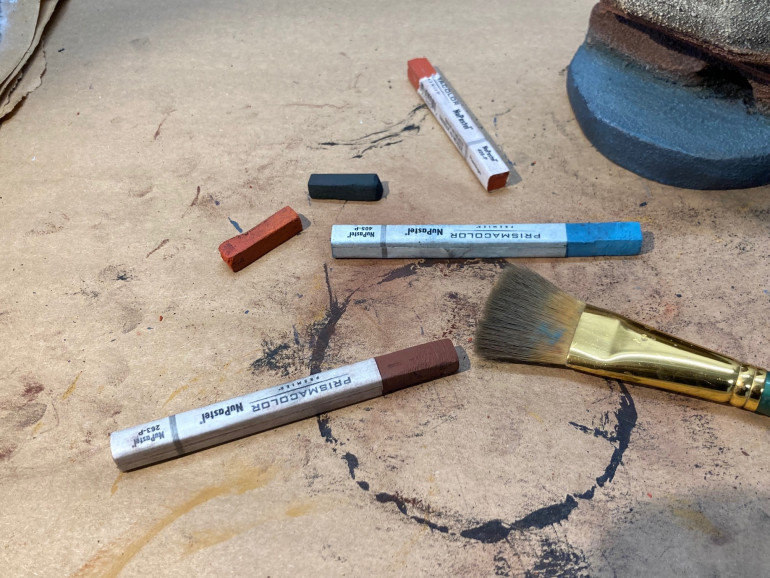
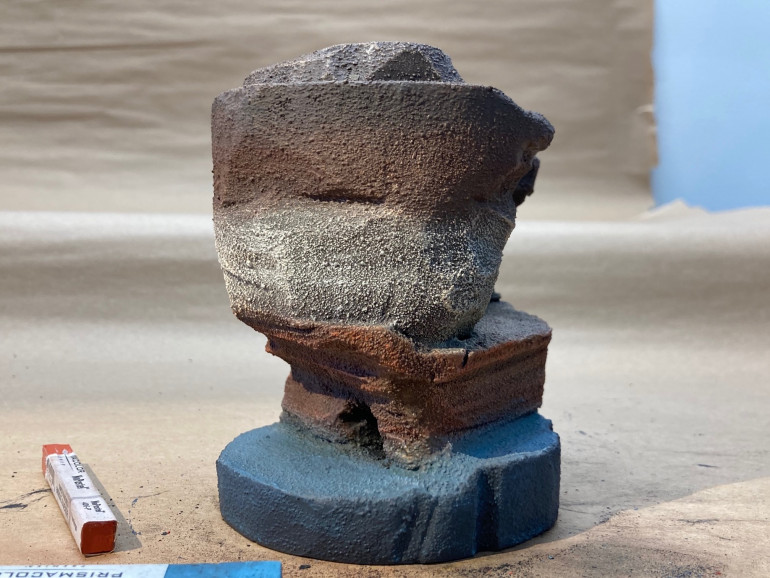
The overall dry brush was a bit bright for me. I got out some pastels and rubbed them onto areas that I thought needed separation and depth. I thin lightly brushed the pastel so it would blend into the surface.
I painted the base a darker Grey so it looked grounded to it’s final wooden dome base.
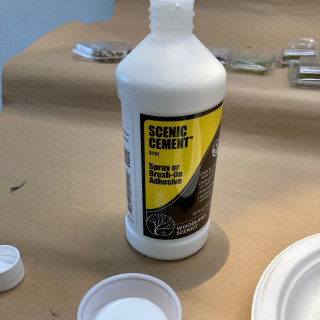
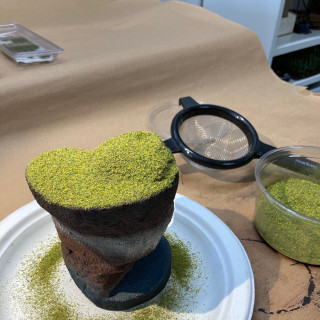
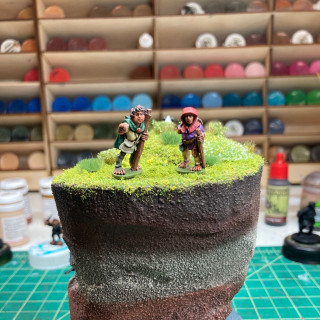
Next I got out the Woodland Scenics scenic cement and brushed it onto the top of the cylinder. I then sieved down onto it some flock. After an hour I did a second application of the same. A nice grassy base layer.
Cheers
Chapter 6
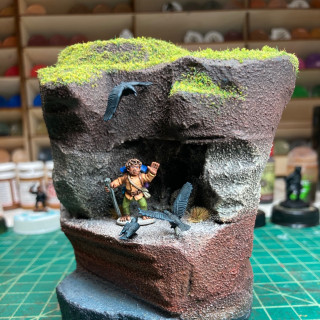
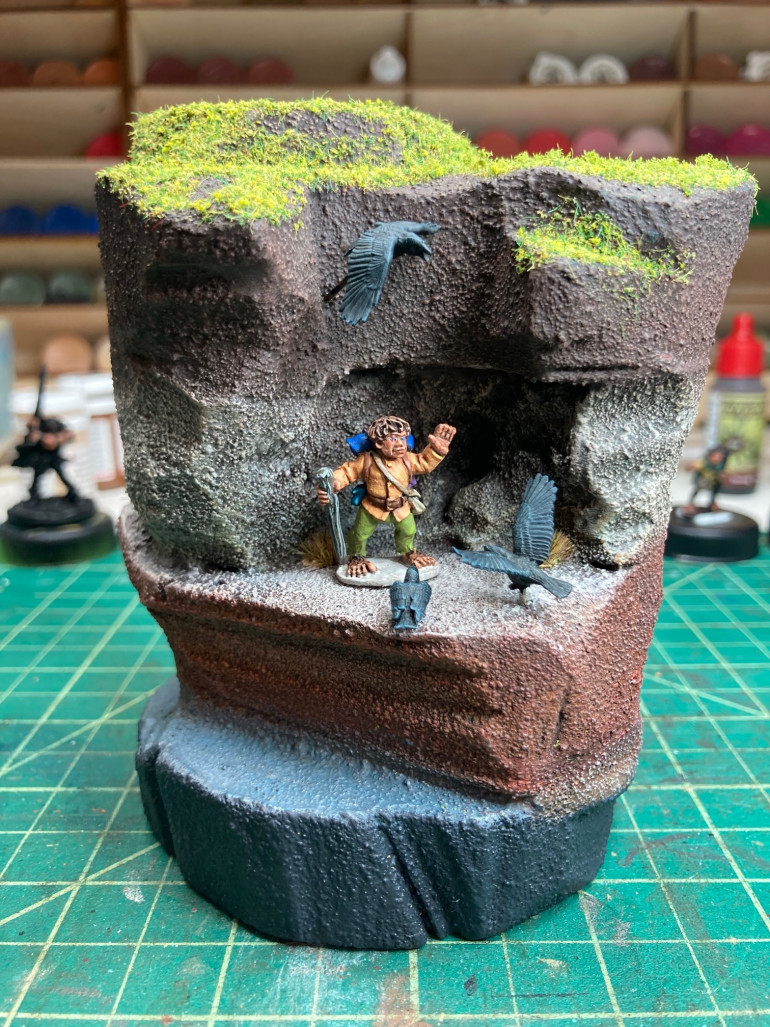
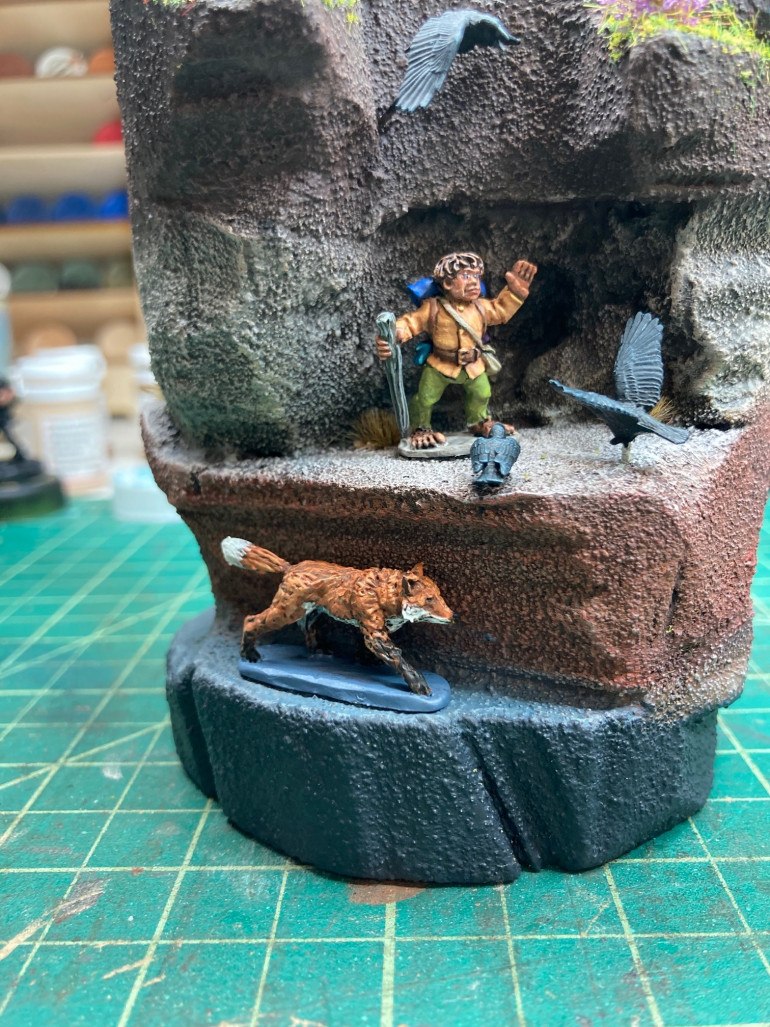
Story number one “Hello” is finished. A very Hobbity looking Hobbit I think. I wanted the colors to be bright earth tones from the start.
The crows are from Crooked Dice. They are here to give our Hobbit friend something to interact with, creating a simple triangular layout with a Hobbit focal point. I plan to add a fox to the grey lower ledge eventually.
Chapter 7
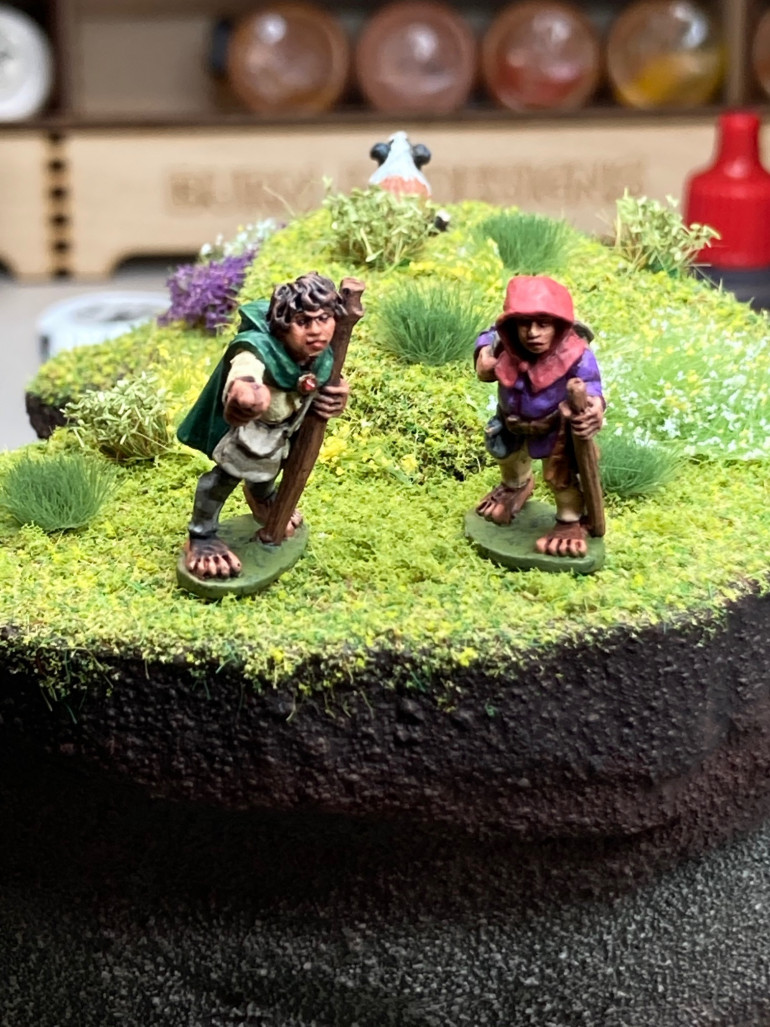
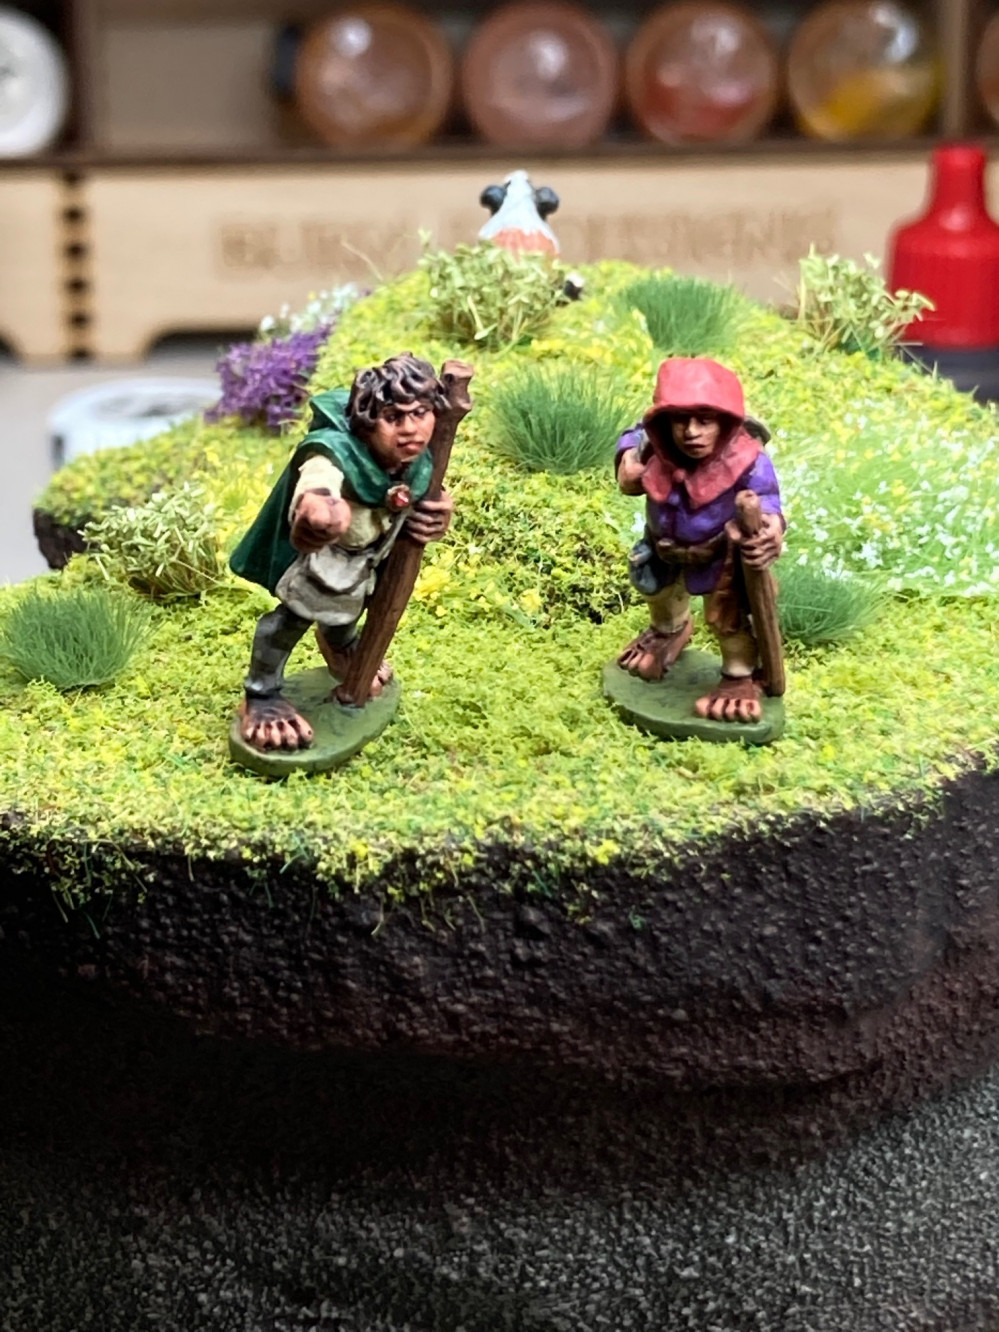
Story number two “To adventure or reward” is finished. To me this story starts with color. Hobbit on the left is the same color palette as the field. He is grounded, determined and sure that his path is part of a greater story. His companion on the right however is painted in a triadic complimentary palette to the Hobbit on the left. He’s not sure yet that their adventure will succeed.
They are in a symmetrical composition.
~Cheers
Chapter 8
Some details added to the column. First a “Fox”. It’s a NorthStar miniature under “Wolves”. I bought a pack to use with Frostgrave. The Miniatures are a bit small to be taken seriously. This mini had a particularly foxy shape to it’s head, so I painted it as a fox. It’s purpose is to guide you around the diorama. Creating a flow to the composition.
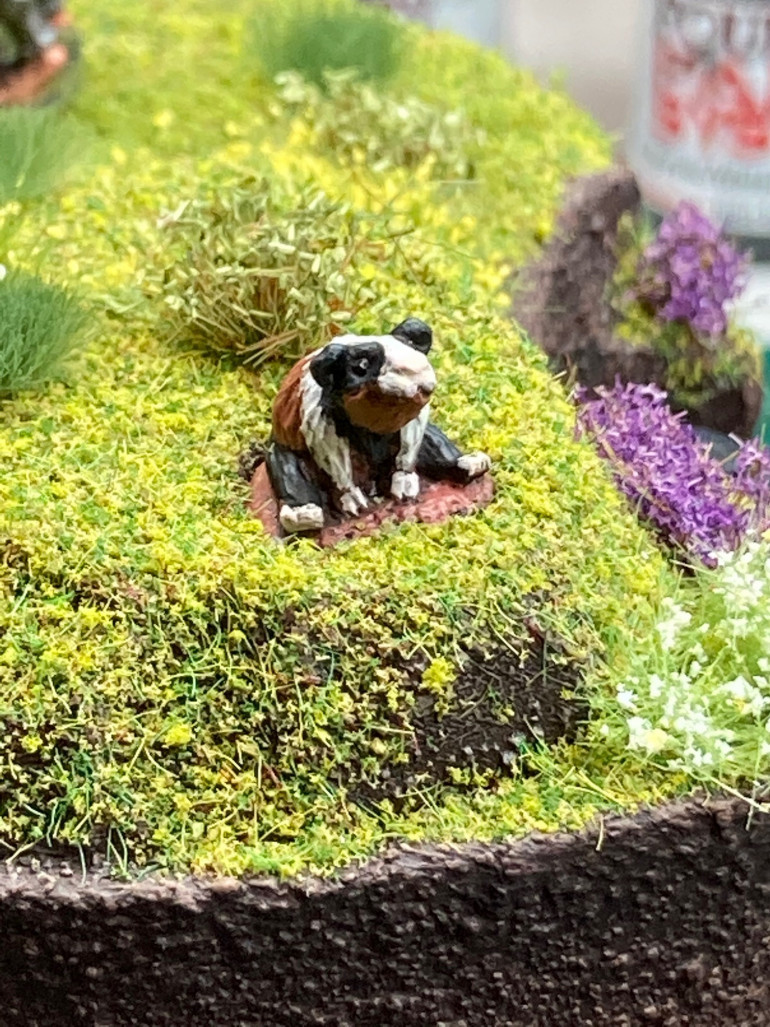
Next is a cute Guinea pig that came with an order from Bad Squiddo Miniatures. It was a thank you mini. I thought I would never have a reason to paint it, but here it is! It just goes to show, never throw anything away.
~Cheers
Chapter 9
A tree runs through it
I made this tree out of Woodland Scenics plastic armatures and Flock. I used Hob-e-tac to glue the dark green flock to the tree. I used a delicate piece of root to continue the center line of the frame down to the base. I glued it to the out side of the cylinder, in line with the trunk. It creates an organic line in a boring linear background.
~Cheers
Chapter 10
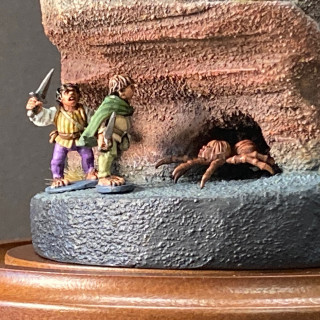
Story number 3 is finished. “Friend or foe?” Our adventurers come upon a mountain spider. The clocked hobbit and the spider seam to be in telepathic communication. He is gesturing to his companion to not attack the spider. Holding him back.
And with that, I’m finished. I had a great time with this. Lots of problem solving opportunities, which I like in a project. I would recommend doing a cylindrical diorama if it’s going to be your first. I had more freedom and options with composition.
Happy Christmas/Holidays to all and a New Year of peace and good health!
Chapter 11
My gift to the OTT community, Happy Holidays!
Afterword
Thank you Ben and everyone at OTT for this honor. Thanks also to the wonderful community, Cogs and all.


