Mooooooooonstone!!
What a difference a glaze makes!
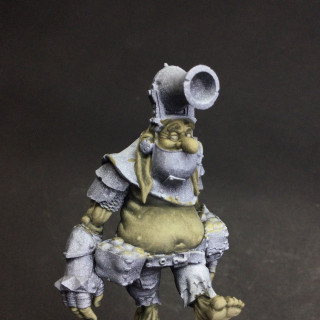
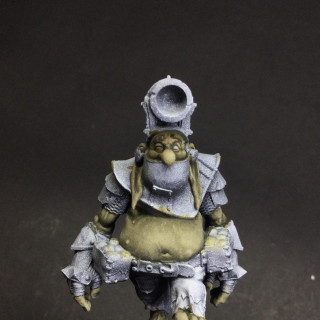
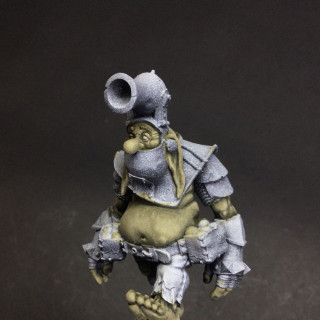
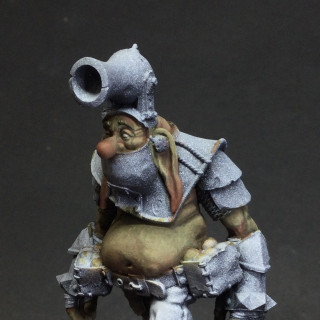
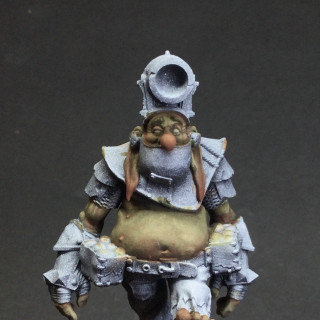
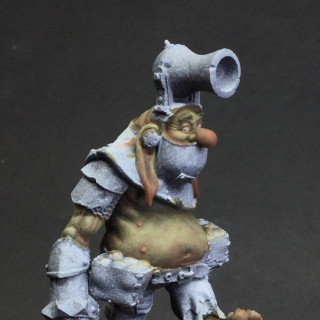
So the second Moonstone I decided to work on was Ribald the troll or 배불뚝이 (pot-belly) as my wife calls him! Another lovely sculpt with all the humour, whimsy and irreverancy typical of the characters of Moonstone. I had a general idea of where I was going to take him and this time I had no illusions of a quick to tabletop paint job. Beaky Bobby put paid to that!
I very rarely plan out paint jobs but instead get a general idea of palette and just set to it and see where it goes.
 My usual process involves getting the dark base under colour down and then work on refining the face, as it’s usually the most important part of the skin work and what viewers zero in on first.
 When I’m happy with the initial sketch and tones of the face, I then turn to the rest of the skin and work it up to the same rough stage as the face. Dark/shadow base under colour which I then next work up to mid tones and then onto the highlights.
This initial skinwork usually ends up very monochromatic when executed in this way but that’s fine as the point is establish the dominant skin colour and tone as well as working the volumes of the model.
So, with the volumes and the dominant skin colour in place, it’s time to add in some secondary and tertiary colours and tones. The importance and job of these additions are pretty obvious when one sees them in place at the end. We are adding in character and a sense of life to the model. The plain monochromatic finish of the first stages leave the character looking rather lifeless and devoid of any real character and background. If could just as well be a green statue rather than a romping stomping clod of a troll!!
 We add in our secondary colours first by way of a series of very thin glazes, or more correctly filters as we are gently tinting and adding a different colour over the base green hue and tones. First a mix of brown and orange leather from scale 75. I build up the tint gradually over about 5 layers, each layer adding a little bit more brown leather into the filter and each layer retreating more back into the recesses and shadows.
 With the orange/brown glaze filters in place and FULLY dry, we can move on to more popping colours. We are going to bring in some pinks and then a more reddish pink into areas such as the nose, elbows, fingers, knuckles and toes. Again a series of very thin glaze layers are applied until we are happy with the satiation and vibrancy of the effect.




fabulous work on the figures @irishsteve their great an full of character.
Cheers muchly. They really are awesome minis to work on