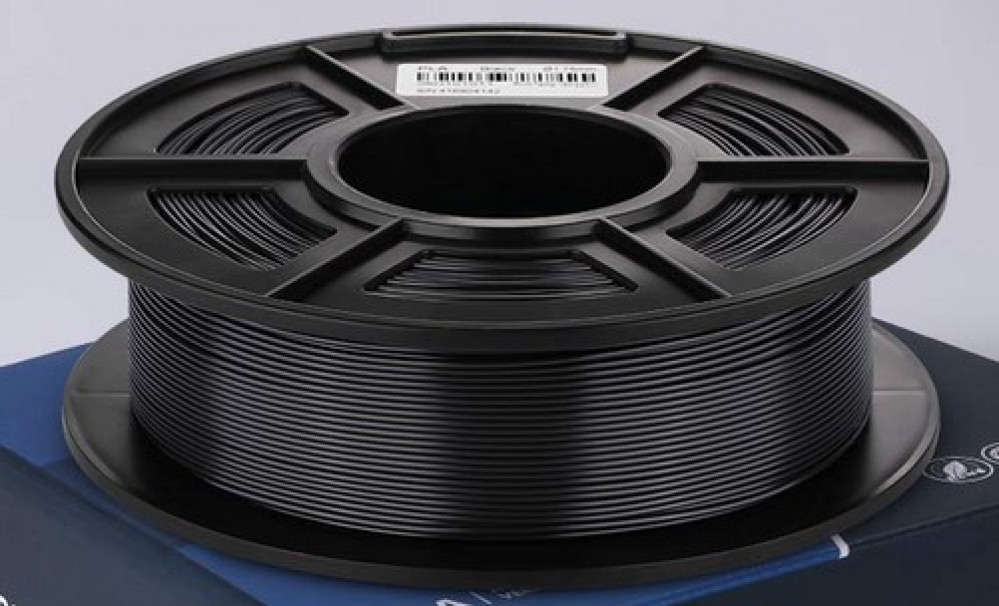
What can 1kg of PLA filament print?
Recommendations: 98
About the Project
This is my first (public) project and as such is as much a lesson for me in how the project system works as it is an actual “show and tell” project regarding 3D printing. The basic idea behind this is to help anyone who is considering (or has considered/dismissed) the idea of getting into 3D printing as part of our hobby. I won’t get too heavily into the reasons why I think 3D printing is a great aspect of my hobbying, just accept that after using them for 5+ years now I’m a firm fan-boy. However, I understand that 3D printing isn’t particularly cheap (even though equipment prices have plummeted in recent years), nor does it come without a certain learning curve. That said, the same could be said of other aspects of our hobby (rulebooks and minis notwithstanding) - yes, I’m looking at you Mr Airbrush. Each to their own and you know the relationship you have with both your wallet and your allotment of precious free time. For this project at least, let’s assume you are open to the idea of adding a 3D printer into your hobby toolbox, but aren’t sure just what to ‘realistically’ expect.
Related Genre: General
This Project is Completed
Background and Why This, Why Now?
To start with, here are some of the reasons I took the plunge into 3D printing:
- Instant access to a multitude of models – both free (from sites like Thingiverse, Cults 3D, Yeggi and MyMiniFactory) and via Kickstarter and Patreon campaigns. No waiting for the postman to finish playing football with your eagerly awaited models.
- Buy once, print multiples. This not only reduces the ‘lifetime cost’ of the file, but you can add extra value by rescaling and mirroring the files (buy a 28mm file, print a version, then scale it up/down to use at 32/35mm or 15/20mm) instead of buying multiple copies. Mirroring can often make an alternative version that looks like it is a different model – sort of a two-for-one deal.
- Unattended printing. I don’t mean set it away and leave the house (which you can do, but there have been issues in the past and so the consensus is just don’t), but rather, set it away and go do some other aspect of your hobby. I treat my printers like Santa does his elves (except I’m not Santa and mine behave like temperamental goblins), they print/make, and I assemble, finish and paint. They also don’t need to sleep, and you just feed them plastic. This is very much a double-edged sword. Initially, my workflow was sped up dramatically and I was cranking out table candy like nobody’s business. Now, several years and seven printers later I feel like the Sorcerer’s Apprentice and those chopped up broomsticks have become a bit of a rod for my back – they keep churning stuff out way faster than I can handle and I seem to be spending more and more time keeping them running. Talk about juggling balls and spinning plates…
- There is also one last point that I knew I wanted to get into but also knew it wouldn’t be applicable right from the start – creating my own stuff and 3D scanning some of my old scratch-built models. I will probably cover this point in a separate project later down the line now that I’m starting to do it.
Being most interested in scenery, I started with an FDM-style printer (using spools of filament rather than liquid resin) due to the size of prints I was expecting. So, this is what I’ll be covering in this project – What can a 1kg spool of PLA filament print? I will most likely do a similar one for 1 litre of resin at a later date.
There are, however, some caveats to this. Settings in your slicer (the program used to convert a model file into the code your printer uses to print the finished item) will affect how much filament is used, and so increase/decrease the physical output. Predominantly scale (how big/small the printed item will be), layer height (how thick each ‘slice’ is) and infill (how much empty space is inside the model) are the most significant factors. Also, if you print with a ‘brim’ (some extra layers to help the print stick to the print bed) this will use up a small amount of filament that ultimately gets thrown away once the print is finished. Or not. Stick around to the end of the project for a quick tip about brims…
Enough already. Get to the good stuff!
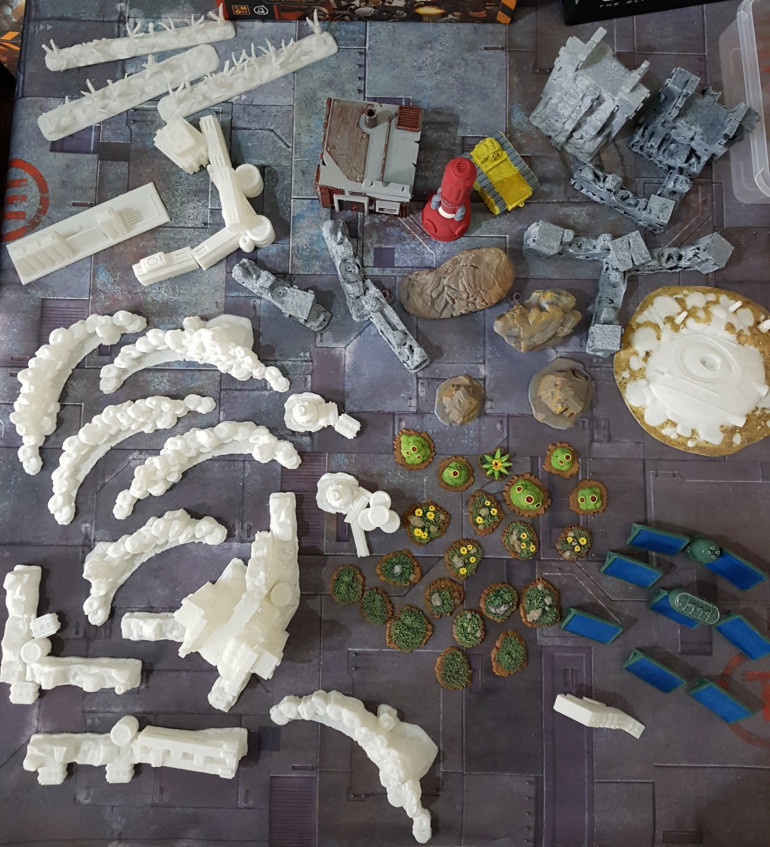
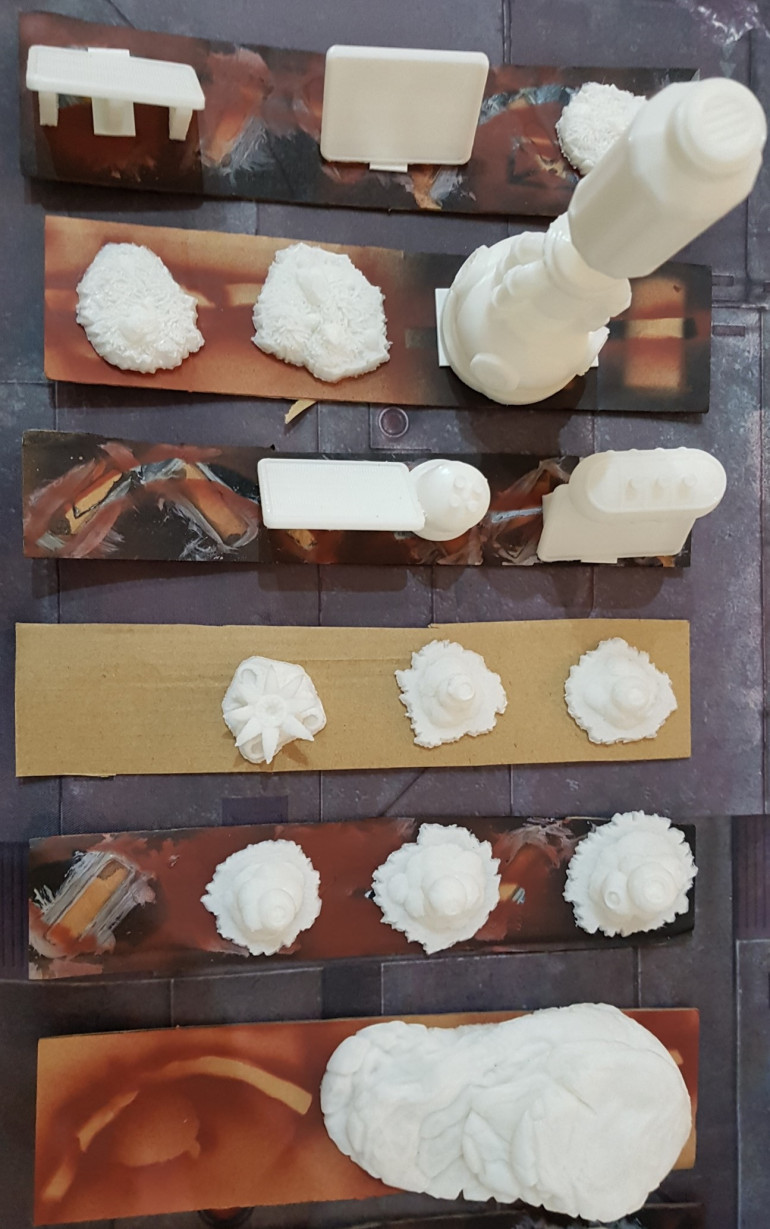
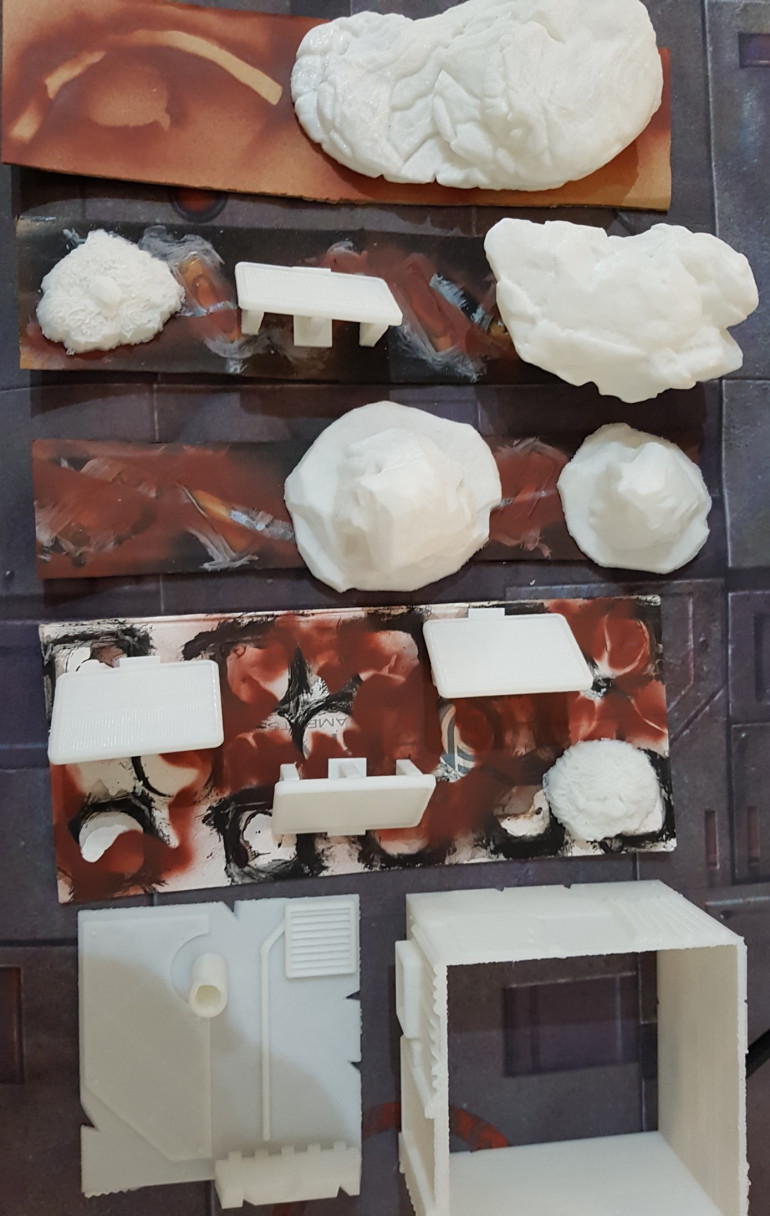
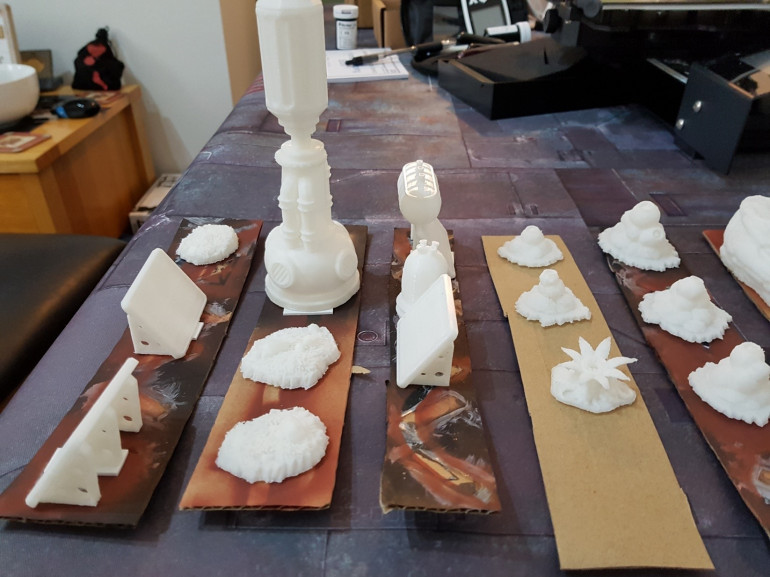
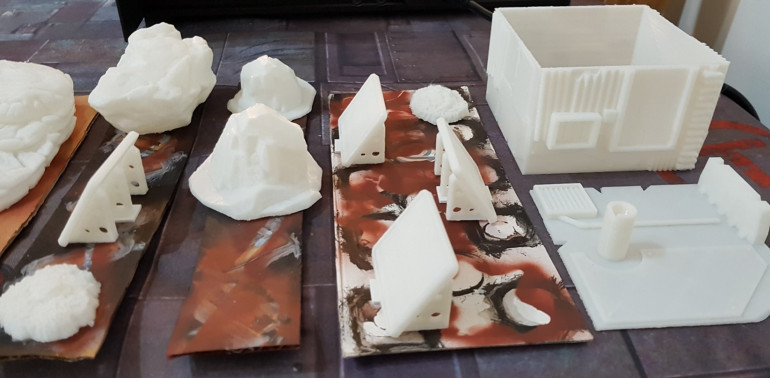
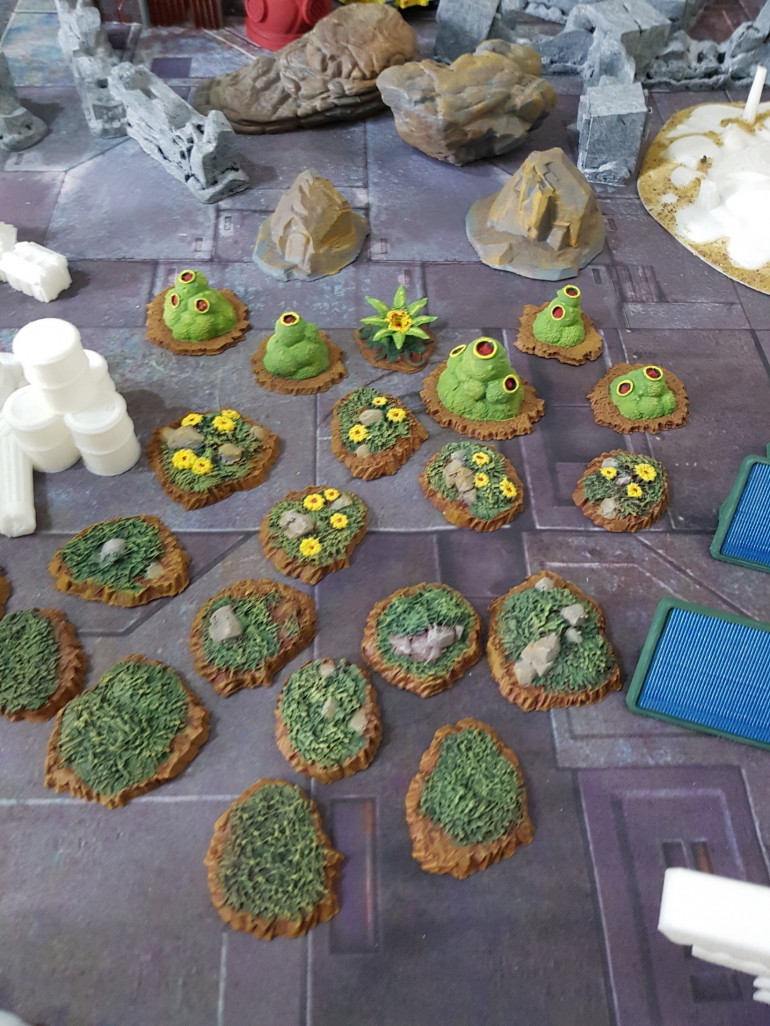
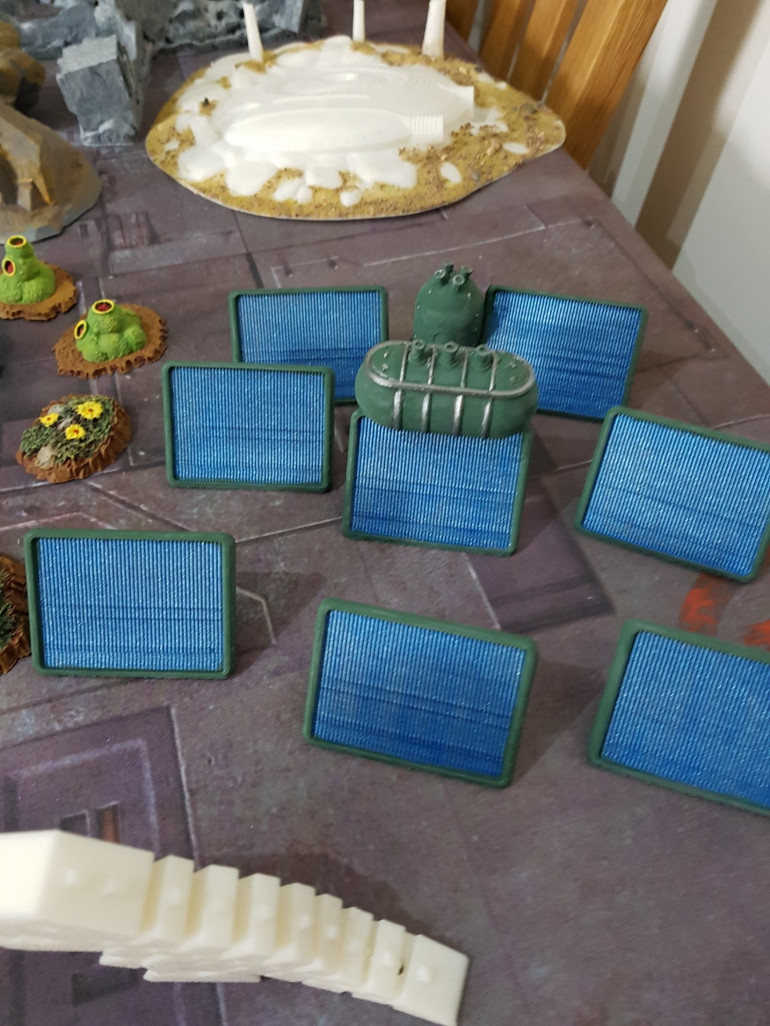
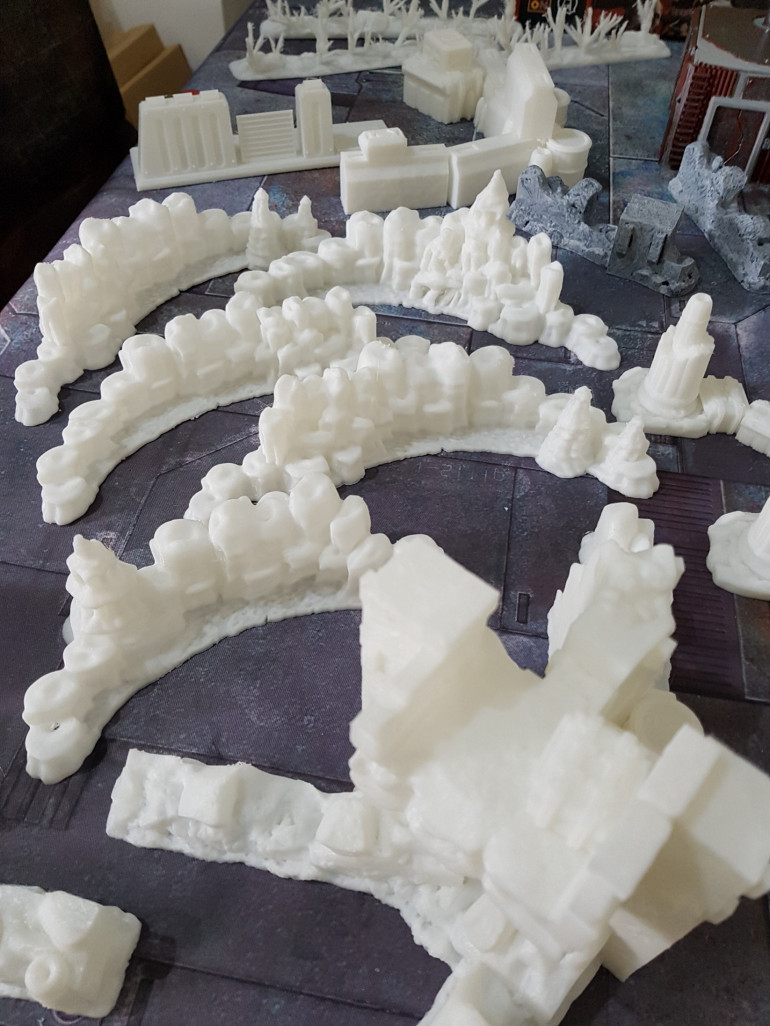
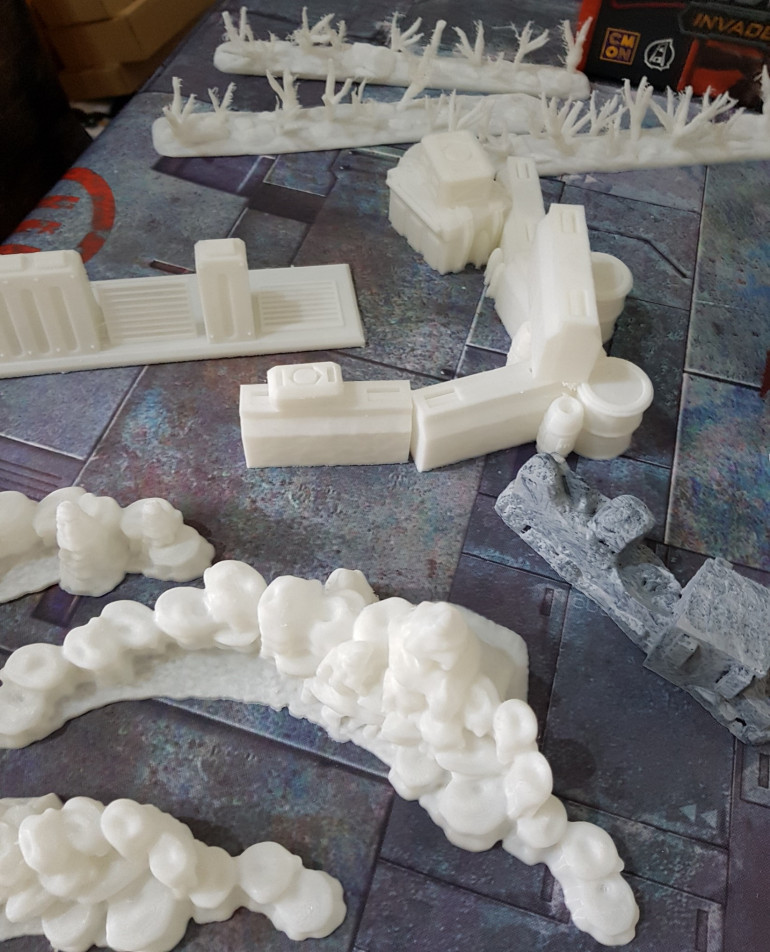
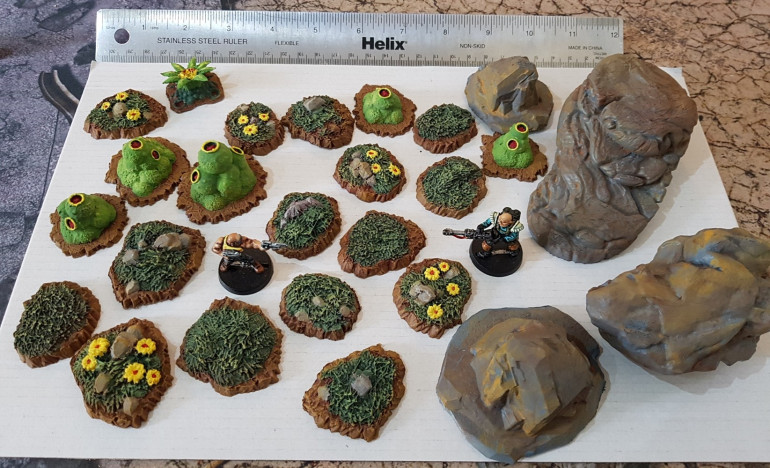
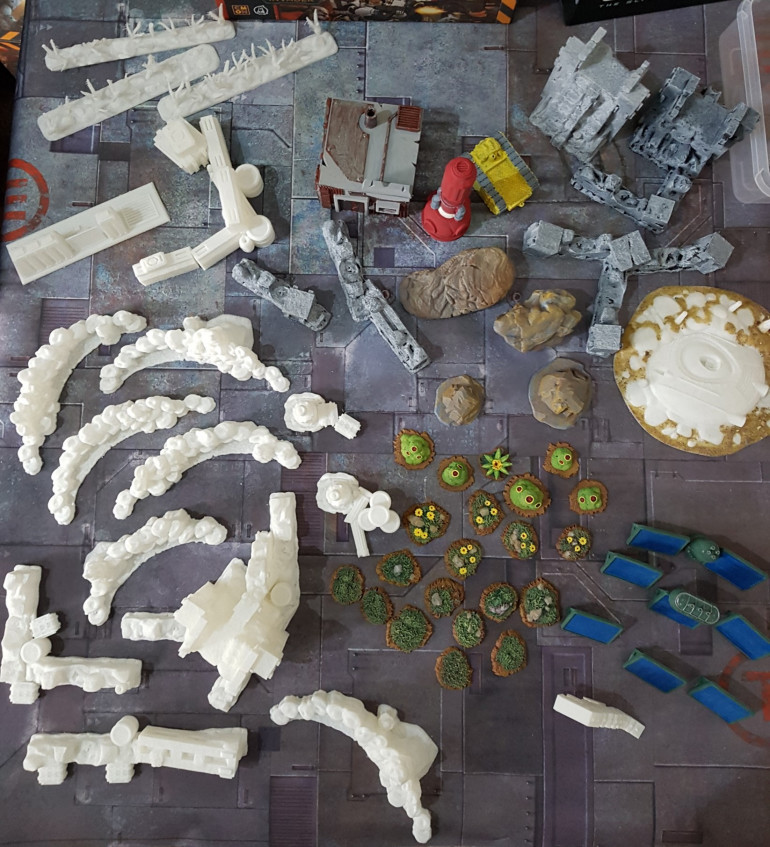
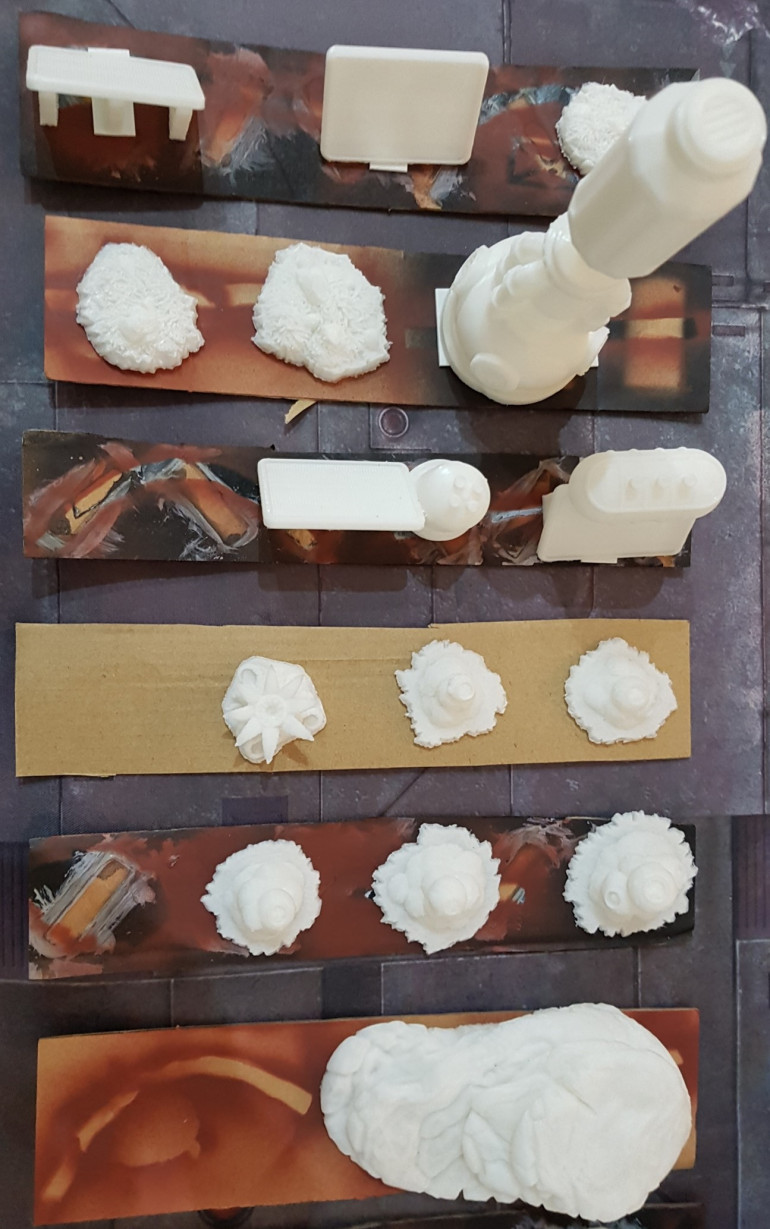
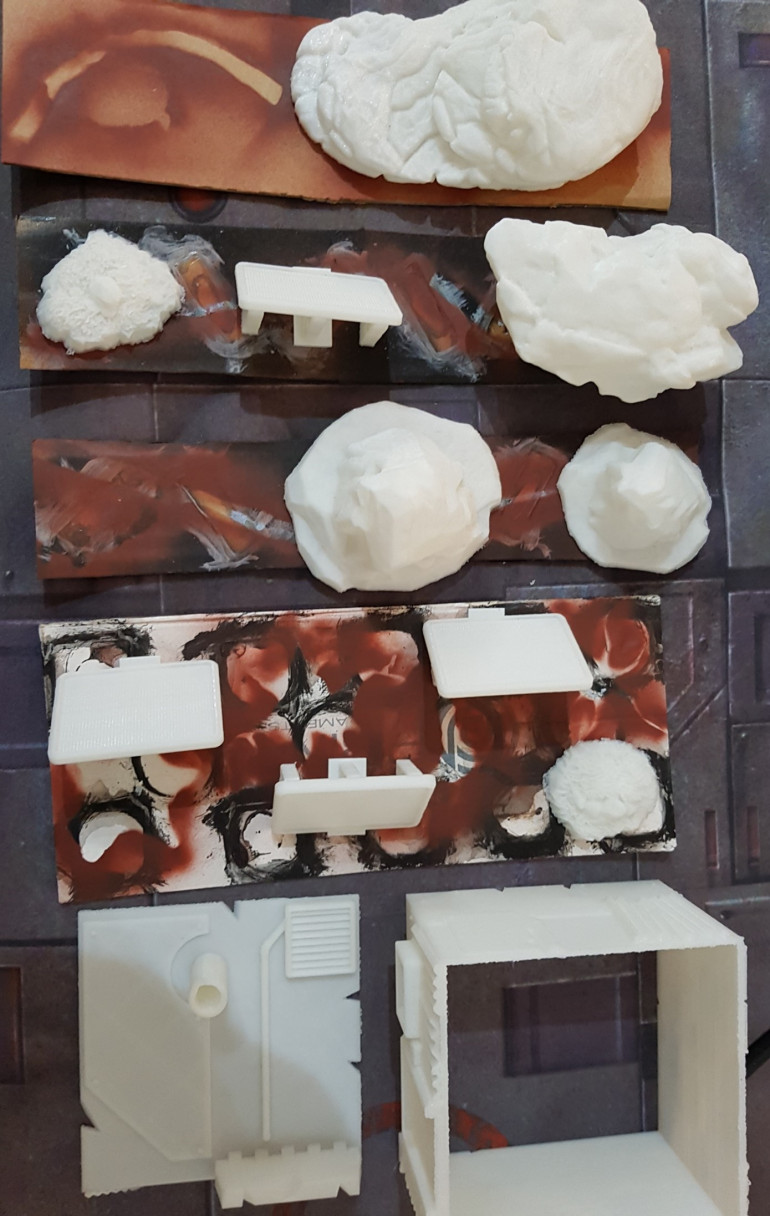
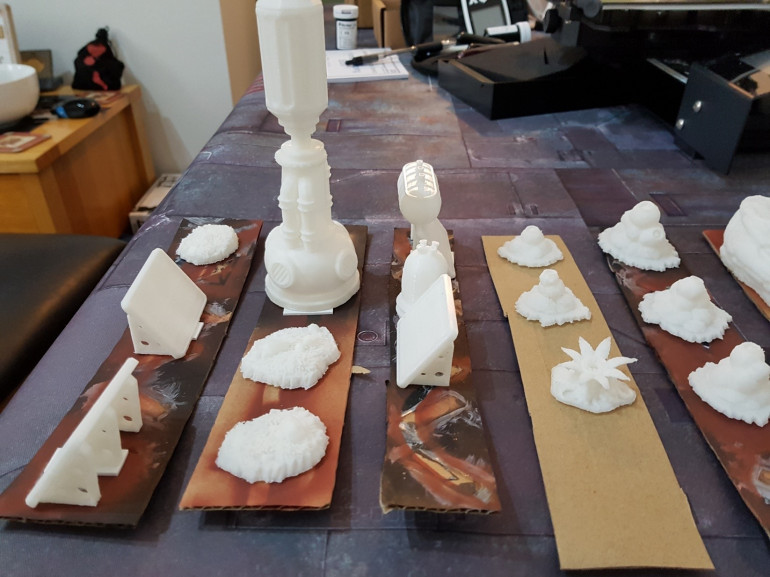
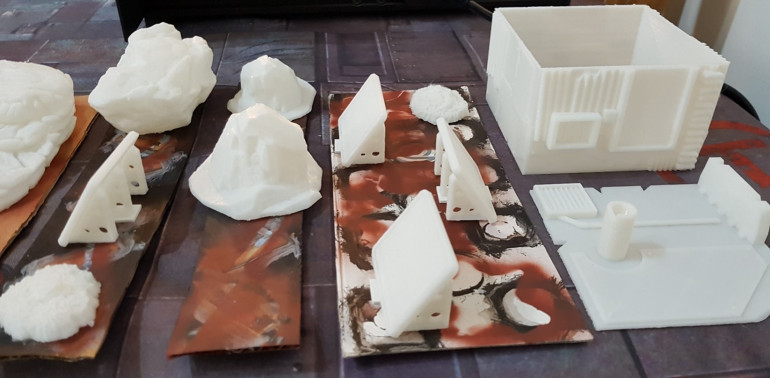
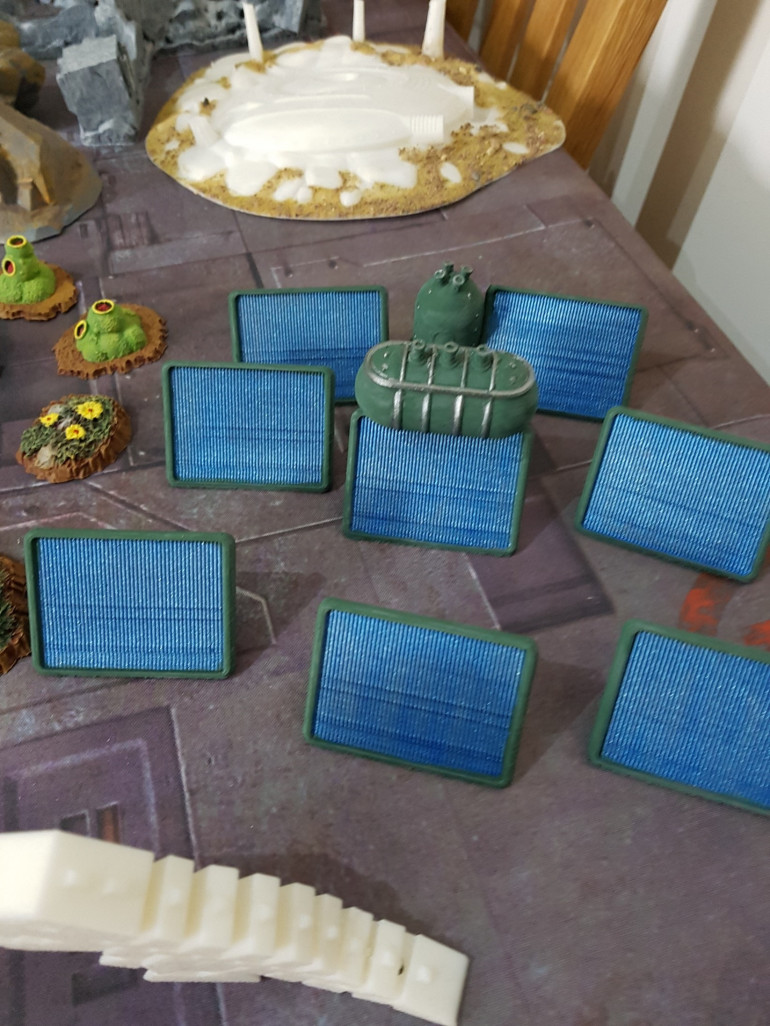
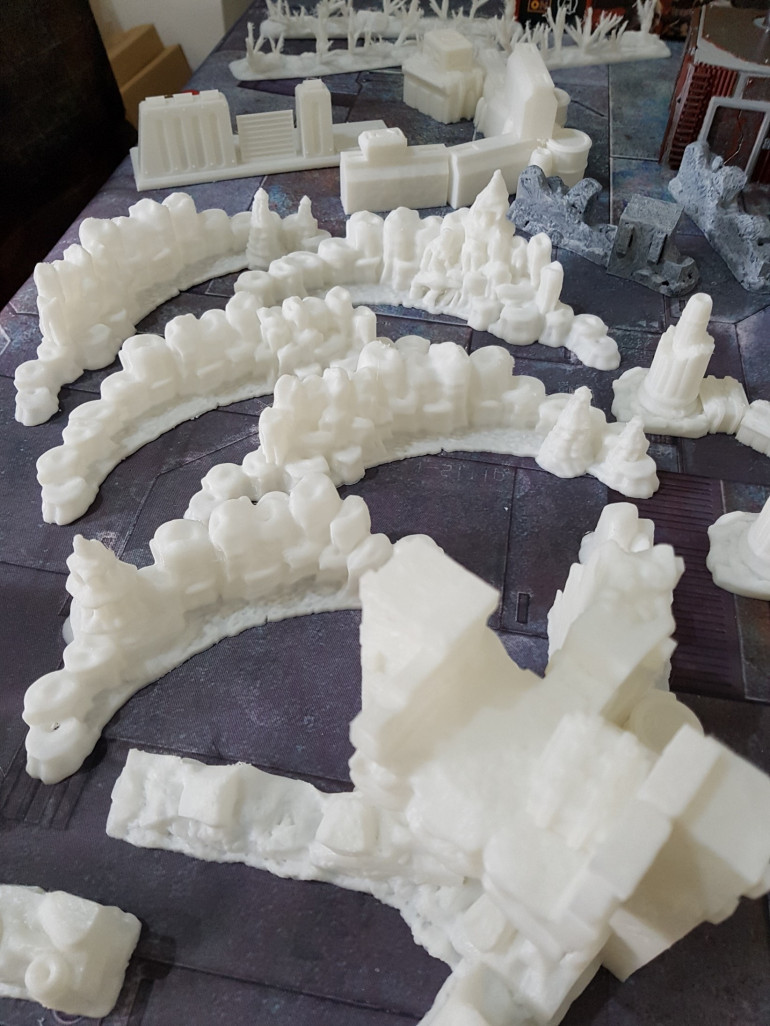
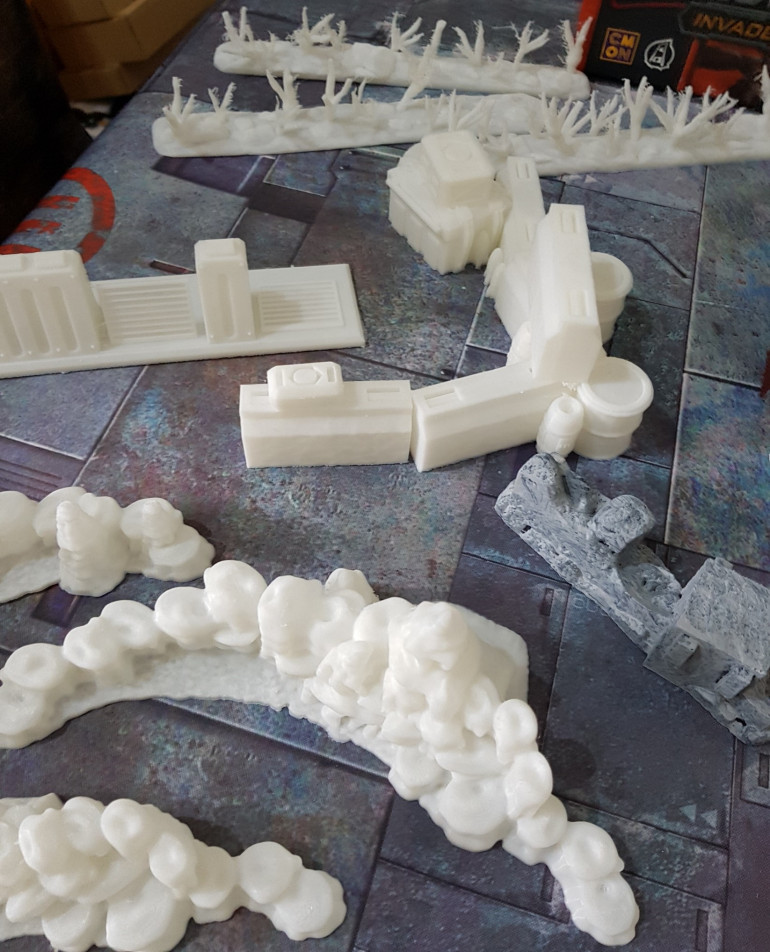
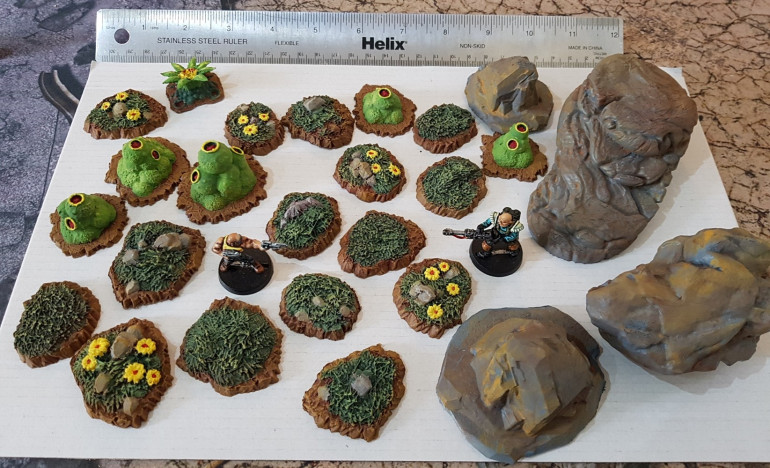
OK, enough waffle. Here are some pictures. All these prints came from a single 1kg spool of PLA filament and are scaled for 28/32mm at a layer height of 0.2mm with an infill of 5%. I should point out that I didn’t buy this spool myself, it came with my Creality CR6, but I typically use similar 1kg spools that cost in the range of £15-£18 GBP. You can work that out into whatever your local currency is but be aware that depending upon the manufacturer and finish or material of the filament, the price can be slightly lower or a lot higher. It tends to come down to personal preference and mine is based on 5+ years of experience and just wanting to print stuff that I’m going to cover in paint anyways.
Some of these are fresh off the printer, without any cleanup. Others are primed or have had minimal basecoat/blocking paints. None are finished. Such is the way. Please forgive the photo quality, I wasn’t really concentrating that much as the other workshop goblins were giving me grief in the background. Seriously, they can be such drama queens!
That lot used up about 95% of the spool but rather than show you what I used the last 5% on now, I’ll save that for the next project – “So how much does it actually cost to 3D print something?”
Brimming with good ideas
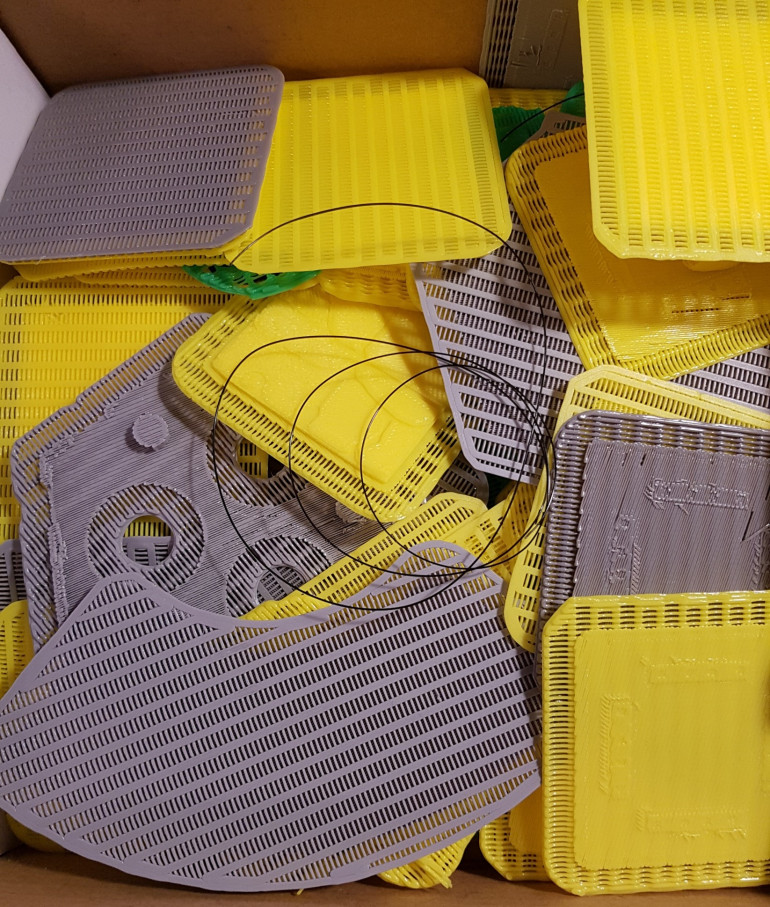
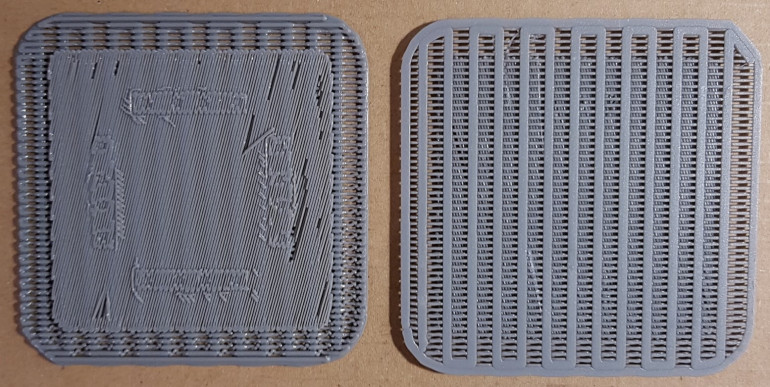
Here’s what I meant when I said ‘brim’ earlier. These are the extra layers that you can print underneath a model to help it adhere to your build plate (often used if your print bed is not heated or doesn’t have a particularly good print surface) that get peeled off and are usually binned.
Nowadays I very rarely use them, but I have saved them in the past and used them as mesh or grating to add to prints or scratch-builds.
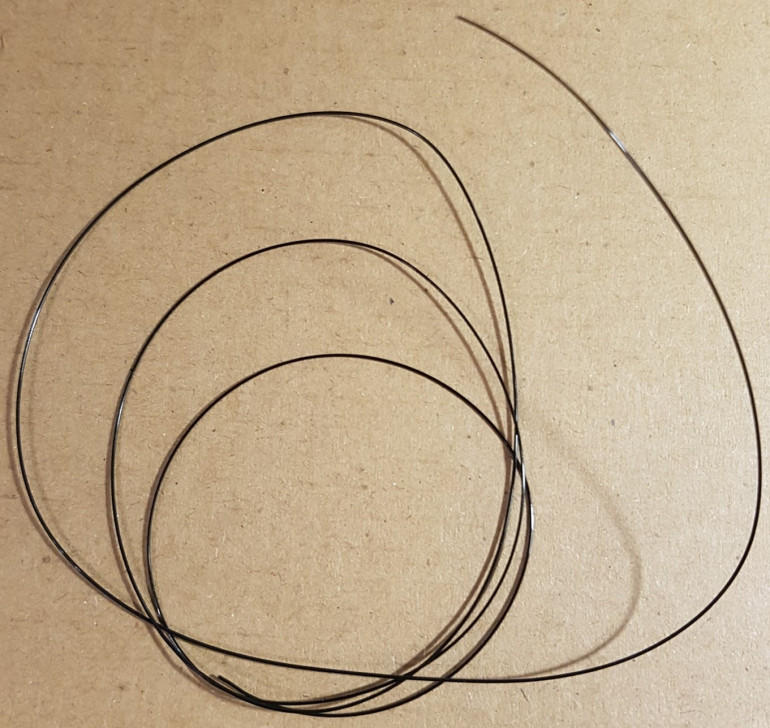
I even keep the filament I extrude when loading/unloading spools. It makes great bowstrings or coils of wire/rope.
Here's one I made earlier
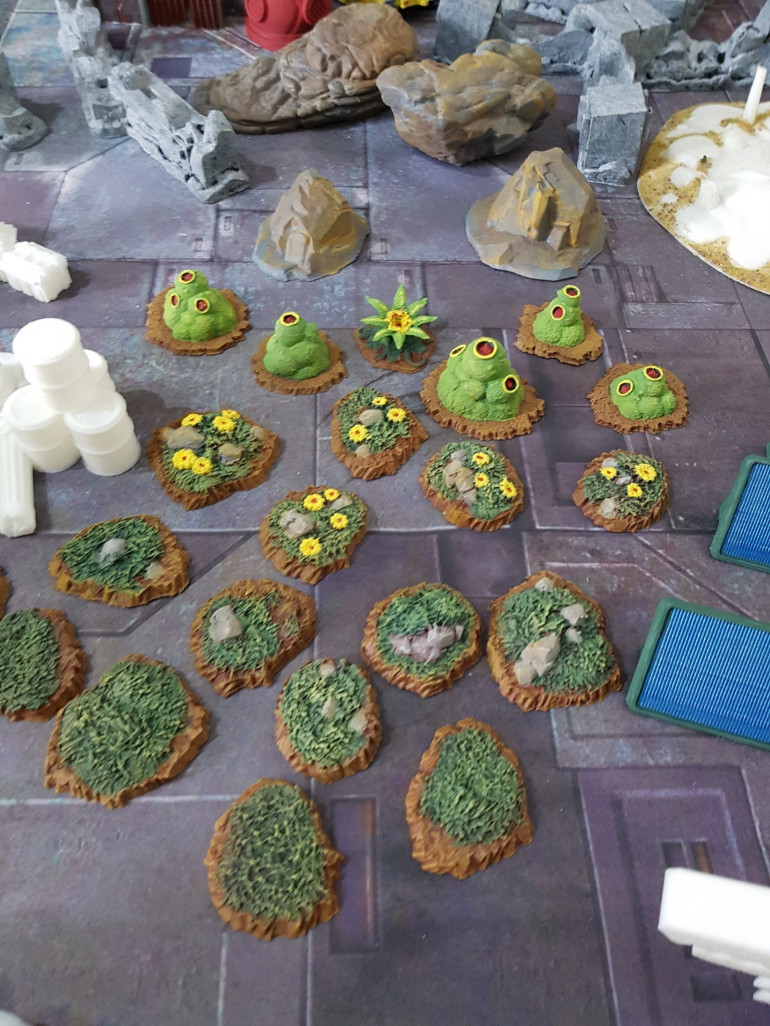
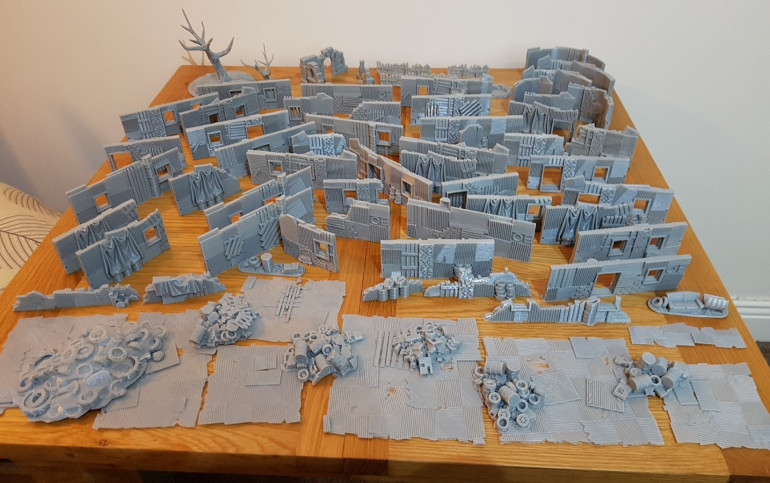
In true Blue Peter style, here’s a similar project that I did a few years back, courtesy of one of the other workshop goblins, the Cetus 3D.
This entire table of 28mm scenery contains the output of one printer, one spool of PLA and several days of caffeine fog.
Now all I need to do is paint it all…


