Dan's 3D printing
Adding a UV curing station
When I first bought a 3D printer I also bought a reel of UV LEDs. I lined a shoe box with tin foil then coiled the LEDs around the walls to make my own curing box. However it never seemed to make a difference. I suspect the UV LEDs weren’t the correct frequency.
It didn’t bother me too much as I found keeping the models a bit rubbery meant I was less likely to break off delicate bits and the texture wasn’t a problem as I was going to spray the model anyway.
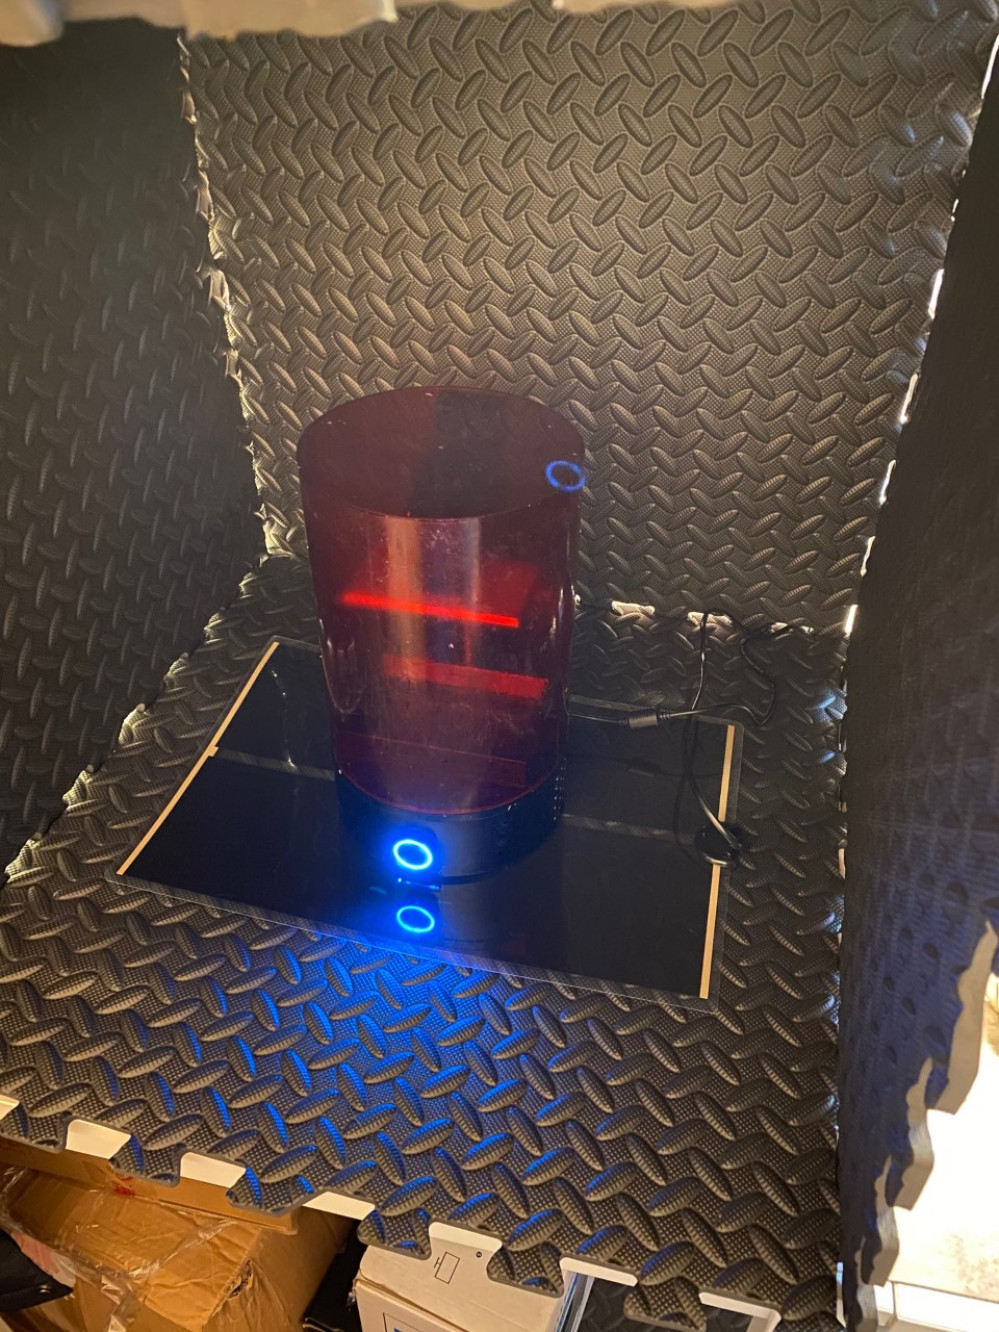
That all changed with my current project where I hope to leave the models as bare resin on display. I looked on Amazon for the curing box with the largest internal volume and found the SUNLU UV curing box (https://www.amazon.co.uk/Curing-Printer-360%C2%B0Rotating-Control%EF%BC%8CWork-Intelligent/dp/B08H7Y1HQY/ref=pb_allspark_dp_session_sims_pao_desktop_3/260-0132837-6295333?pd_rd_w=OJWhH&pf_rd_p=a80b8663-76e7-42fc-9cdf-f601eec9bc07&pf_rd_r=N13RWA0HR58DVV33T1GJ&pd_rd_r=f849ac98-ddb9-4359-bd9e-bc95b92a6382&pd_rd_wg=oBlRF&pd_rd_i=B08H7Y1HQY&psc=1).
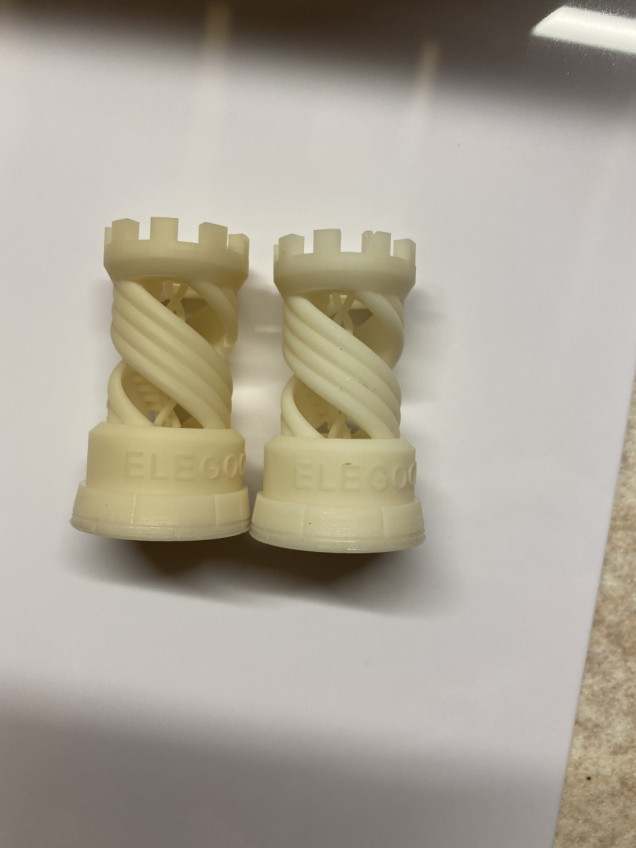
It took a few minutes to put together (don’t let the “DIY” description put you off). My first test was to cure one of the rook test prints for 5 minutes. I had two identical copies of this that I printed in the same print run when I setup my new printer.
The one on the left has been cured while the one on the right has not. Hopefully you can see the cured one has a more yellow appearance. The cured one also feels like a hard plastic, whereas the uncured one feels more rubbery to the touch. So it would seem the curing station works well.
That means my current 3D printing process is as follows:
- Print model
- Remove supports
- Ultrasonic bath of isopropanol for 5 minutes
- Leave to dry (usually while next print runs)
- UV curing for 5 minutes


Leave a Reply