Spring Clean Challenge: If I build it - will they come
Making rocks
The second skill I wanted to learn was making plaster rock faces. As I do not have access to rubber moulds, I went down the aluminum foil route and had a couple of walk throughs to get the process as good as possible. (Unfortunately I forgot to photograph my final attempts, but the following pictures should give a good idea of the process).
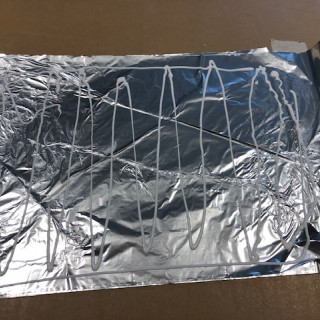
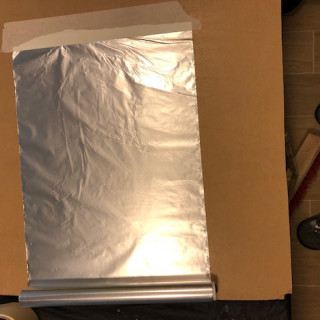
Essentially it requires making a form out of several layers of tin-foil (I used 7 layers) glued with PvA glue to hold the shape. The foil is scrunched up then unfolded to make the “rock shapes” and my final attempt included depressing the foil in places to make more depressions in the foil. (My first attempt was too flat, as the pictures show).
The formed sheet was supported by a layer of “cat-lit” although sand would work just as well. A mixture of plaster was made, which I would say was the constituency of double cream, and pours into the foil mould. I banged the table several times to get most of the air bubbles out.
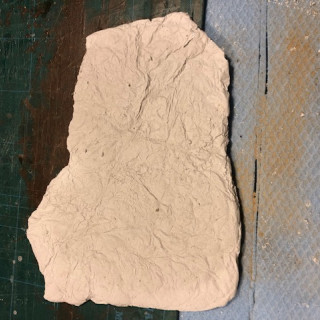
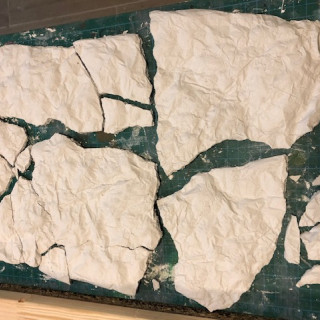
The plaster set fairly quickly. But I’d recommend leaving it for a few hours. When taking the plaster out the mould, it broke up anyway, but this is not really an issue as I used the smaller pieces when making the rock face.
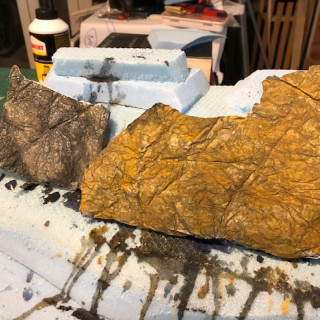
Painting the rocks is a personal choice, but I tried both the usual “black/grey” approach and one with more colors. This was heavily diluted acrylic paints with a final black wash. I’d recommend experimenting with off cuts to see what works well for the look you are after.
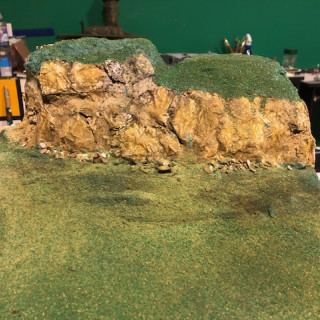
The final picture is the rock face in situ on the board.







Leave a Reply