Painting models with oil paints
Skin and Stone
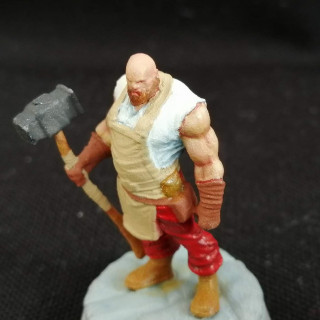
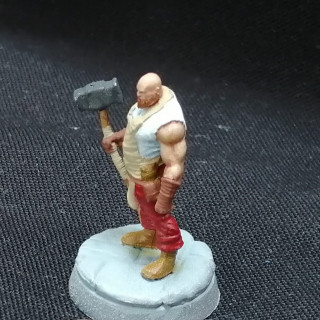
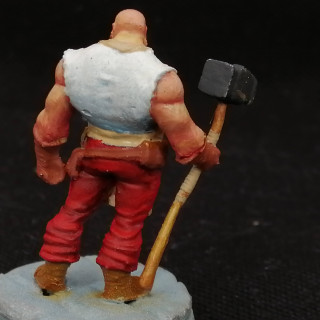
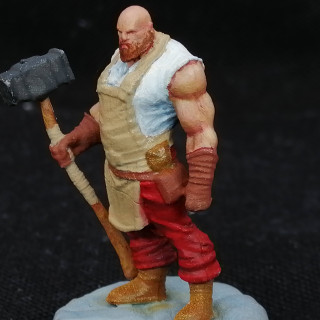
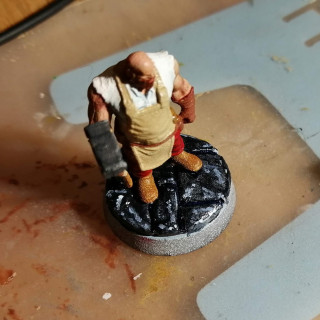
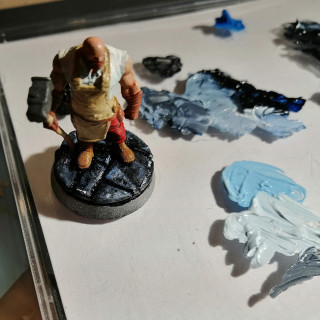
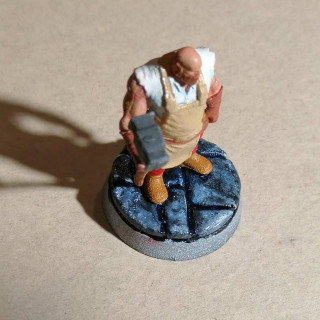
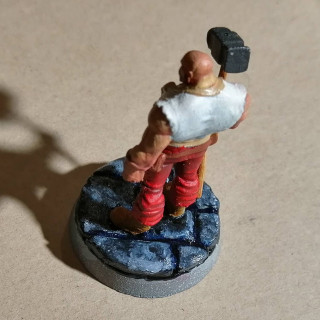
The skin paint has dried now and I’m quite pleased with the results. In some places the skin is a little to ochre for my liking, but you really have to be looking for it. The blending has come out well and the muscle definition in the arms looks good. The face could perhaps do with some additional tone and shade to it but I found this hard to work with, especially given the very small area.
Once again, I’m struggling with the photo’s so here’s a range of shots all showing the same thing 🙂
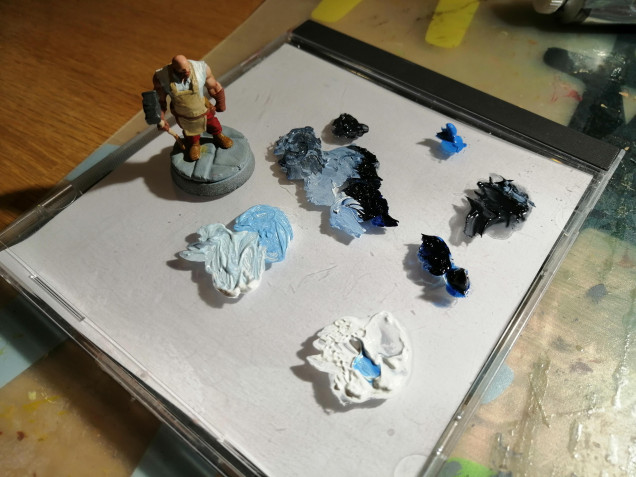
Next up, I’m going to have a crack at the stone base. The videos that I’ve linked into the project below don’t provide any guidance on how to paint stone, so I’m on my own. My thinking here is white, black, grey and a dark prussian blue to add a colder tone. I can then mix these up to the various shades.
My basic approach was to apply a grey over the stones, then a prussian blue/black mix into the recesses between the stones. I’ve then blended the edges to allow for a smoother transition.
From there, I’ve spotted various shades of blue and light grey onto the tops of the stone and gently blended these in, trying not to go too heavily into stones that have recesses.
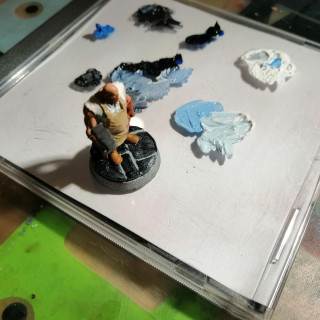
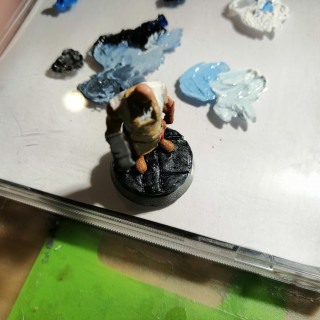
I spent about 5 minutes gently blending the colours in, adding where I thought it needed more. I’ve gone fairly thick with the paint on the stones as I’m thinking that this will help add texture – we’ll see if that works. Below is the point where I was happy with things and I’ve now left this to dry – this might take a while given how much paint is on the model.
Painting white
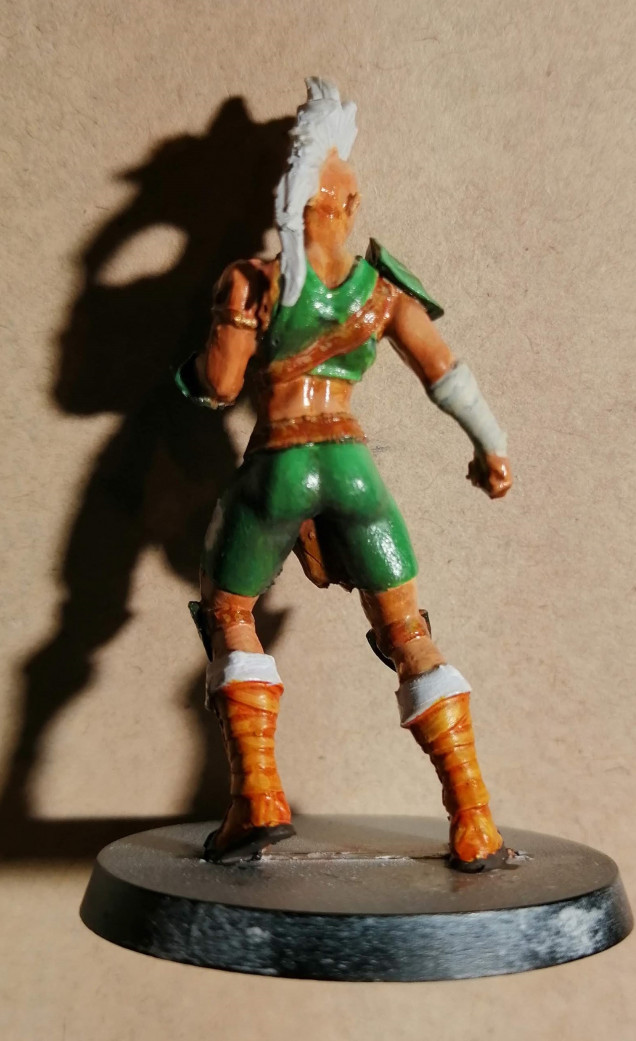
As an aside, as I’ve progressed with this experiment, I’ve now come across my new favourite method for getting brilliant white. Given the level of pigment in oil paints, it covers very well in one coat, unlike acrylics that seem to require more coats than I can count to. Here’s an example of the coverage on the tops of the boots of these other models that I am working on.




Leave a Reply