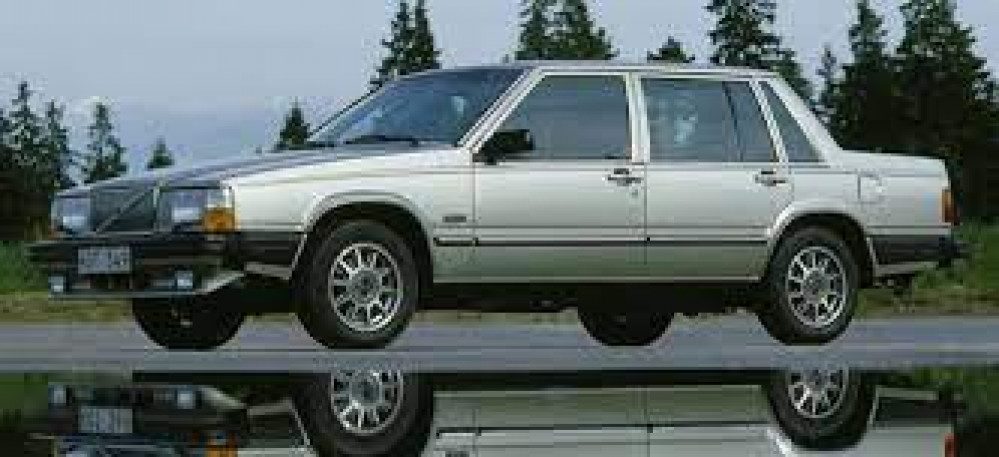
Volvos in space – a spring cleaning challenge
Not so humble beginning
True to founding idea of Spring Cleaning Challenge, my project is ongoing for quite some time, at least a year.
That means on the one hand, that I have some work done, and on the other that my initial enthusiasm has already burnt out.
Therefore let me start with a bit of inventory:
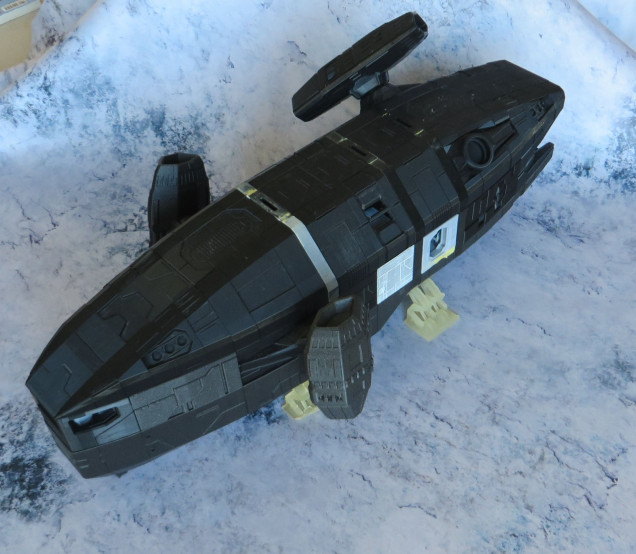 The outside shell is almost entirely printed. It lacks some antennas in the sensor suite and maneuvering thrusters. Also I’ll ned to reprint two big parts near the bow of the ship, since what I have now doesn’t have thrusters’ mounting.
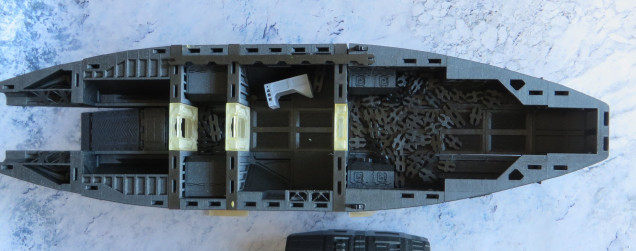 Lower deck doesn’t have any internal details printed, and more than that, I need to thonk what I want to put there, as I’m sure I won’t be installing all those hibernation chambers the original design suggests.
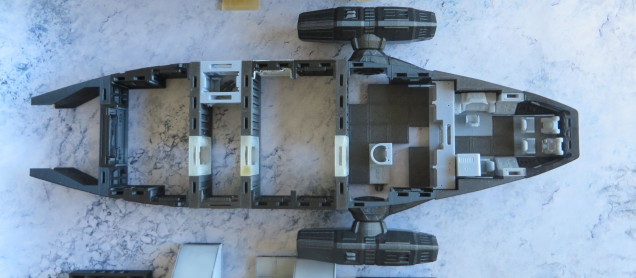 Mid-deck. Bridge is ready for painting, and next room which is med-bay starts to take shape, however, this deck is full of intricate details and will take some considerable amount of time to print.
 Top deck. All the internal parts are printed and some even have primer on them already. I may still change how the rooms are arranged, but I’ll write more about it in one of the next entries.
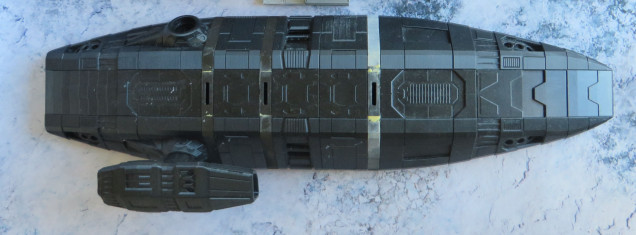 It may look as I’m missing one engine. What actually happened is that while taking the pictures I dropped the model and It smashed a plastic ring which holds the engine and fuselage together. It is repaired already.
As for technical side of things; all the external parts, most of the floors and bunks on the top deck were printed on my Prusa I3 mk3 at .15 mm layers with 15% infill, with exception for bunks which have varying layer heights from 0.15 to .3 for speed. I used Amazon branded filament and Prusament (both PLA of course).
The parts printed on SLA printer (Elegoo Mars) are printed on normal setting so .05 mm layers, Elegoo resin, some translucent and some grey.
You may also notice that I have cut out detailed parts of bulkheads and printed them on SLA while rest of the part was printed on FDM.
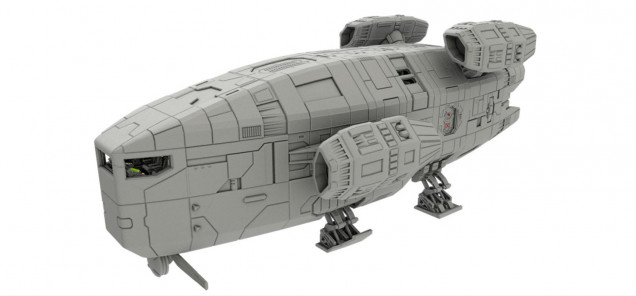
Oh, and the model can be purchased HERE.







Leave a Reply