Spring Cleaning Military Orders
Sandstone Saga part two.
Here is the second part of sandstone saga, spoilers there is yet one more section…
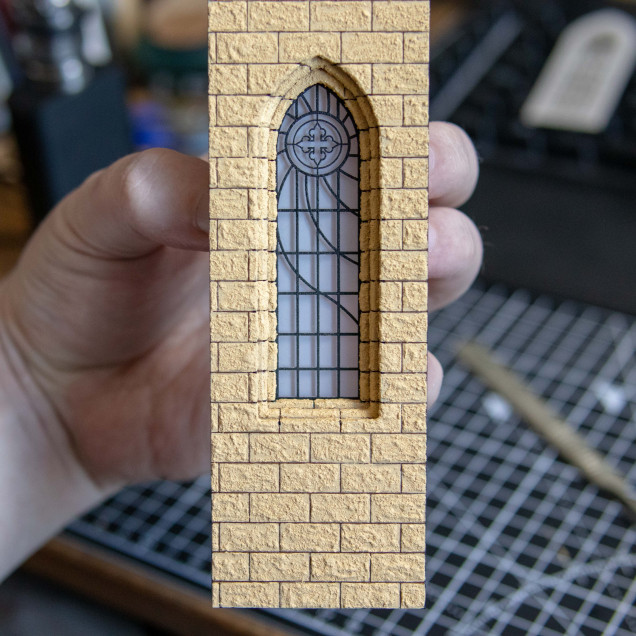
I had my texture and design. Couldn’t be easier, lets paint.
 Initial texture with the texture paste, applying with a brush and pushing to sculpt to the sides and using surface tension to stop from going over. A single surface of a good brick took about 60 seconds. This has about 80 brick surfaces on the test piece. Warning bells should have gone off at this point as this took over an hour to do. it's 1/6 the size of one wall... I have two and one is double sided.... But lets keep the focus on sandstone and not the time issue, yeah?
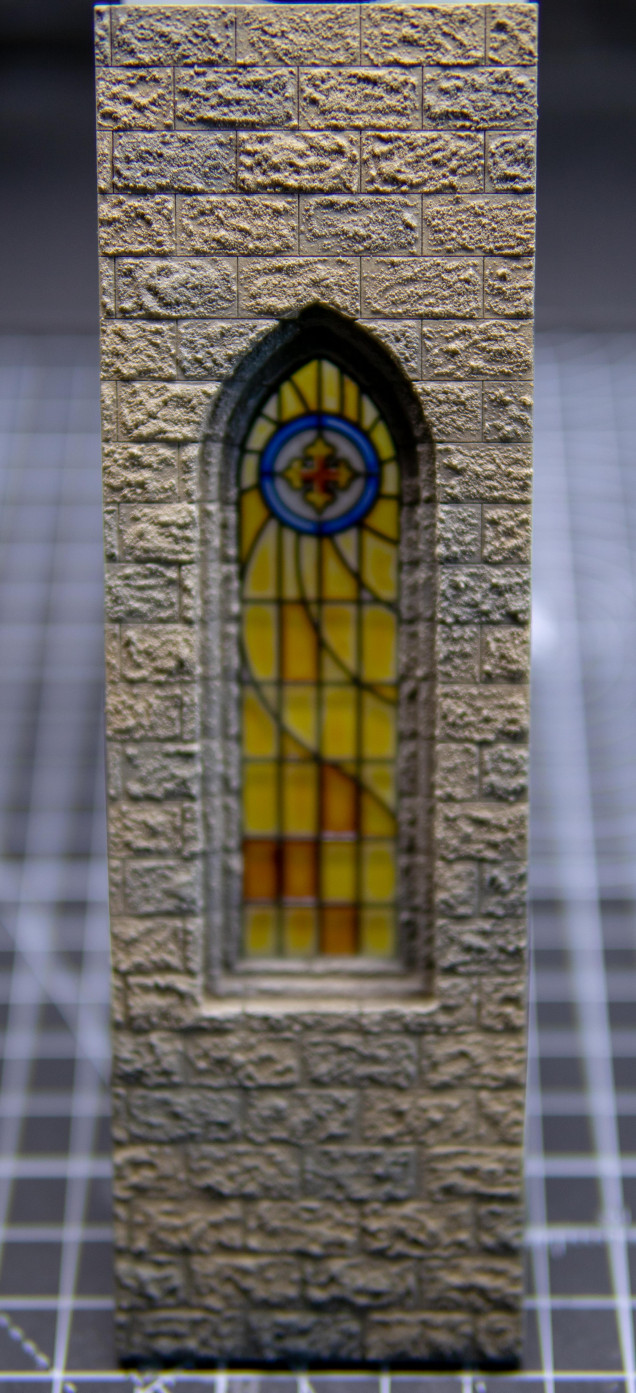
 First test paint. I done this in about 12 steps changing it each time with help from some of the tutorials on sandstone I could find. Until it was sort of acceptable. I used a verity of colours and washes and relied on the airbrush for all steps (to keep it quick) problem is it's too grey. I needed to call in the big guns and asked the community for help. Someone must know the answer. By the way these photos were internally blurry in most cases they have a focal point at the top and should be blurry towards the bottom. This was to see how it looked in the background out of focus. I sadly forgot to change my camera settings back for a while so there are photo's later on which are unintentionality blurry.
  Gerry came to the rescue in house water. I Specifically said I wanted more contrast in the stone. He provided a link, probably from his hobby wank bank, I followed it, it was 45 minutes. I was running out of time I couldn't watch a 45 minute video. I know, I will Bob Ross it and follow along. I skipped the intro and moved along to the first paint.... I paused at the end of each step only taking a few minutes to catch up. This was going great. Amazing sandstone tutorial, if not blurry and the colour balance was off and I had most or close enough to all the paints. So I finished the first of three tutorials to find out it was granite... I have no words even as I type this. I thought there was a magic step to bring in the sandstone... Nope. I really don't want grey.
 The next tutorial was done on actual sandstone red and yellow. I followed the yellow sandstone only instructions. This was a base of a tan colour then orange then a red pale flesh colour some overbrush the lighter drybrushed.. I done some stuff at the end to make it slightly lighter than my result and it ended up looking like a good base. But I NEEDED MORE. I was too deep to accept just an ok sandstone colour. I needed something AMAZING and this was not it. Possibly I need think back to my own experience in church and do red sandstone?
  I began to crack, I pulled up a picture of my old childhood church and got to work. Starting with a dark brown base. then overbrushed a hull red colour then adding some sand colour to make a dull pink and dry brushing it on. I picked out some stones using black wash and this looked quite close but not exact. But enough to see the clash with the tile colour.
  I thought about starting this from a red base I liked the red and possibly this was the missing component on my sandstone . So I modulated the red on each row of bricks from sandstone to red. I made a movable wooden mask for each section. I then unified this by using the methods from the video. just changing the base really. This again didn't look horrible but it wasn't right.
  I then took a minute to think. I had been at this all night by this point it was about 12:30am. Then I had an amazing idea. Rail road people must have good looking and quick sandstone. I found a tutorial and followed it. while I think this would work at their scales, it wasn't quite right. It was a basic tan colour a drybrush of a lighter sand colour and making some washes to pick out bricks in red orange and green. The step that did make it look slightly more realistic was the addition of pigment powders. Still not right for 32mm and the sizes of the stones.
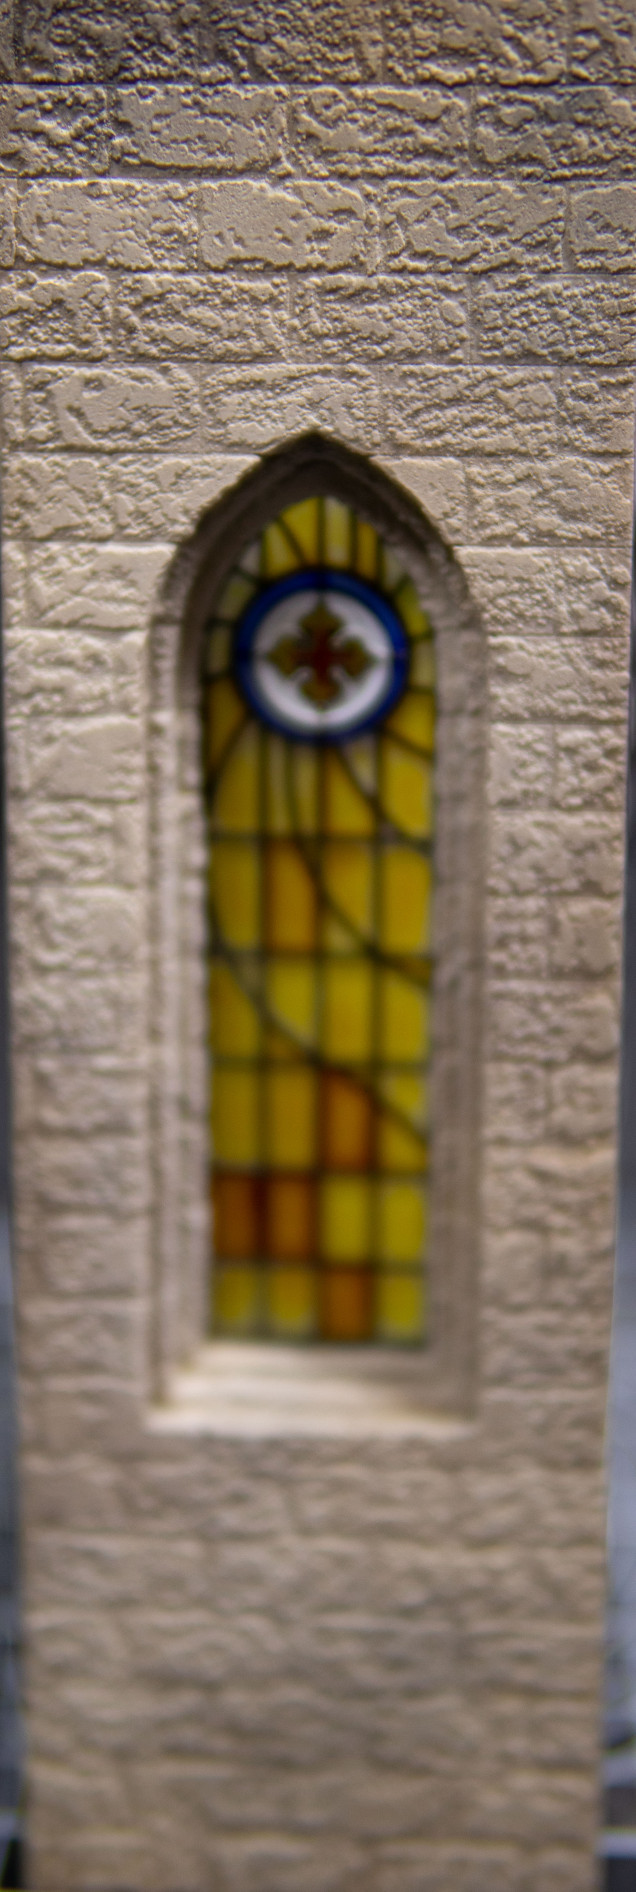
  The battle was over at this point. I started to watch a lecture on sandstone to get ideas, it was talking about the components of sandstone, it wasted by time... Then I thought at 1am I have a great idea! One last through of the dice for tonight. I have a geologist friend. Without thinking I gave him a call. Took him a while to answer I sent photo's of all the sandstone ahead of time. Maybe he was reviewing them. Got a response! Asked my question about the colour of sandstone... was in the middle of being told that sandstone comes in a wide verity of colours and started listing some, great info! Then his wife took the phone and swore at me and hung up. It was at this point that I felt I had got obsessive over sandstone. It had gone to far. I learned my lesson and would need to start from the beginning tomorrow. I glanced at my test piece and it was becoming thick with paint and failure. I wondered, what had I done with my life that day? I would sand it off and start again tomorrow, it was only a test. Then I sanded it off and it hit me while looking at it's sanded body. I didn't like the colours as the texture wasn't right. Not only that but sandstone bricks are not high contrast. I now had all the tools to do something. So I combined what I liked from each test. The colours and method of the gerry sandstone video. the picking some bricks out with orange and the pigment powders from the railroad tutorial and the new texture. I had it. I had miniature sandstone I was happy with.
 As you can see from the above. I drove myself crazy. But I did get something I was happy with in the end. There was about another 6 times I painted this thing and didn’t take photo’s. I should have analysed sandstone instead of my idea of sandstone. it’s a great lesson I will forget after submitting this.
Next morning I got up and started on the base. I was behind now. Just as well I planned at the start… 6p’s remember?


![How To Paint Moonstone’s Nanny | Goblin King Games [7 Days Early Access]](https://images.beastsofwar.com/2024/12/3CU-Gobin-King-Games-Moonstone-Shades-Nanny-coverimage-225-127.jpg)


Great sandstone!
Is it from any particular area of Neoterra, or did you cut corners and referred only to earthly, northern European style of rock? 😉
I was more thinking of a monastery in a mountainous region of Bourak. These regions just happened to be on an ancient sea bed with large deposits of sandstone (aka space sandstone). Similar to the deposits found on their ancestral home making it an ideal site for a monastery. I like the idea of them being on crusade and there to stay with visiting VIP’s, either killing or converting the local populous (to easily gain their bio tech research) and making them jealous of the wonderous ways of Panoceania.
Good story.
While I respect your work immensely, I mostly play Haqqislam, and thus have to doubt if descendants of the peoples who built Taj Mahal or Alhambra would be wowed by anything gothic… even space gothic (?). 😉
Oh, and am I correct I hear a bit of Malazan Book of the Dead echoes?
We have to try! That’s why we also bring bags and bags of money if they don’t like the monastery. 😀
Sadly not, had to Google Malazan. Seems like a good series but I am stuck in the genre of space trash. Series of books with lots to read but not the most high brow. I used to swing between sci-fi and fantasy but it’s been about 10 years now may never go back.
Money you say? Now we’re talking 😉
As for the Malazan series, huge part of the action of 3 or 4 books takes place exactly on a desert which used to be sea-bed, and remnants of harbours and fishing villages are still visible there. Anyway, it is great series of books, but I don’t recommend starting it if you don’t have time to read all in one go (it has ten tomes and each of them introduces dozens of new characters who reappear later in the plot).