Digital dice roller
Creating an enclosure
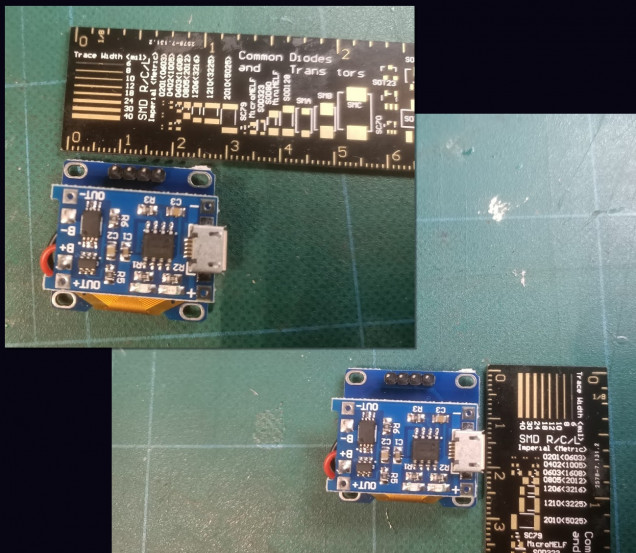
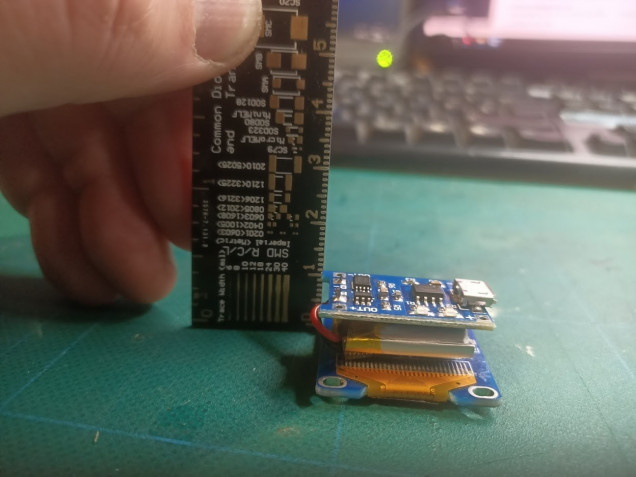
The first thing to do is to measure up our components to work out how large a void we need to encapsulate our all electronic gubbins. From here we can work out how small we can make the enclosures.
 This involved little more than simply measuring, with a ruler, how much space the components were likely to take up.
Our components basically consist of an LCD (bottom) a 100mAh lipo rechargeable battery (middle) a USB charging circuit (top) to safely recharge the battery from any mobile phone type charger, and the control circuit (an Atmel AVR TQFP chip on a custom circuit board – not shown)
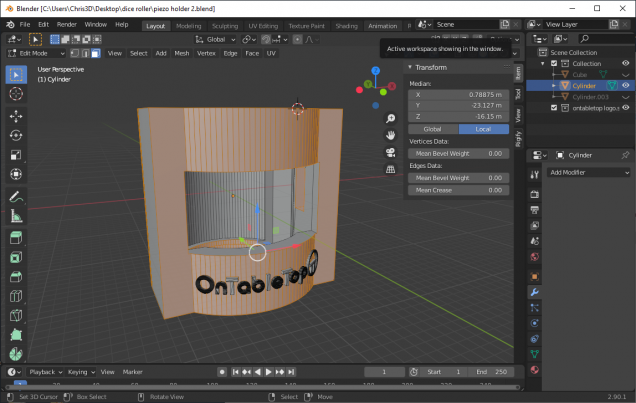
Taking these measurements, I drew a basic cube shape in Blender (to indicate the void space needed) and expanded it a bit.
Then I added various cubes and cylinders around it, and used multiple “boolean” operations to create a simple shape that could be 3d-printed on my AnyCubic Photon resin printer (the fdm-printer is currently being rebuilt).
Lastly, I drew the OnTableTop logo in Inkscape and extruded it as a series of 3d shapes, to recreate the logo on the front of the enclosure shape
Then it was off to the printer! And a four-hour wait while three of these things slowly emerged from the vat of gloop…..


![How To Paint Moonstone’s Nanny | Goblin King Games [7 Days Early Access]](https://images.beastsofwar.com/2024/12/3CU-Gobin-King-Games-Moonstone-Shades-Nanny-coverimage-225-127.jpg)


Leave a Reply