Trees and things
Recommendations: 52
About the Project
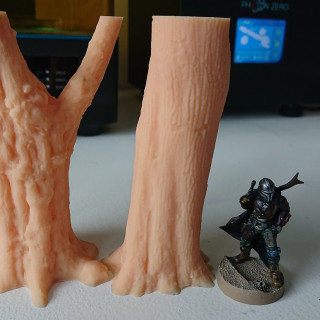
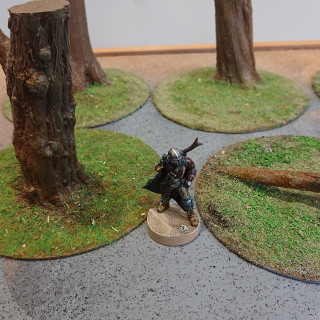
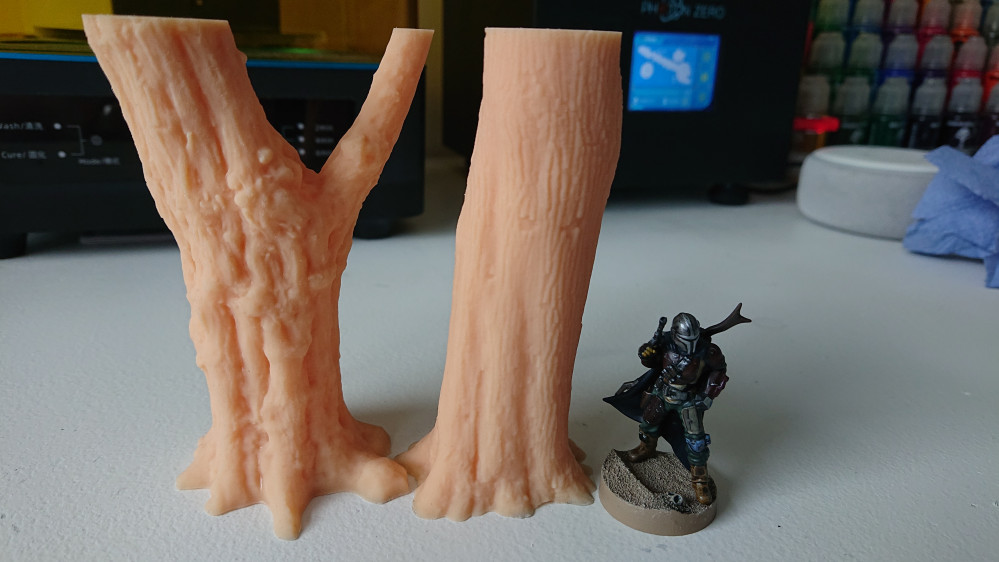
I recently bought a teeny tiny 3d printer. Now I have it (pretty much) dialled in, and, more importantly, I have some idea as to what I'm doing, I'm printing when I can. These trees were from the Kickstarter by Lincoln Savi, "Tabletop Forest". They were printed direct to the plate and needed next to no supports. The plan is to get several printed at about 10cm tall and a few at 15/6 cm tall. I can then use them for pretty much any game - from Star Wars Legion to Bolt Action to Saga.
Related Game: Bolt Action
Related Genre: General
This Project is Completed
So it begins.............
Having printed a few minis successfully, I decided I wanted to tackle some terrain. After glancing through the “Terrain Essentials” by Mel Bose (I was a backer), I was inspired by some of his great ideas for simple basing.
First off, Printer and settings:
Anycubic Photon Zero
Resin: Anycubic Skin Water Washable
Layer Height: 0.04mm
Layer Exposure: 9.5 Seconds
Base Layers: 6
Base Exposure: 47 seconds
Base Lift Height: 8mm
Lift Height: 6mm
The models were pretty large, and, with such a small base plate, I had to scale the models down slightly – typically between 75% and 85%. At this level they were a good size and fit most games. I will print a couple at 100% or , possibly, larger as scatter for Endor terrain.
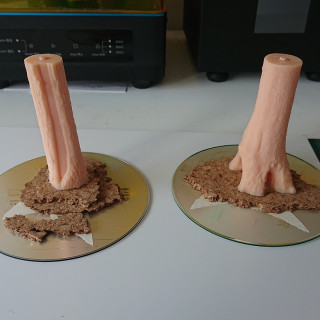
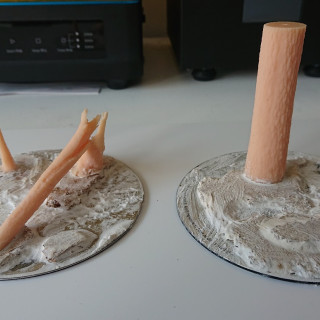
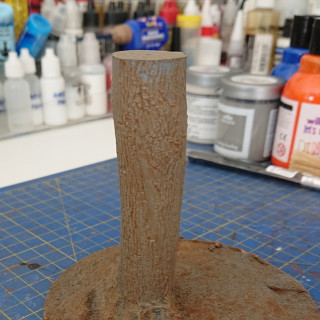
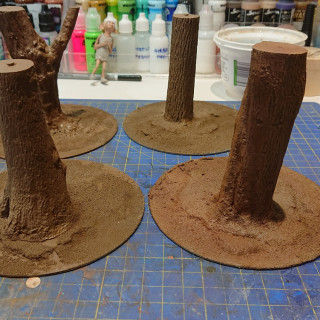
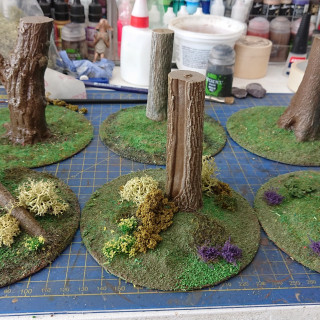
I used CDs/DVDs as the bases and added some cork floor tiling to add some undulations. Once the glue had dried, I used some wall filler (spackle I think its called in the US), to smooth off the edges of the cork and add some texture. I let this dry a little (so it moved around a little less), then used a wet finger to try and get rid of the rough surfaces.
And that’s where I am right now. Next up I hope to get these painted.
..........and then it ends abruptly.
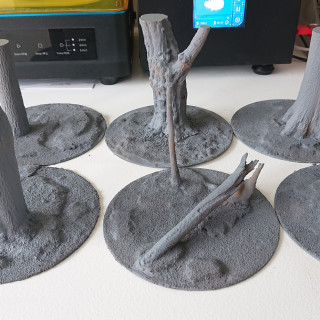
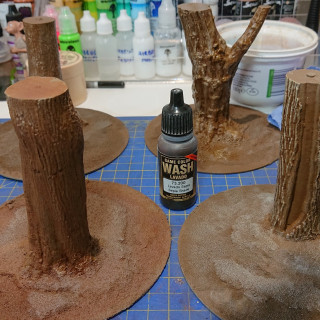
After letting the filler dry, I sprayed the whole lot with Grey car primer.
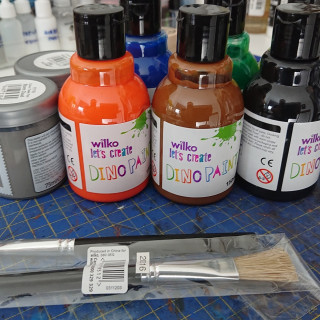
I then tried using some kids poster paints to give a simple, brown base coat.
This did not end well as you can see above – the poster paints, although quite thick and heavy, have so little pigment that the coverage was shocking!
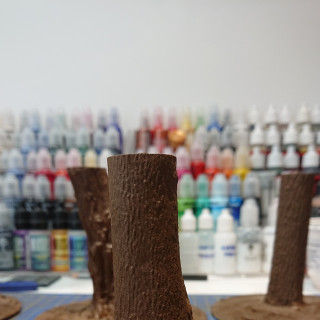
So, I cracked out the airbrush and hit the whole lot with German Camo Medium Brown (Vallejo Flames of War range #826).
This was then washed with Sepia and / or Agrax Earthshade depending on the tree.
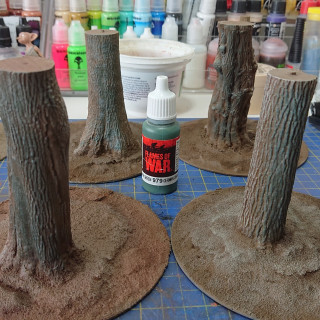
The Birch was drybrushed with a 50/50 mix of Warcolours (WC) White and Vallejo (V) Ivory. The rest were given a light drybrush of German Camo Beige (V #821). followed by a really light drybrush of the 50/50 white/ivory mix.
Knowing that, generally in the northern hemisphere, trees tend to have a green, mossy north-facing side – I thought I would give one side a green drybrush(Luftwaffe Camo Green (V #823). I then washed this with Nuln oil (GW), and reapplied the drybrush. Overall I’m not overly impressed with this, so I might try another way before I finish.
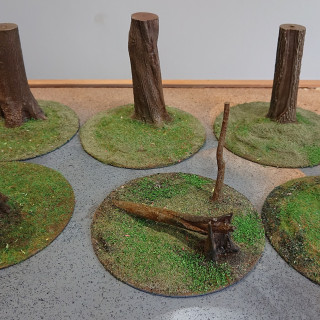
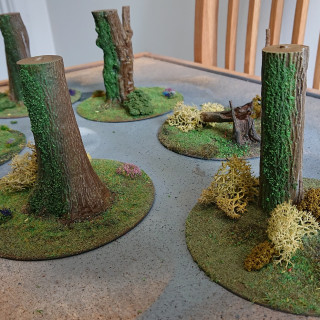
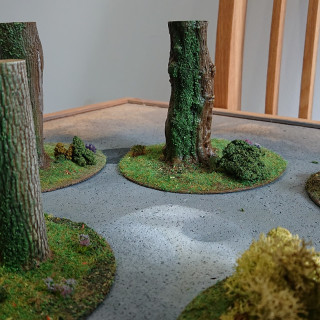
For the bases, I coated the whole thing with watered-down PVA, and sprinkled various shades of flock/static grass. I sparingly use the woodland flock in a circle around a couple of the trees.
I added some lichen, clump foliage and flower tufts around the trees. The whole base was misted in watered-down PVA before a satin lacquer was applied.
There are still some finishing touches to go – so I’ll have another entry before I close this project. But so far, they don’t look too bad.
Except for the post Credits scene.....
So, I decided that the “moss” didn’t look right.
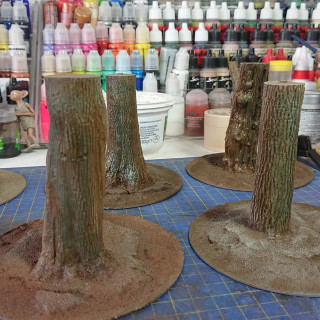
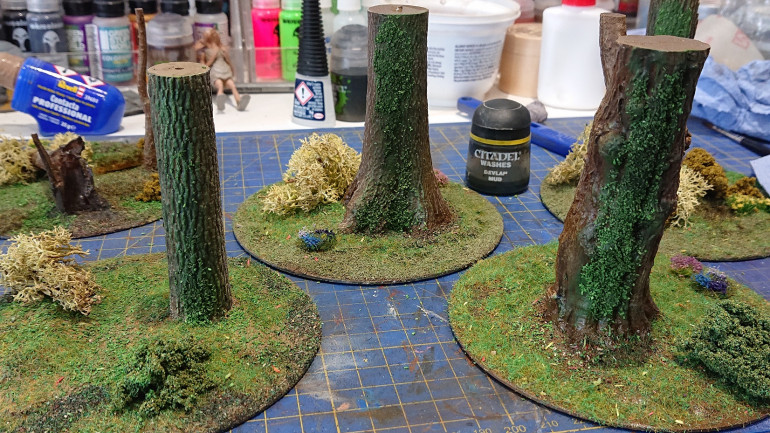
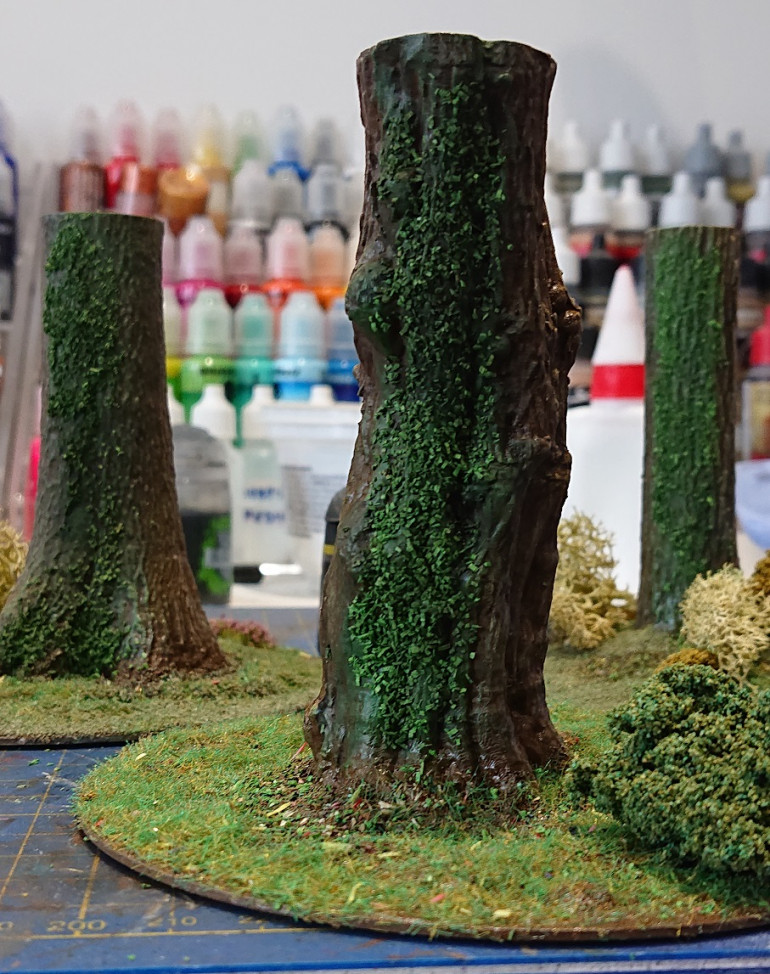
In the interest of making this look better, I spread a thin layer of PVA over the tree trunks that I had painted green and sprinkled some “summer” green flock. This is a very bright green, but I had a plan!
So, once the PVA had dried, I thinned some GW Devlan Mud (yep – I still have a little left!). I used this as it’s a little darker than Agrax. I had to be careful not to move the flock around, as the water re-activates the PVA. this is not ideal, but using PVA was my choice here!
Once this had been allowed to dry thoroughly, I gave the whole lot a coat of satin lacquer (for protection). Once this was dry I hit them with Dullcoat to take the sheen off.
Overall I think the moss effect looks far better with the flock. I just have to hope these can take being handled for gaming!
Comments and critiques always welcome.


