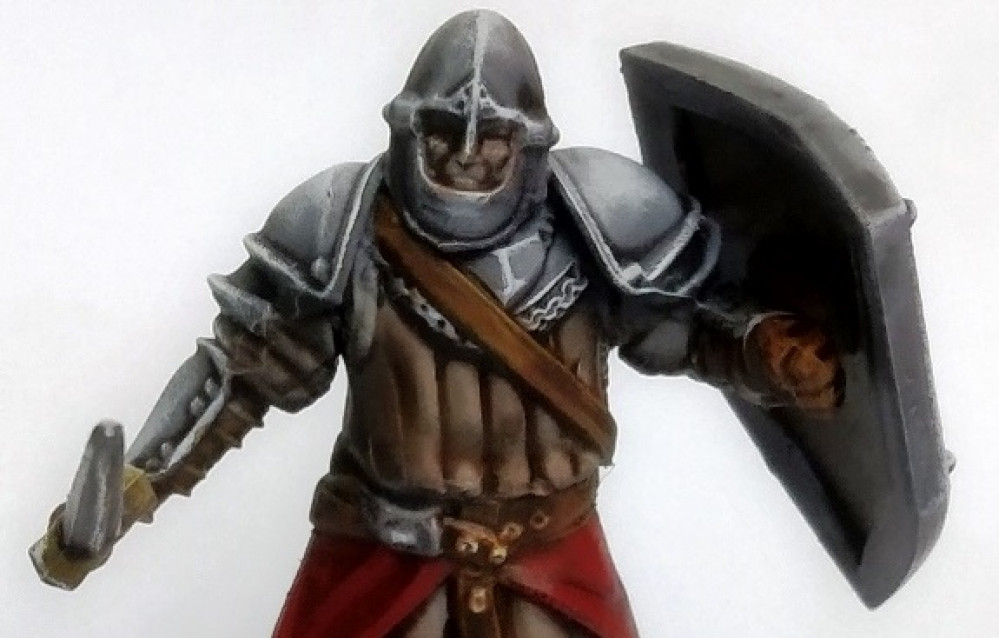
Path of Conquest 2020 : The 100 Kingdoms - The host of the Iron Wolf
Persistence is the key to victory...
OK, almost two months without an update.
The French lockdown has taken its toll on my hobby time (I’m of those who have to work twice as much during a lockdown).
But I haven’t given up.
So I’m back at it.
The enemy is going to sh*t his pants, the Iron Wolf is angry !
Since I’ve been painting miniatures, I’ve always been on the speed painting side because of the time it requires to paint those small things.
I’m not lazy, I’m smart : there’s a difference. 😉
I still like good looking miniatures. I’ve then used techniques optimising the ratio time spent/result.
Here is a quick tutorial on how I proceed when I have to paint an army, and this example will be on my “militia”, which means the pack of wolves.
First some general rules :
1. Zenithal highlight is your friend : trust it.
2. Have a standard paint scheme for all bases (not necessarily all miniatures). It brings the army together visually.
3. Have a plan
4. Test the plan
5. Optimise the plan
6. Follow the plan
Zenithal Highlight does not need an explanation, but I have to address one of the most important parts : which colors to use.
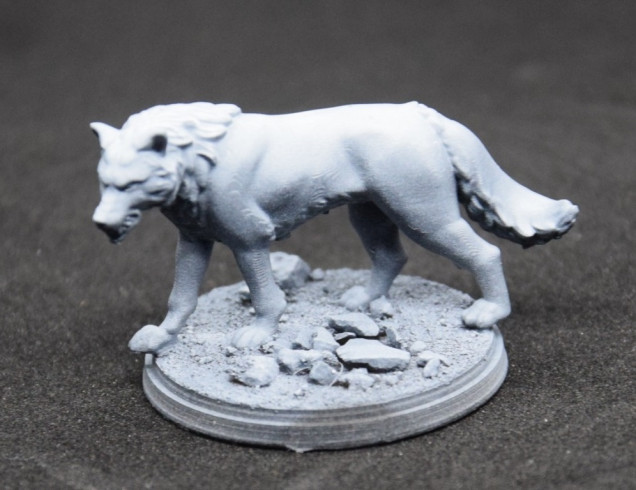
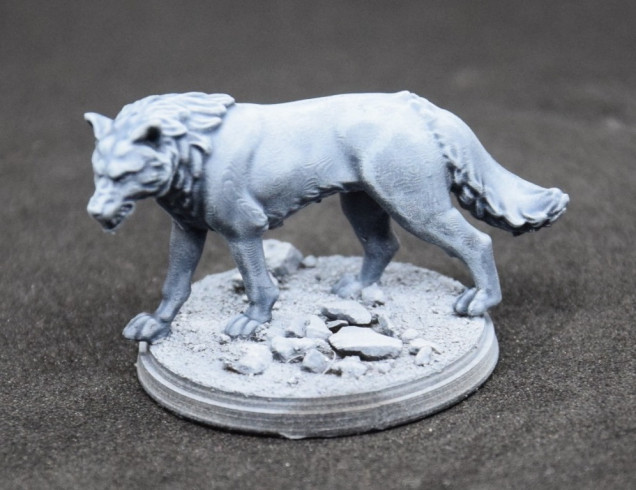
On my Men at Arms, I used a black primer and a white zenithal highlight. It’s simple, and it creates a great contrast between shadows and light, very useful when you do NMM.
On the wolves, I already knew I was going to use the Contrast Paint Space Wolves Grey for the fur. Despite the fact that fur is no metal, I decided ti keep the black primer instead of using a grey one. I then highlighted it zenithally with pure white.
For the bases, I already had my plan, which is very simple :
– After glueing the miniature, PVA glue with sand and small rocks
– Once dry, another coat of diluted PVA glue, just to make sure nothing is going to get away
– Then the airbrush, and finally the steps I already outlined in a previous post :
– Base: Citadel Wash Coelia Greenshade
– Base highlights: Citadel Dry Etherium Blue
– Base details: a few leaves (birch seeds from my garden) and winter grass tufts (Green Stuff World)
Then I had to think of a plan to paint the wolves. They were going to be grey wolves, but I had to put som red on them to bring visual coherency to the whole army (I have red on every miniature so far). The red would be in the eyes and slightly on the mouth, since no other parts were eligible for it.
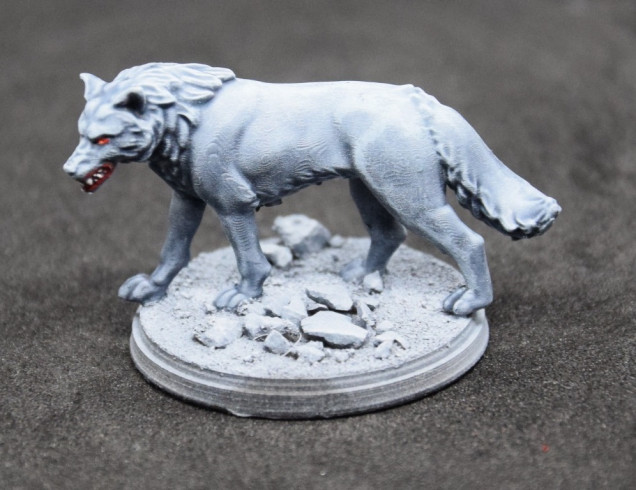
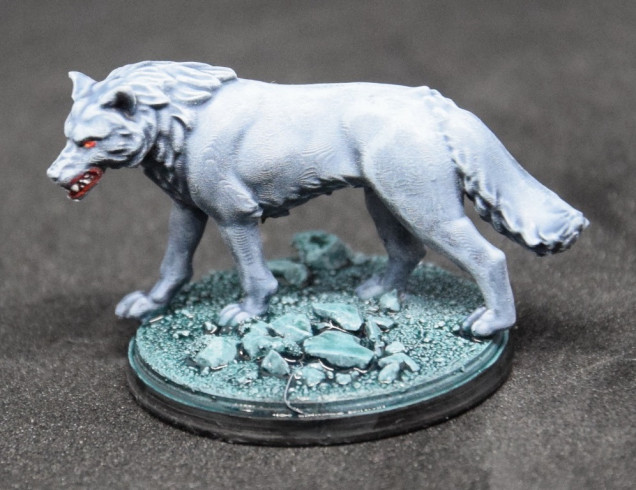
You can see below the detailed stages for those wolves.
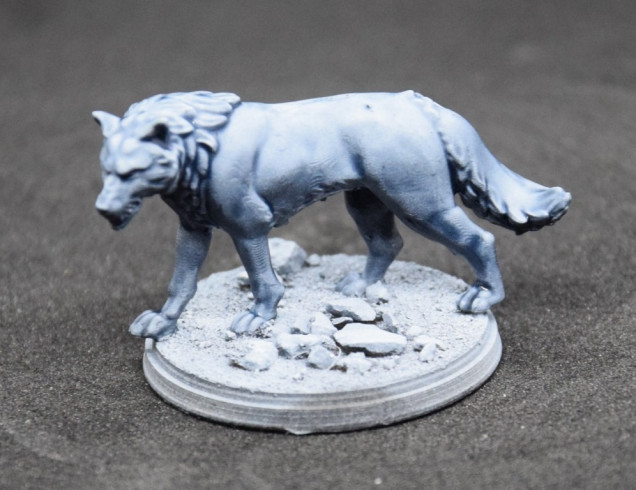 For the fur, I simply used Citadel Contrast Space Wolf Grey. It's a great way to efficiently add shadows, and keep the zenithal highlight.
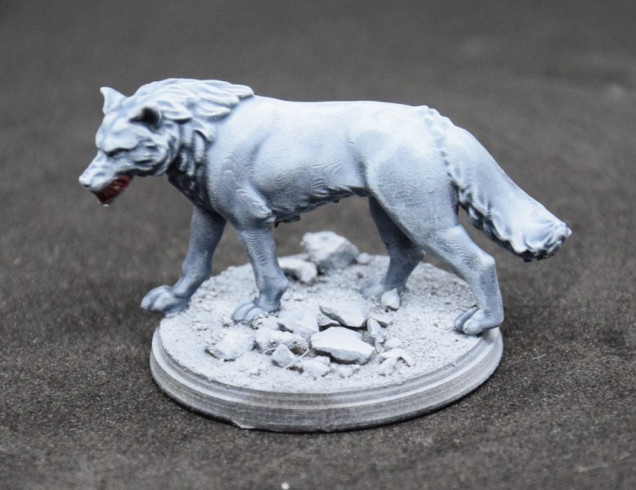 I painted the mouth with Citadel Contrast Flesh Taerers Red, since it's the same red I use on some of the fabric in the rest of the army
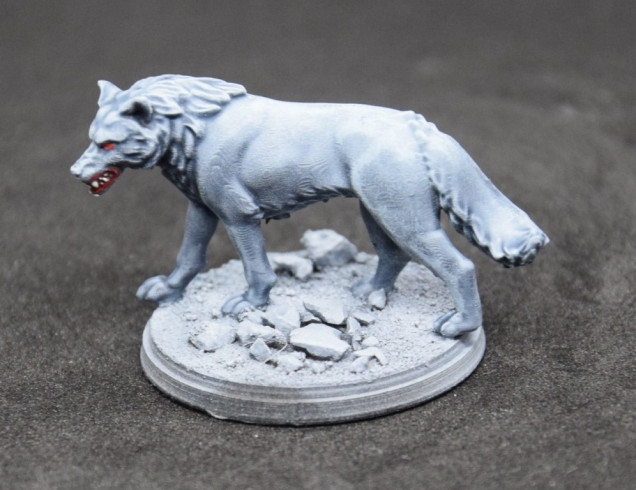 Then it was time for the eyes, with a base of Citadel base Mephiston Red (I added a few strokes around the mouth)
 Since I was satisfied with it, I decided to optimise the whole plan. Had I not been satisfied with it, I would have to start over again and change what I didn’t like. This is why you have to make a test before applying it.
To optimise the plan, I had to reorder the steps to gain some time. In this case, I was using twice the Citadel Dry Etherium Blue (for the base and for the wolves). I placed that step at the right place :
– Base: Citadel Wash Coelia Greenshade
– Fur : Citadel Contrast Space Wolf Grey
– Fur drybrush : Citadel Dry Etherium Blue
– Mouth : Citadel Contrast Flesh Taerers Red
– Teeth : Citadel Dry Wrack White
– Eyes : Citadel base Mephiston Red
– Eyes : Citadel Foundation Macharus Solar Orange (old reference)
– Base details: a few leaves (birch seeds from my garden) and winter grass tufts (Green Stuff World)
It might be a small difference, but it saves me time (which is very precious nowadays).
This a very simple and effective way to paint large units and it took me less than an hour to paint the whole unit (apart form the leader who has a slightly different paint scheme).
Next update wille be for the planning of Milestone 3.





Leave a Reply