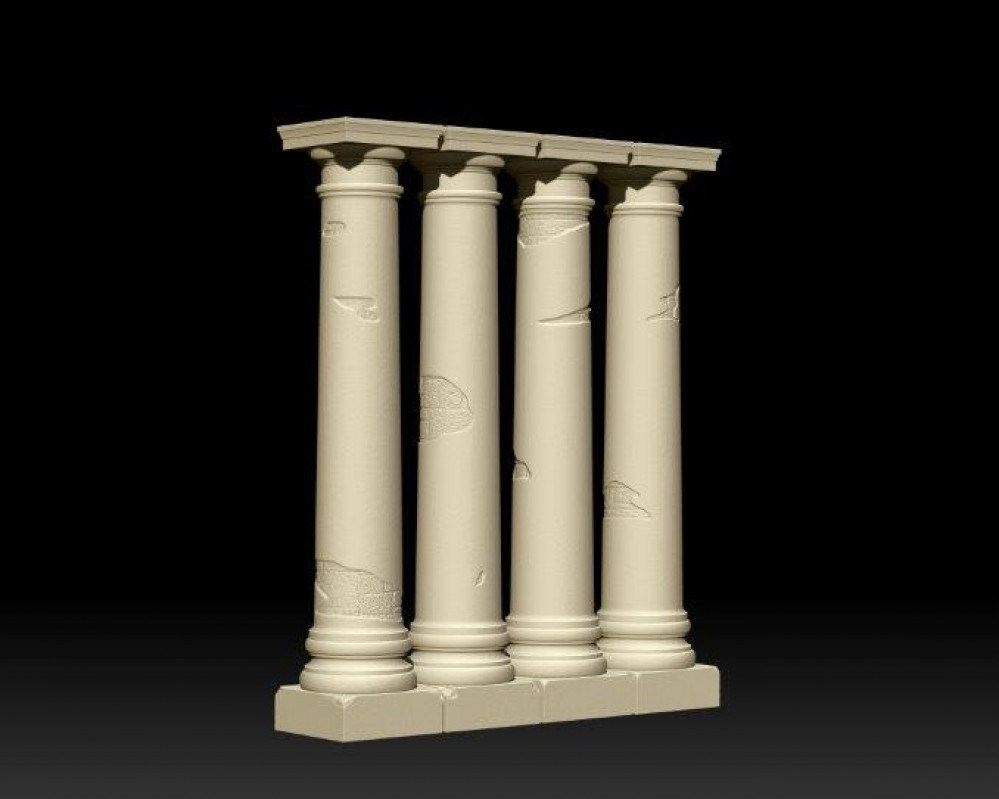
3D Printed Columns
Boolean Operation and the Finished Demon
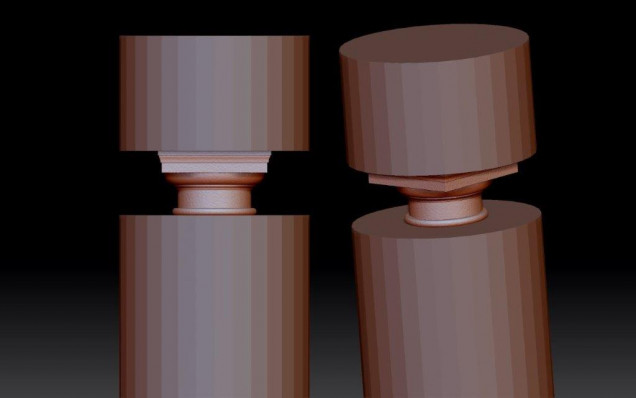
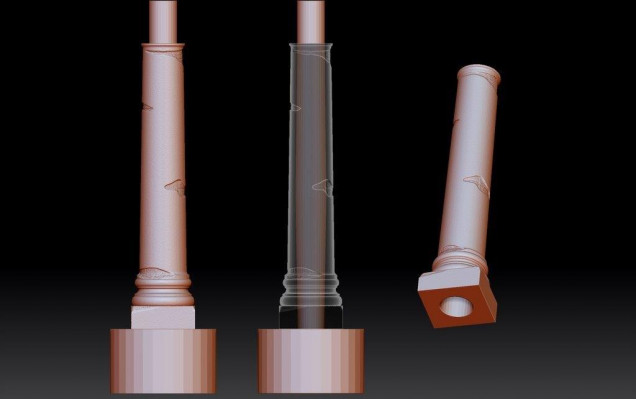
With the redesigned columns completed, it was time to cut them up for printing. To do this I used the Boolean function, as illustrated below.
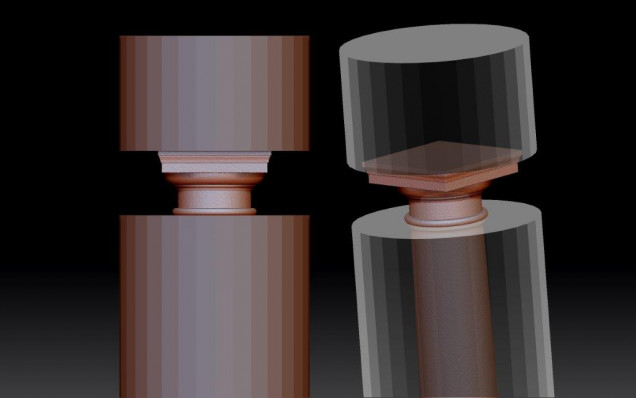
First of all I positioned a cylinder over the column, leaving only the cap showing. I placed a 2nd cylinder above and pressed it down onto the top of the cap.
The transparency shows the parts of the column cover by the cylinders. The Boolean function will use the cylinders to cut away from the column, removing these covered areas.
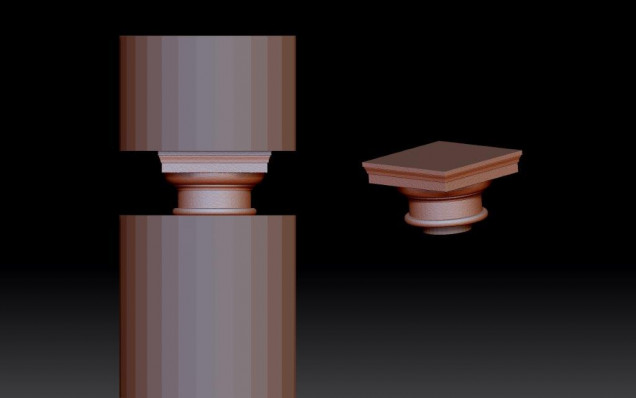
With the function complete, the cap is cut away and left with a perfectly smooth top.
I used the same method to flatten off the bottom of the column base and channel a hole through the centre. As mentioned before, this was to reduce the amount of material required for the print. These columns will have even thinner walls than the originals but I have left the bottom a little thicker to add some weight there.
It was time to run some more prints.
in the meantime…
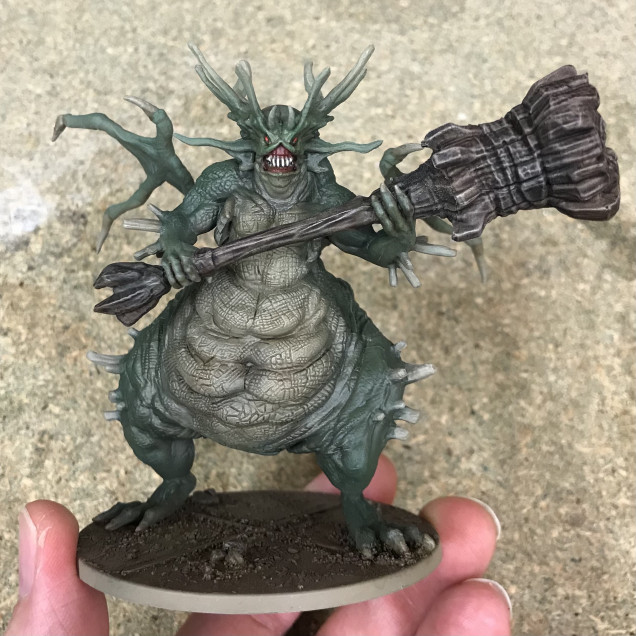
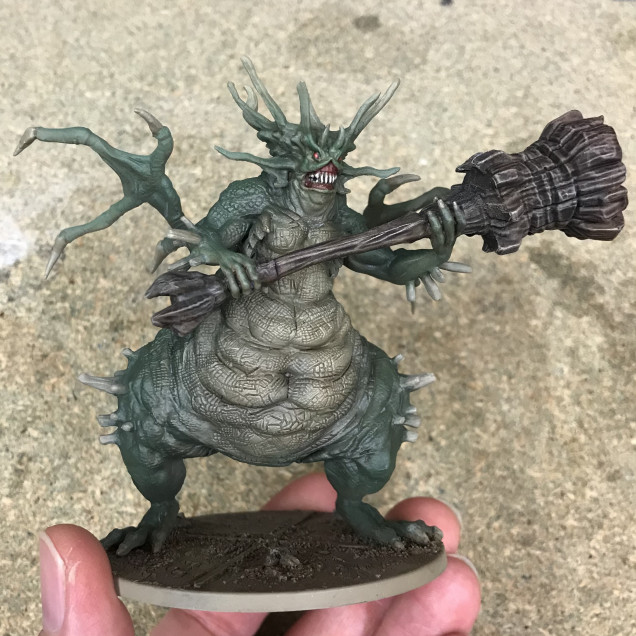
… with the airbrush work completed, I finished the rest of the Demon by hand. After picking out the details I added to the texture with washes and some light dry brushing.




Leave a Reply