#PATHOFCONQUEST The Nords: Army – John’s Conquest
Recommendations: 127
About the Project
I am finally getting into building and painting my Nords for Conquest. I've been looking forward to this challenge for a while and it's good to be finally putting stuff out!
Related Game: Conquest: The Last Argument Of Kings
Related Company: Para Bellum Games
Related Genre: Fantasy
Related Contest: Path of Conquest 2020
This Project is Active
Milestone Two!
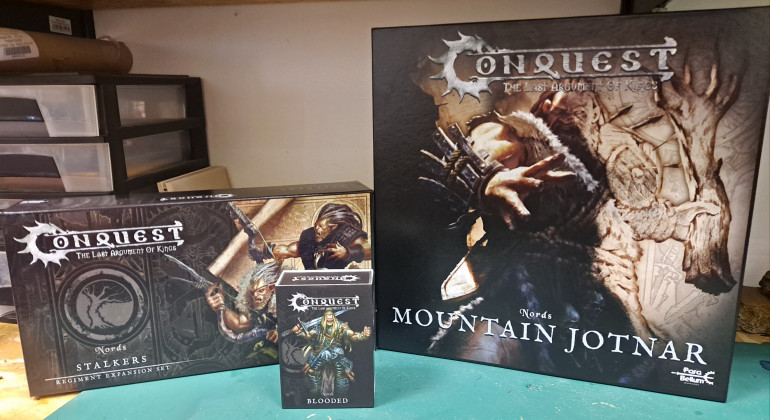
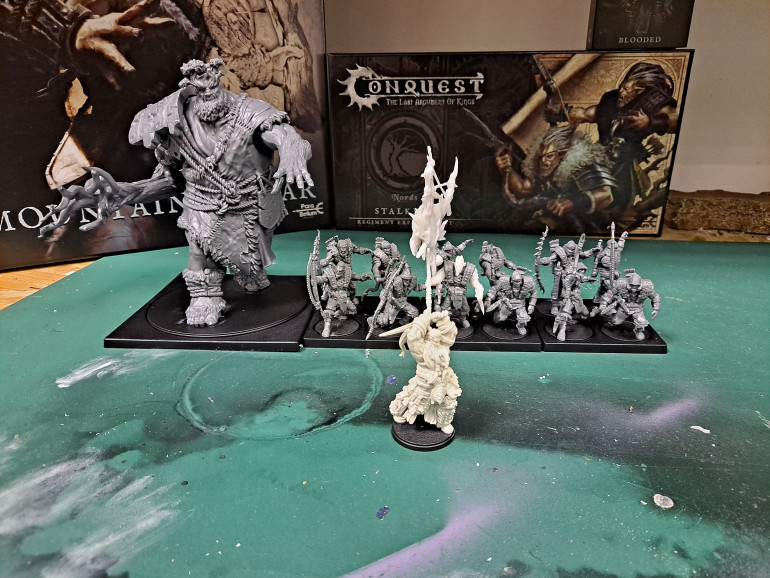
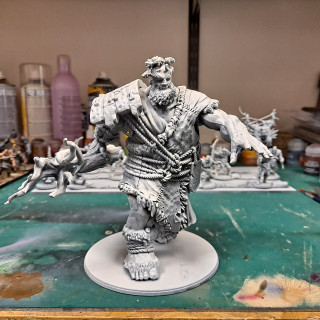
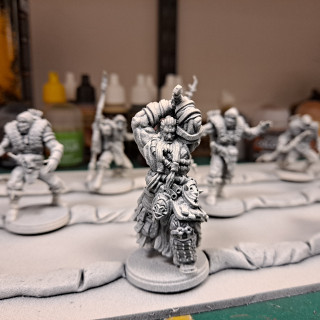
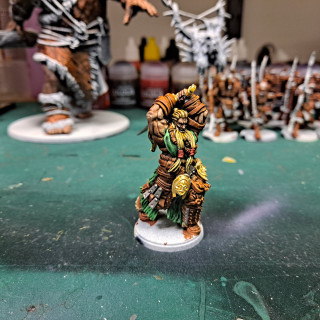
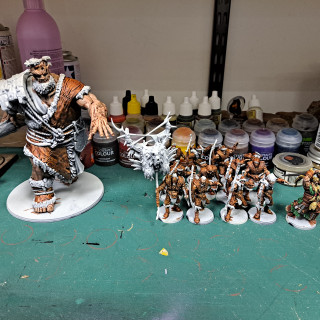
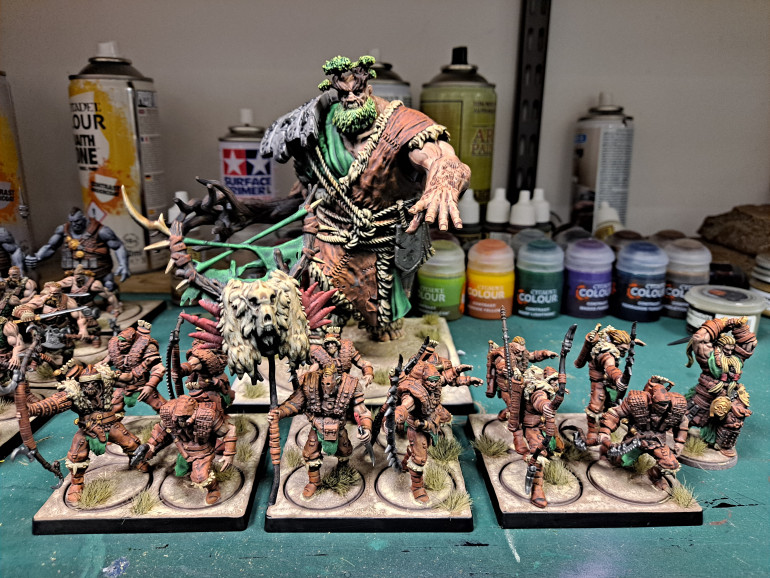
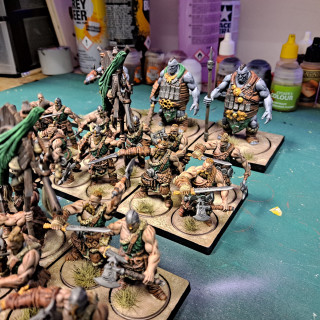
Now I finally move on to Milestone two. This one is pretty simple with only three units. First off, I get one of the awesome Jotnars, one unit of Stalkers and, finally, the amazing Blooded!
So I will be skipping over most of the details now as I established my approach in Milestone One. The only major difference is what colours come to the fore on the Stalkers as they are considerably more clothed than the Raiders.
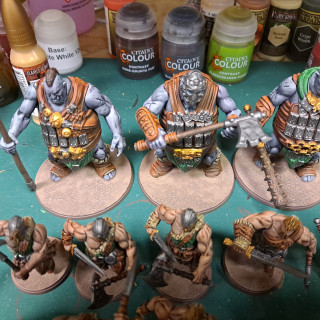
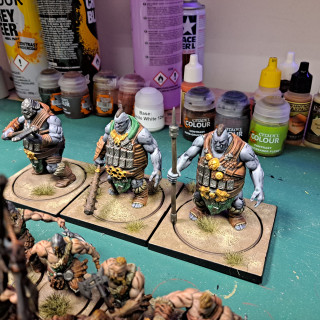
Everybody here is using the same colours as before. With the Jotnar needing some different colours to make his unique hair and equipment. So some greens and greys just to make him a little different.
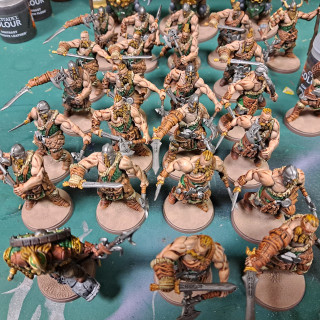
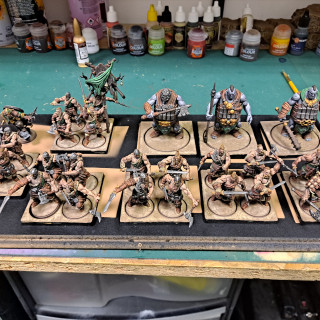
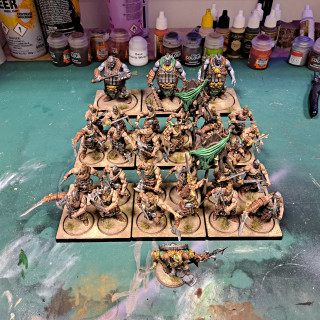
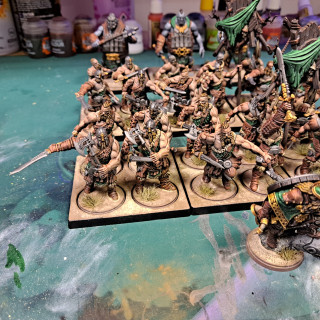
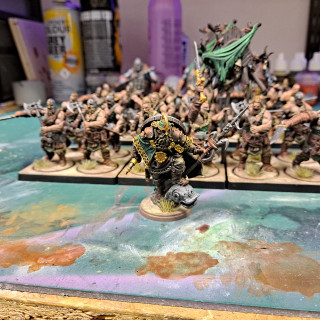
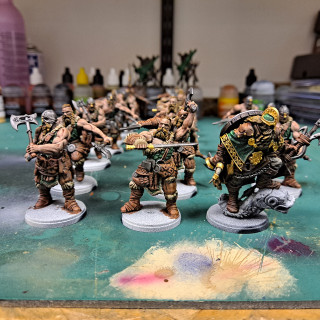
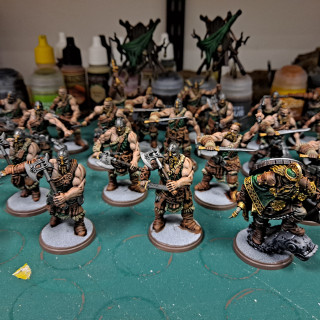
All in all, milestone two is done and I love how the stalkers turned out. They look more “subtle” with less green and gold on them. The blooded just looks epic! Another epic resin miniature for the range. I really have fallen in love with the characters for the Nords!
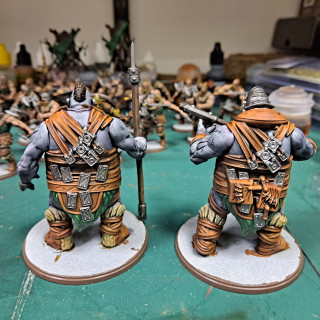
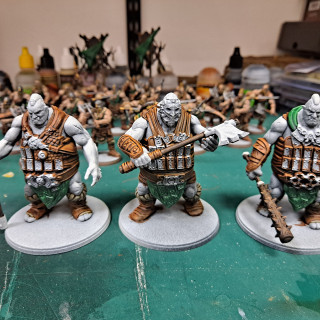
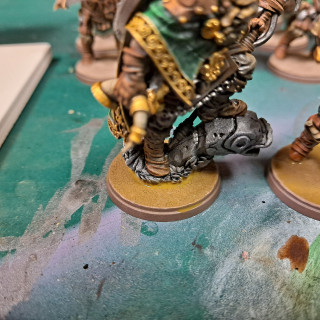
Ugr skin, basing and magnetism!
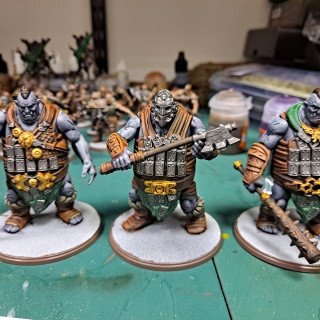
The Ugr follow the same colour format for cloth, leather and metals until I get to the skin.
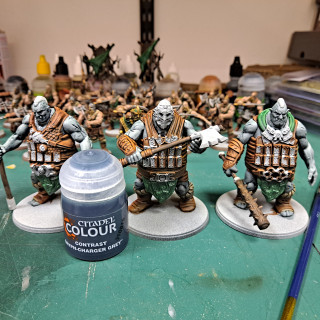
For the skin I used:
Gryph Charger Grey
Magos Purple.
I put the grey down heavily over the base coats, then, let it dry fully before adding a water-thinned coat of the purple. This gives the finish a less “flat” colour. So in places the skin appears to have a more flesh “purple” showing through in places. I think for a larger model, it is important to play with the tones of skin and such as you can generally see those tonal differences more easily. Now… time for basing!
With the basing I was, at first, tempted to go a traditional “texture, wash and drybrush” approach. But I have done that so often with my armies at home that I wanted to do something with a different finish. With that in mind I grabbed some Agrellan Earth. This is a crackle paint, which means that, as it dries, it cracks and creates a broken, dry ground texture. So… in the way I usually do I slapped it down thick and heavy, just to see what would happen. And what happened was this, lovely looking, uneven pattern of cracks. The only issue is that the cracks reexpose the lighter coloured basecoats of the base. SO! as any good modeler does, I broke out the pigment powder!
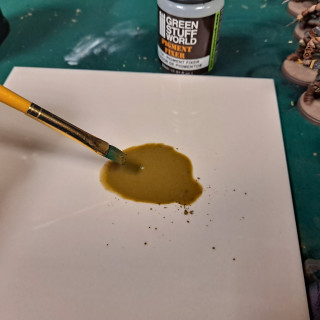
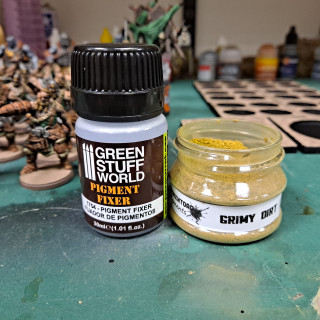
Taking the Grimy Dirt pigment, I mixed in some Pigment Fixer to create a wash which I coated every base, again trying to keep an uneven coating, letting it dry in a patchy manner. This filled the cracks in the base and gave me a nice, dusty finish. But… this wasn’t enough.
I added a brighter pigment “Burning sands” dry and patches over the more heavily cracked portions of each base. After that, I painted the outter base rims black. ….Almost there. But something was bugging me…
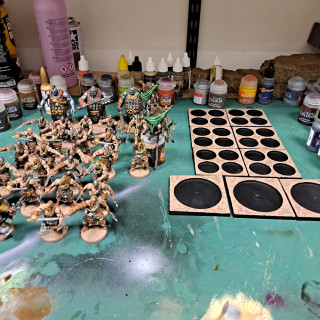
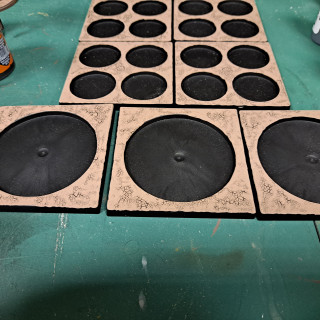
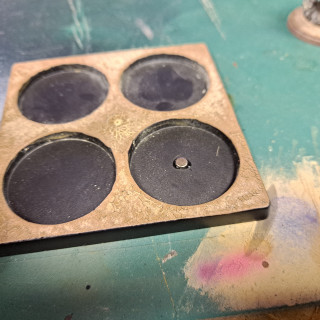
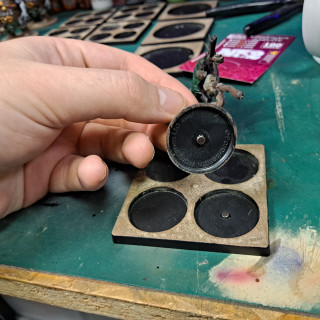
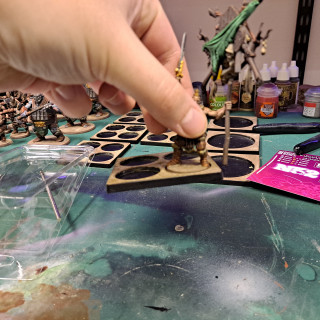
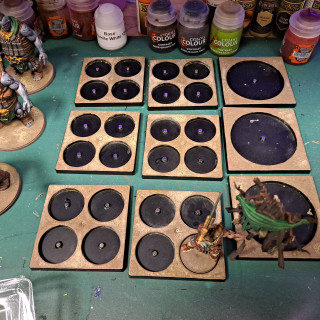
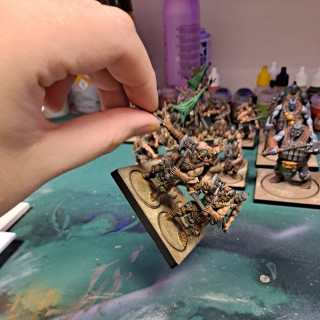
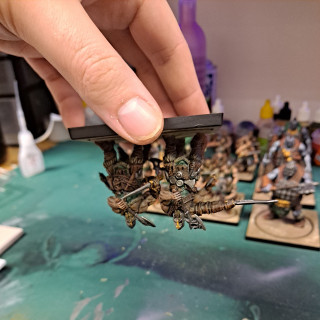
I have never been a fan of movement trays. Models are hard to place and tend to fall over when moving the tray around. In this case, the banner bearers are particularly difficult to balance. So I put 2 and 2 together and got a Pineapple… then I decided to use magnets.
I ensured that I exercised patience and care to ensure that every set of magnets was placed the same way up, so that I would have the ability to place any miniature in to any slot on the movement trays. This will let me “pose” the miniatures to minimize bases interfering with their neighbours. And finally… my banners don’t want to just fall over.
AND DRUMROLL PLEASE!
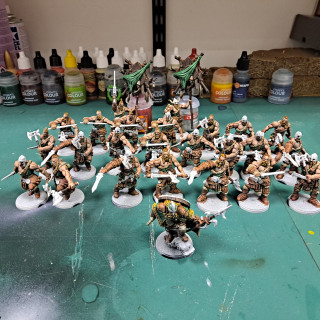
With some Army Painter grass tufts super glued down I have completed Milestone one! HUZAH!
Having this first Milestone complete is a real morale booster. One that, I’m sure, feels great for my three competitors. We finally get a glimpse of the completed army and can more easily push on to the next Milestones with a sense of there being no more, major, decisions to make creatively.
So, enjoy the images and see you again in Milestone two!
It's all about Contrast.
Milestone one moves into the painting phase. I’ll go more into detail of painting in this section to that the later Milestones will only need to cover what is different!
On to priming…
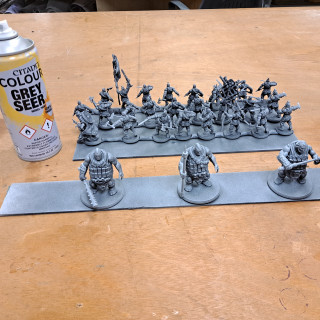
So, as you can see, I went for a three stage prime/undercoat. I wanted to demonstrate how effective this is when doing a large batch of models all at once. So, first the entire model was primed black, then heavily dusted with Grey Seer and finally top-down dusted with Wraithbone.
Since I am going to lean more heavily on Contrast paints for flesh, cloth and hair, I figured this was the way to go!
So the colours used here are:
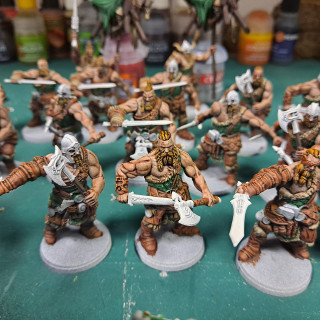
Skin: Darkoath flesh
Cloth: Warp Lightning
Leather: Gore Grunta Fur
Hair: Aggaros Dunes.
Fur: Skeleton Horde
Gold detailing base on Jarl: Nazdreg Yellow
I like using Contrast in this way because it keeps the “soft” materials looking interesting without needing to go overboard on highlighting and shading. It also allows me to balance the finish that Contrast gives by taking a litle more time of metal details and making them look more “heavy” giving me a nice CONTRAST between them boom boom!
For the metals I used the following:
Steel: Army Painter Gunmetal
Gold: Army Painter Bright Gold
Steel wash: Nuln Oil
Gold Wash: Army Painter Soft Tone
I think you can see what I meant earlier by making the metals feel HEAVY… or heavy metal if you will (I’ll stop the jokes eventually…)
The final step before basing material is added was to paint the base rims an earthy brown. Only for the miniature bases as I will likely keep the square base rims back to border the unit and make the round base rims less apparent once the models are placed into the square bases.
In the next entry I’ll discuss what is being done differently for the Ugr!
And it begins, with Milestone one!
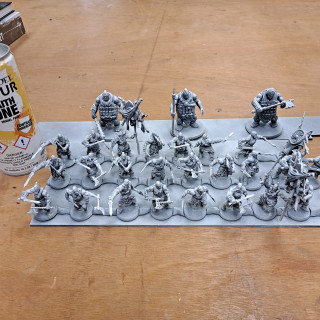
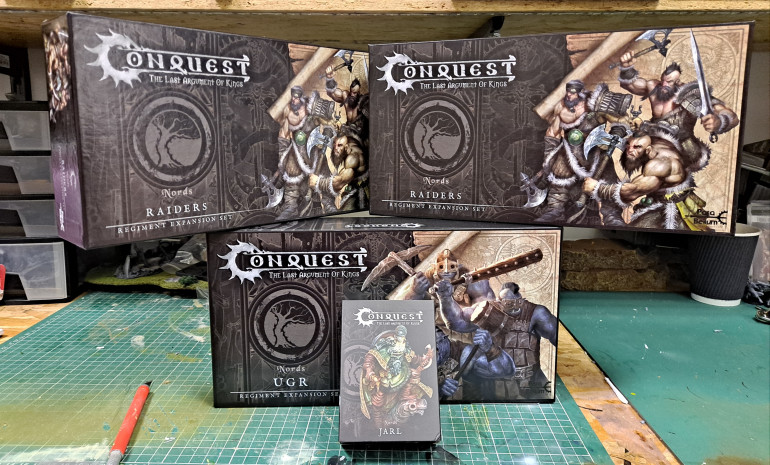
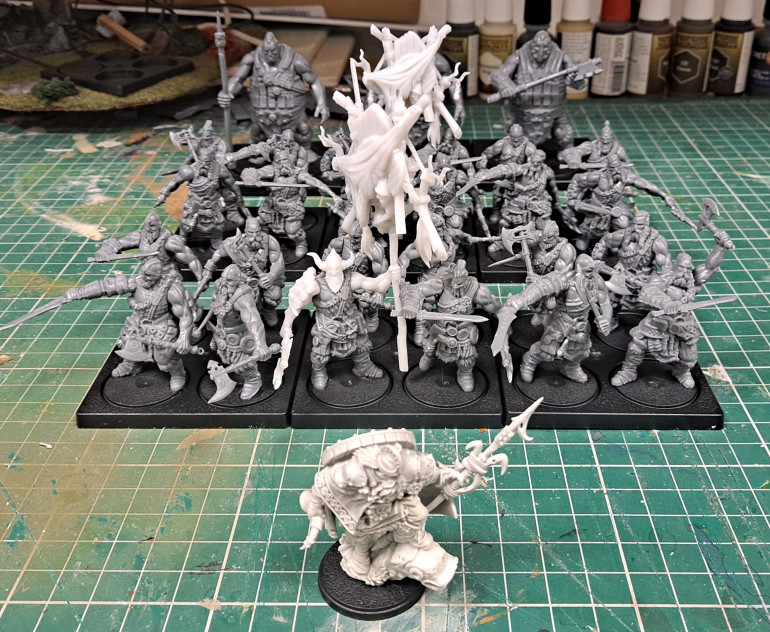
My first Milestone covers a lot of the core units that will become the bread and butter… or meat and bone, of my Nords. It’s a good lump of plastic and resin to start me off!
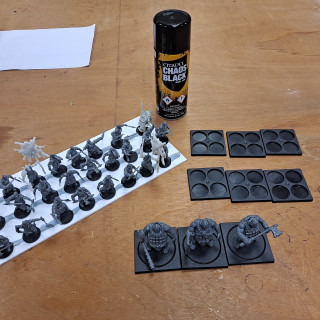
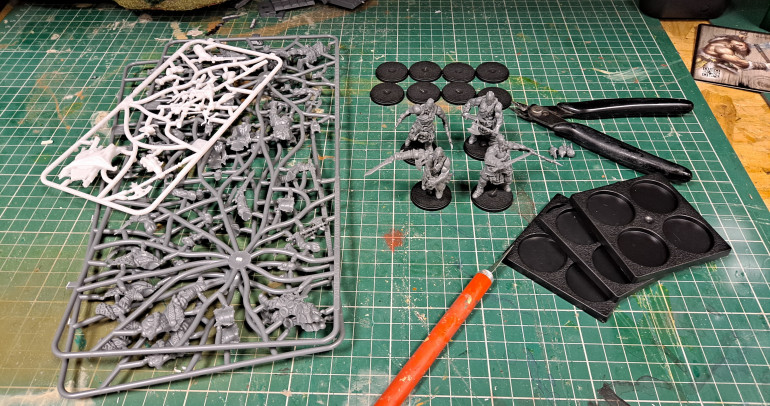
I found that a good approach for building the Raiders was to simply clip out all torso parts, glue them, then clip all the arms and find pairs that work together before adding heads. This lets me have a little more control over the poses and variations over each individual model, which lessens the chance of making identical models throughout each unit.
The resin!
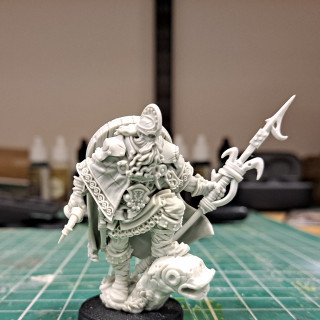
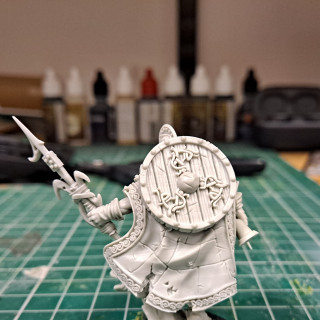
This is my first time working with any Resin figure from the Nords range and I was over the moon on cast quality, detail and ease of prep/building. He is a very aesthetically pleasing figure to have and adds so much character to the basic force. Like adding a flake to a 99 😉
I have not mentioned the three Ugr in the back. Simply because they are easy enough to tackle and didn’t take long to build. All in all, Milestone one’s build time was short, fun and easy to manage.


