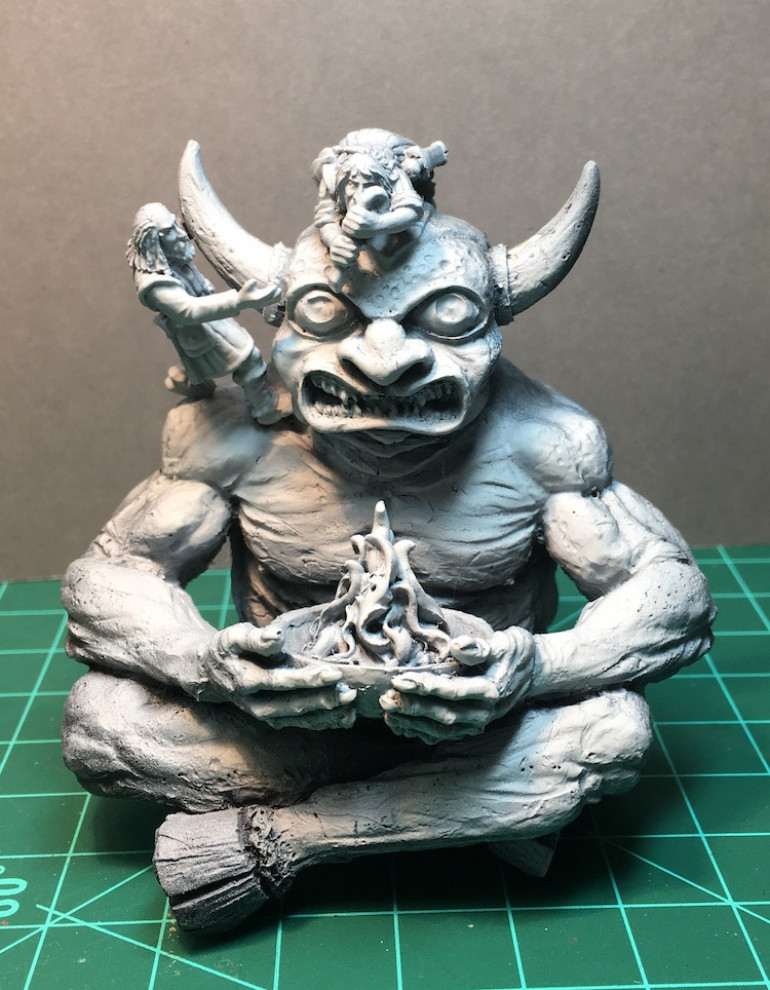
Capturing Old School D&D in a Statue
Recommendations: 248
About the Project
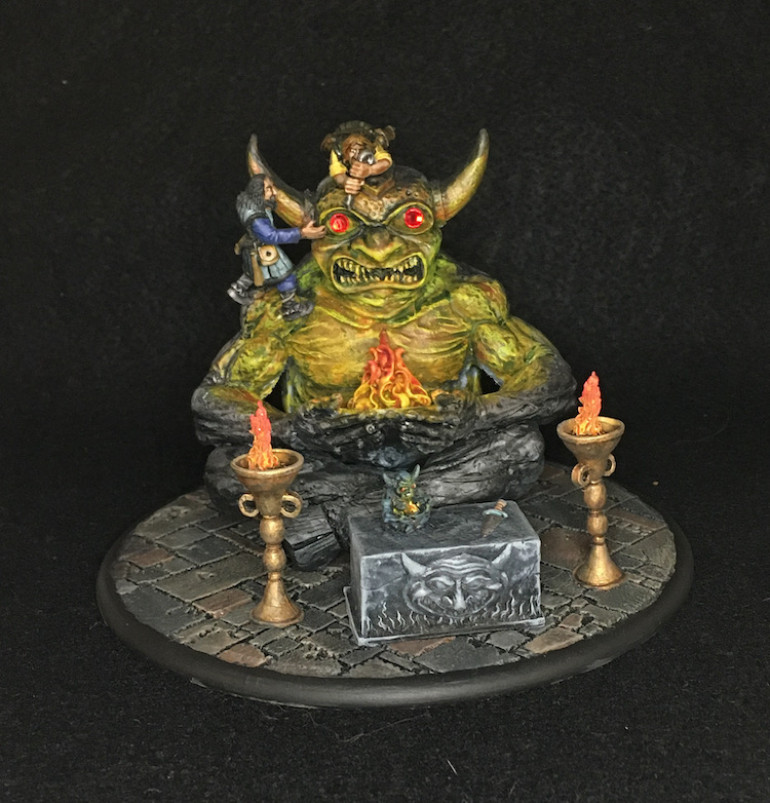
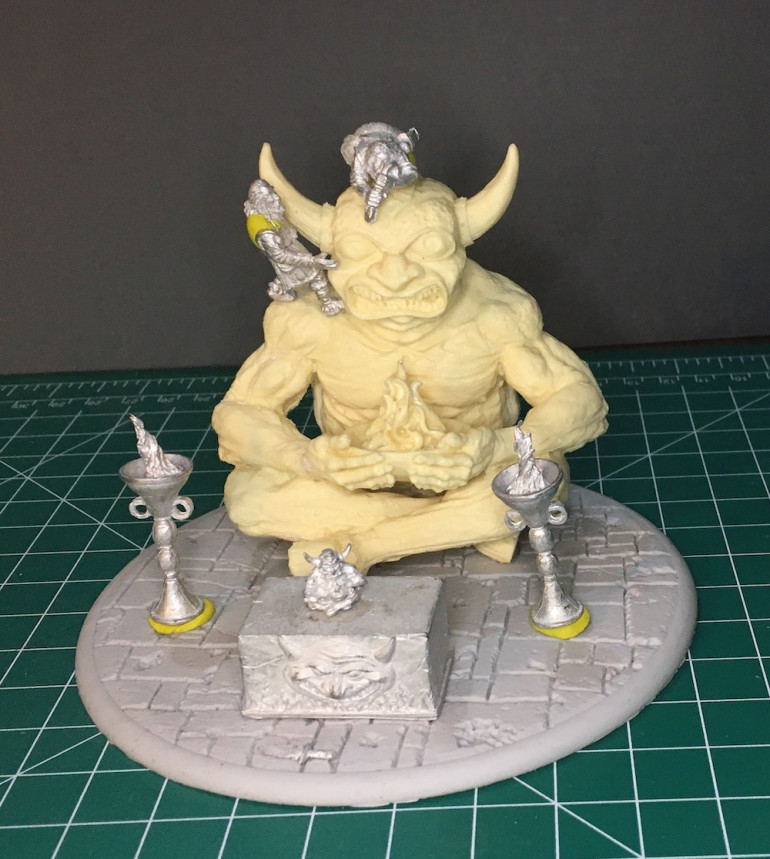
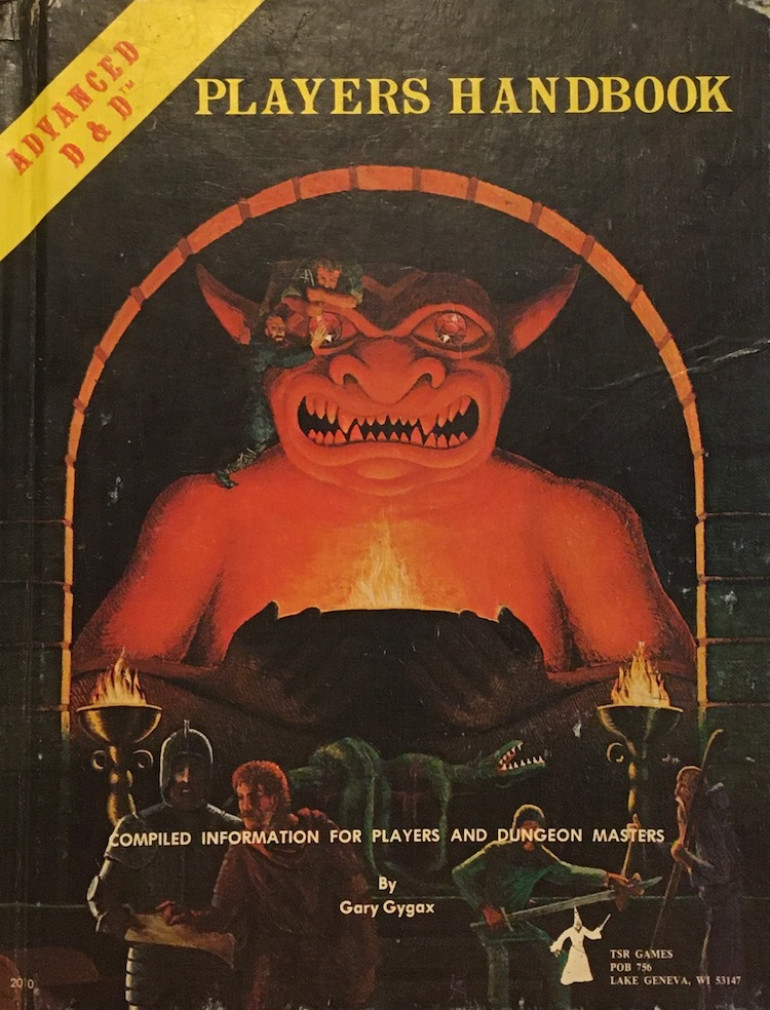
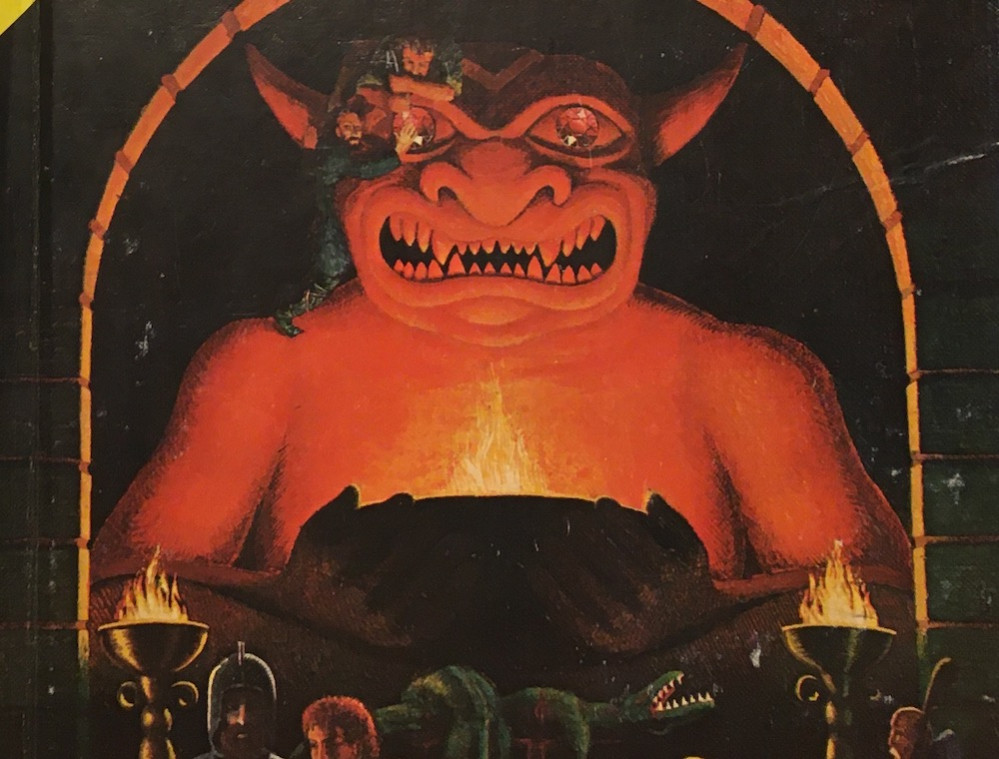
Many of my friends and I are such old school gamers that we started out on Zero Edition Dungeons and Dragons, called the White Box by some. While we may play many games of many genres over the many years we have done so those first three Advanced Dungeons and Dragons books and their evocative artwork hold a special place in our hearts. When my buddy, aronbc, picked up this Otherworld Minis' statue and the extra pieces to match the book cover, I knew I wanted to paint one. Luckily for me he wanted me to paint his so here we are in this Project Blog charting my progress and pitfalls. Hope I can do the piece justice.
Related Game: Dungeons & Dragons
Related Company: Otherworld Miniatures
Related Genre: Fantasy
This Project is Active
Back in Black
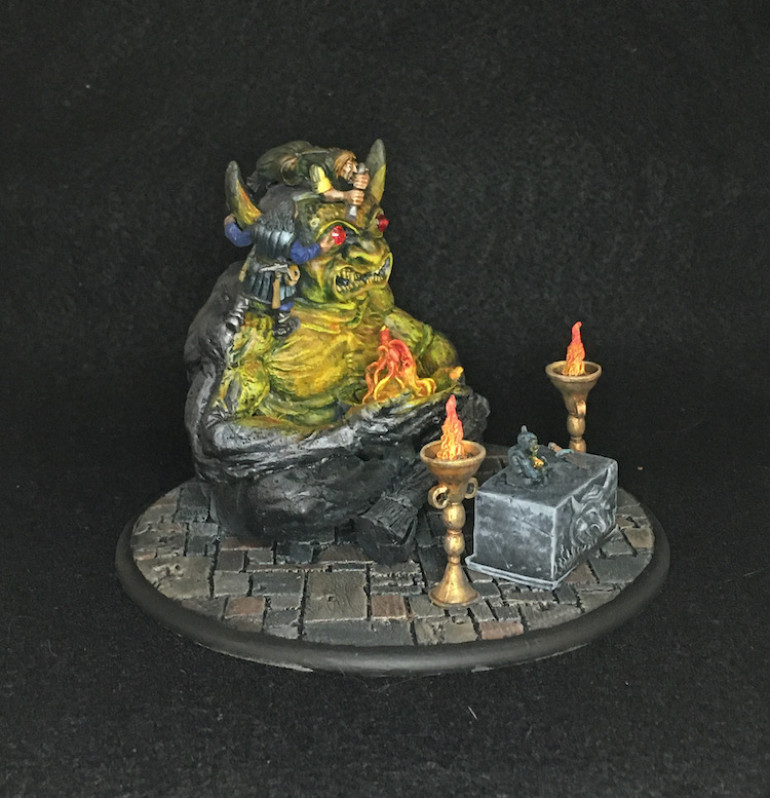
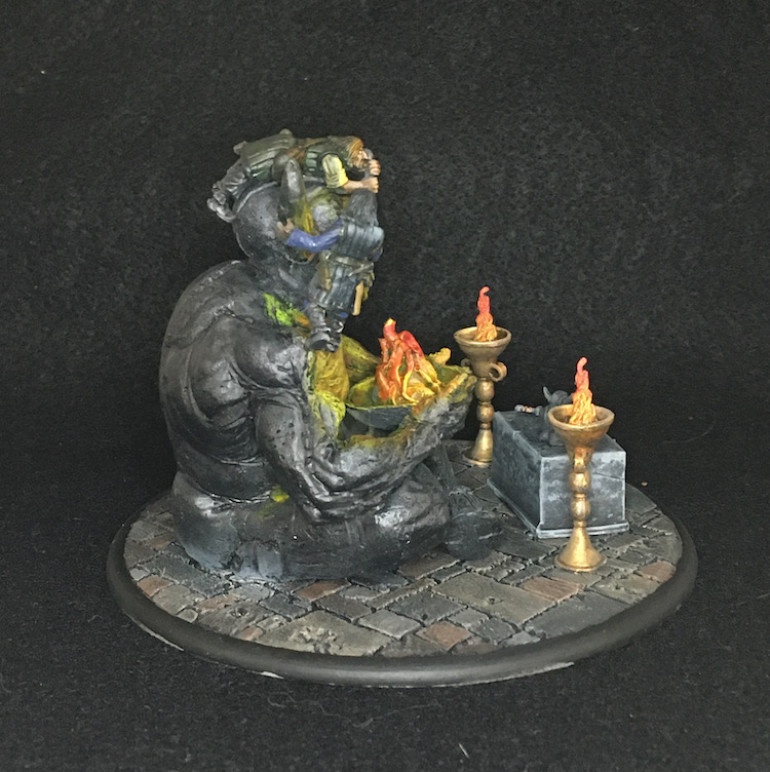
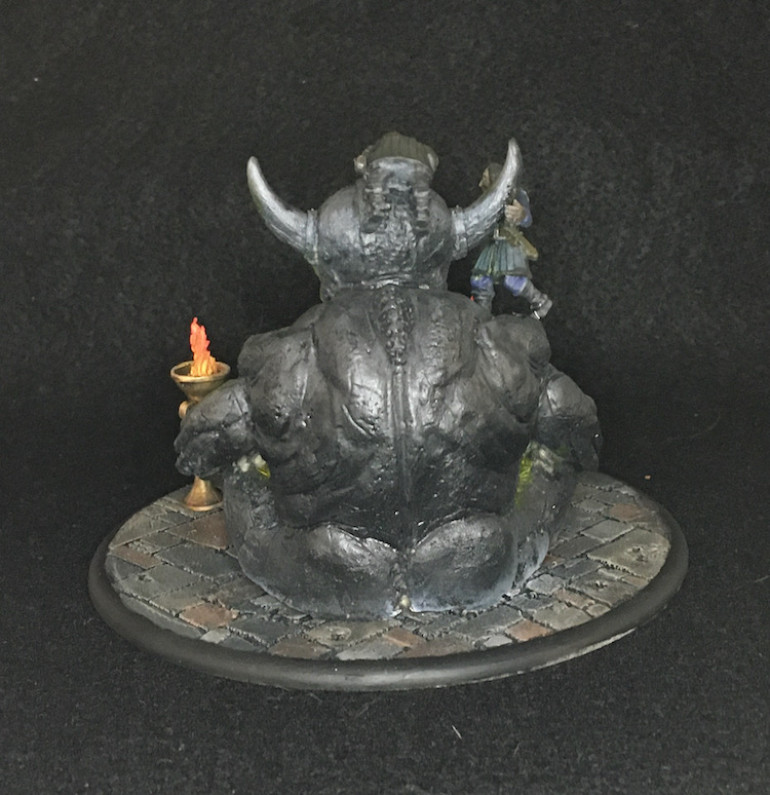
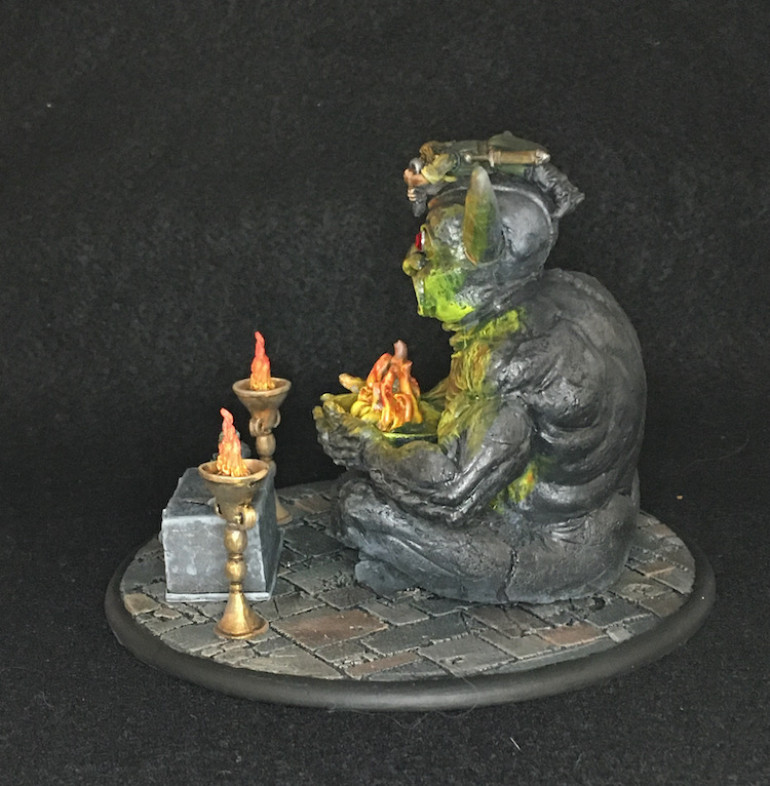
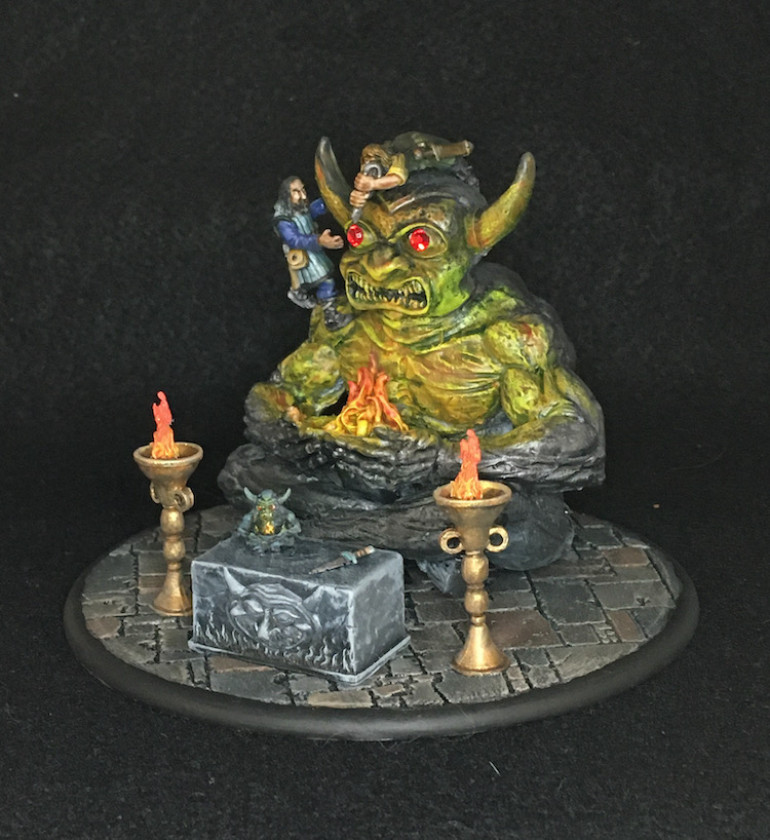
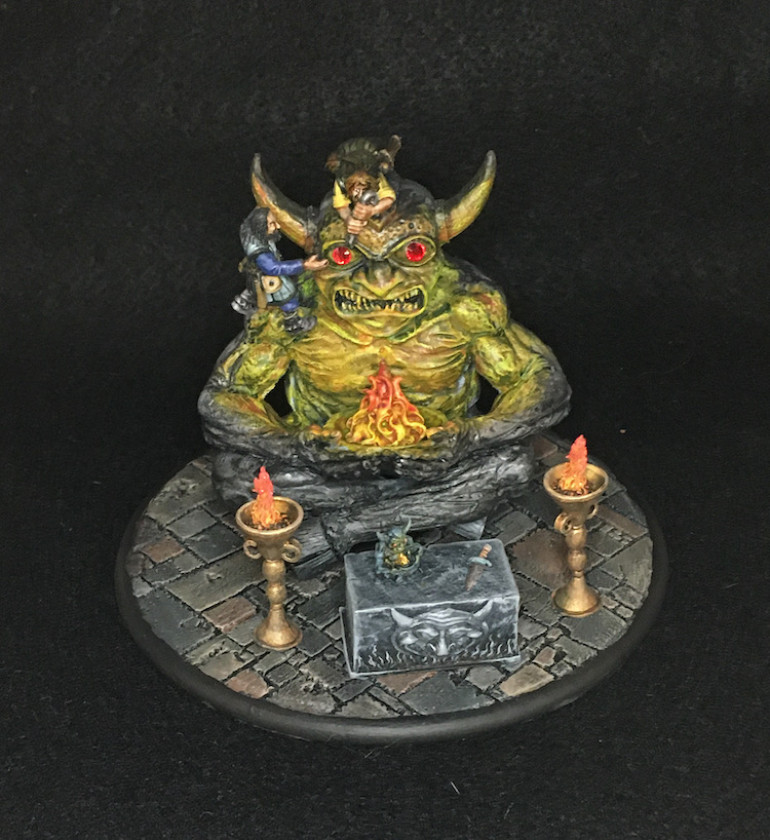
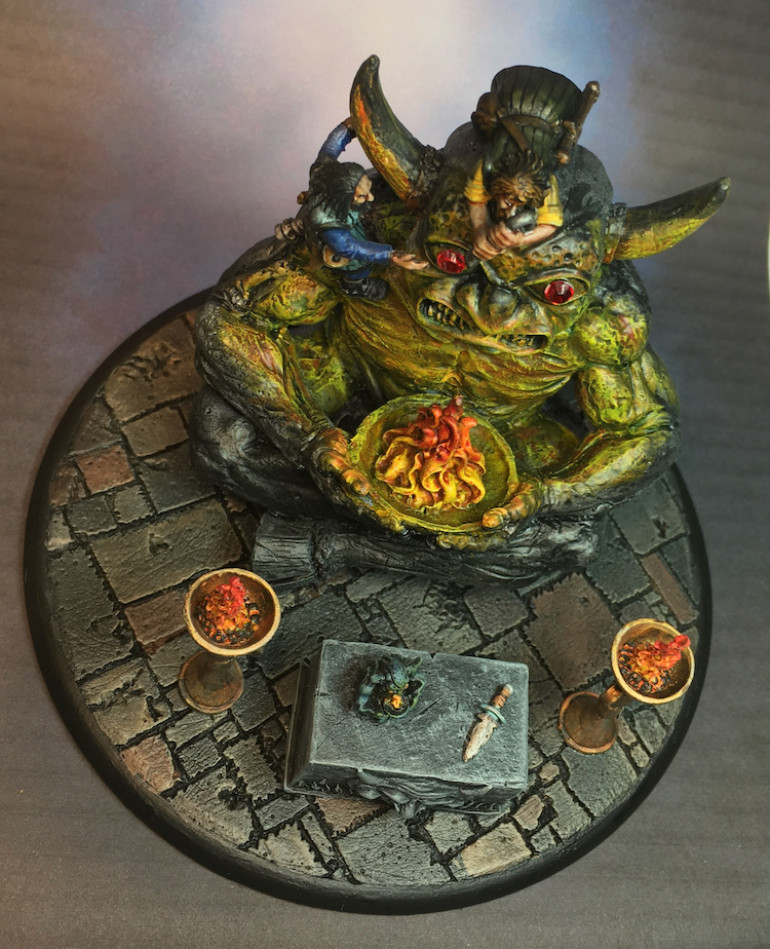
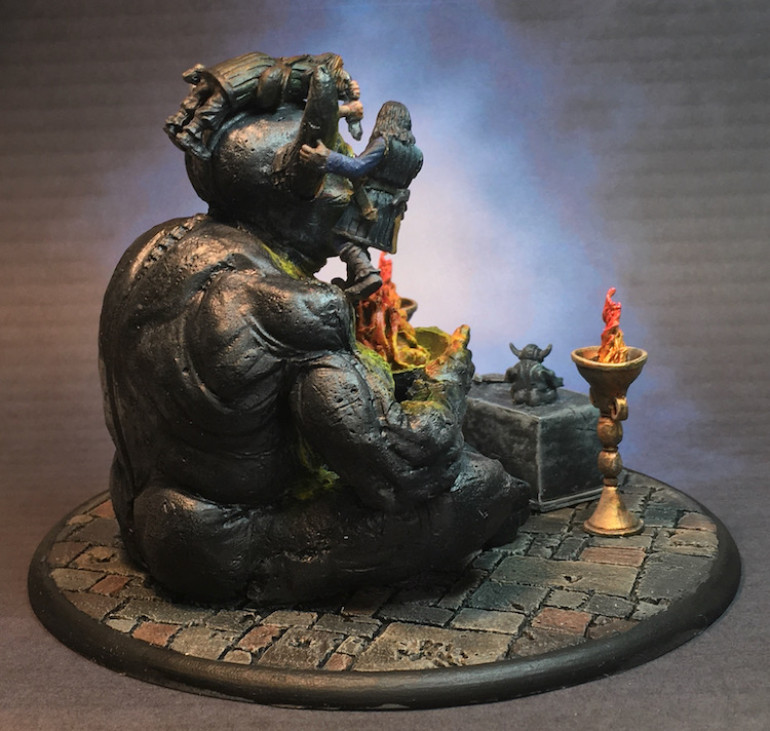
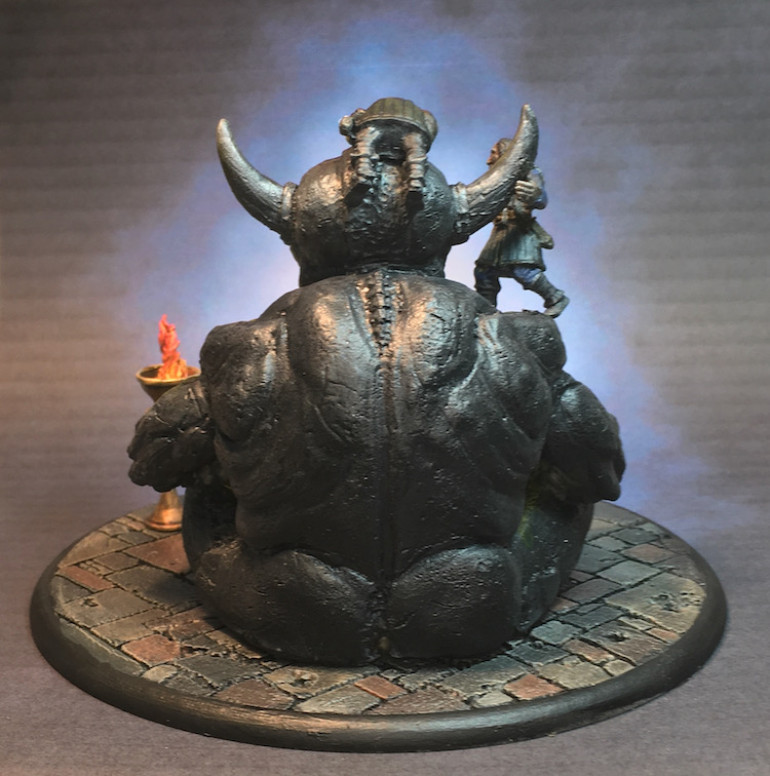
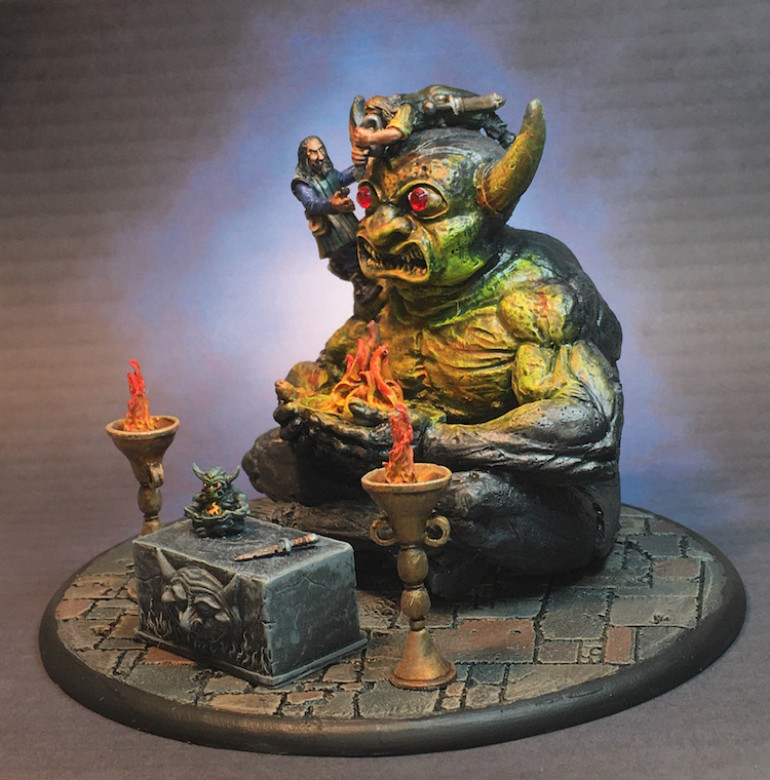
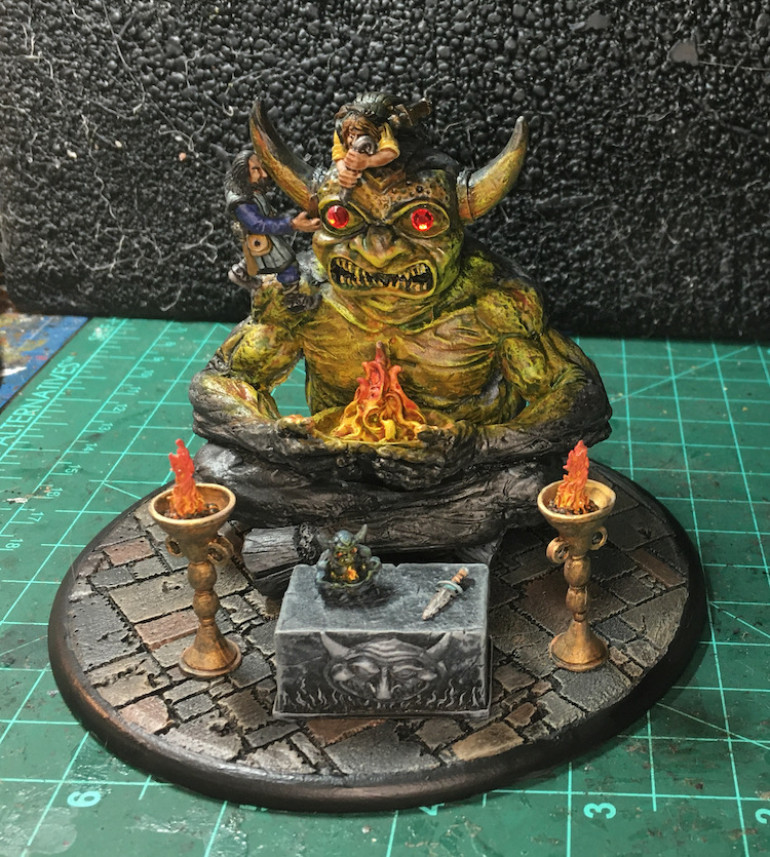
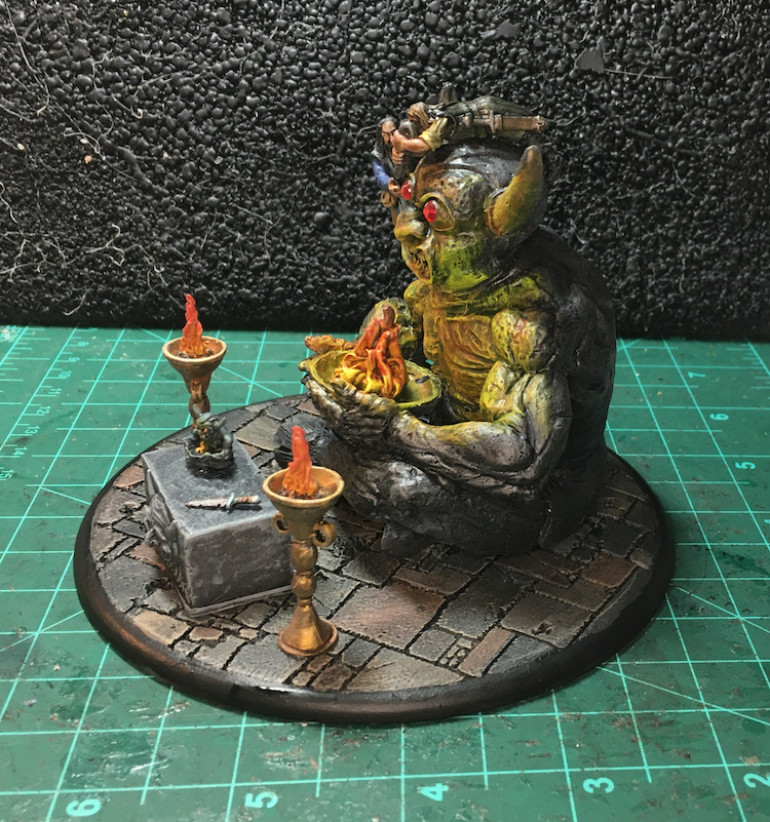
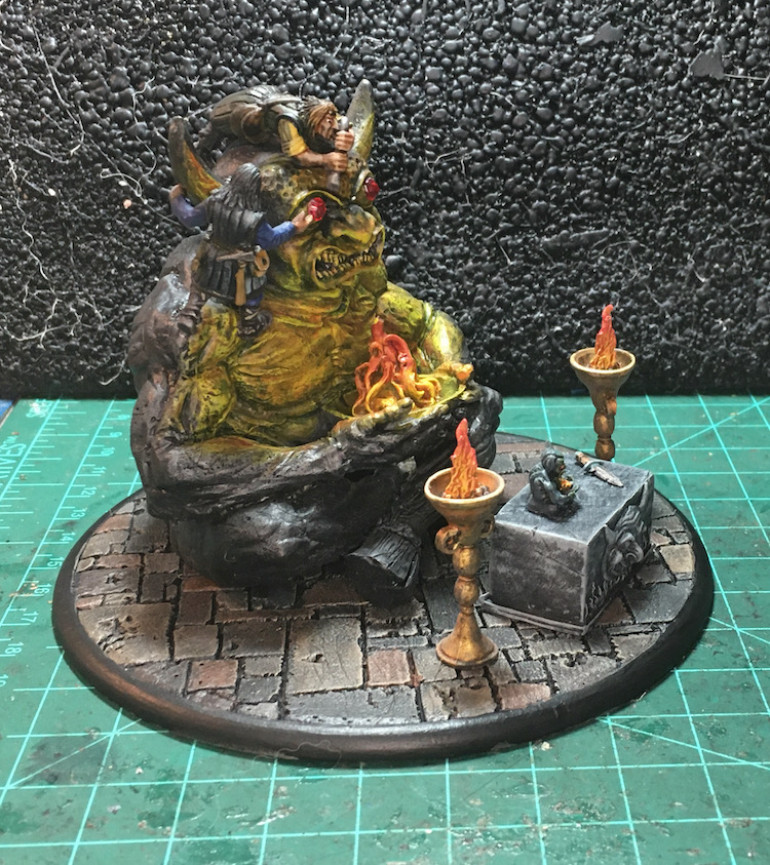
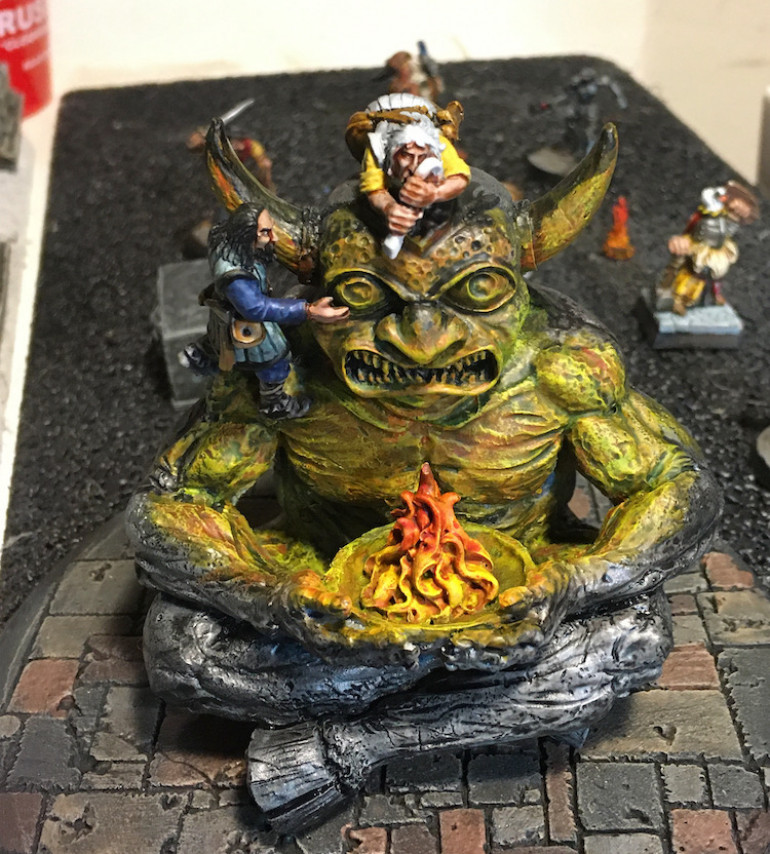
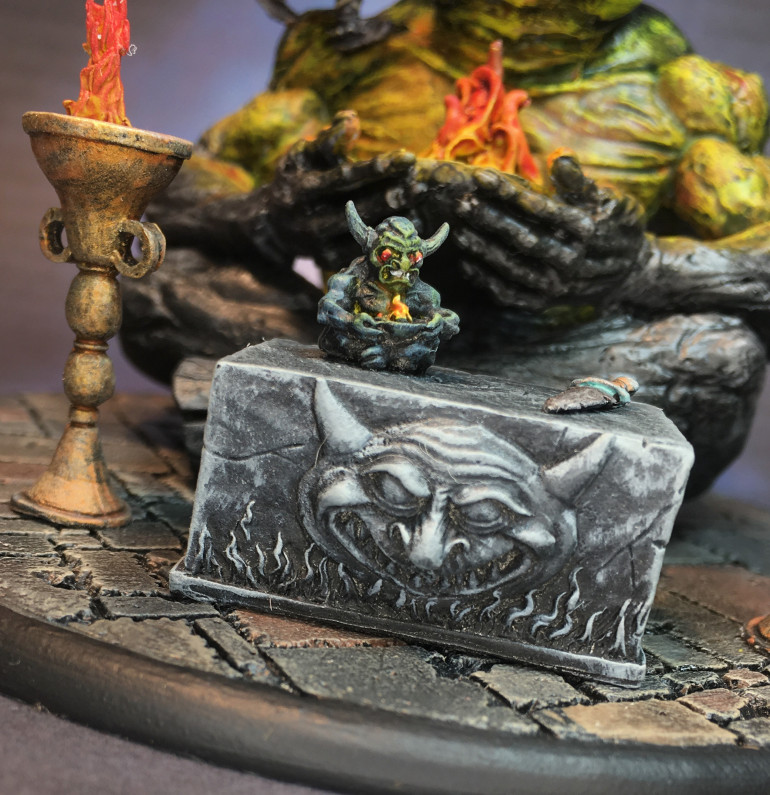
Gotta admit, I like the black felt background even more than my usual backdrop. It really adds to the dramatic feel and helps the OSL pop. This one was a lot of fun. I think we can call this Project Complete!
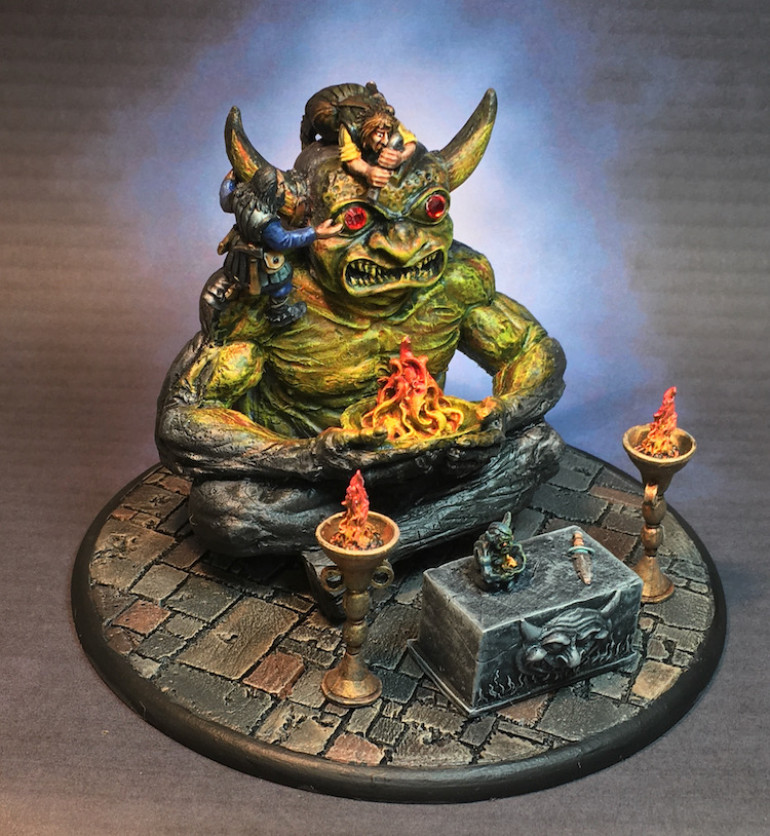
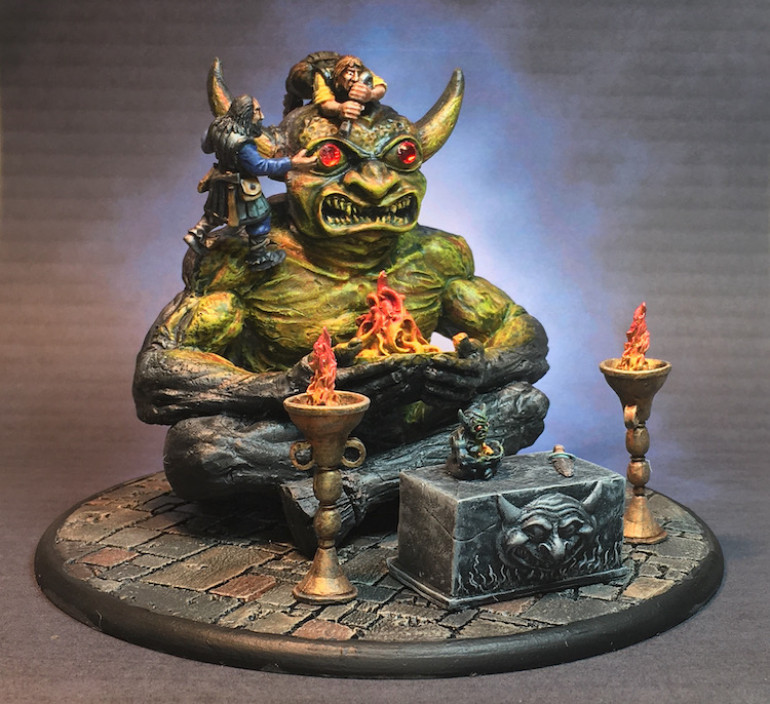
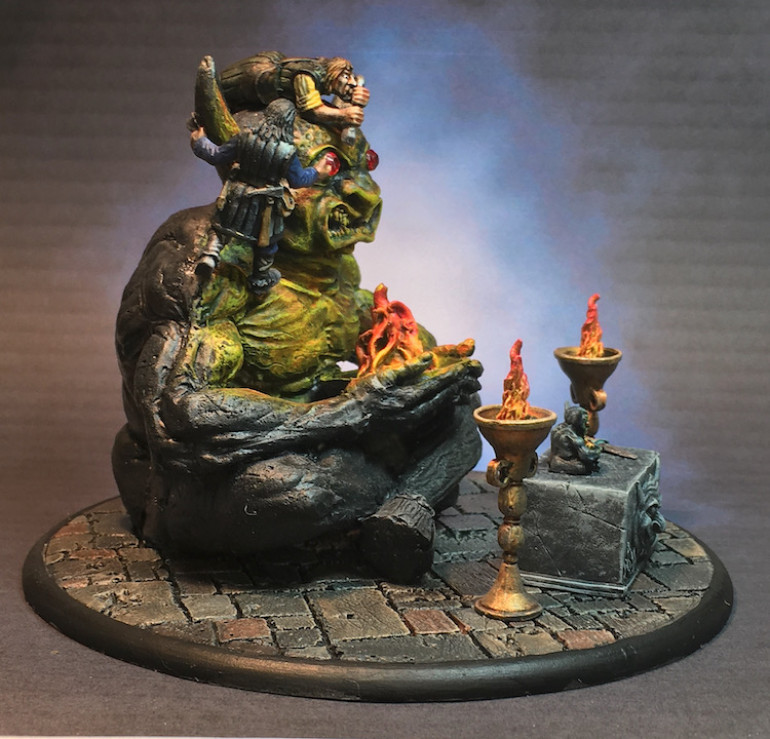
Finished Photos on Blue Background
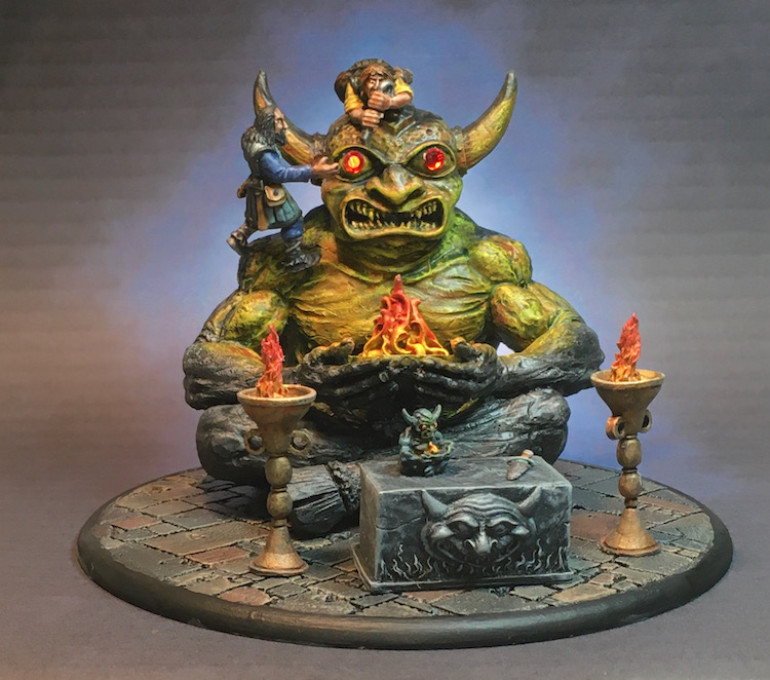
The first shots I took of the finished piece were on my regular printed blue background. It looks good, all in all, though I think it will look more dramatic photographed on a black felt background.
More Layers, Both Dark and Bright
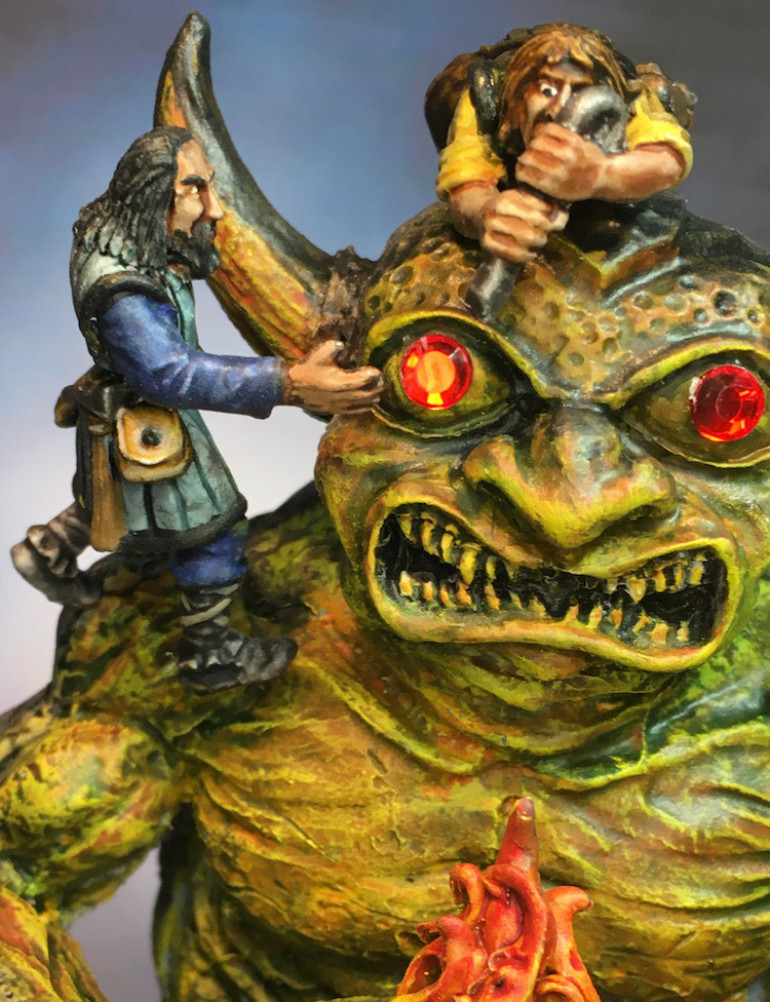
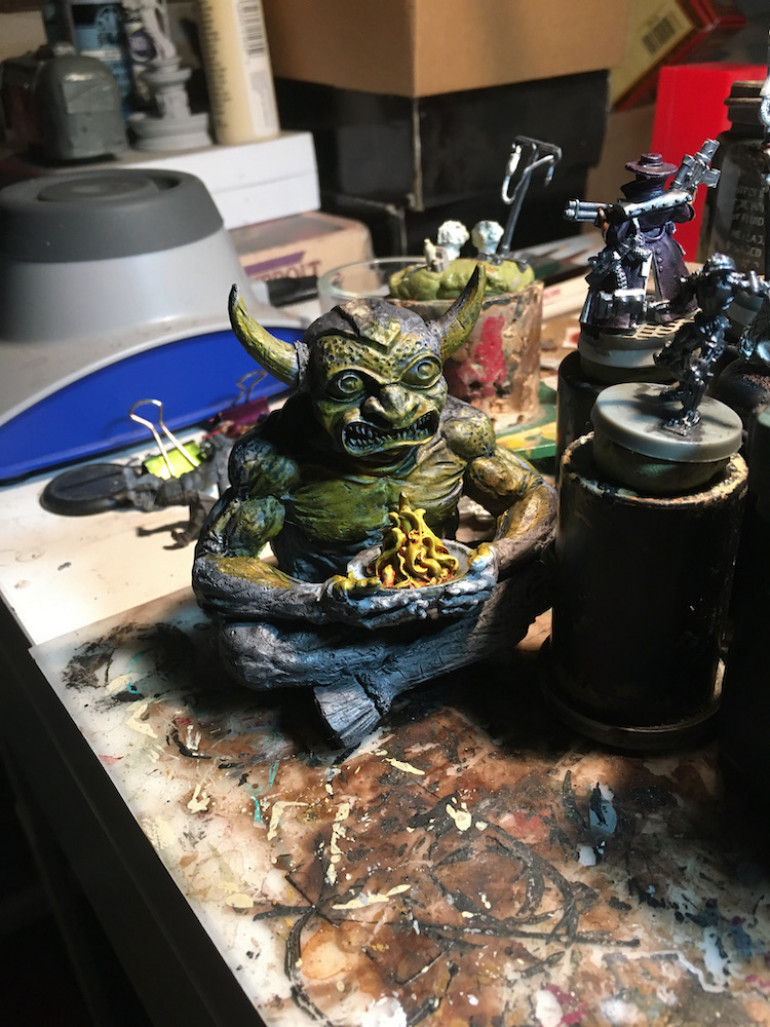
Once the base coats were down on the thieves and statue I added washes and dark Contrast paints to the shadows while Lamenters Yellow Wash, Iyanden Yellow Contrast paint, and Vallejo’s Ice Yellow were used in the areas lit by “fire”. I tried to keep the thieves’ clothes as close to the source material as I could before cloaking them in shadow or light.
Details and beginnings
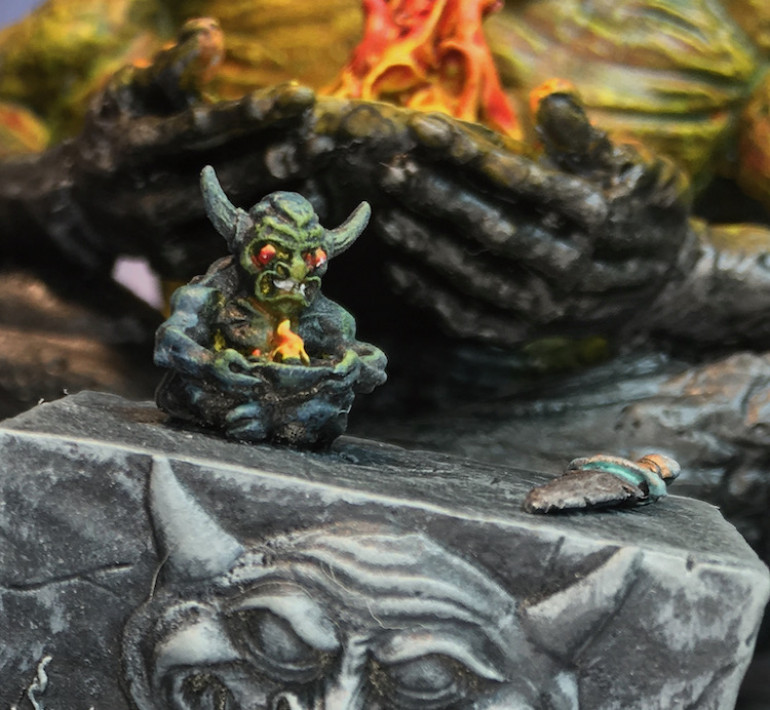
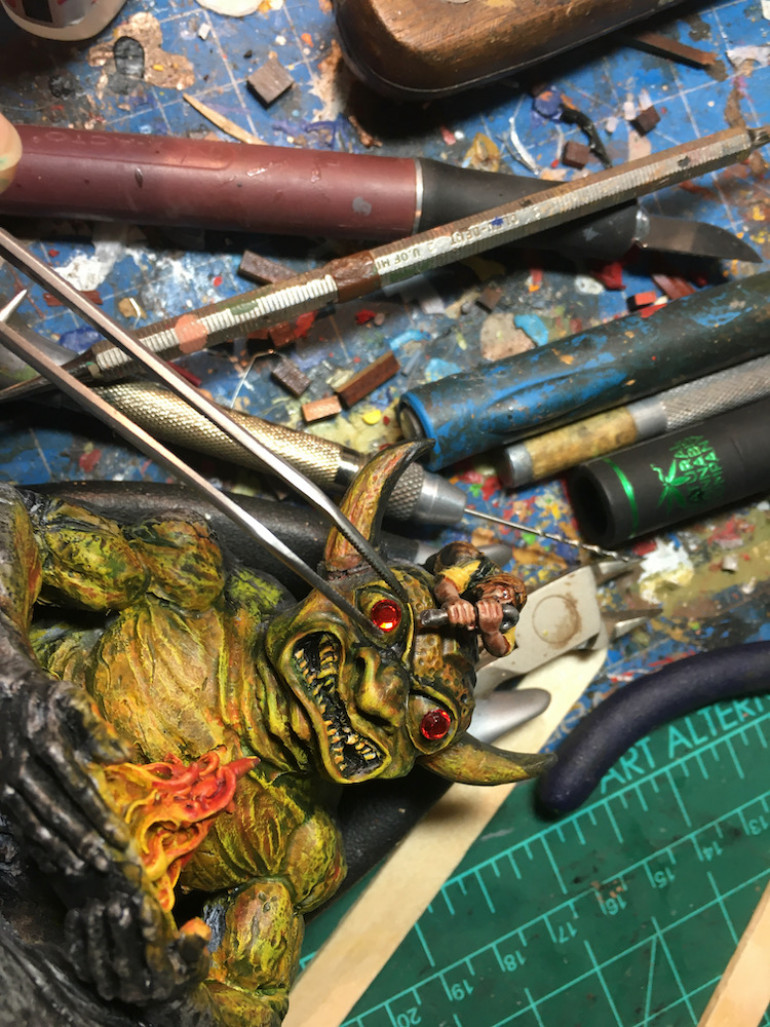
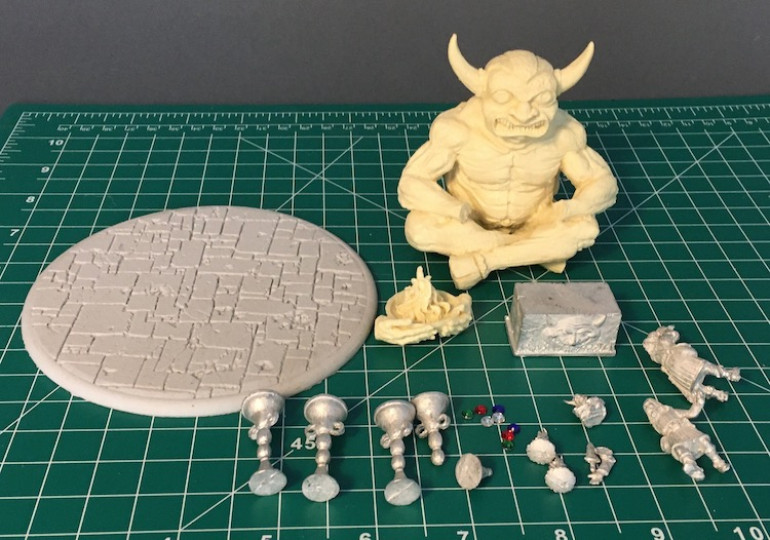
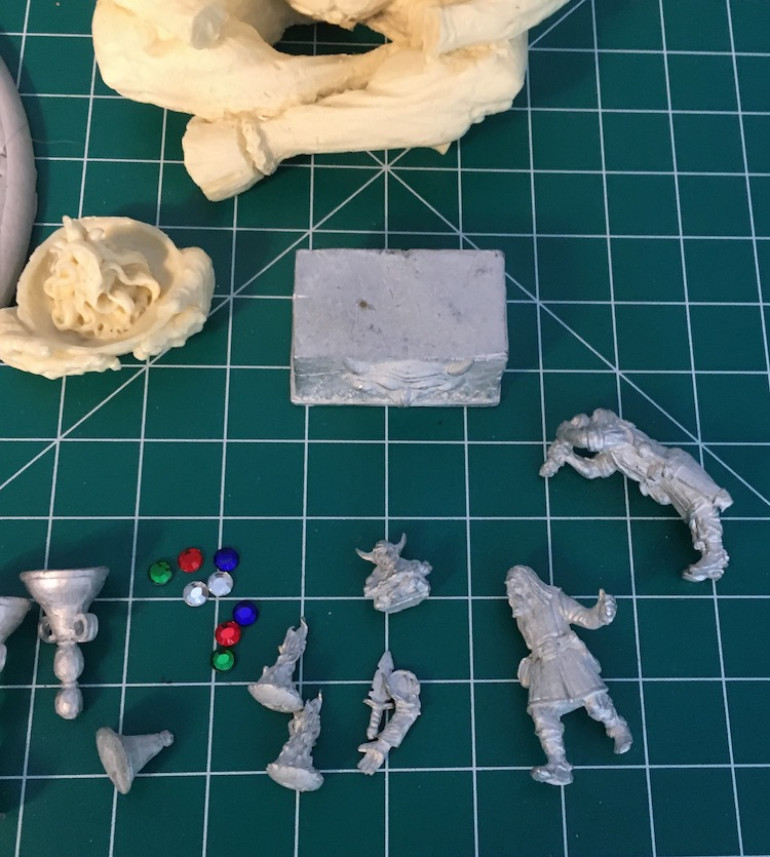
Next I got to work on the detail pieces and there are some tiny ones. They are cast in resin and metal and come with a collection of little gems to be glued into the eyes of the statue.
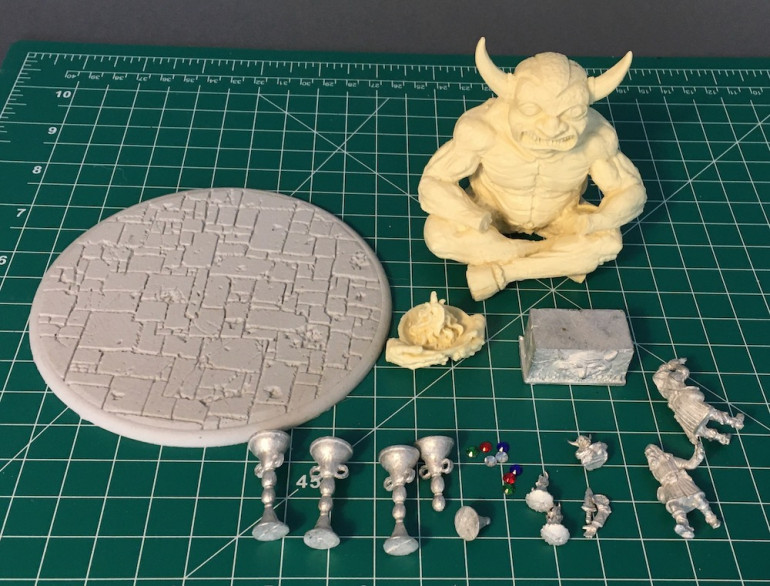 There is actually double the number of metal pieces as the braziers in his original set had arrived broken and the company just sent him another set.
It's All About the Base... the Base.
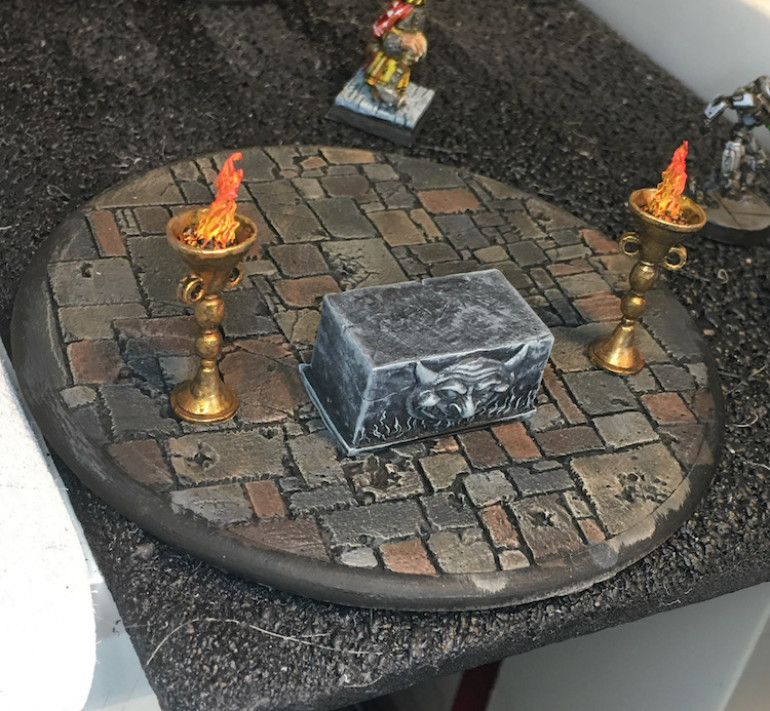
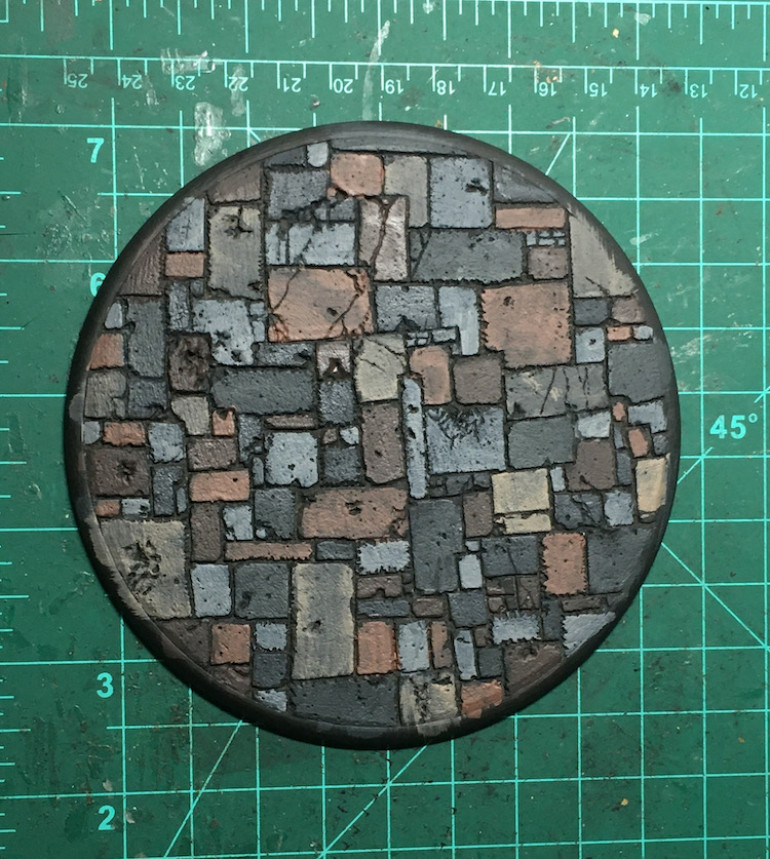
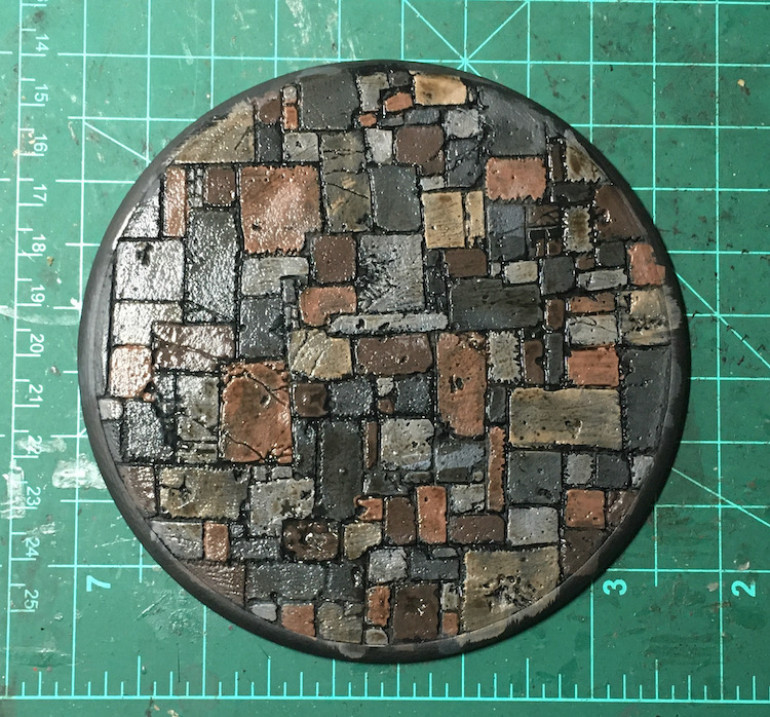
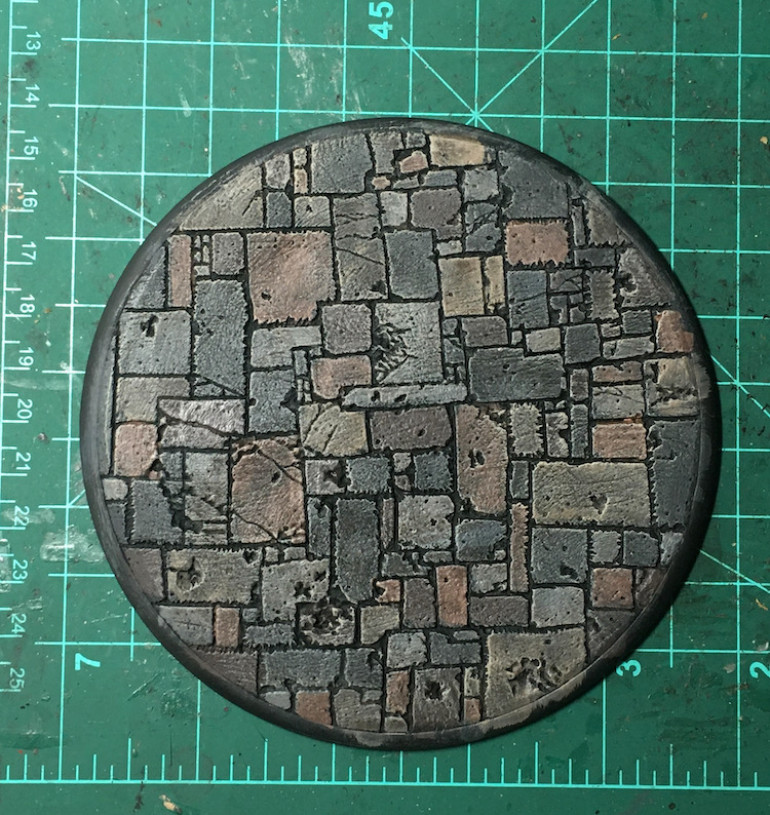
I went digging through my collection of resin bases to find one suitable for this scene. Not surprising that Secret Weapon Miniatures make one that’s perfect. Breaks my heart that they are closing their doors as they really do make my favorite bases and paints. Mr Justin’s Weathering materials and tutorials have been priceless.
I’m afraid I haven’t been posting my progress as this was a gift and I like to maintain surprise. Now that it is complete and in the hands of the intended recipient I can catch up with posting.
Priming the Statue
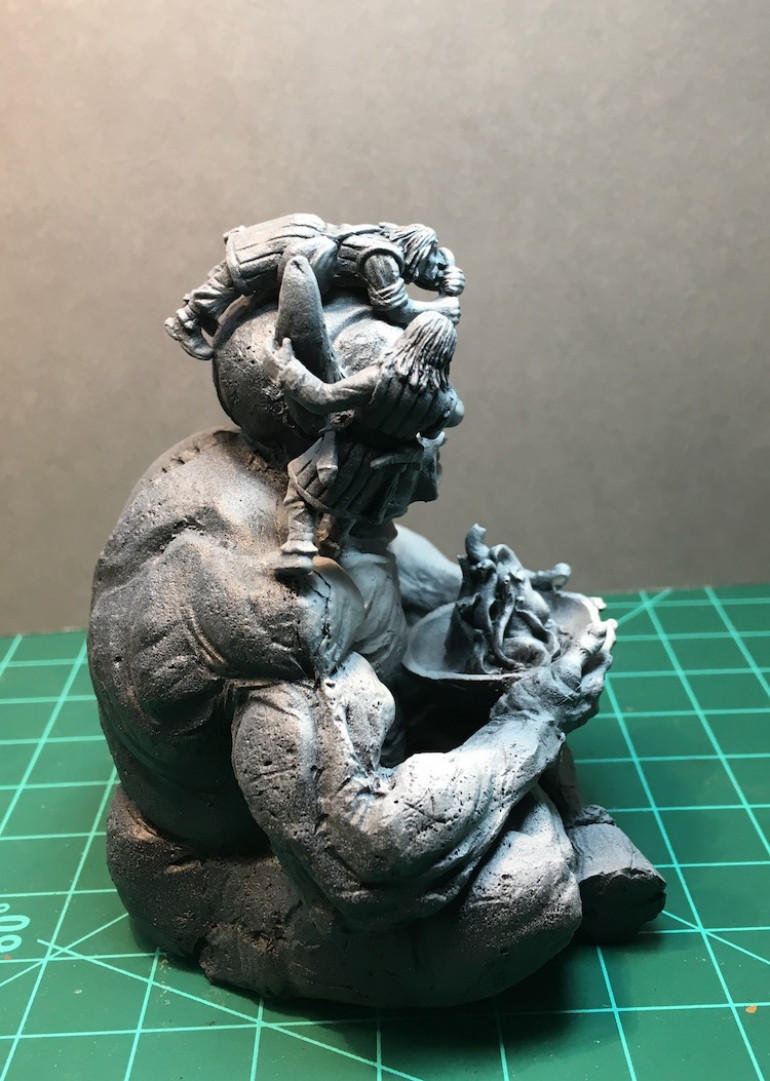
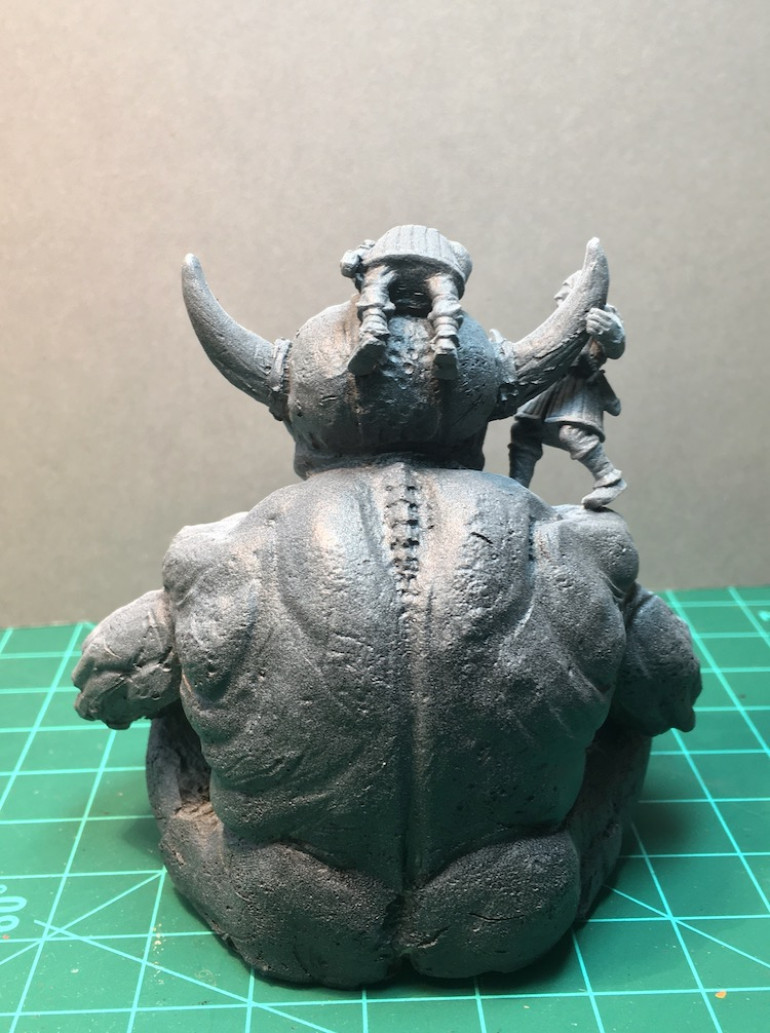
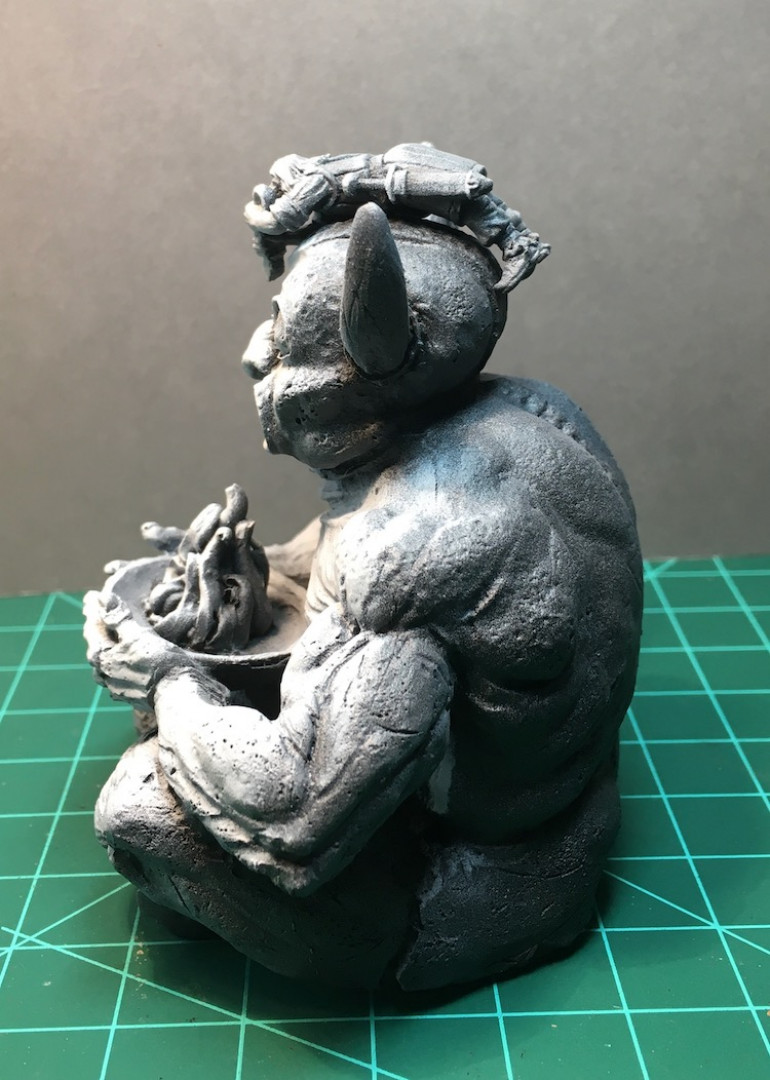
I glued the arm to the standing adventurer before tacking the two thieves in place. I wanted the primer to layout the base of OSL. This is going to be from three light sources in the front with the brazier in the statue’s lap being the most prominent. I began with a solid black spray prime over the entire figure. Next was a grey at about 45 degrees above and almost entirely from the front. Last was white spray primer directly from the front, centered on the flames. Not a bad start.
Test Fit
I used a little Blu-Tac to test fit the pieces. Some are tiny and the “jewel” eyes that come with the set are almost microscopic. Nothing is in the exact place it will end up (I’m looking at you standing thief) but it gives me an idea of how things will fit together and how it all looks on the base I chose. Honestly though, you can’t go wrong with Secret Weapon bases and this one fits the scene perfectly. This also made it clear I don’t want to add two more braziers as it would get way too cluttered.
Alright, time to finish the prep work so I can get primer on this guy.
And So it Begins...
When I received the package that aronbc had included this project in, I noticed he had two sets of the metal bits as one of his braziers was broken so Oathsworth just sent him a whole set. Looks like an easy fix so there maybe four in the final piece. I picked out a Secret Weapon large Flagstone base as it seemed a perfect fit.


![How To Paint Moonstone’s Nanny | Goblin King Games [7 Days Early Access]](https://images.beastsofwar.com/2024/12/3CU-Gobin-King-Games-Moonstone-Shades-Nanny-coverimage-225-127.jpg)


