Swamp, pond, and a ton of Epoxy
Recommendations: 134
About the Project
Messing around with some cheap Epoxy to create ponds and swamp terrain.
Related Genre: Fantasy
This Project is Completed
Starting from the end..
Small ponds / swamps are actually interesting terrain features for small skirmish games. By slowing movement without blocking line of sight, they add an interesting tactical element.
My aim was to create quickly a few terrain features by messing around with cheap Epoxy.
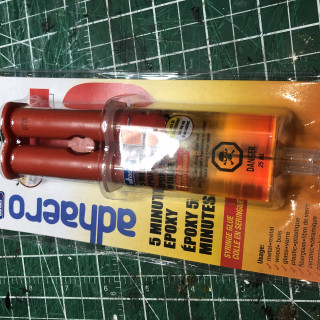
I chose to avoid more expensive/fancy water resin and only stick to really cheap Epoxy.
All the Epoxy used were bought at the Dollar store.
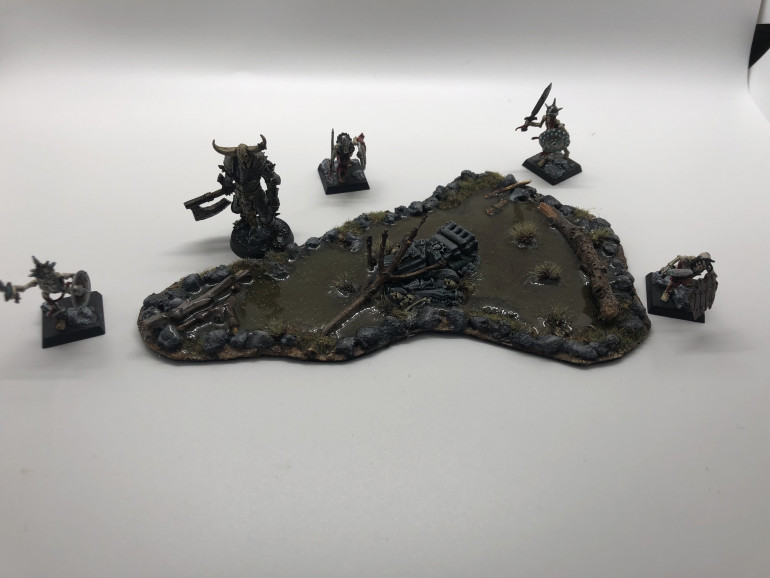
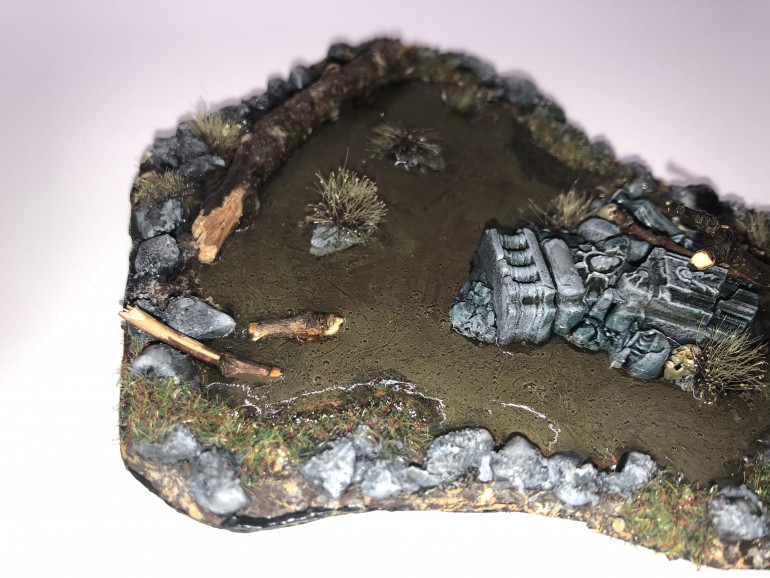
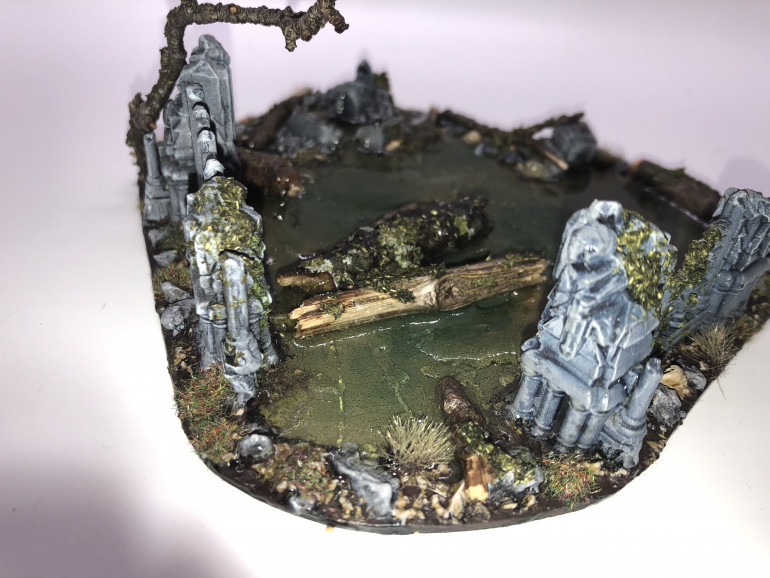
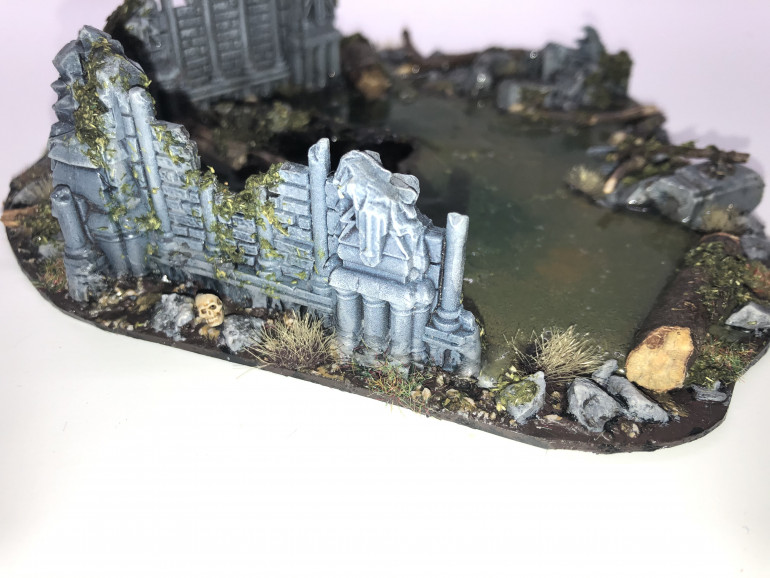
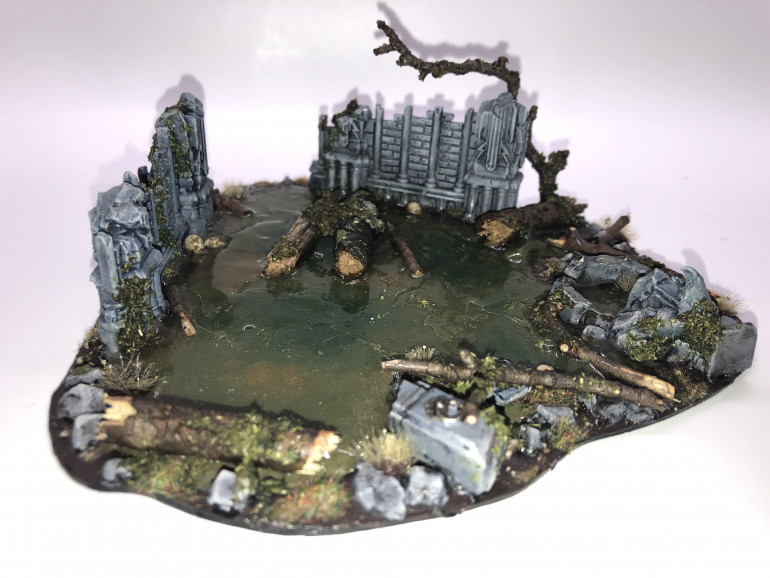
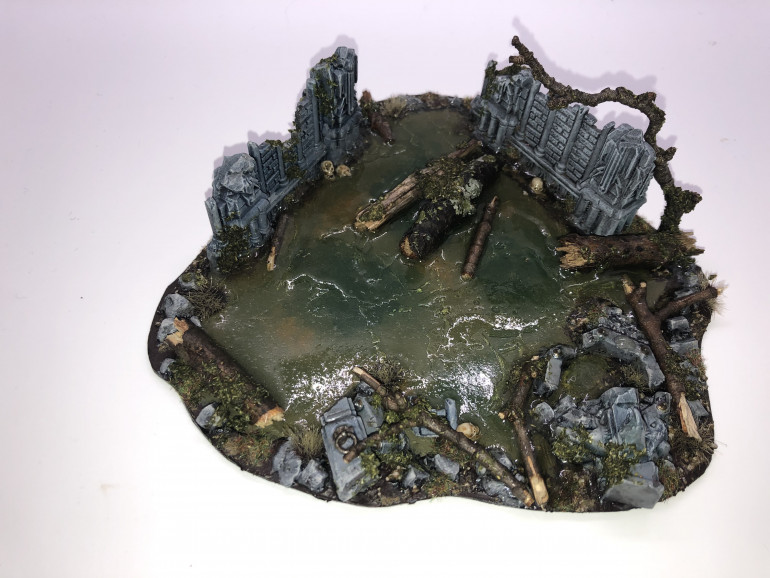
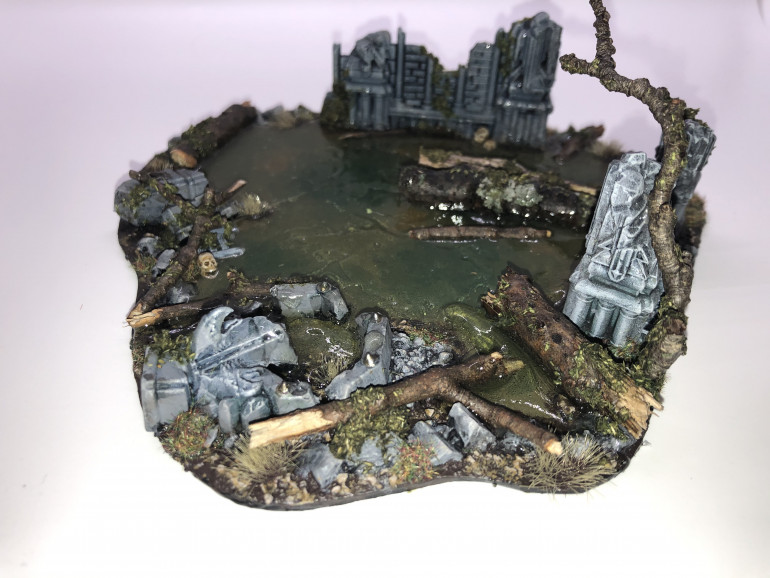
Here is the final and best terrain feature (more details and pictures at the end):
I will go through all the experiments and failures that led to this final piece so that people can avoid the same mistakes that I made 🙂
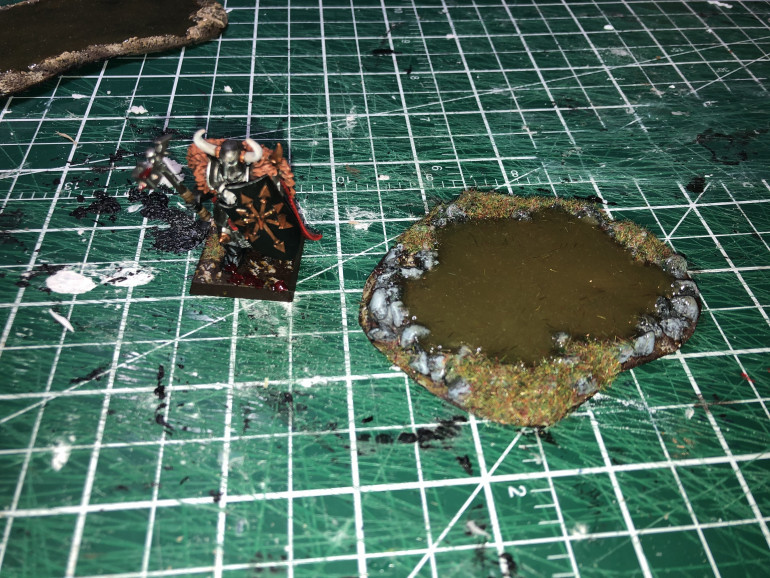
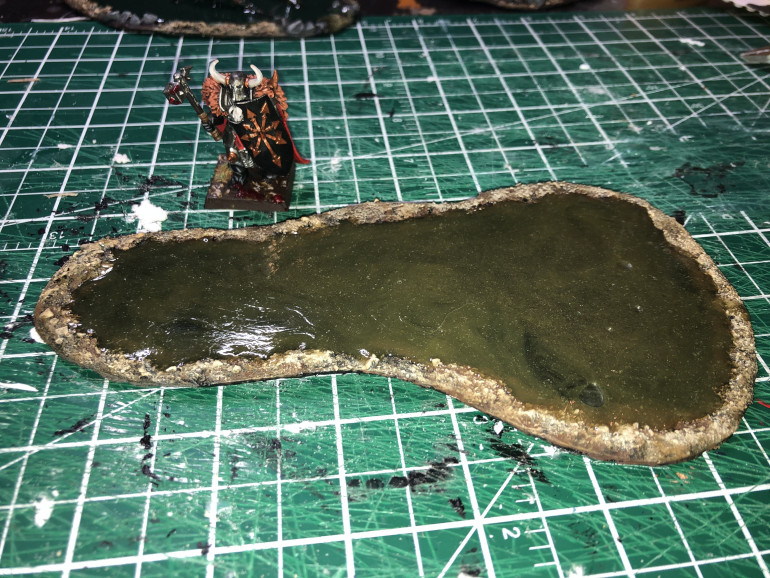
One of the first piece that I made was too small. Also, I added some flocking grass about an hour after pouring the Epoxy.
Although it’s 5-minute Epoxy, the surface will remain a little bit sticky for a while, so the static grass stuck to the “water” surface.
Tip #1: add flocking/grass before pouring the Epoxy.
Experimenting with colours
I added a few drops of acrylic paint (GW) to the Epoxy to tint the water.
The Epoxy is already a bit cloudy, so try to add as little paint as possible.
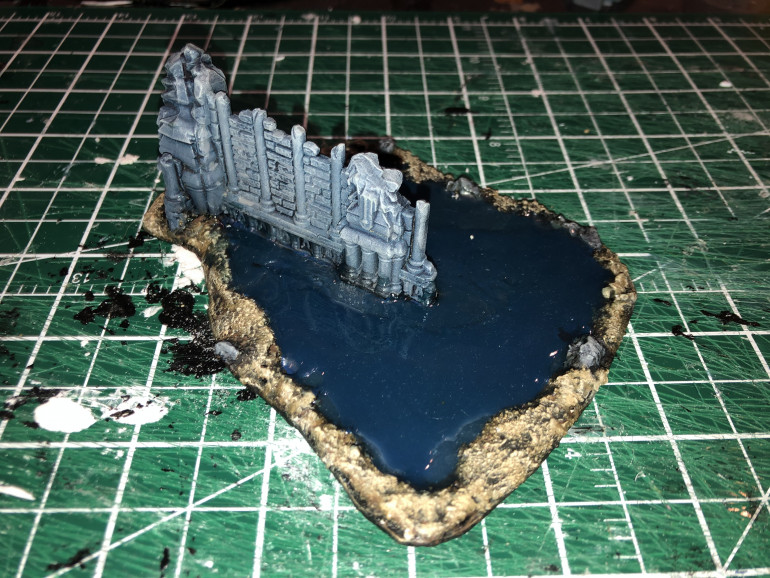
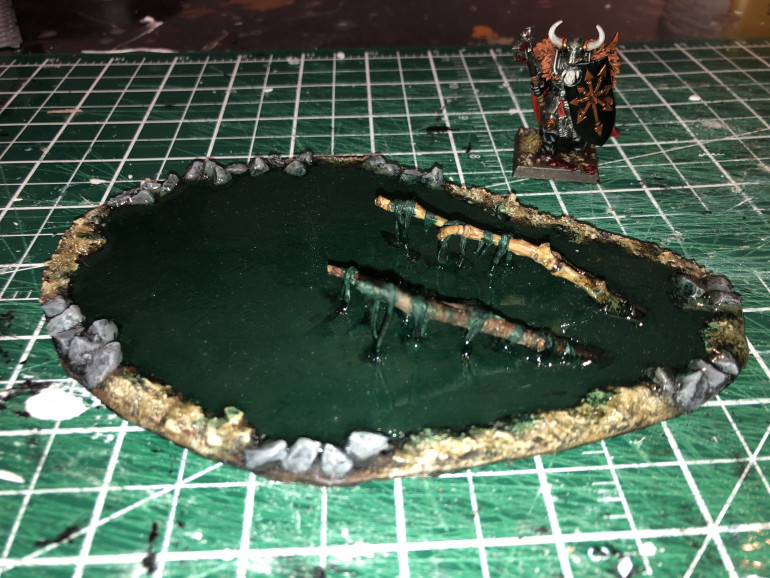
Some Warcry ruins surrounded by water. Unfortunately, it doesn’t look anything like stagnant swampy water.
From this piece, I learned that the Epoxy sets very quickly. I try to play around with a popsicle stick to make some water effect and to make sure the Epoxy ran around all the nooks and crannies. It produced a messy matte-looking mess on the surface.
Tip #2: Epoxy sets in very quickly. Don’t mess around when you are close to the 5-minute mark because you are going to ruin your piece.
Glued some dry twigs. Added thin strips of toilet paper mixed with PVA to make it look like moss or lichen. Not the best result 🙁
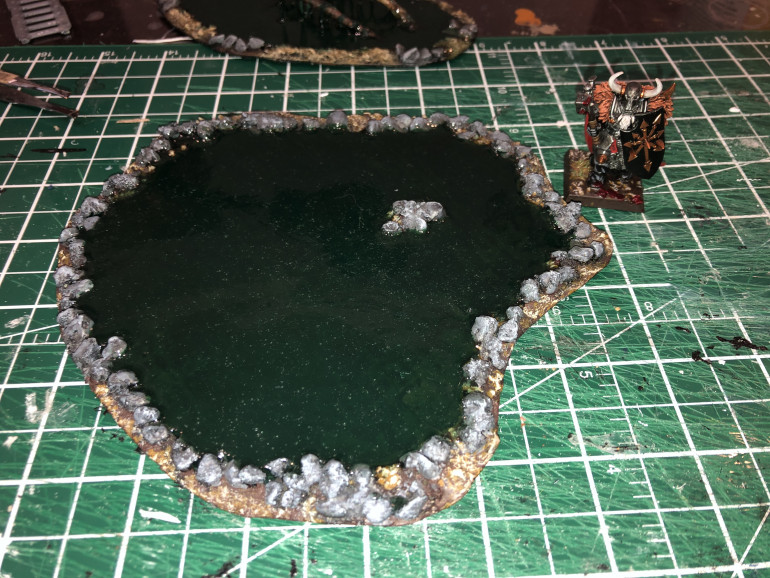
Death World Forest paint (GW) is the best result so far.
After messing around with standard acrylic paints, I try some GW washes and the result was much better. Any ink would probably work fine, but I haven’t tried any.
Tip #3: acrylic paint will make your water very opaque, even if you add very little. GW washes/shades give a much better/transparent result.
The Swamp
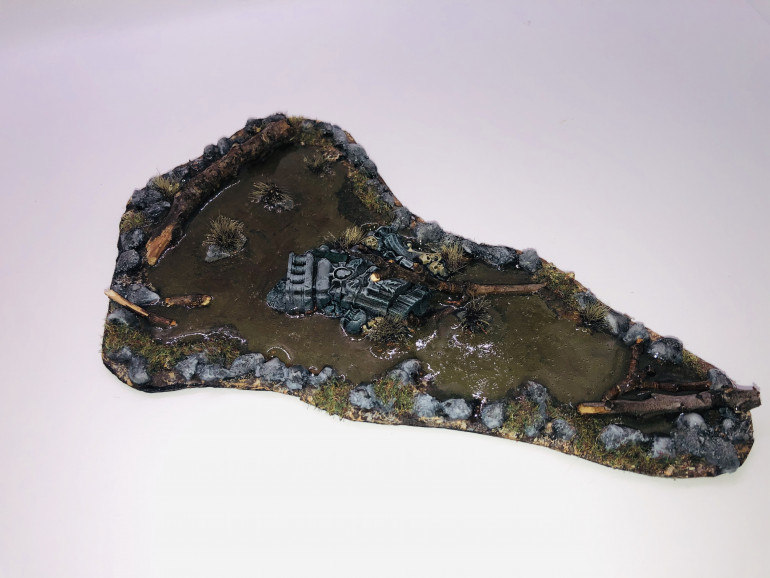
The final piece 🙂
Quick step-by-step guide:
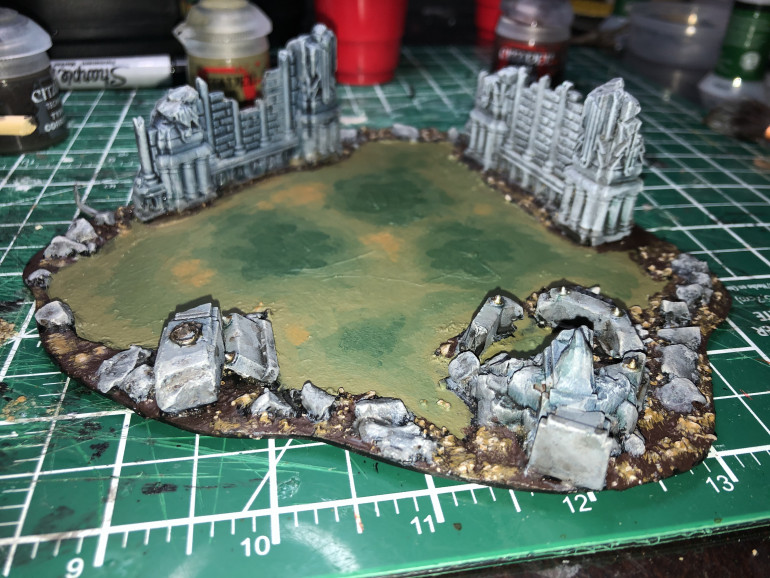
The perimeter is rimmed with small rocks and coarse sand. The base and the rocks were painted at that stage. The bottom was painted a few different shades of brown and green to simulate different depths.
The small ruin in the middle comes from the Warcry starter set.
Added some dry twigs covered with watered-down PVA glue.
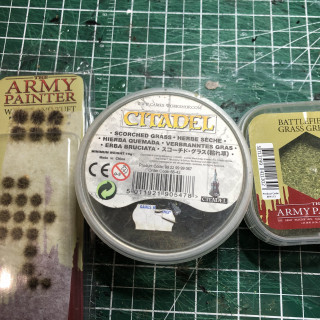
Glued some static grass (before pouring the Epoxy!) and some wasteland tuft (army painter).
The Epoxy was tinted with Athonian Camoshade (GW shade/wash). The pictures don’t really show it, but the Epoxy remained fairly transparent, so you can actually see the bottom of the pond.
There are a few bubbles left in the Epoxy, but I think it looks fine. I removed most of the bubbles by holding a lighter flame close to the Epoxy. This works well, but you have to be careful when you get close to your static grass and tuft.
Warcry Ruins
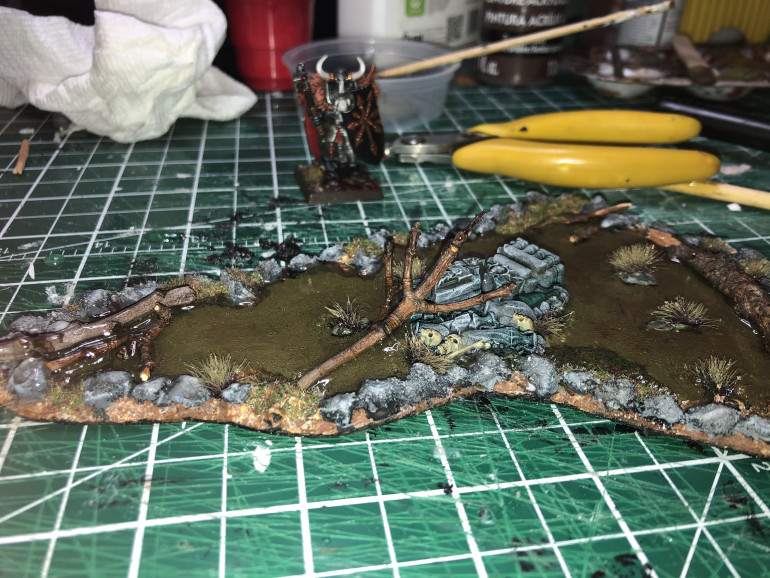
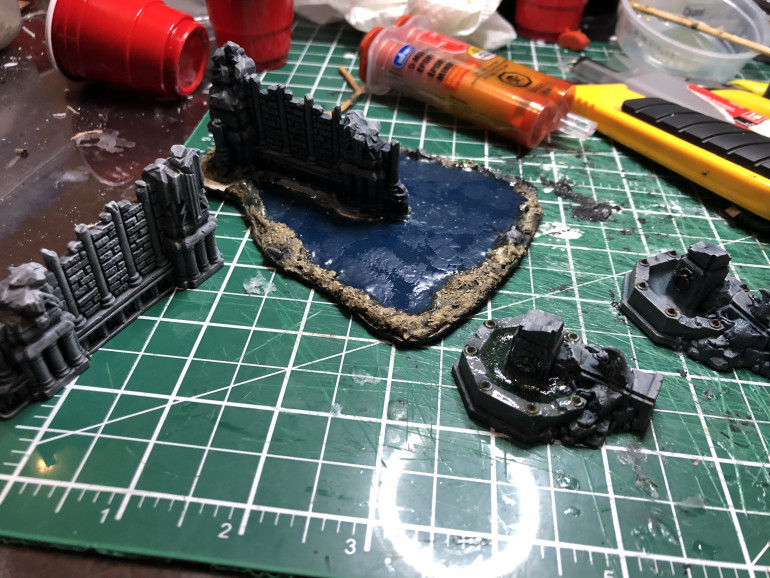
Here’s my work in progress for my second swamp improved with some Warcry ruins.
Most of the terrain in the Warcry boxed set are quite nice. However, there are some small ruins that are a bit useless. Since there is almost no ranged attack in Warcry, small ruins that provide covers are ineffective.
(I did a Warcry review on BoW that you can find here: https://www.beastsofwar.com/game-review/1533684/https://www.beastsofwar.com/game-review/1533684/)
Same goes for the small well/pool that comes with the set. I initially poured Epoxy into the wells, but I did not like the result. I chopped the model into separate pieces that I scattered across the base.
A while ago, I painted them as test pieces before painting the main Warcry ruins. They have set on a shelf since, so why not incorporate them into another project.
I played around with different configurations of ruins and dry twigs until I was satisfied with the result.
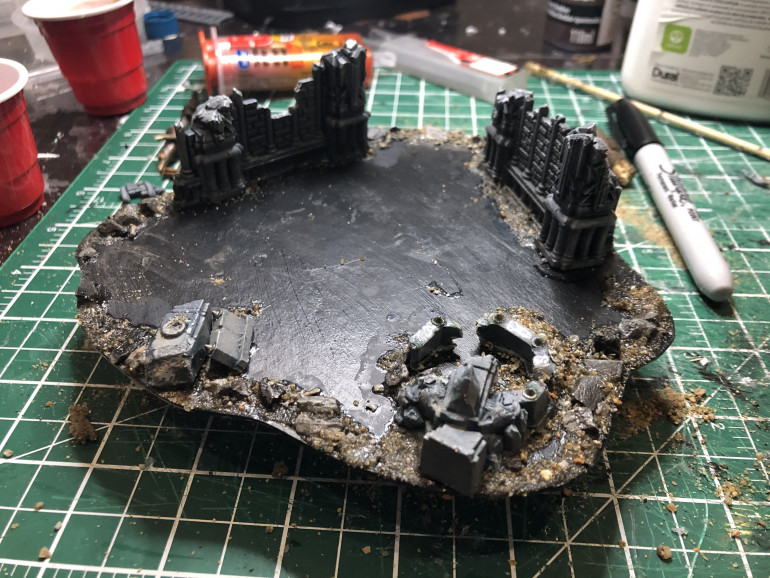
I didn’t have any chipboard or MDF for the base, so I used some thick cardboard. I painted both sides with a mix of mod podge and black ink. This will decrease the chance of the cardboard warping.
The black ink/mod podge mix acted as my primer.
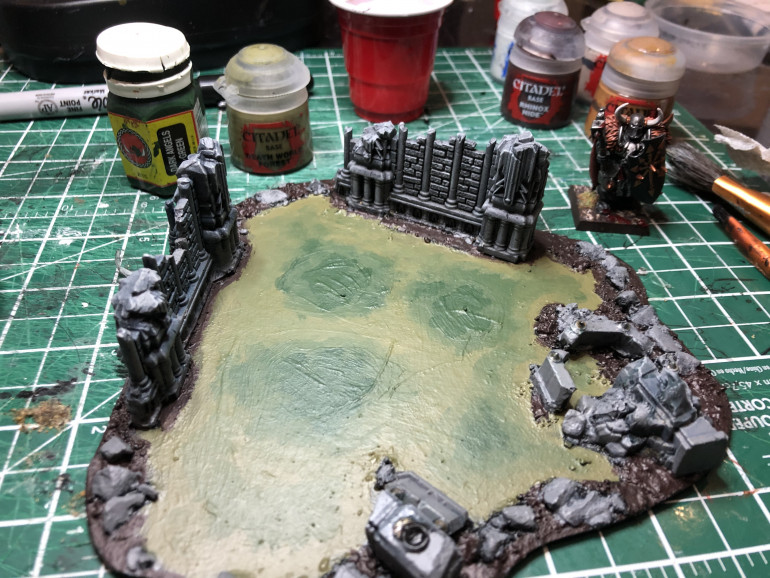
Since the Epoxy is a bit transparent, the bottom of the pond will show. The bottom of the swamp was painted with Death World Forest (GW) and the (very) old Dark Angel Green (old Citadel paint).
The dirt is Rhinox Hide, highlighted with XV-88 (GW), and finally Rakart Flesh.
The rocks and ruins are Dawnstone, highlighted with a Dawnstone / Rakart Flesh that was progressively lightened.
I used different shades for the ruins: Nuln oil, Agrax, Seraphim Sepia, Celiac and Athonian Camoshade. I mixed a bit of everything on different parts of the ruins. To be honest, any kind of shade makes it look better, but I don’t think any particular ink was better than the others.
I hope to finish this piece tomorrow 🙂
Swampy Ruins (1/2)
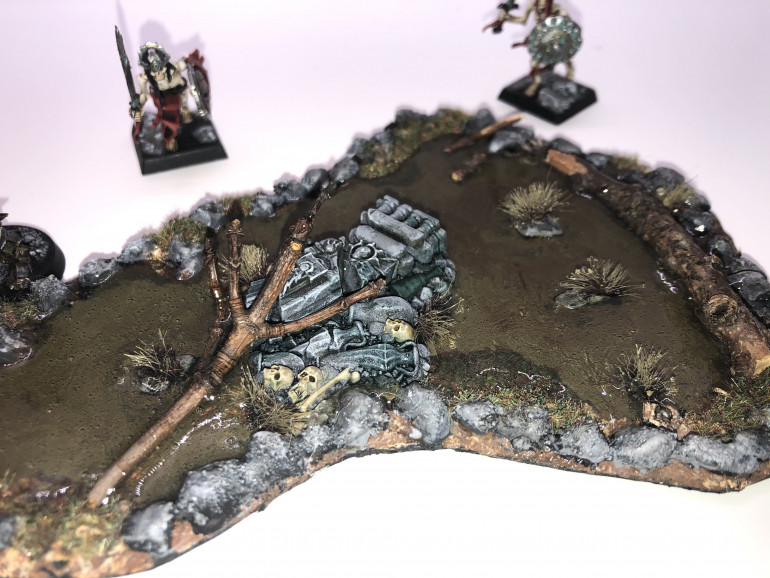
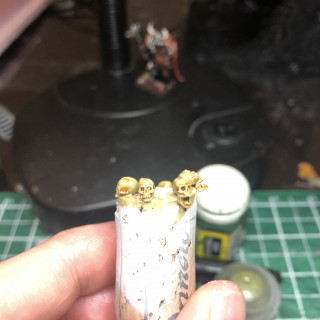
After painting the base and ruins, I realized the piece was a bit too dark: dirty brown/green and different shades of grey for the ruins. I scattered a few painted skulls (zhandri dust/ushabi) to contrast nicely with the rest of the piece.
Tip: to break the colour monotony of a terrain piece, don’t hesitate to add a few contrasting bits.
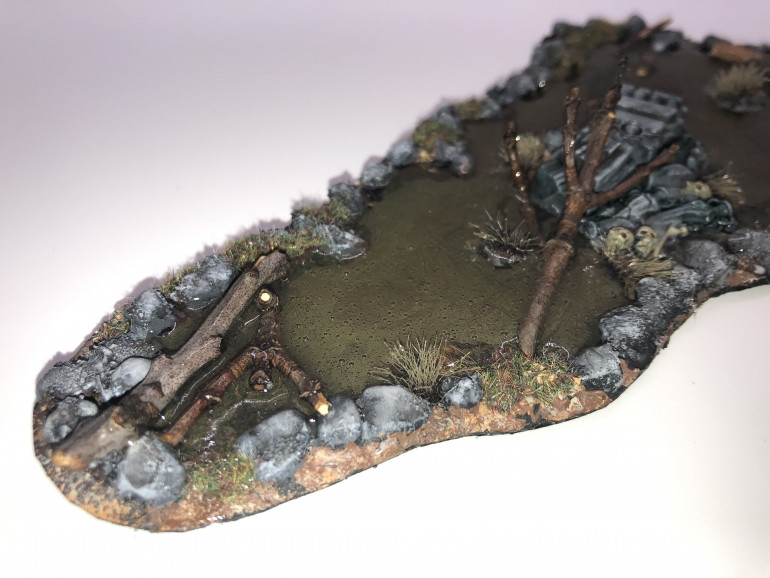
I gathered a bunch of dry twigs from my backyard. After trying different configurations, I chose small branches that I covered with a thin coat of watered-down PVA. Once the PVA was dry, I glued the twigs onto the model.
I added three different types of grass/tuft:
- Army painter wasteland tuft
- Scroched Grass from GW (some kind of static grass)
- Batttlefield Grass Green from Army Painter.
For the Battlefield Grass Green, I mixed it with PVA. It became a gooey mess that I applied as moss growing everywhere. It dried a little bit too light for my taste. I made a second batch of Grass/PVA, to which I added a bit of Agrax Earthshade (GW) to darken it.
The darker moss was applied thinly over the first lighter moss. When it dried, the two colours of moss meshed beautifuly.
Swampy Ruins (2/2)
I poured the Epoxy coloured with Athonian Camoshade (GW). Unfortunately, I did not follow my own advice from a previous post. I pointed out before that the Epoxy sets in very quickly and you have very little time to work it.
I prepared a full syringe of Epoxy thinking it was more than enough. Unfortunately, it was not enough to cover the whole piece. So I quickly made a second batch that I applied hastily. The result is a bit botched in some places. Also, the water surface is not perfectly even.
I should have prepared a lot more Epoxy in the first place. Since the product is very cheap, you better have too much of it and waste some, than have too little and mess your piece…
I applied a bit of the moss blend to cover some of the mistakes. At one point, I may use glossy mod podge to cover some of the surface irregularity, but I don’t have any right now, so I’m just going to call it a day 🙂
After finishing this piece, I realized something interesting about terrain crafting: adding multiple textures improve the overall look significantly. That may be obvious for some people, but it’s the first time I think of it this way. Although it may not show very well on the pictures, the blend of the different textures is definitely what I like the most about this piece.
For this model, the different textures are:
Dry ruins
Organic wood
Wet-look of the dirty water
3 different types of flocking/grass/tuft
Most Important Tip (and it has nothing to do with Epoxy): when crafting terrain, try to use different textures to improve
My overall impression/review of Epoxy:
Pros
Very cheap
Easily available (dollar store)
Surprisingly fun (and messy) to work with
Fun Factor: 5/5
Cons
Sets in (too) quickly: you almost have no time to “work” with it before it sets in. It is not a forgiving product.
Cloudy effect (without any paint or ink colouring, it is not fully transparent)
Aesthetic Result: 3/5
If you just need a semi-transparent “wet look” for a dirty swamp or a dungeon trap, Epoxy will work fine. It will also be a fun “experiment”.
If you intend to spend several hours crafting an elaborate piece that contains any kind of water effect, I suggest spending a little bit more money on water resin.






![TerrainFest 2024! Build Terrain With OnTableTop & Win A £300 Prize [Extended!]](https://images.beastsofwar.com/2024/10/TerrainFEST-2024-Social-Media-Post-Square-225-127.jpg)


