Earthworm Jim diorama
Recommendations: 170
About the Project
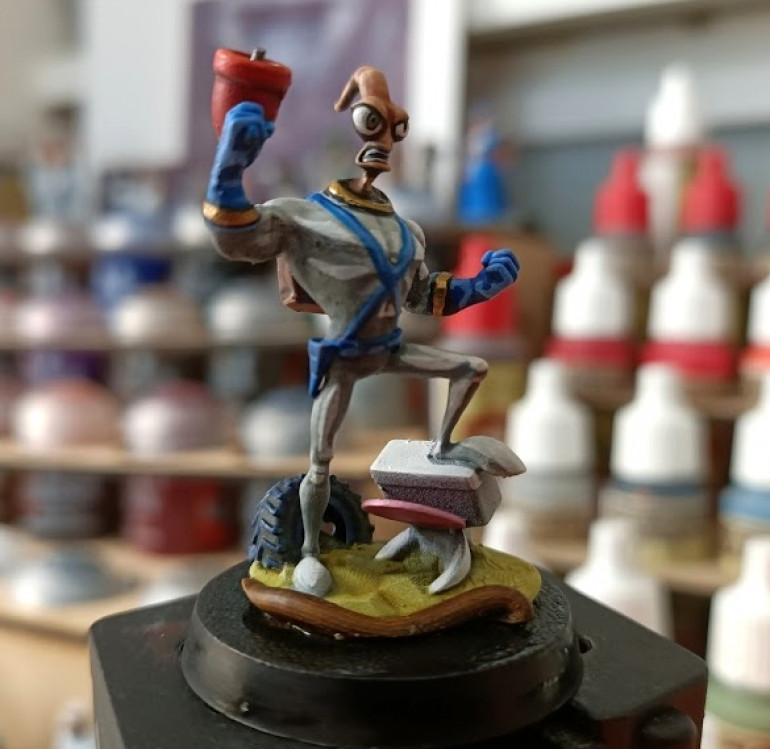
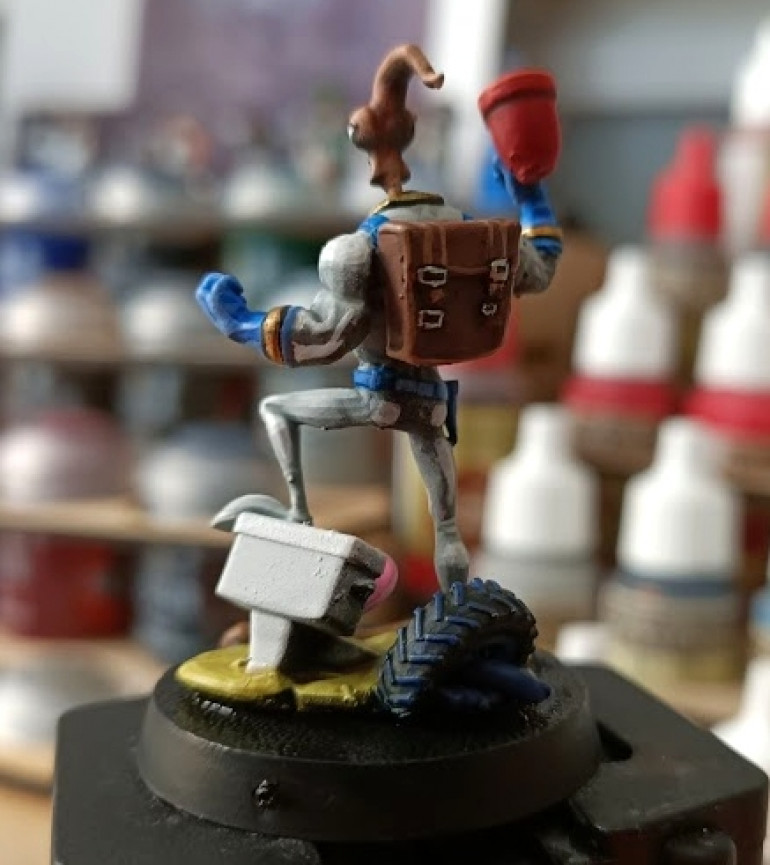
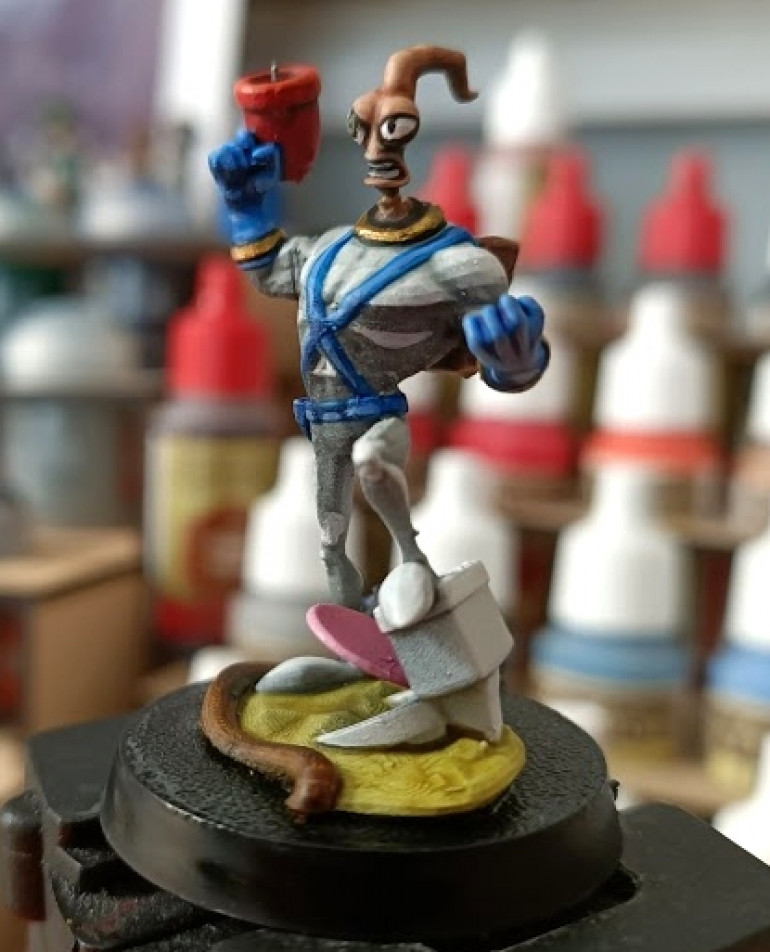
A few weeks ago, I found an Earthworm Jim mini on Thingiverse. Playing about with contrast paints, I painted him up for no other reason than a bit of painting practice. Too niche to be a gaming piece, and not enough to be a display piece, I figured he needed a diorama to feature in.
Related Genre: Humour
This Project is Active
One from the vault...
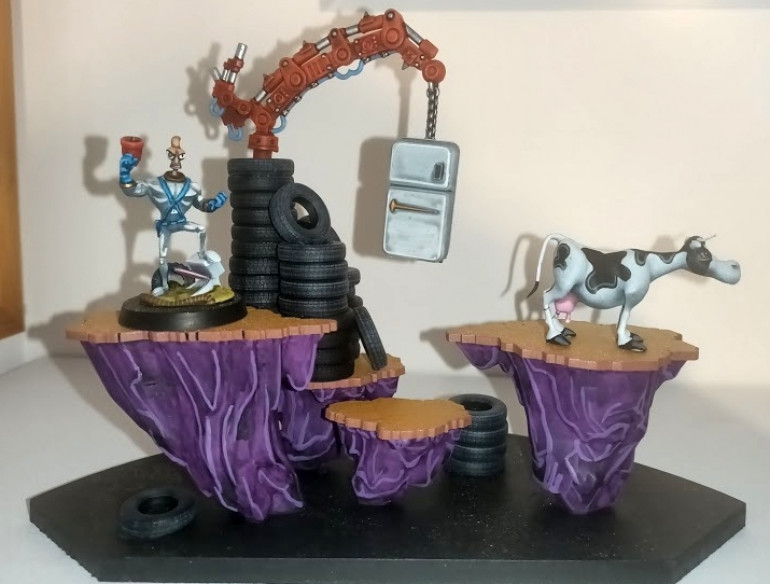
I forgot that this project has effectively been “on hold” for many months now. In fact, it’s been finished on a display for quite a while. So I took this photo to show it, completed, so I could “close off” this project entry.
…and just as I went to hit the “completed” button, I realised my photo is missing the most important piece!
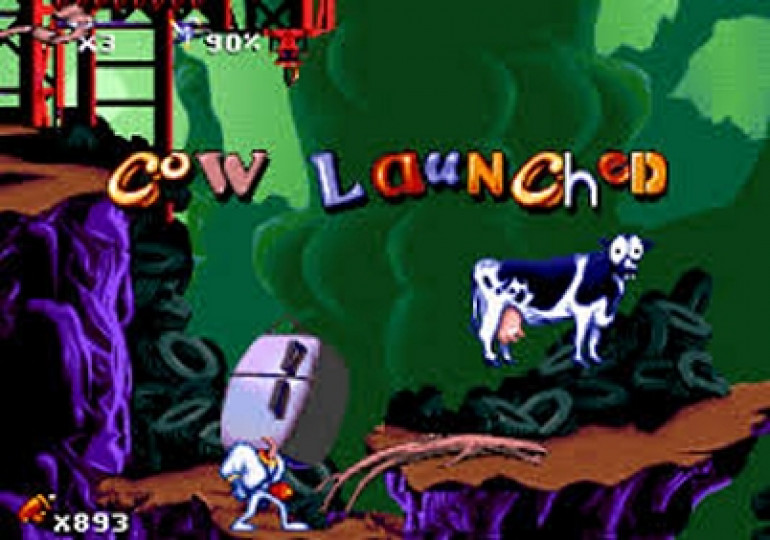
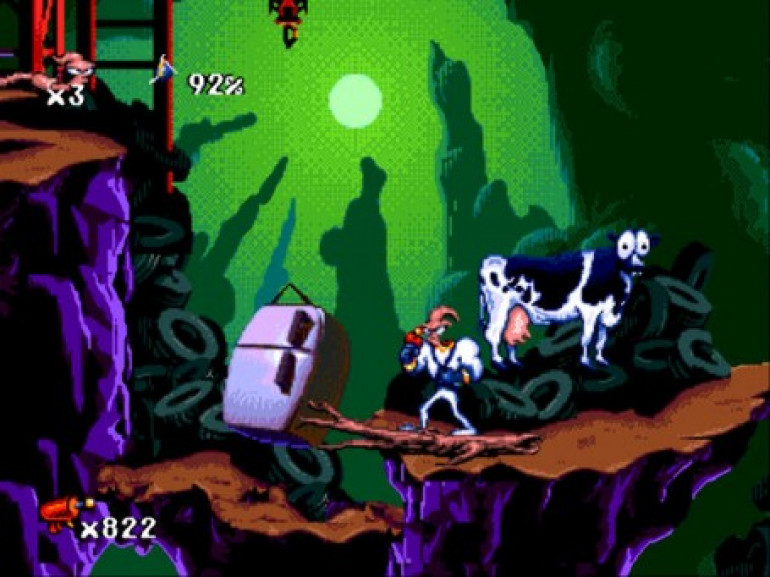
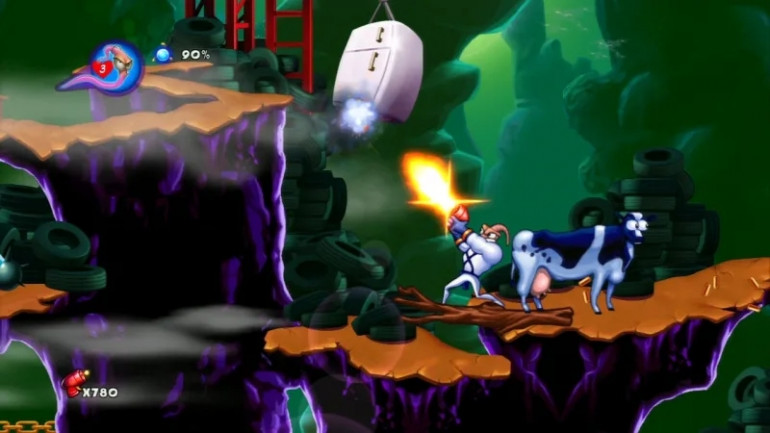
In the game, the idea is to shoot at the chain holding the fridge, the fridge falls down onto a tree branch, which is under the cow. The branch tips up and flings the cow into oblivion.
But my tree branch has gone missing! I definitely made one (because I used one with leaves on the end, so it looked like part of a tree, not just a dead branch – after all, I’d taken artistic licence on the crane, I figured it wouldn’t hurt to make the branch look more…. branch-y).
I was tempted to say “sod it” and call the project done and close this entry anyway.
But it’s niggling at me. This whole scene is the crux of the entire game (for anyone who hasn’t played the game to the end, the punchline to the entire game is that just as you defeat the final baddie and rescue Princess Whats-her-name, a cow drops from the sky and flattens her, game over!)
I guess we’re not quite done here after all……
Splashing on some paint
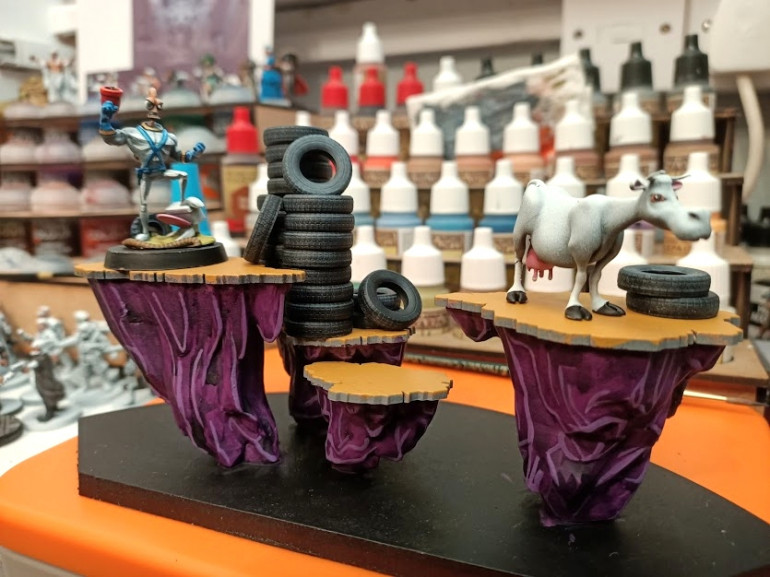
The new 3d printed rocks look much better than the nasty polystyrene lumps so I sprayed them with Halfords white primer, ready to accept some art-shop acrylics.
The purple rocks actually appeared quite dark and heavily shadowed in the game, so I threw some Druchi Violet wash over them, then painted some thick edge highlights here and there, just to bring out the details.
The tyres were simply sprayed black then heavily drybrushed with a mid-blue colour. The cow still needs finishing and – not shown – I painted the crane red and drybrushed in orange (to pick out the edges) and added some spot effects of silver.
I painted the base black to try to create a sense of depth but the rocks aren’t quite high enough to give a convincing illusion of being separate from the floor. Since the backdrop is a green alien planet, I might just try some green flocking on the base – just to add little areas of interest instead of a great expanse of plain black.
Tomorrow, the cow gets her spots….
First dry fit
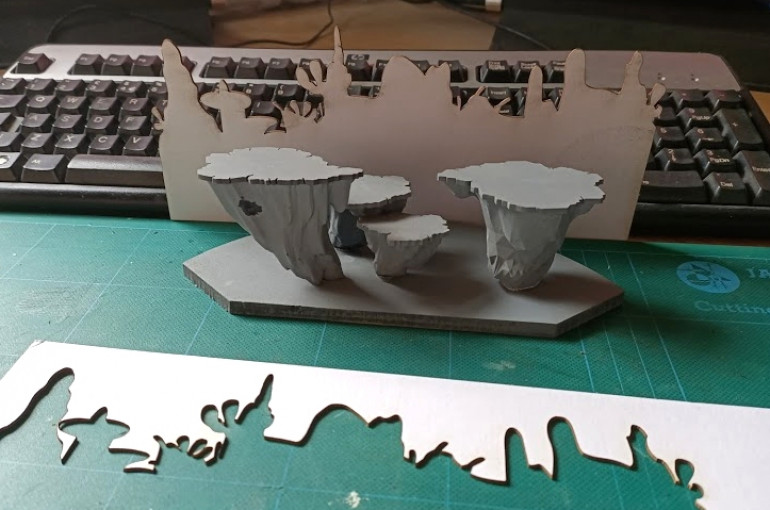
After leaving the printer running overnight to print the rocks (5 hours) and another four-hour print to produce the crane, cow and tyres, I finally had all the component parts for the diorama.
I wasn’t happy with the “closed in” look of the first version, but really wanted to include the background from the game (the green backdrop against which the foreground moves, creating the familiar parallax scrolling effect).
So I created a curved base and laser cut some 1400 micron art board for the backdrop. Using Inkscape and a Craft Robo (miniature desktop vinyl cutter) the next stage will be to print an alien landscape onto some self-adhesive photo paper and cut it to match the laser-cut artboard.
At the time of writing, I’m waiting on the postie to deliver the gloss sticker paper. So actual assembly will have to be halted for now. But – no matter – there’s still plenty of painting and glueing to be getting on with!
Creating a representation
Mrs Blinky and I have been watching quite a lot of Bob Ross in recent weeks (BBC4 every weekday Mon-Thurs, 7.30pm if you’re asking). And one thing he emphasises is the need to create “an impression of” something.
He doesn’t paint every leaf on every tree – rather he splodges the brush around and they look enough like leaves to be accepted as leaves on a tree.
With this in mind, I decided that instead of trying to recreate an exact replica of the Earthworm Jim game in my diorama, and aim more for an “impression” of it.
Suddenly everything became easier!
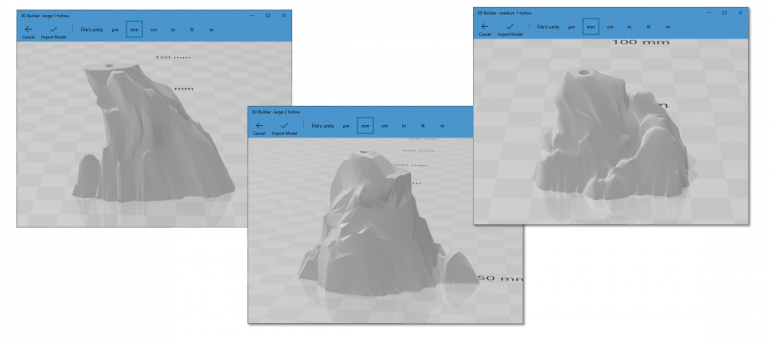
Just a few minutes on Thingiverse and I had a selection of rocks ready for 3d printing. I sliced the tops and bottoms using Blender, and hollowed them out and added drain holes for resin printing.
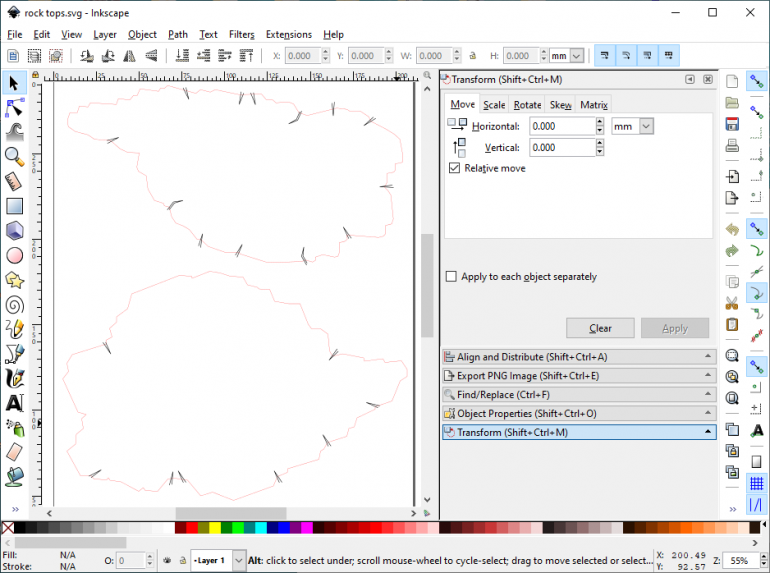
Then, using screen grabs and Inkscape, I created “ledge tops” for them and laser cut yet more mdf
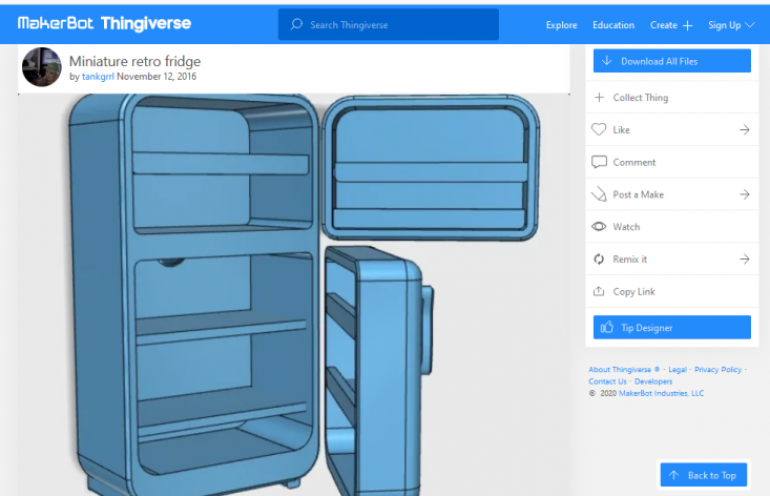
I found a mini retro fridge on Thingiverse (https://www.thingiverse.com/thing:1886922) and rescaled it to better fit the 32mm scale I was working with.
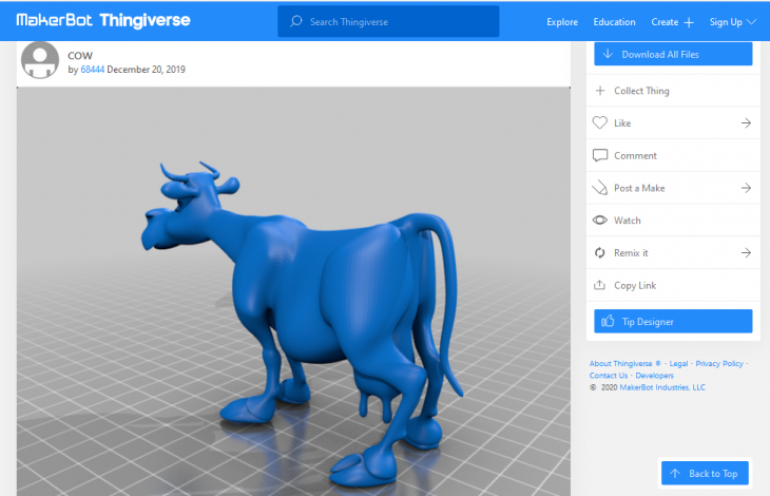
Although there are plenty of anatomically correct cows and bullocks on Thingiverse – and the cows that appear in the Earthworm Jim game are more “realistically proportioned” – once I discovered this cartoon cow, I figured it fitted in far better, with the zany cartoon-like qualities that the diorama was starting to take on.
(https://www.thingiverse.com/thing:4058762)
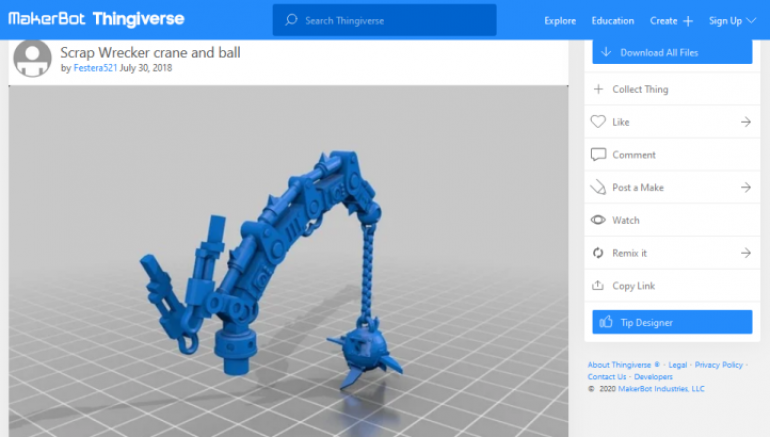
Having decided that a “representation” of the game would be good enough, it also allowed me enough creative licence to use this “scrapper wrecker crane and ball” in place of the more traditional “construction crane” that appears in the game
(https://www.thingiverse.com/thing:3027321)
All that remained was to find which of the many, many Patreon files I bought over the last few months that contains the pile of tyres I recalled seeing, and print everything out on the old AnyCubic Photon resin printer….
Matching the video game
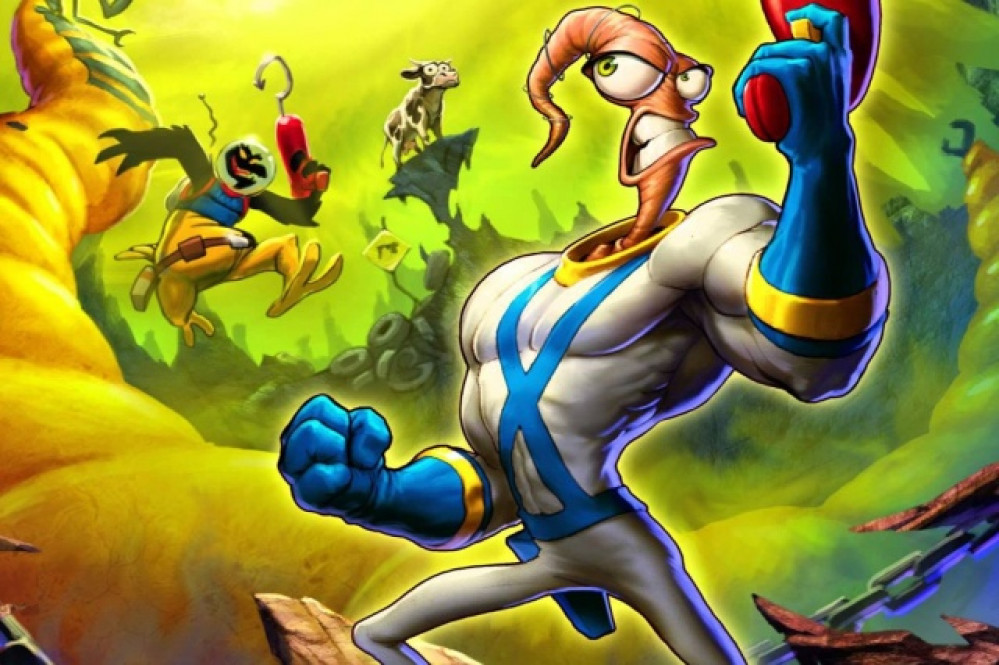
I’m not sure I ever actually owned the full version of Earthworm Jim. Back in the early 90s, shareware really was the big thing – much like today’s “freemium games” on mobile platforms; the idea was to get as many people as possible playing a game, then sell them the full hit once they were hooked.
Back then the internet was in its infancy. Games were shared by passing around floppy disks (often garnered off the front of PC magazines).
But one thing I do remember is that Earthworm Jim featured cows. They were everywhere. And one famous sequence was to get past a cow to complete one of the early levels.
One of the most memorable scenes (for me) in the game was to place a branch under a cow, then drop a fridge on the branch, to fire the cow into the air, in order to pass.
It was this scene that I decided to recreate with my diorama.
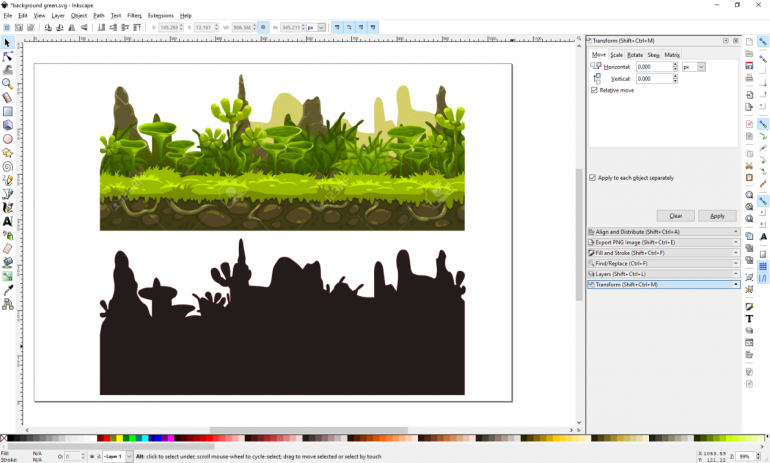
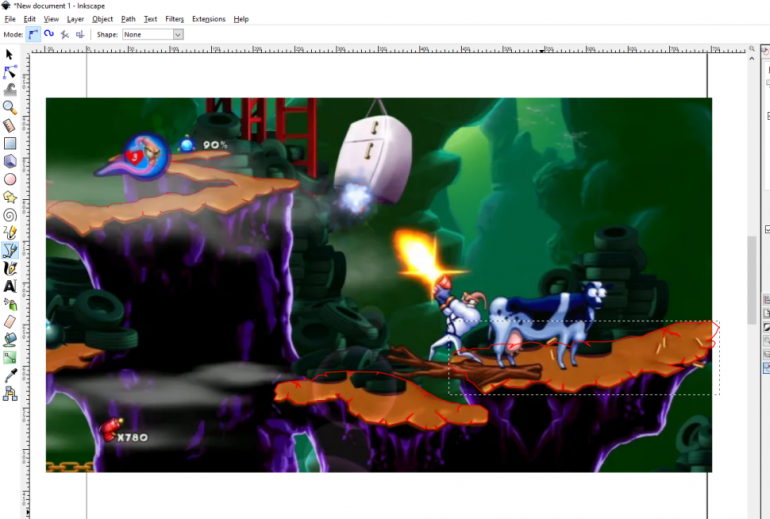
I wanted to create the scene as closely as possible. So loaded the screenshot into Inkscape and traced the platform shapes (adding in extra material where the platform was obscured by onscreen objects).
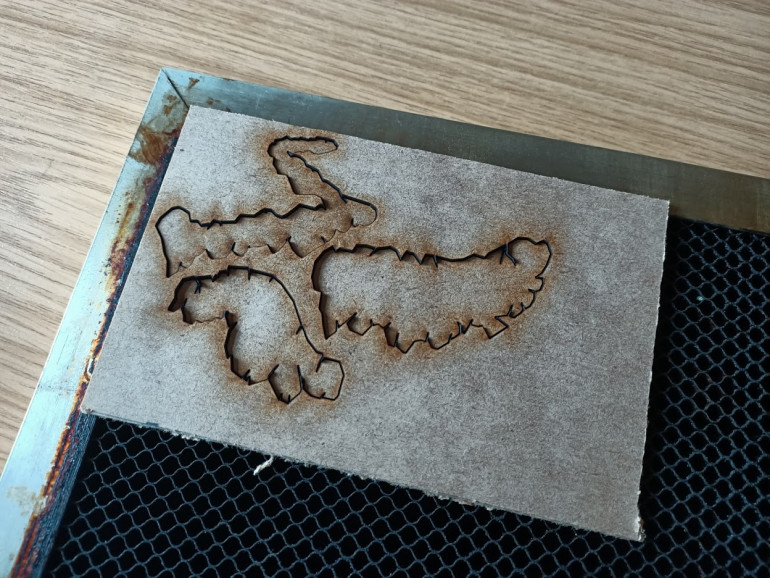
I then exported these shapes as .dxf and sent them to the laser cutter, to cut the shapes out of some 2mm mdf.
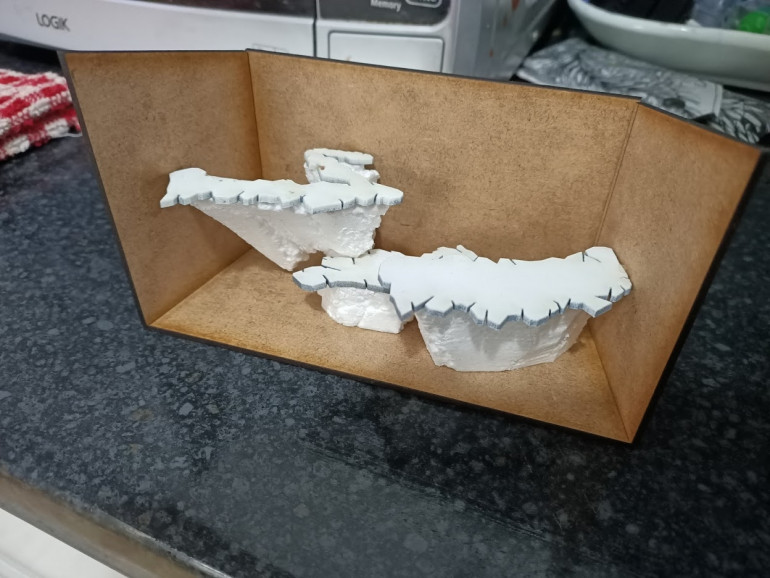
Then a quick spray with some white primer, and I added them to a couple of blocks of polystyrene, to create the “rock faces” that appeared in the game.
The end result?
Well, the mdf actually looked quite nice.
But the rest of it? Shocking. Absolutely awful.
It just looked like some mdf glued to some mis-shapes of polystyrene. Which, to be fair, is exactly what is was. But it was dreadful.
So went in the bin. This was going to need a bit more thought….
Nostalgia fest
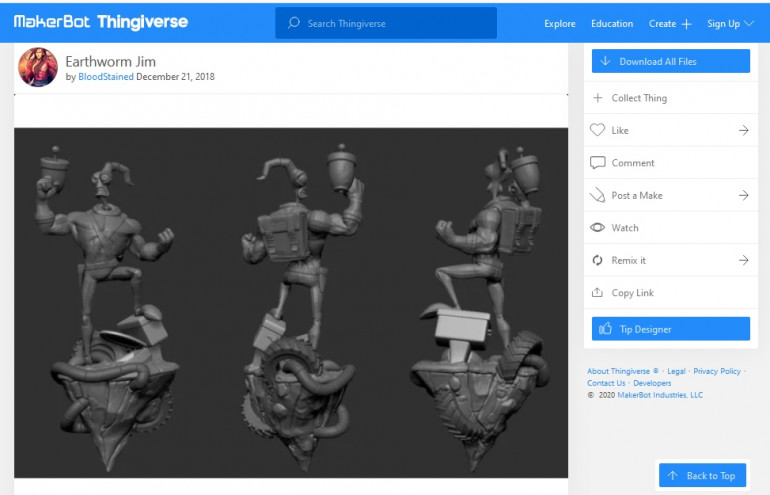
After completing my Day of the Tentacle diorama () I felt a bit nostalgic for those days of quitting Windows 95 and launching my PC into DOS mode in order to load some shareware games from a floppy disk. I led to my browsing Thingiverse and coming across this guy:
https://www.thingiverse.com/thing:3304145
I had the mini printed for a good few weeks with little idea what to do with him.
Then, one rainy afternoon with a few hours to myself, I thought I’d have a go at painting him up in a single session – for no other reason than a bit of fun, painting for the hell of it (instead of trying to get some characters done for a particular game).
In total, using plenty of contrast paint and a bit of old-school blacklining, I think he took about three-and-a-half hours. For me, I thought that was pretty good going!
I modified the file a little bit, cutting him off the pile of junk, but leaving enough connected to create an interesting topper for a 32mm round base.
I’m trying to move away from plain boring black discs for bases. It feels like this is a bit of a half-way house – not quite a fully sculpted base, but neither a boring plain black disc.
For a one-off, bit of fun, I was quite happy with him.
But after a few days, I felt like he was a little bit incomplete; he was too niche to be a gaming piece for a tabletop game, but not really well painted enough to be a “display piece” either. I felt that for Earthworm Jim to earn his place on my display shelf, he needed something more – he needed to be part of a diorama….


