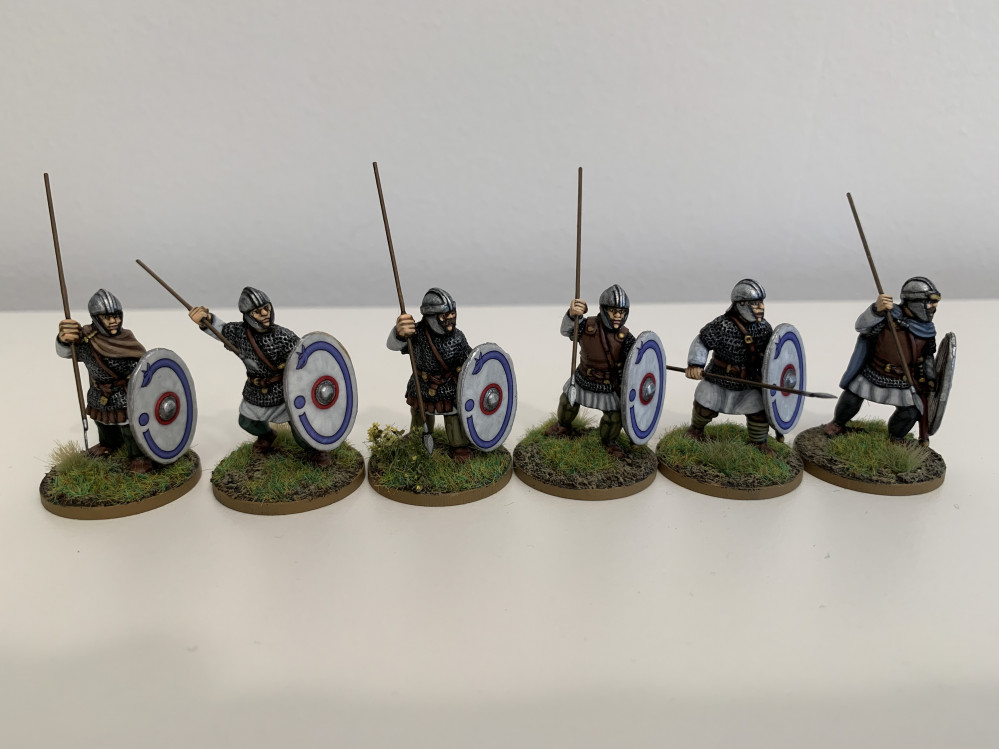
Romano-British for Dux Britanniarum
Milites Group Two - faces and hands
I made some progress on the second Group of Milites this week, focusing on faces, hands and visible parts of the neck, which are the only areas of exposed flesh on these figures.
Everyone on OTT will know that camera phones do miniatures few favours; making them look much less than they appear in real life. This seems to be a particular problem when documenting the steps for painting faces. However, despite the dodgy photos I’m really very pleased with the final effect, which looks much better in person.
The first step was to prime the figures in black and then cover any bits missed by the spray in a thinned coat of Black (VMC 70.950, although any black will do!).
I then scraped away the primer from the top of the left hand. This allows for a metal-to-metal bond when the shields are attached. Attaching the shields later in the process makes painting the figure easier, but it also allows me to prime the shields in white, which the instructions for the Little Big Men Studios shield transfers say is necessary for the colours to shine through.
Next, I painted the face, neck and hands (including the areas of the left hand where primer remained) in a base coat of Light Brown (VMC 70.929).
I then painted in the whites of the eyes with, obviously, White (VMC 70.951).
Once the whites of the eyes were completed, I gave the hands, neck and face a wash with Army Painter Strong Tone ink.
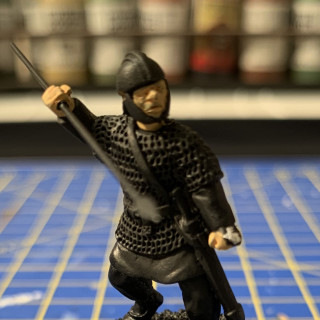
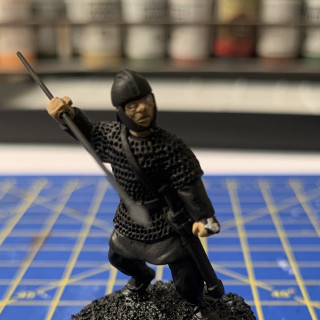
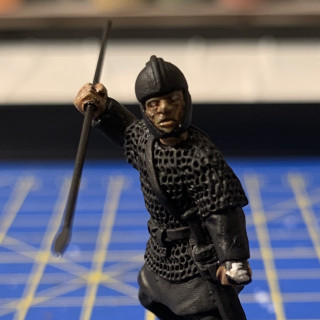
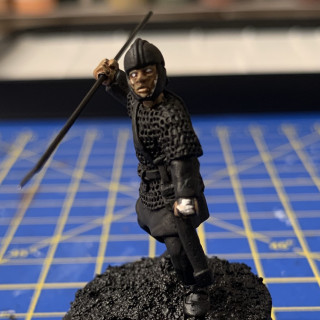
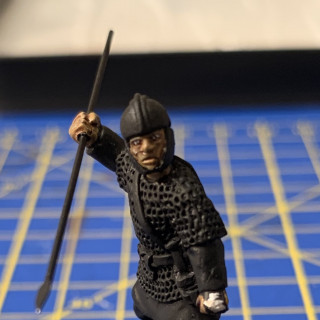
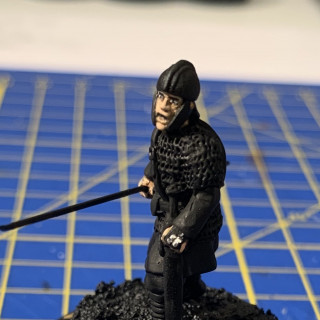
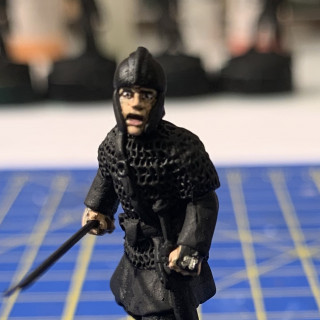
The images below document these first three steps of: i) base coat of Light Brown; ii) painting in the whites of the eyes; and iii) the wash with Army Painter Strong Tone ink.
Once the ink was dry, I felt that it had dulled the whites of the eyes somewhat. This was the first time that I’ve painted in the whites before applying the ink wash. I therefore painted over the whites of the eyes again. Surprisingly, I found this order of doing things quite helpful. First, the ink covered up areas where the whites of the eyes were too large; and second enough of the original whites showed through to provide a guide for the repainting. I’ll therefore probably follow the same process again.
The next step was to draw in the pupils of the eyes with a vertical line of black.
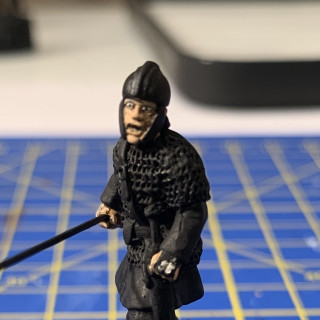
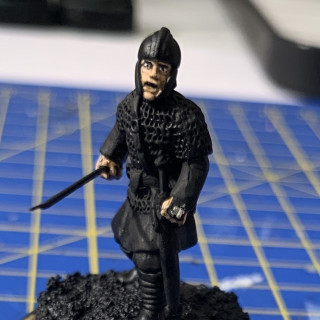
The images below document these next two steps: iv) repainting the whites; and v) painting in the pupils.
I then did a first highlight on the face, neck and hands with Sunny Skintone (VMC 70.845). At this point, one of my warriors looked like a startled rabbit, so I tried to achieve a slightly more martial look by painting in eyebrows with a couple of thin strokes of black above the eyes.
Next was a final flesh highlight on the highpoints (nose, chin, cheekbones, fingers) consisting of a mix of approximately 70% Sunny Skintone (VMC 70.845) and 30% White (VMC 70.951). The final touch was a line of Old Rose (VMC 70.944) on the lower lip only.
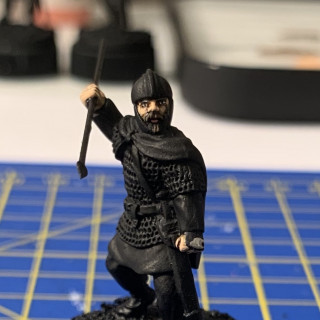
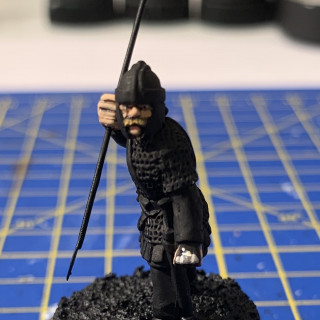
I’m not sure all these steps are readily apparent from the images below, but for what it’s worth they are: vi) first highlight (startled rabbit); vii) eyebrows; viii) second highlight; and ix) lower lip.
For those Milites with facial hair, I did one with a base coat of Chocolate Brown (VMC 70.872) with highlights of Beige Brown (VMC 70.873), and another with a base coat of Beige Brown with highlights of Yellow Ochre (VMC 70.913). I also used these combinations for the small areas of hair visible under the helmet, but these could equally have been left black.




Leave a Reply