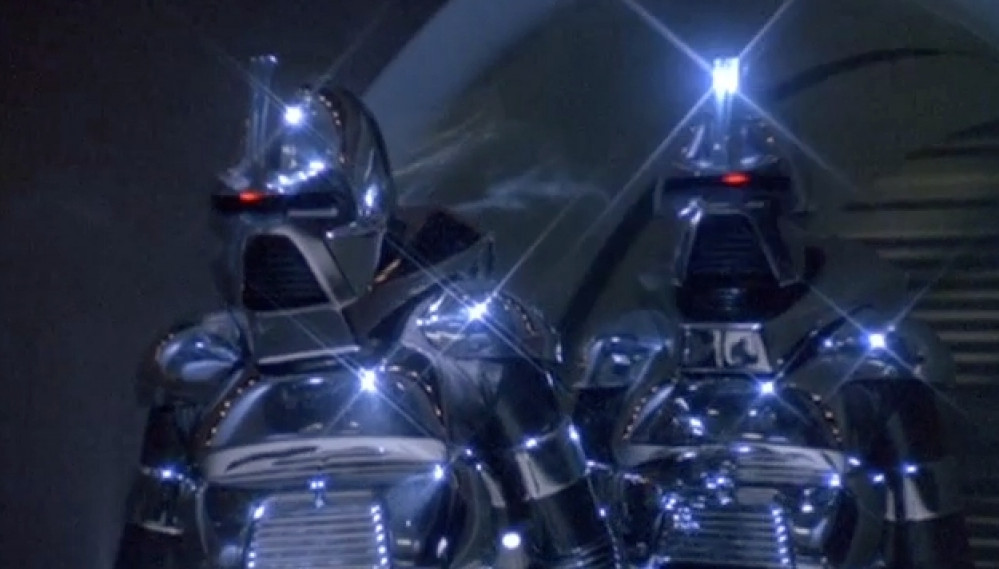
Animated Cylon with LEDs at 32mm
Fitting everything together
After an initial successful test, it was time to glue the heads on! I was keen to make sure that the LEDs remained in the right place, shining out through the visor, before the head was glued onto the body (there would be nothing worse than glueing the head on, and having the LEDs shifting so they lit up the side of his head!)
I filled the head with superglue gel and plunged the LEDs (switched on, of course) inside. After rotating them around and making sure they were in the correct position, I sprayed some superglue activator into the head.
After gluing the head in place, it’s time to do some tidying up.
The miniature will be sprayed with primer, then coated with multiple layers of paint, the stop any light-leakage so the only light coming out of the LEDs shines out through the visor.
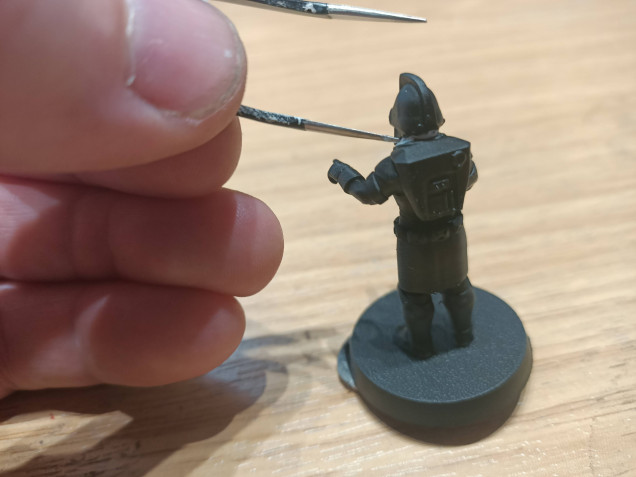
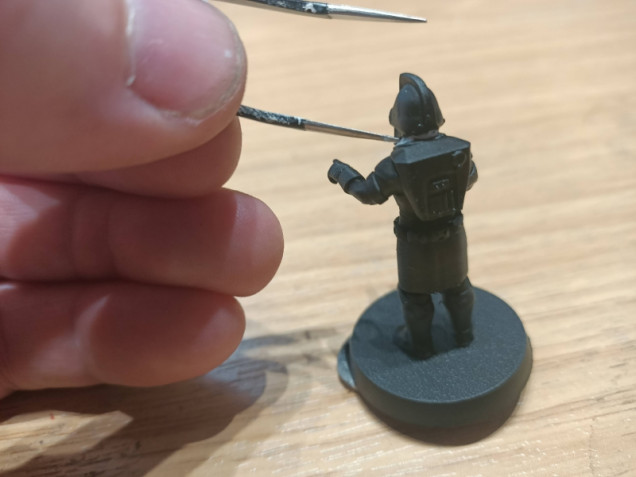
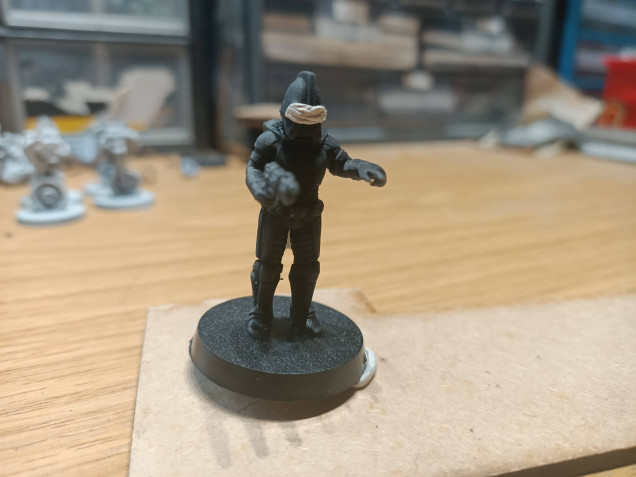
This also means filling in any cracks around the head/neck joint, where light might leak out. I found “green stuff” too stiff to work with, and Milliput too messy. Since I’m filling an area that is unlikely to be reached by pokey fingers, I figured that a bit of blue-tack would suffice
It’s soft enough to poke about, but without getting stuck all over the rest of the mini. And once it’s painted up, you’ll never know what it’s made from anyway.
We’re almost ready to hit the mini with some black primer.
Of course, after doing all this work, we don’t want to obscure the visor with a load of paint! So a bit more blue-tack to act as a mask, and we’re ready to go.
As I write this, I’m waiting for the black paint on the first three (yes, count ’em, three!) to dry. Hopefully all the hard work is now done and it’s just a matter of applying a “regular” paintjob and calling it done.
Updates to follow…..







Your skills with lighting are amazing. Well done mate.
Thank you!