The Emperor Protects ~ Adepta Sororitas ~ A Sisters of Battle Project
EAT. SLEEP. REPENT. REPEAT ~ A GUIDE TO PAINTING REPENTIA ~ PART 1
GRIM DARK CONTRAST
*****
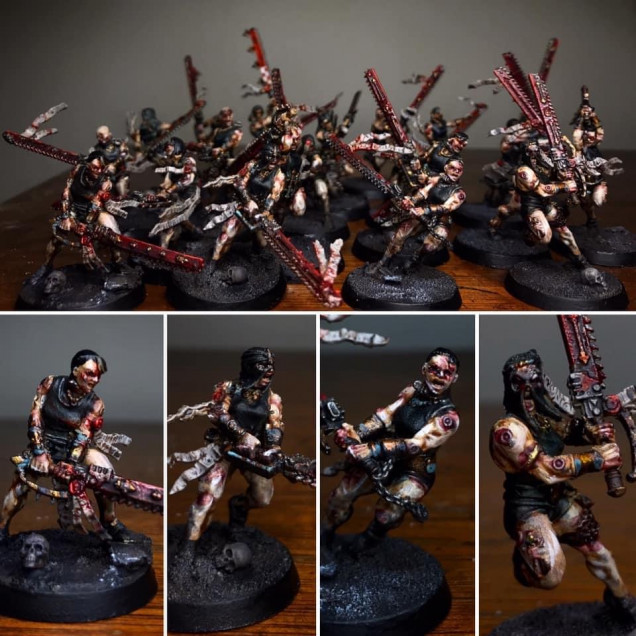
Ey up lovely people. Wowza have I been busy on the painting front. I’ve actually finished my bloody (and I mean bloody) Repentia in one fell swoop. Perhaps it was the motivation of that golden button feature for my Sisters of Battle on XLBS. Either way I’ve got the full guide written up with all the steps & I’ll be sharing it right here more than likely in multiple parts as it’s a biggy.
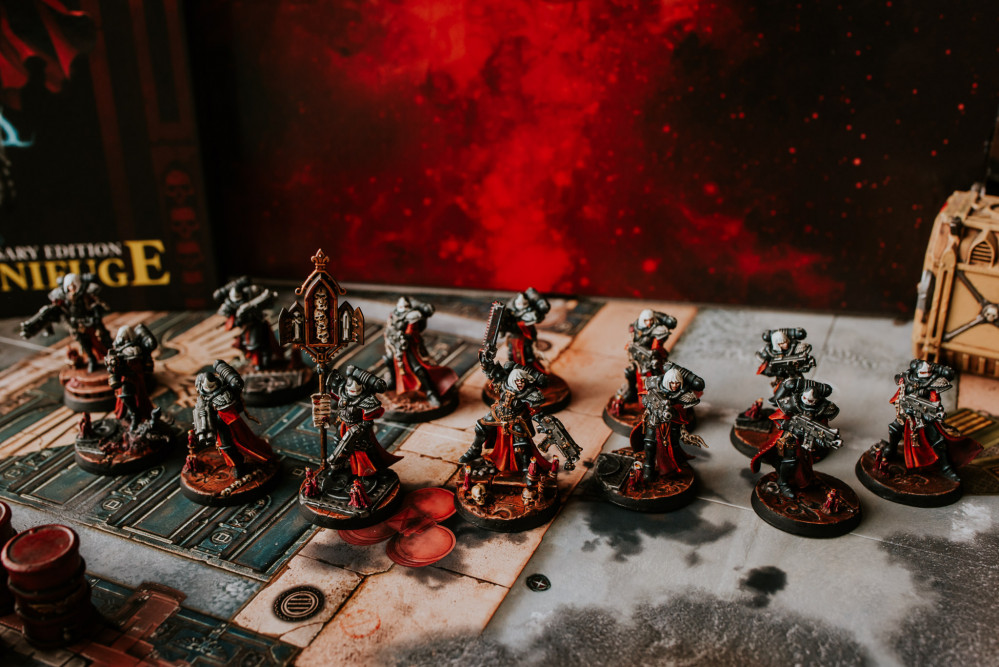
Honestly though these ladies were so much easier to paint that the standard sisters. Mainly because there was less edge highlights. But also because they all have a somewhat more open stance allowing easier access to details etc. Firstly I have to share a pic that gave me the inspiration for my Repentia. These ladies were painted up by a talented chap called Jon Swain & I adored their dark & gritty feel. I didn’t have much to go on in the way of emulating their look so I just rolled with it. I really wanted my Repentia to provide a stark contrast to the more clean paint jobs of the normal sisters. Like they’re at the forefront of the battle taking names & claiming skulls for the emperor.
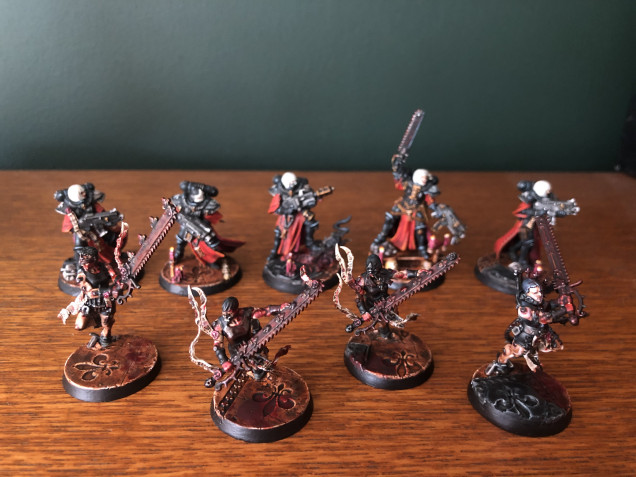
Again the above pic isn’t mine (I wish it was) but just like above I wanted their clothes to be black along with their hair (a contrast to the white) & to use tons of washes that were painted loosely onto the models open sores and implants. Finally to tie into the red of the cloth on the battle sisters I wanted to use a plethora of bloody spatter across both models and base to tie them into the rest of the holy assembly.
Yo Eternity Gate. Quit yo jibber jabber. Let’s begin. PAINT LIST INCOMING. BOOM!
PAINT LIST
*****
• WRAITHBONE
• CONTRAST GUILLIMAN FLESH
• RAKARTH FLESH
• WHITE SCAR
• ARMY PAINTER BARBARIAN FLESH
• CONTRAST MEDIUM
• CONTRAST BLACK TEMPLAR
• LEADBELCHER
• CONTRAST VOLUPUS PINK
• AGRAX EARTHSHADE
• RETRIBUTOR ARMOUR
• CONTRAST GORE-GRUNTA FUR
• DARK REPEAR
• THUNDERHAWK BLUE
• ARMY PAINTER PURPLE TONE
• CONTRAST FLESH TEARERS RED
• ABADDON BLACK
• 005 BLACK MICRON PEN
• KINDLEFLAME
• CONTRAST BASILICANUM GREY
• NULN OIL
• BLOOD FOR THE BLOOD GOD
• CONTRAST BLOOD ANGELS RED
• ARMY PAINTER ANTI-SHINE
LET US BEGIN
*****
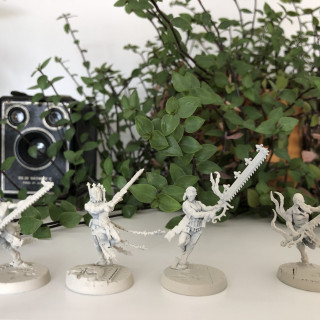
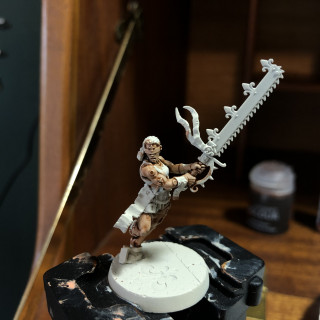
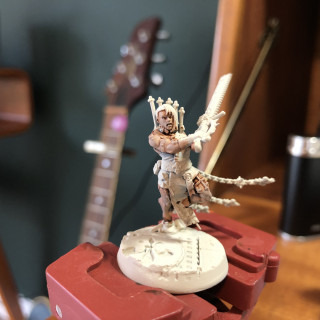
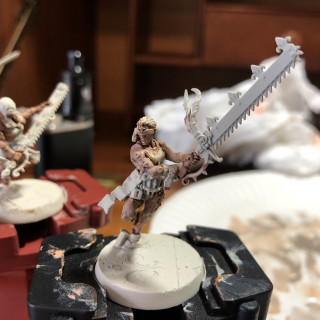
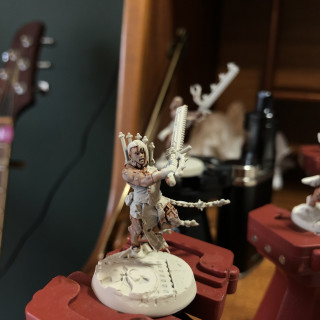
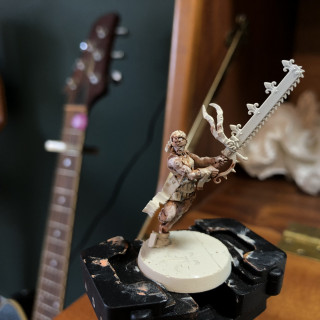
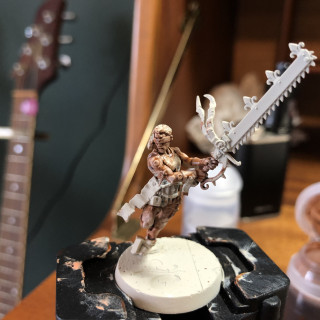
Like always I began with a base coat of Wraithbone spray. As the flesh takes up the biggest part of the model I began with this. First I added one thick coat of Contrast Guilliman Flesh to all the skin parts of the model. While this was still wet (controversial I’m sure) I then dry brushed all the skin with Rakarth flesh. Again while this was drying I mixed 50:50 Rakarth flesh to White scar and applied a lighter dry brush to the more raised sections of the skin. I then added to this mix a couple of drops of army painter Barbarian flesh & more White scar and dry brushed again this time even lighter.
I then mixed a 10:1 White Scar & Army Painter Barbarian Flesh mix and used my brush to pick out the highlights across the skin like the most prominent muscles and face. I then left that to dry & mixed a 5:1 glaze of Contrast Medium to Guilliman flesh and applied that over all the highlights to tie them together. That’s the skin done! Easier than I thought.
GIVE ME SOME SKIN
*****
Honestly I really loosened up my painting style with these to get that grittier feel right from the start. Don’t be afraid of making the odd mistake and miss-highlighting. That heavy contrast just adds to the grim dark look we are going for. Yes! I’ll leave it there for part one. Next we will be tackling all kinds of awesomeness across the model. As always I’m sharing the process exactly in the order I did it in so forgive the jumbled order at times.
See you on the next one very soon.
Much Love
Eternity Gate




Leave a Reply