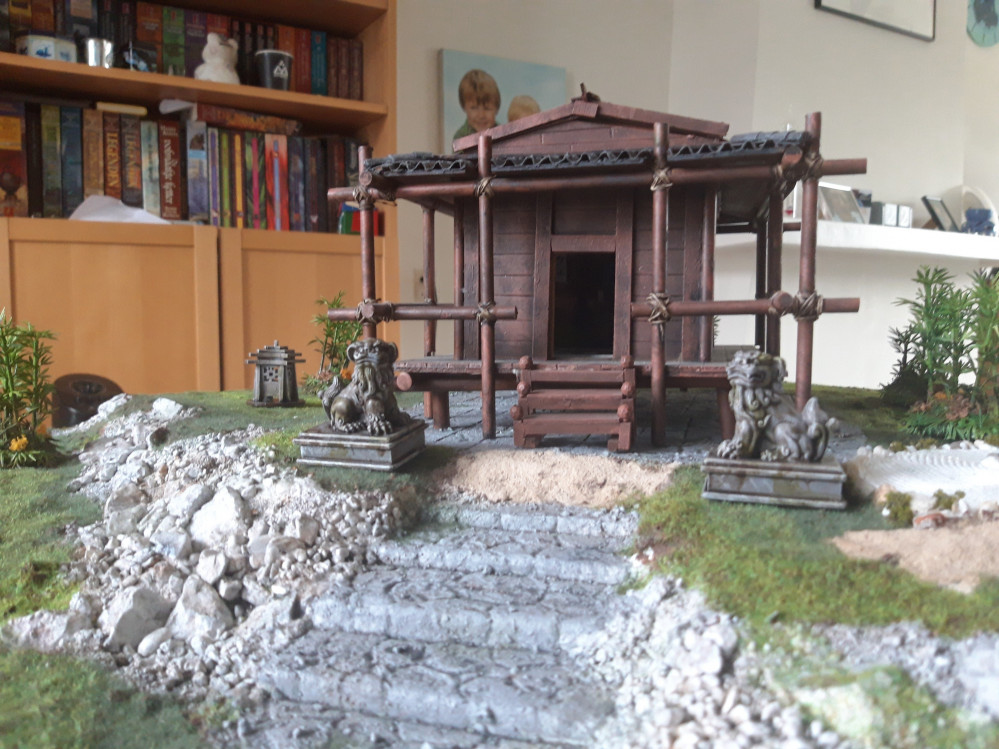
Bushido Game board
Recommendations: 422
About the Project
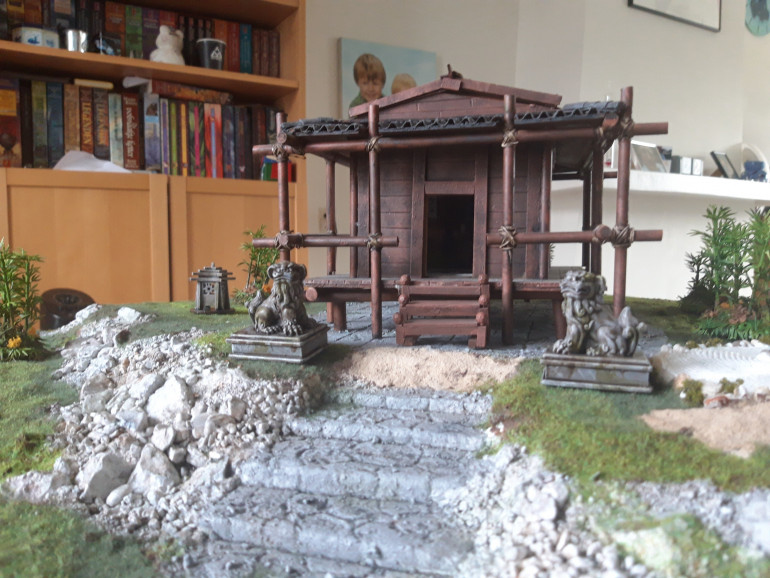
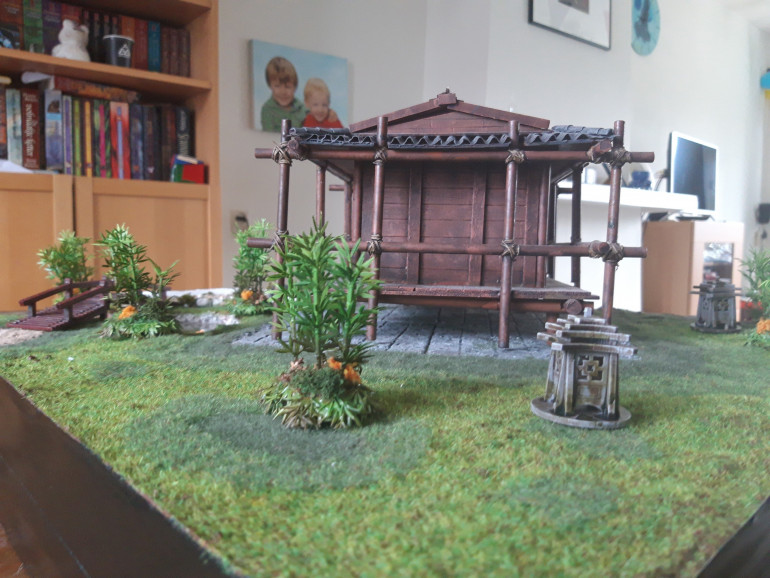
This has been a long time coming and kept being pushed aside for other projects, But I've finally made a real start. Bushido Risen Sun is, in my mind, the best miniature game out there. The small scale of a handfull of mini's a side on a 2 by 2 gaming surface allows for some real flexibility on projects. I had decided long ago I would make a garden with a temple in it. The temple has long been made(and needs a bit of fixing by now) It was time to make the garden. I have ordered several bits now, and gathered some more over the years. Lets hop to it.
Related Game: Bushido
Related Company: GCT Studios
Related Genre: Fantasy
This Project is Active
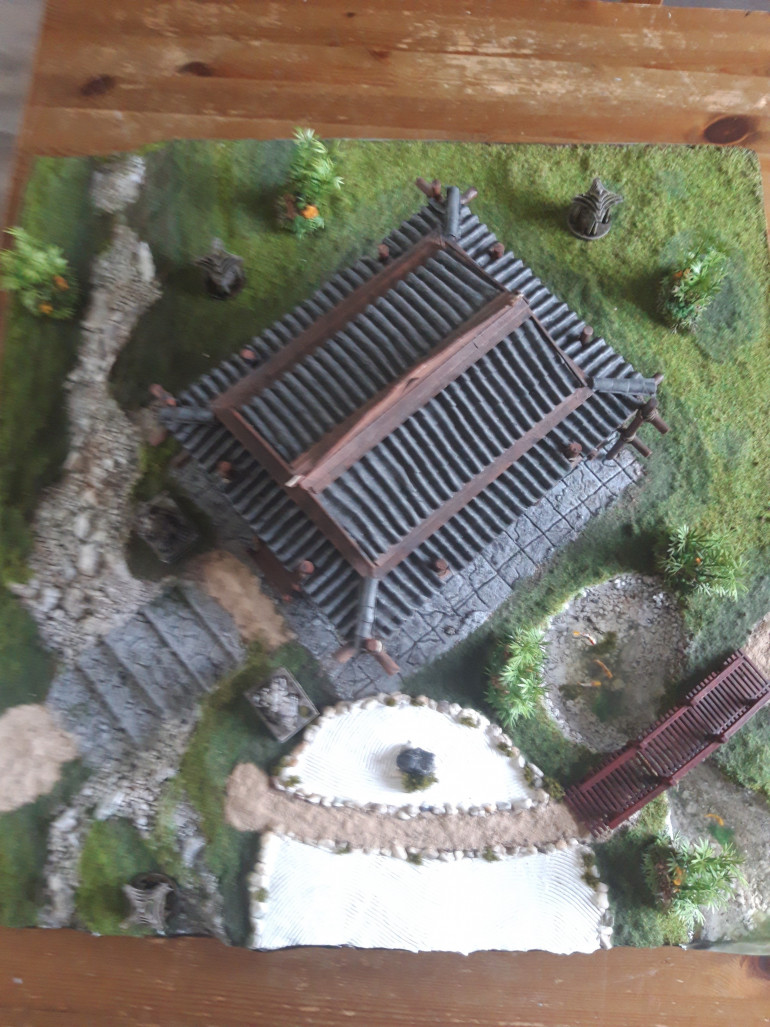
It is done.
Finally done.
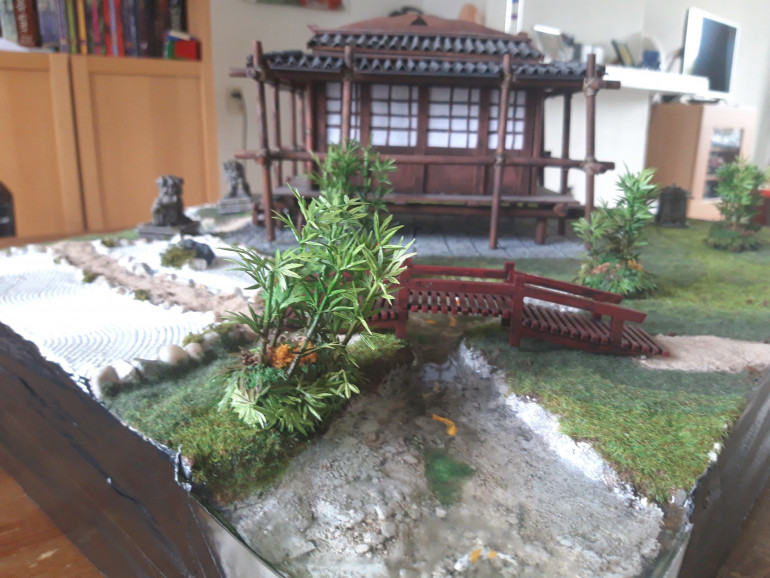
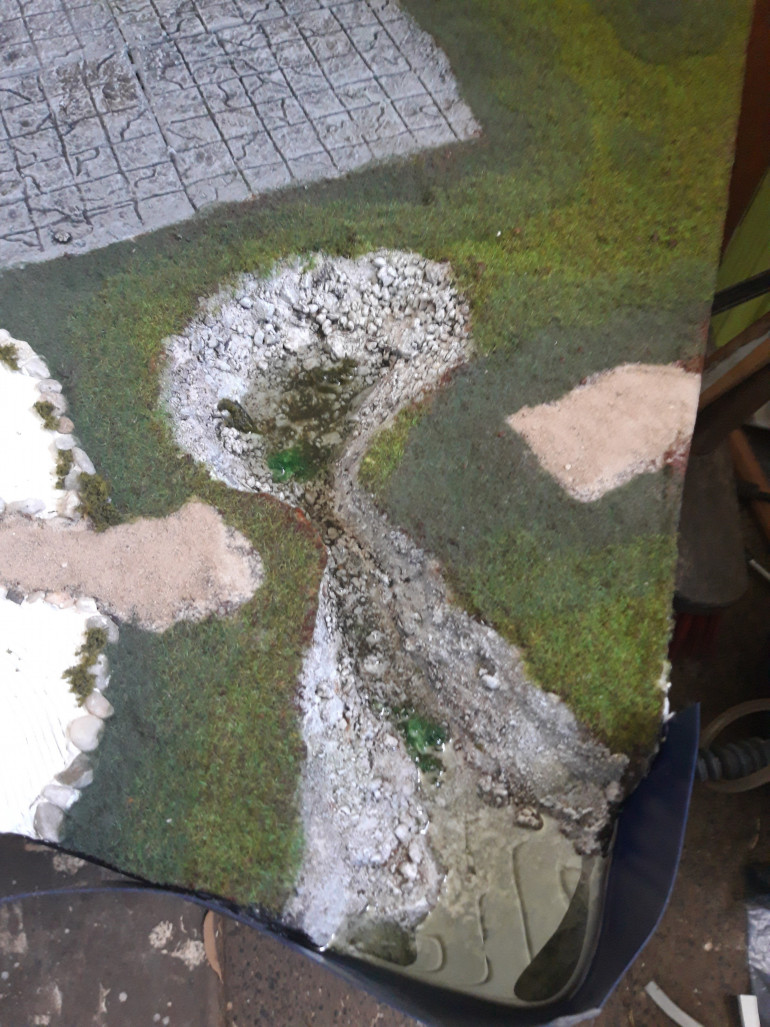
Things I would have done differently: not put the pond on an edge. This really made it much harder to create a dam to stop the resin from spilling. It ended up doing so a few times and now the last koi is cresting the water a little more than I’d’ve liked and I’m all out of resin. Make sure the dam is waterproof and add glue on the outer edges of the dam. Also, this stuff was easy to use, but expensive. I’d probably use something different next time, now knowing how to pour.
The last layer is also a bit cloudy, probably due to being distracted by my youngest at a critical point. I’m not sure I got the 2 component mixed right.
The next board won’t get such a big structure in the middle. We play that models can easily access the window, but mostly we end up running around it.
Getting tricky
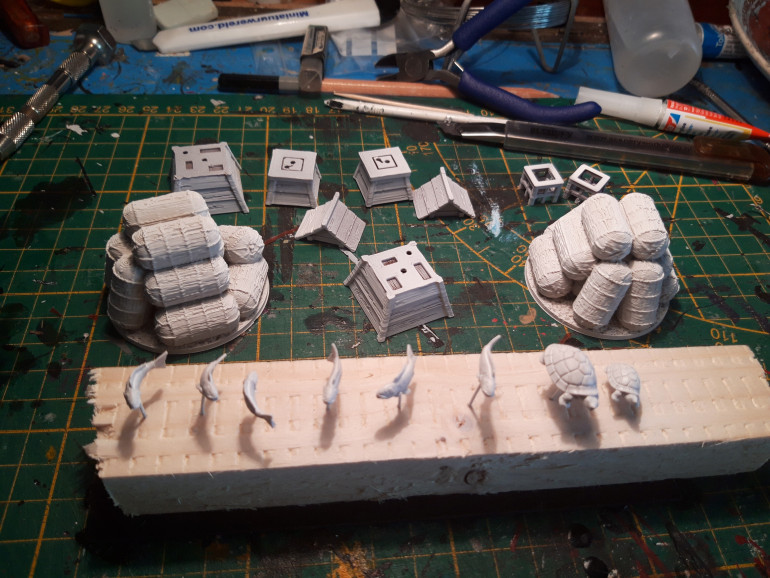
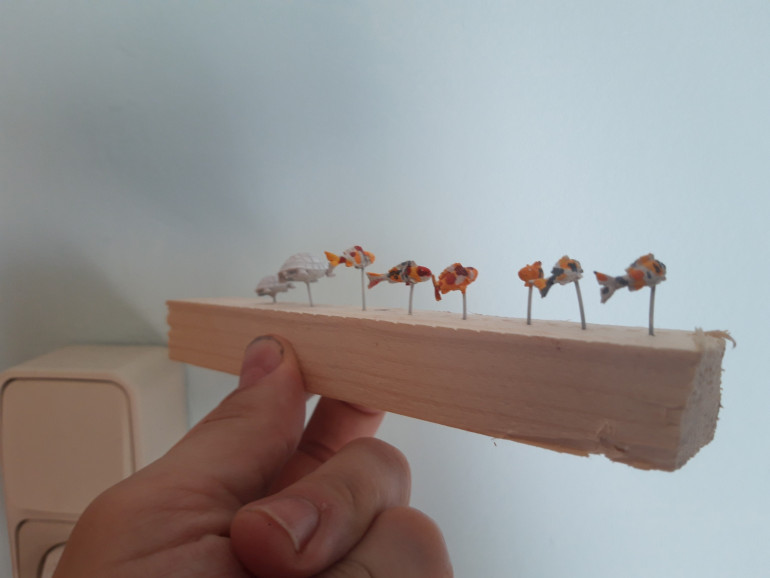
I’ve been doin some cleaning of scenery and then fish and some light painting on them, but due to some stress, I’ve been putting of the step I was not looking forward to anyway.
First here’s some of the scenery I ordered from mastercrafted miniatures.
Really nice stiff and perfect for Bushido.
I have made a bit of a mix of the types of grass I used and used this to make a bit of a blend. It looks better this way. Not perfect, but better. I also mad a few patches of this mix for even more variety.
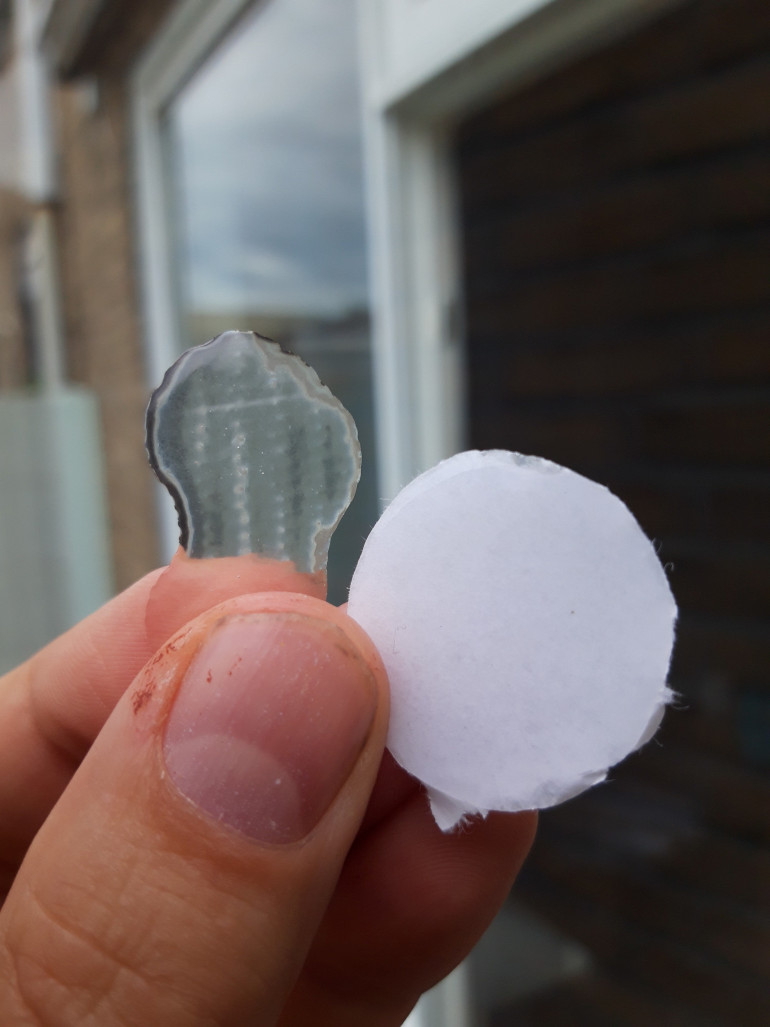
Than the scary part. I though about making the “dam”to keep the resin pour out of foamboard, but decided on testing a few drops first. I put some duct-tape on a piece of foamcore and dropped a few splatters of the mixed resin on both. This taught me: The resin will adhere to the paper and look bad and it will take the structure of anything it’s poured on. Bit obvious, the latter, but not something I had considered.
I ended up using some industrial double sided tape to keep a piece of pvc coated cloth in place. This stuff is used to make trailer coverings and stuff. I got it from work, but I think any piece of plastic will do. The important thing was that I could be wrapped around the corner, but still remain upright.
Unfortunately, when I made the mix and added as tiny bit of camo green to it, my construction wasn’t waterproof as I had assumed. I first messed around with a glue gun, but ended up using more duct-tape. I figured I had some cleaning up to do in the end anyway. I hope I’ll manage to do this in 4 pours. I’ll start adding fish to the next one, after finishing their paintjob this evening.
Green fingers
It’s been hard to motivate myself the last days, due to extreme weather.
But I do want to finish this.
I’ve managed to fihure out the water effect on my side project. So that’s not really an excuse to finish this anymore…
If you want to know my findings there check here:
I still have to figure out how to enclose the sides of the board, so the resin doesn’t pour out. I’ll hit youtube for that. Lukesapps will surely yield results.
And I need to clean and paint my fish
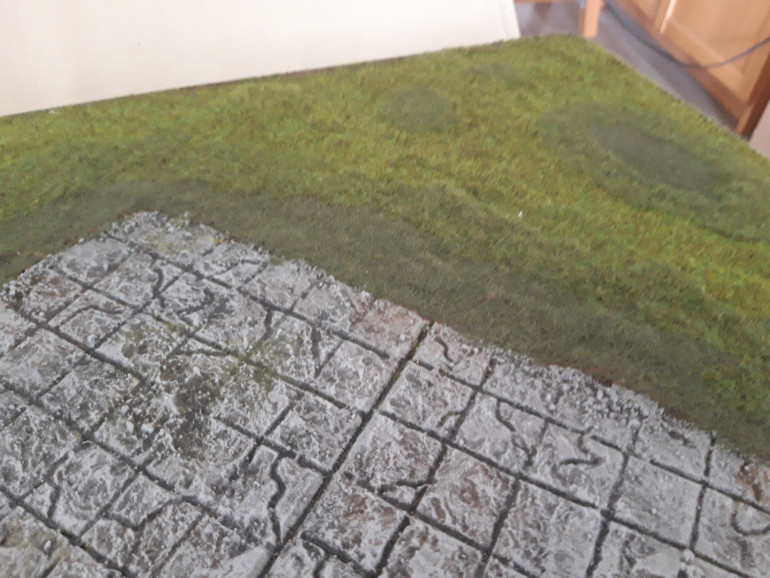
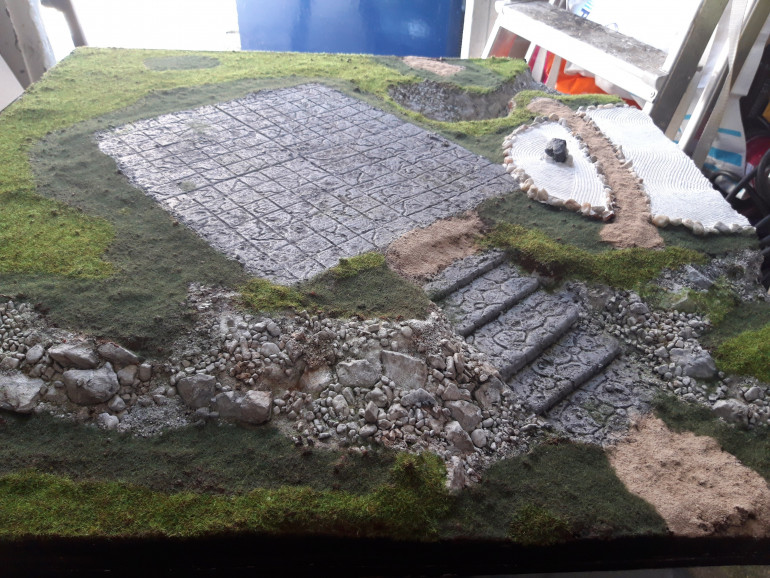
I did manage to do the lawn.I did make a bit of a booboo.
One colour will probably be more realistic on a well kepped lawn, but it looks boring. I watered down PVA and, in patches, covered the brown parts.
Next I used the following litle tool.
Now I did one colour of grass and than the next. If I had 2 of these it would have allowed me to blend and make it more natural.
I might still do this, I made a mix of the two colours and maybe adding some more pva between the colours will allow me to make the difference slightly less striking.
Still, not horrid.
Slow progress, lazy weather
Managed to get some picture of what little progress I made.
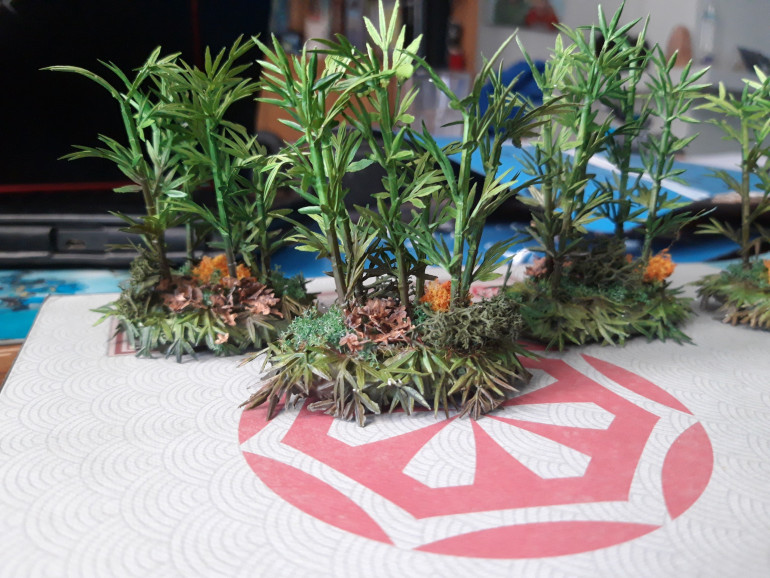
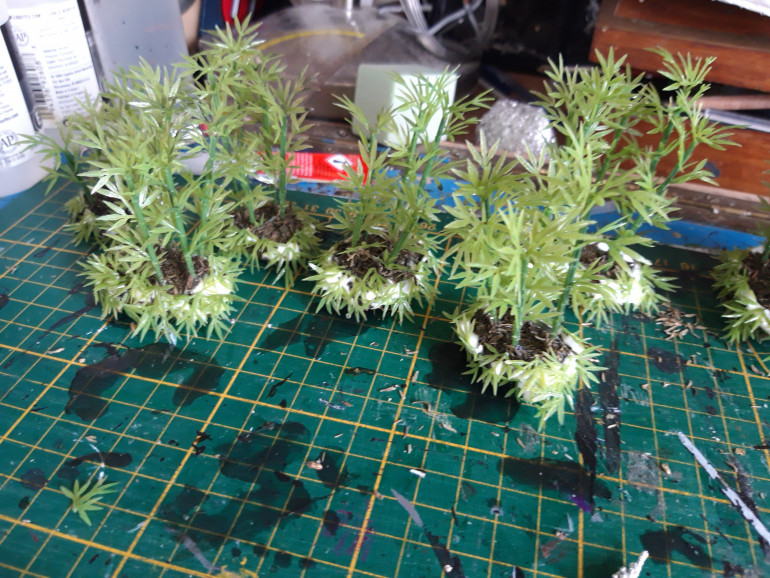
After undercoating the bamboo, I airbrushed it with a bright olive green. After this I hit it from below on the stalks and undersides of the leaves. This was a fast and easy way to highlight/shade and create a less uniform look.
Then some brown on the lower end of the stalks to dirty them up and hit the ground that wasn’t covered in leaves yet.
Varnish and place some ground cover I had lying around. Not sure how realistic this is for Japanese flora, bu I think it looks pretty good.
I also put in a little path made with playground sand mixed with pigment powder. I got this mix from a buddy of mine.
This leaves the grass and resin to be done on the board. I need to paint up my fish and start pouring.
Quite a daunting prospect
Some zen days
The last days have been busy with other things, so not as much progress as I’d wish. I mananged to undercoat my bamboo pieces. I dug out my airbrush and am planning a little session, weather permitting. Its gonna be hot out.
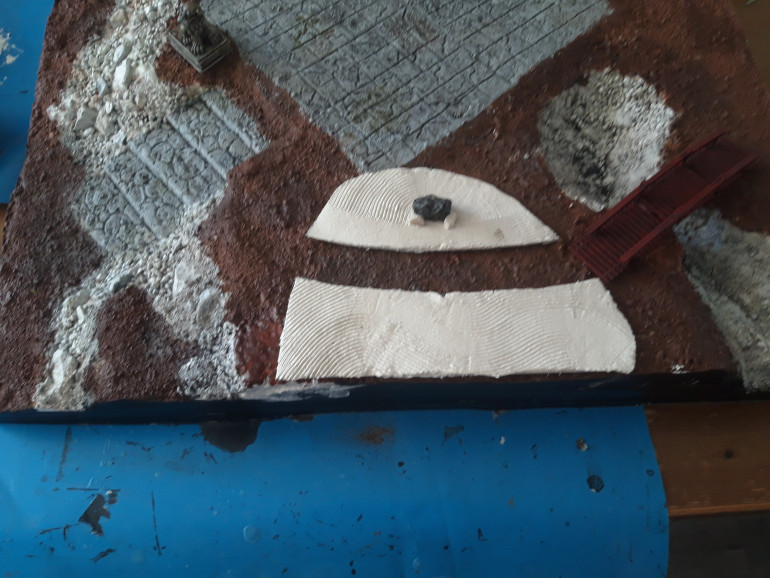
I did a bit more sculpting so I had enough room to place my zen garden and bridge. The garden was a tad to big and the legs of the bridge where floating above the chasm.
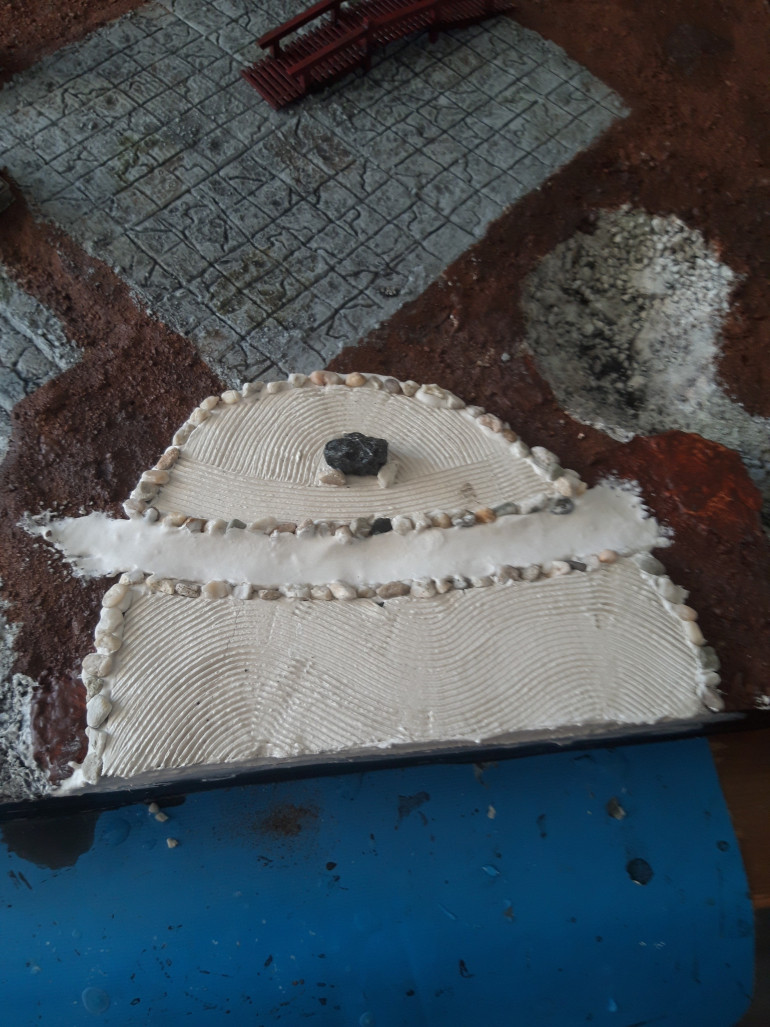
I finally stuck the garden in place, using construction kit. I wanted this to be strong, not the least to counter the slight warp the piece had sustained while drying. I placed some heavy object on top while drying and it turned out pretty good.
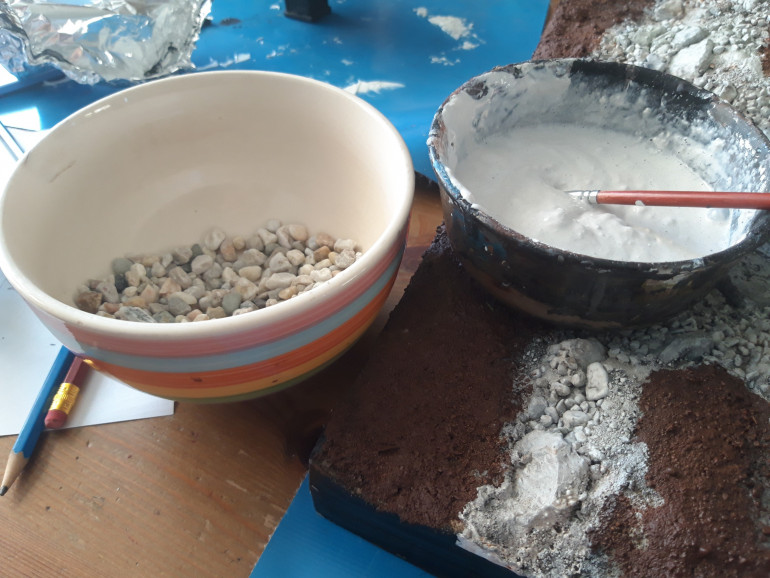
Next I grabbed a handfull of aquarium gravel and made a mixture of water PVA and wall filler.
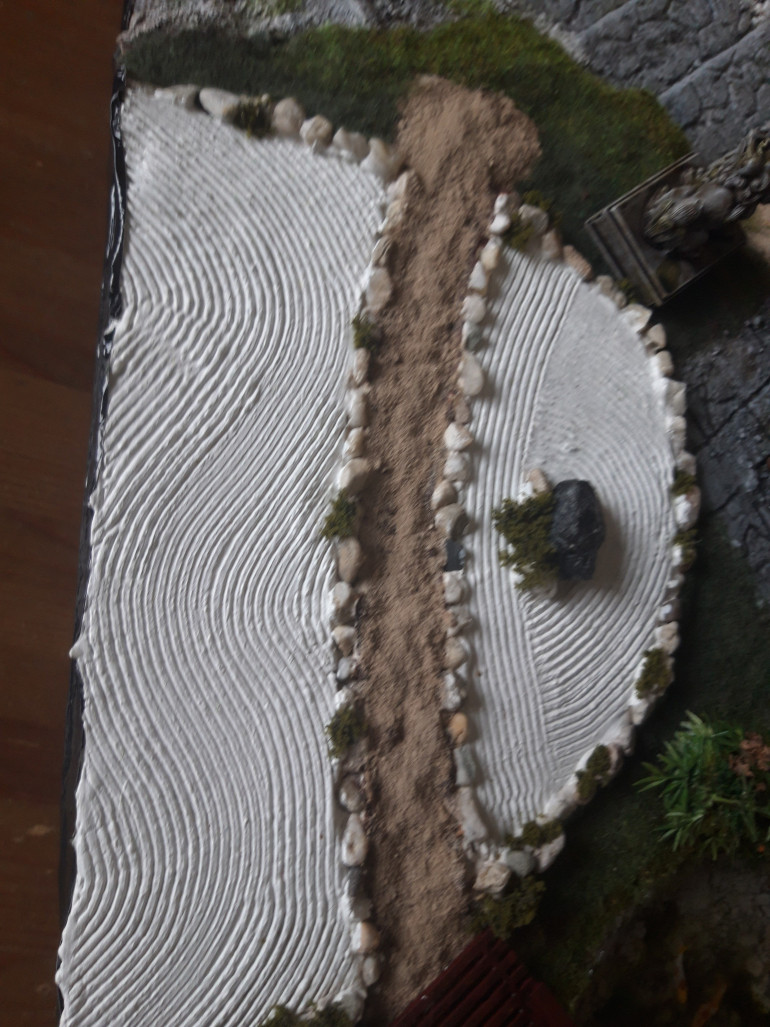
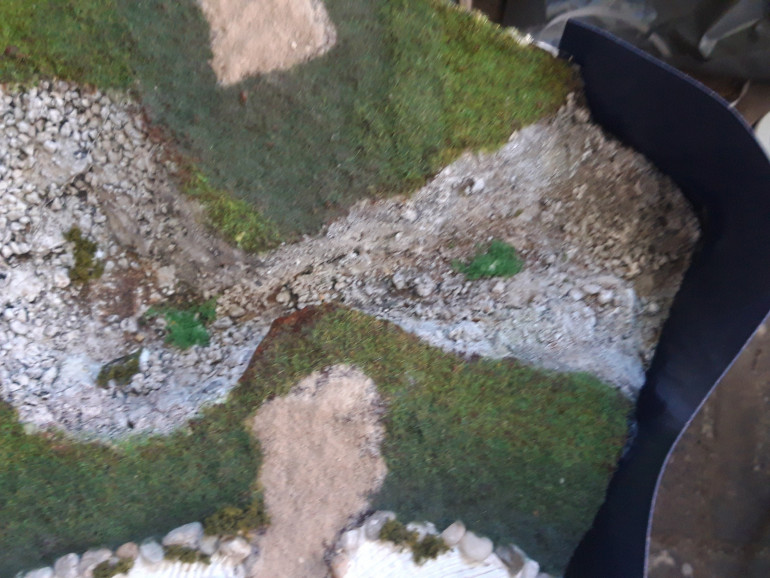
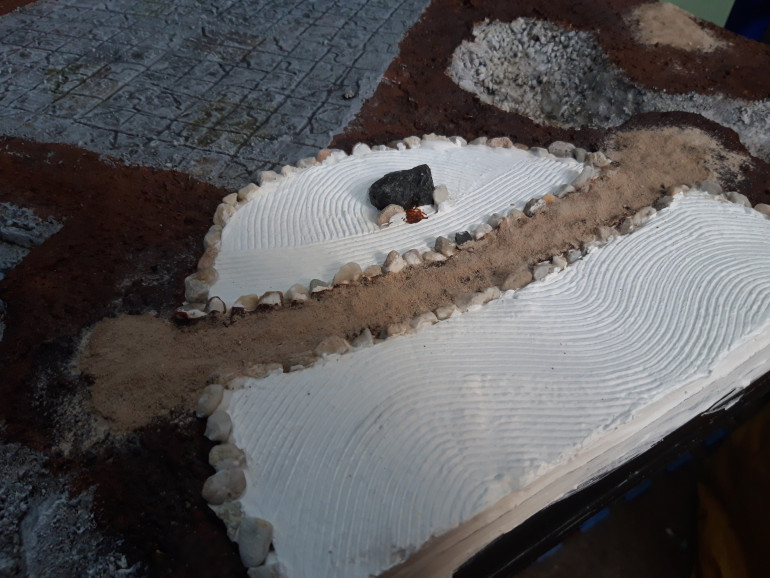
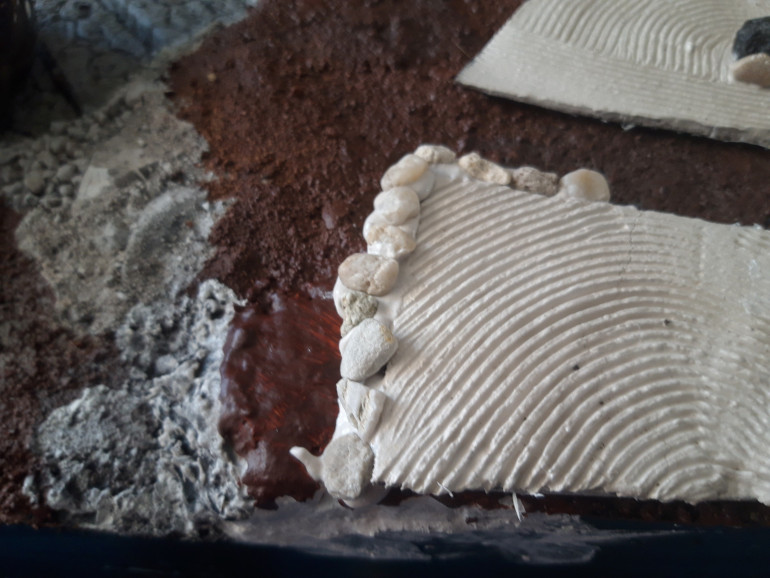
Using a cheap brush I started lining the edges and place pieces of gravel in the mixture. This blended the piece with the rest of the board and actually looks pretty good and authentic. The mixture dries very quickly, though. I had to make a new badge halfway through..
After this I placed some of the mixture between the two pieces. This is to elevate the path a bit. Using a wet finger I smoothed it out. I’ll paint this all later.
Not a lot of progress
I managed to get a black wash on the mainboard yesterday. The stones ended up lighter than I planned, but I like it.
If I wanted it darker I’d just add some more wash. I did end up touching up same places.
My youngest helped me on this all. Since it was nothing more than splashing on some very watered down cheap acrylic, he was more than up to the task and it was a nice father/son moment.
When dry, I hit the stairs and tiles with two drybrushes: very light grey and white, using a cheap brush bought at what might be a pound store in the UK.
I also managed to get some work done on the bamboo. First I covered the bases in some old spices I had lying around, giving my Japanese scenery a oddly Italian smell. When this was dry I covered it in watered down pva, hopefully making the pieces less hunger inducing. This morning I covered the sides in the cut-offs from the bamboo I saved. Letting it spill over the sides, assuming this will hide the seems a bit when place on an uneven surface
The zen garden showed some warping this morning, so I carefully placed some (none to heavy) books on it for a few more hours, It did seem to have dried nicely. To make it a bit more durable, I covered this too in watered down pva.
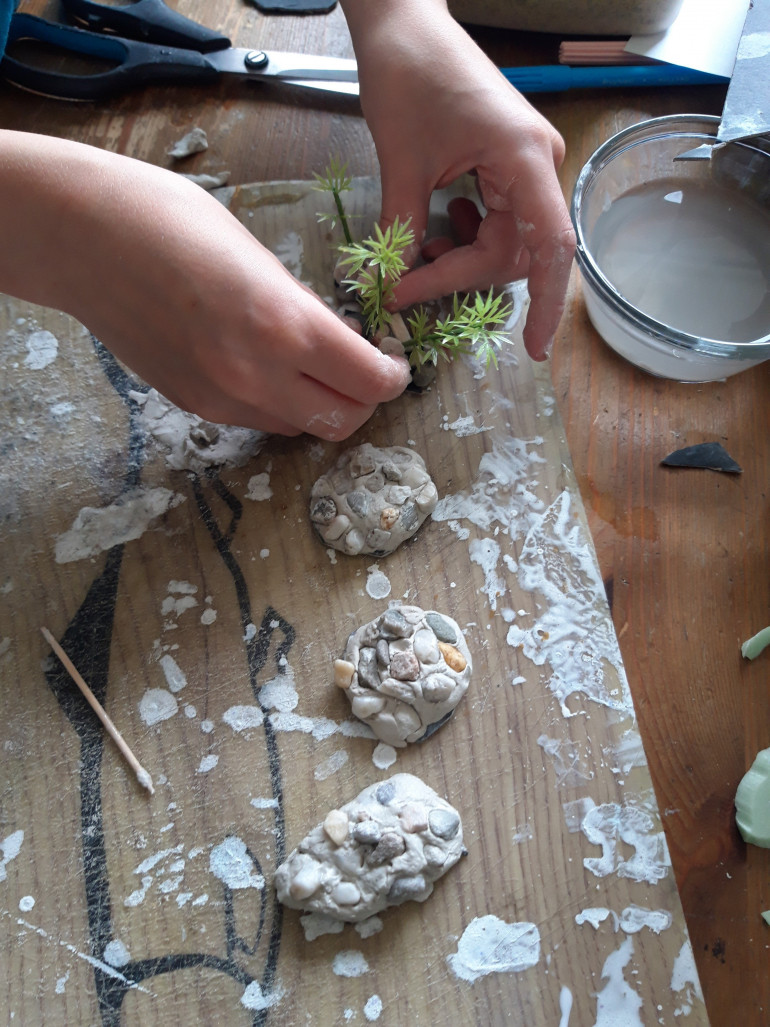
I also did this with the pieces my son made, including his own little project
Considering I had never worked with water effects, I then started a little side project, so I wouldn’t ruin this on my first attempt.
Look here if you’re interested:
Zen
This was a bit of a headscratcher. I want a little Japanese zen garden. This meant I needed something in which I could create some swirling repeating lines in relief. My plan was to mix some sand for in a birdcage with pva, but then considered it would just flow back to a flat surface while drying. I consider pva, then hot glue. this would then be covered by the sand…
But I wouldn’t be able to place the line close enough to one another or in a pattern that would be precise enough.
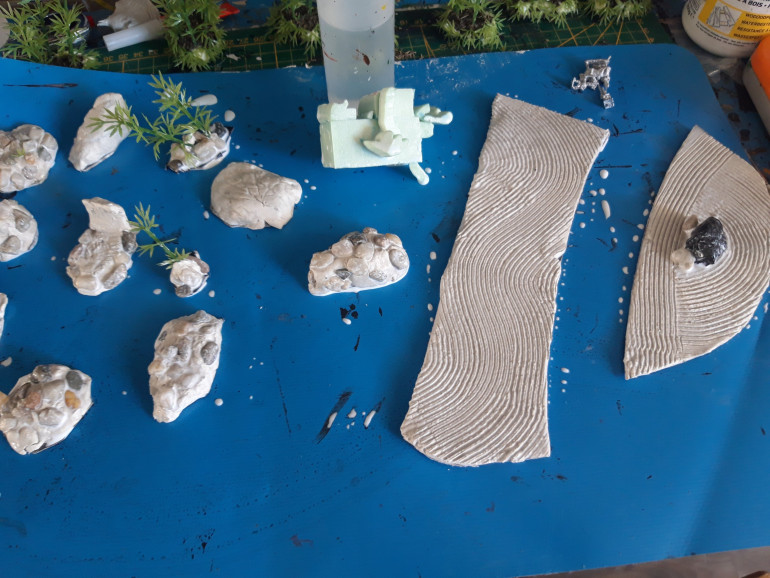
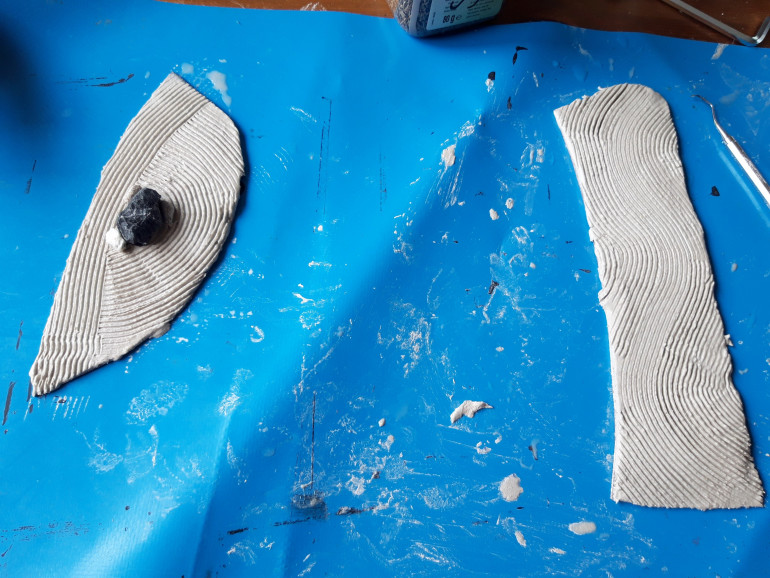
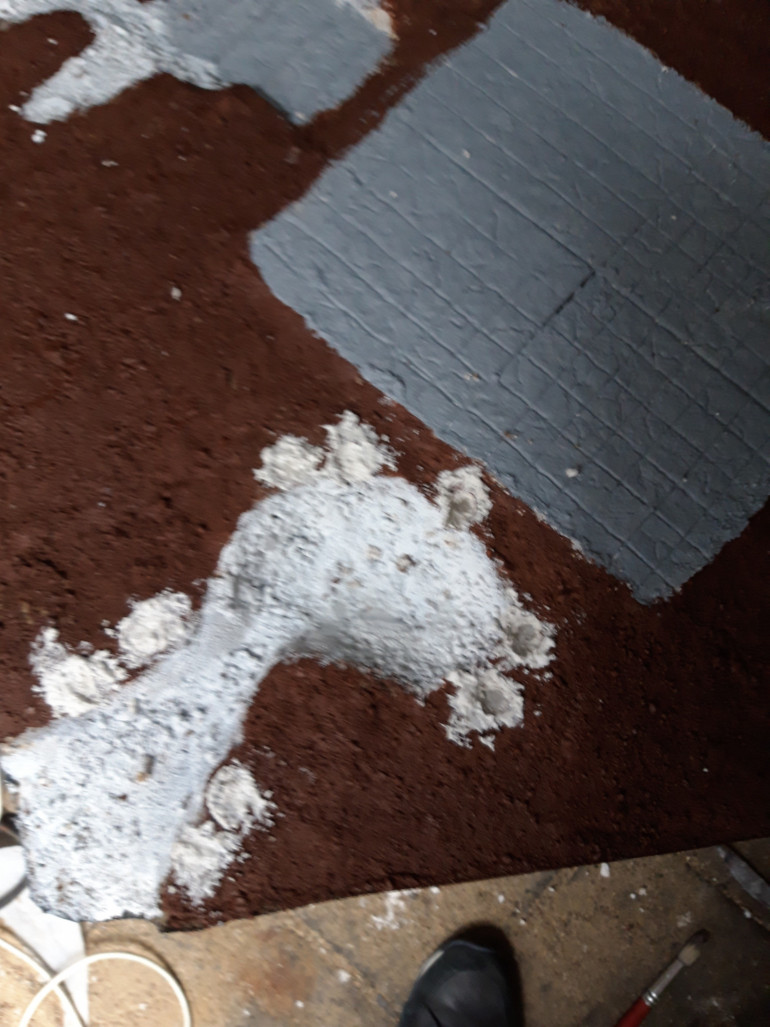
Eventually I settled on some cheap, air drying clay. I cut a piece of solid cardboard, removing a strip from the middle where a path will lead through the garden to the bridge over the pond.
Roughly covering this with clay, I then using lots of water, flattened it. First using my fingers, then a deodorant bottle, conveniently lying in arms reach.
I stuck some rocks in the middle of one piece and used a piece of a haircomb to draw in the pattern. Pretty good, a zen master would get a heart attack to be sure, but this’ll look good when painted up from a distance. Hope the drying doesn’t ruin it. I have plans to integrate this in the rest of the board.
Bamboo and a kids enthousiasm
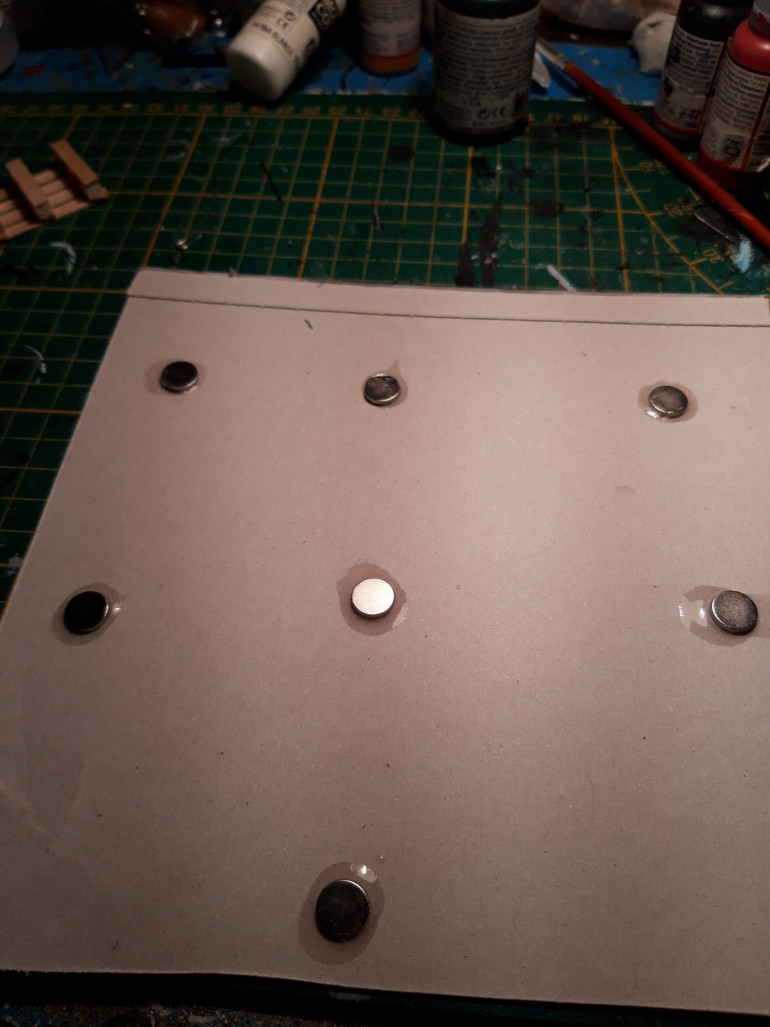
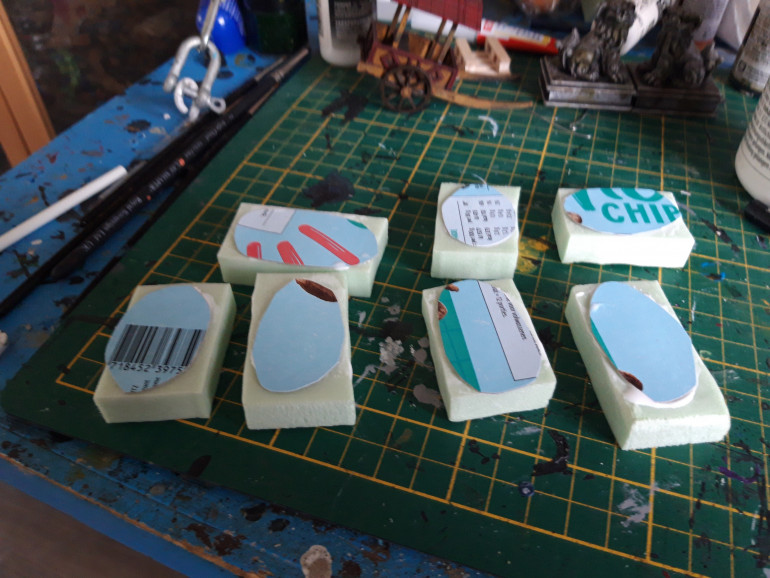
Once again, minding polarity, I had stuck some magnets on some cereal box. I had tried the washers and it did not seem strong enough. I had expected this. The magnets are pretty strong, but it is covered my a hard layer. I did not wanted them to be pulled out of either the board or the bamboo pieces, so I covered up both sides.
When the glue was dry I cut the cardboard to size. Covered this with some left over pieces of sturodur and roughly cut this to size.
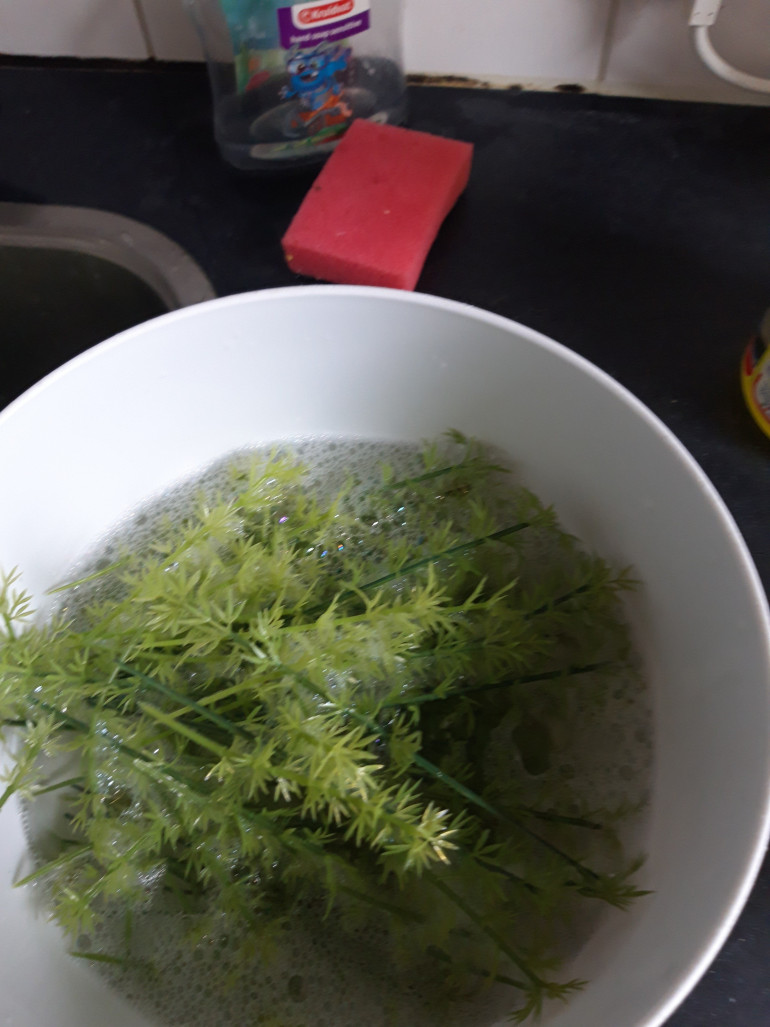
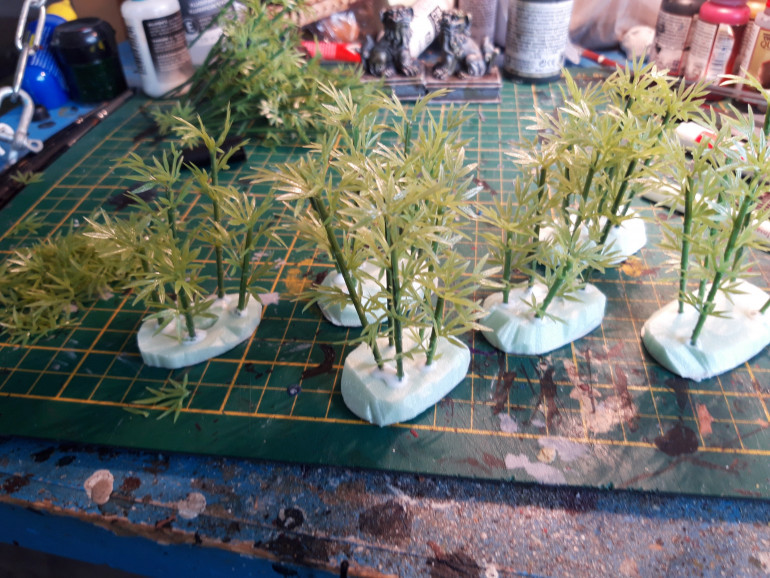
In the meantime I started cleaning some bamboo I got of e-bay. I plan to do some washes and airbrush on this, so I wanted to make sure there was no release agent or anything on them. Dish soap and hot water, it was. I also twisted every bigger piece to have a better dispersal of the leaves. They where very symetrical.
I cut them to several sizes, being a bit long for what I wanted, removing some of the lower leaves. I did save the cut offs for later, though.
Poking some holes in the bases I stuck 5-6 shoots on each one of them
In the meantime, my 9 year old was shadowing me. Asking questions and showing loads of interest. The inevitable “Can I help” followed suit.
A bit of a dilemma. I want this project to a certain level, and while he’s very creative and has amazing skills for his age ( you should see his paper-craft) they are not up to what I am planning.
I do want to fuel his enthusiasm, though, and it doesn’t feel right to let him make something and than just put it away. But this garden might look better with some little rock scatter, so I put him up to that.
A small adjustment
Talking to my regular gaming buddy, I started considering storage. I was planning bamboo and plants around the pond, but this would increase the vertical footprint. My friend suggested some weighted down little pieces that I could remove, using washer to weigh them down. I quickly decided for a lttle extra to keep the pieces into place. Carefully drilling some holes at the edged of the pond, I inserted some magnet. Then I covered these holes with a mixture of wallfiller and PVA. When dry some pva and sand, and then blended it in again with some pva and paint. Careful to pay attention to the polarity of the magnets as always. This will allow any set up.
When this was al dry, it was once again time for painting. This was supposed to be the fun part, but due to the humidity, the first layer of wash isn’t dry at the moment of writing.
I made 3 thin washes of cheap acrylic. 2 browns and a dark green. This I put in a random manner over the white and greay areas’s of the board. This will make sure it will look interesting when the final black washes pulls it all together.
Washes ar very thin. It’s easier to put a second wash over the model than fixing a wash that’s to dark. Keep in mind there’s a huge difference between the wet and dry look. I have made the mistake on earlier projects of making my wash to thick, because it looked off when wet.
It's coarse. And it gets everywhere...
Sorry for that title. It felled kind of a requirement.
The mixture had not fully dried. This stuff takes a while and the night had been less dry than I hoped. Still, good enough.
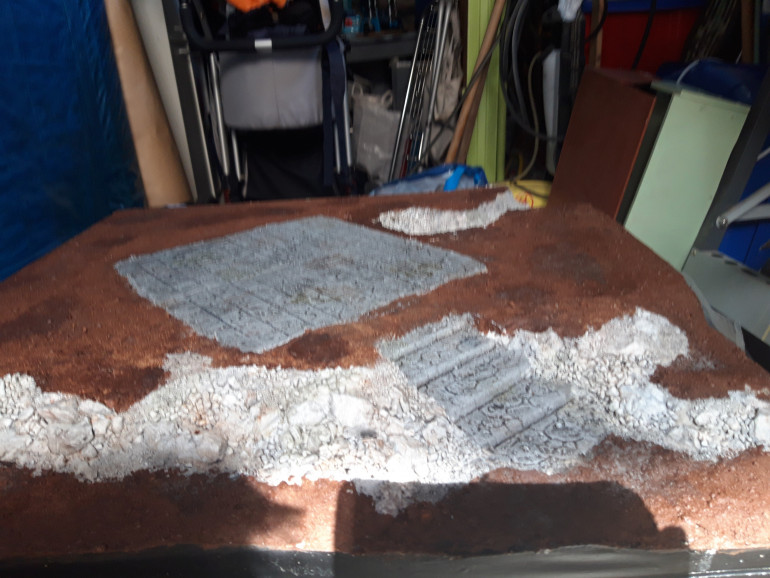
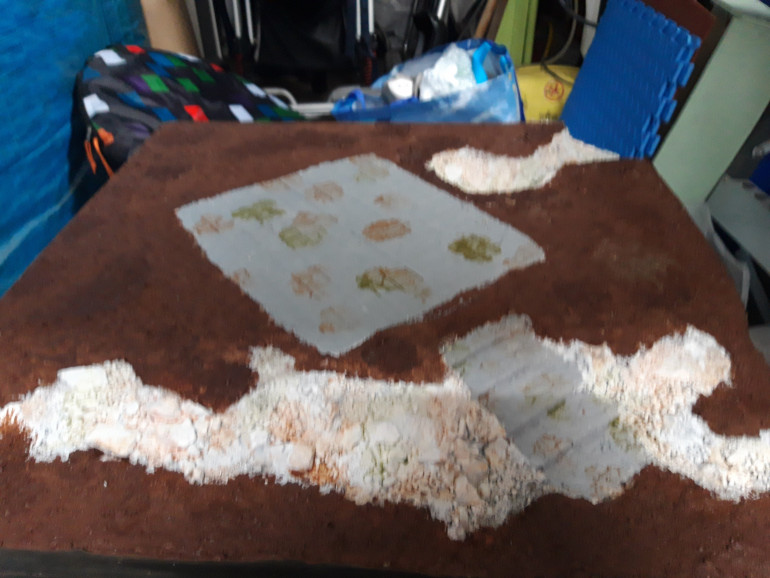
I covered everything I wanted covered in sand with watered down pva, making sure not to cover to much of the rocks, which I wanted to jut out.
I did this in parts. Cover a part in pva, cover MOST of that in sand and slatter more in pva. Drying took a while. When it was done I shook of the excess sand.
this showed some splodges that I didn’t cover. see picture.
I corrected this and also layered some of the watered pva on the tiles and stairs. This will stop the foam from melting when I spray the primer, but also protects it from damage during play.
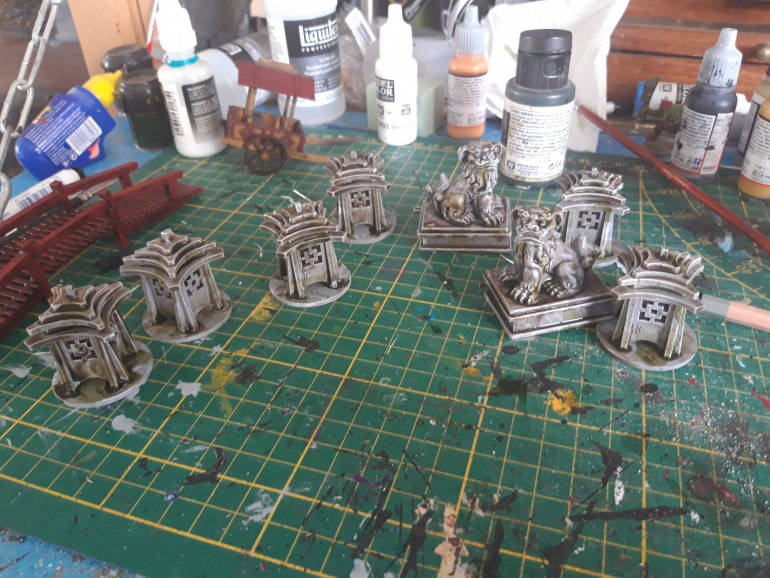
In the meantime I dug these out. They will mostly be objectives during the game, but now was as good a time to paint them as any.
I painted them the same as the statues, to which I also added an extra wash of armypainter strong tone (diluted) and some splodges of camo green to emulate mossy growths.
When the board was dry enough, I added one more stage.
Shaking it excess sand, I put some watered down pva in spray bottle and gave it a good covering. This should seal it in real good when dry. Leave it to dry till tomorrow. Hope I might get some painting done on it.
Some light painting on scatter terrain/detailing.
While stuff was drying in the shed I used my eveing to paint some stuff I needed or had lying around.
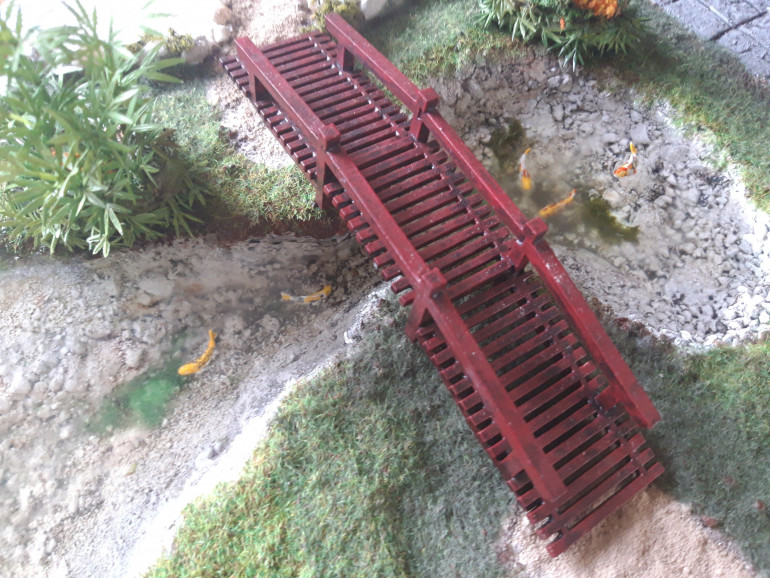
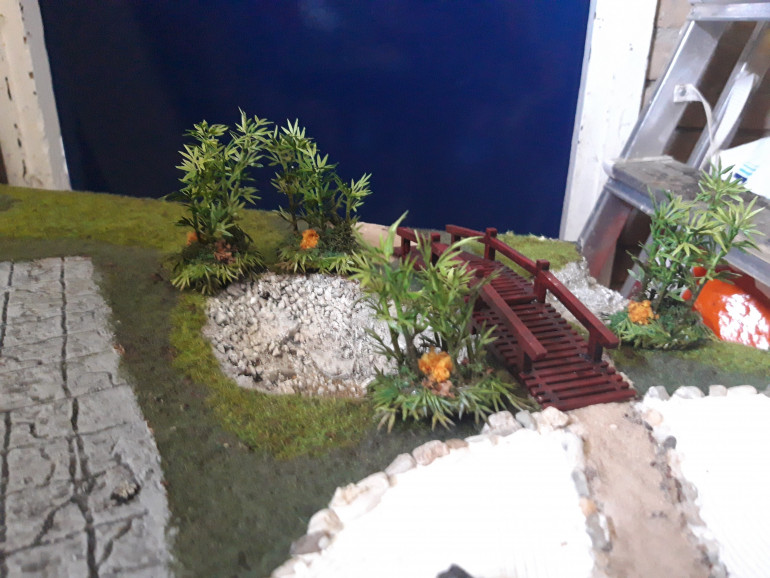
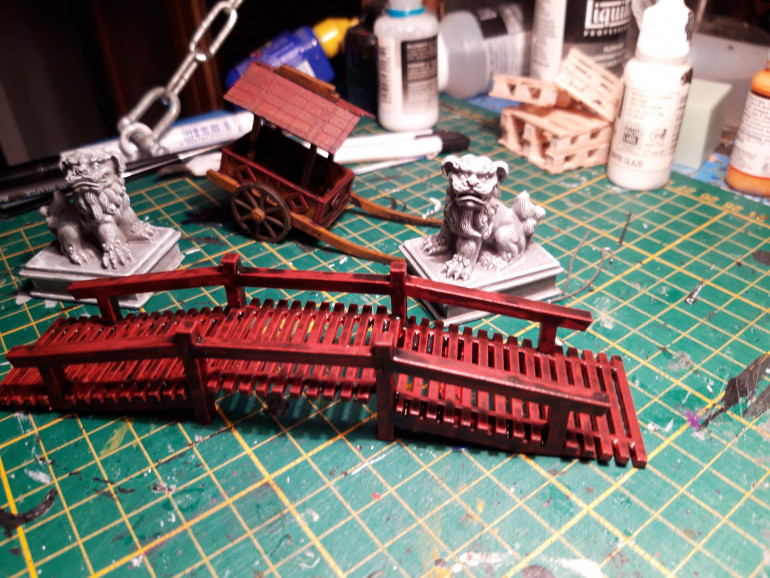
The two statues will be a mainstay in front of the temple and the bridge ( a lucky catch in a goody bag from a convention) will go over the pond, of course.
The little cart might not really fit this board, but is sure to come in use at some point. This is not the only bushido board I’m planning. None of this will be glued into place.
Just some base coats and washes/drybrushes
From the ground up/ day 1
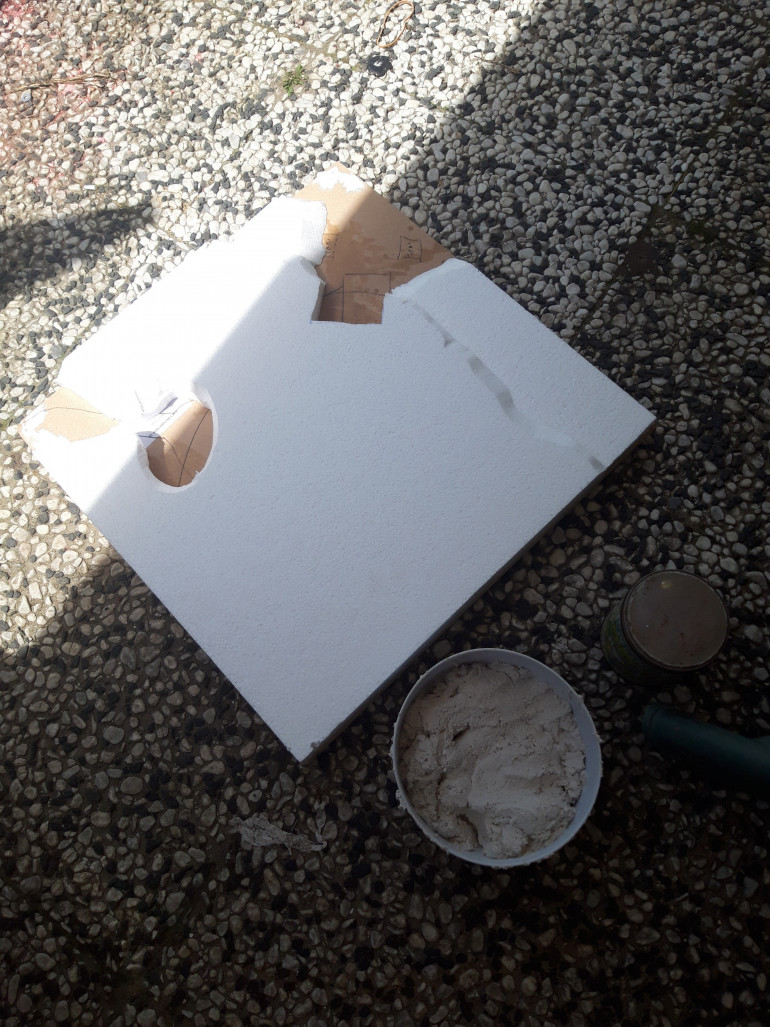
The board is made 2 by 2 foot (or 60 by 60 cm to be exact, this allow me to get more board out of the same board.)
I build a skeleton underneath. There will be pu a lot of glue on this. I don’t want it warping on me.
Next some cheap styrofoam to create some depth. Both to add some interest in on the board, but mostly as I’m planning a small pond with a bridge and some koi carps
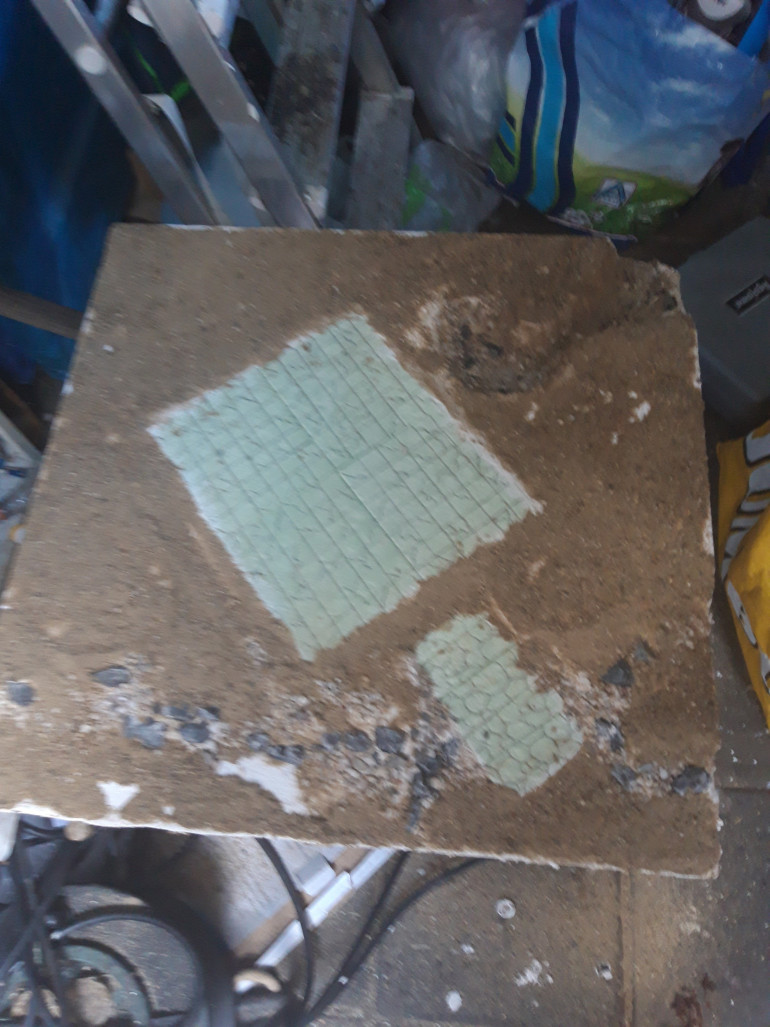
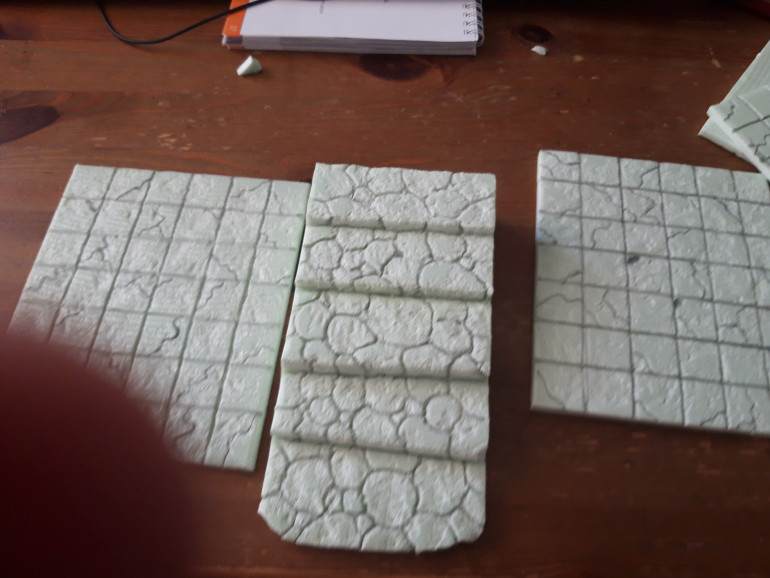
While the glue dried I used my Proxxon hot wire cutter to crate the tiling for the shrine and a stairs. The tiling would be bigger than the Proxxon allowed, so I created for pieces.
When I had the correct shapes, I started drawing the tiles/stones with a dull pencil. This styrodur holds detail far better than styrofoam and does not show any small ball structure.. Happy with the details, I rolled up some aluminum foil and rolled/dabbed until I had some nice structure.
After gluing this into place, it was time to smooth things out.
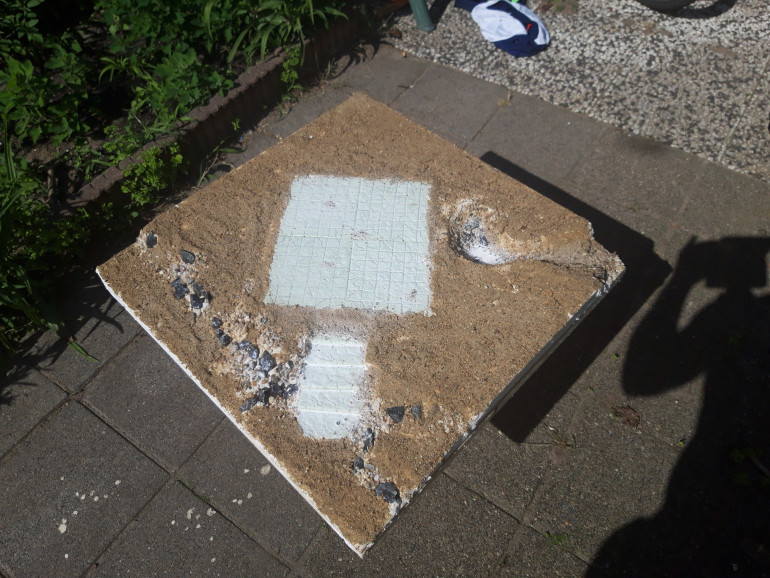
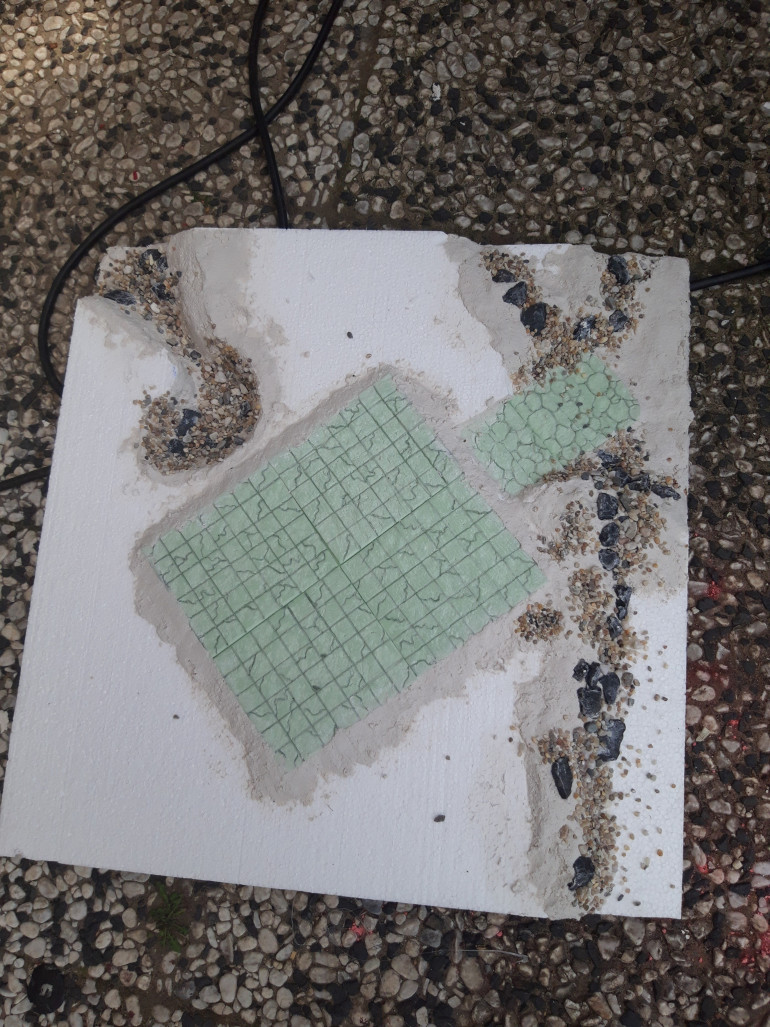
I made a mixture of wall filler and paper pulp. This paper pulp is toilert paper that had been shredded in water with a blender, than dried in th oven. A technique I learned from Lukesaps on youtube. It bulks out the wall filler quite a bit. Making it during the great TP-scare of 2020 felt a bit weird.
Adding stones I got from my neighbor garden (with permission, off course) and two bags of aqarium gravel I added boulder and such. I simply pushed this in the mixture. Not as solid as it needs to be, but it will receive a layer of pva at a later stage.
Using a wet finger I smoothed this out and let it to dry. This takes a while


