
Getting roads to just ruddy lay flat
Attempt 4a
While working on the wallpaper and rubber version of the flexible road, I also tried applying caulk to rubber to see if that would work.
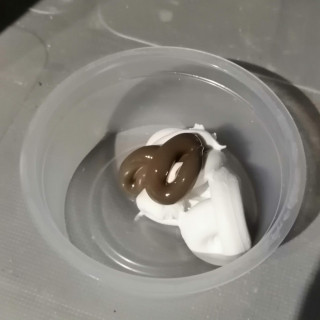
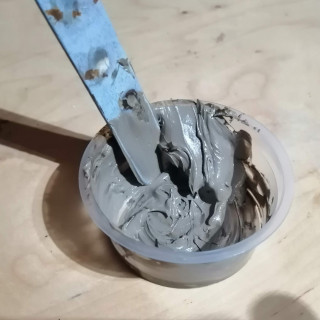
The caulk mix was as below, some white acrylic decorators caulk and brown acrylic paint
It looks a bit grey in the above pictures, might be the light, but it dries a little darker.
I applied the caulk with a wooden tongue depressor thinly across the rubber strip and left to dry. I would have taken some pictures but it was quite messy and I didn’t fancy getting caulk on my phone.
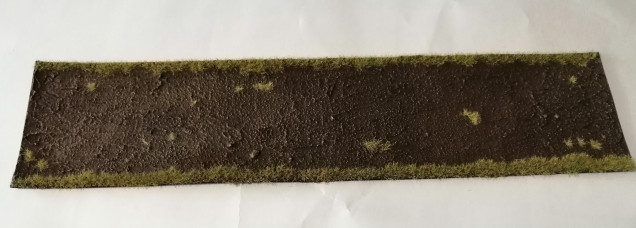
Once dry, I gave it a quick wash and dry brush before adding some static grass to get an idea as to whether this will work. This was the result
I think this looks fine. Granted it’s not top quality but this is certainly good enough.
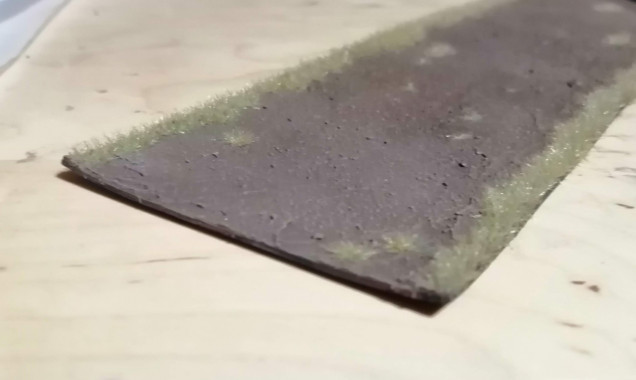
On the down side, there is a little bit of warping around the edges as you see in the picture below. It’s not a lot and probably won’t be particularly noticeable on the tabletop but may cause the roads to not quite sit flush with each other.
It’s also damn messy to make, gets everywhere and is sticky. I have a lot of caulk splodges all over the garage bench I used to make it.
On the positive side, this is cheap to make. The A4 rubber sheet I used cost £2.67 and I got three roads out of it, each about 30cm by 9cm. The caulk only costs about a £1.50 and covers far more than a single road.
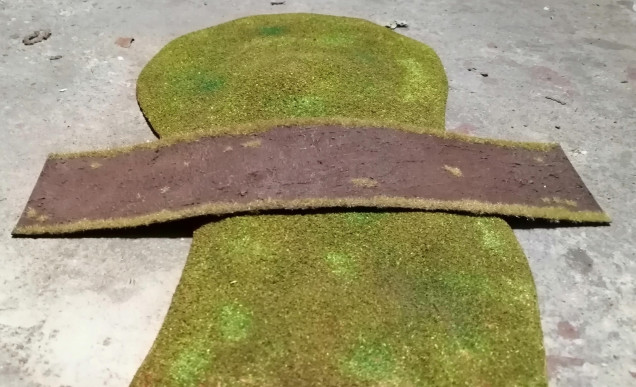
It’s also flexible. Below, I’ve used the same hill as in the header. You can see that while the road doesn’t hug the hill, it does at least conform to the contours and certainly improves the immersion.
So this certainly looks like a reasonable solution to creating flexible roads. While I like the static grass edge, it does cause storage problems in that if the roads are stacked they don’t lie flat, which may add to the slight warping.
I’ll revisit the wallpaper versions in the next few days to see if we can improve the look at feel of these. But so far, I’m happy with progress here 🙂




Leave a Reply