Crazyredcoat's Crazy Compendium of Collected Creativity
Fetch me my red coatee (no seriously, that's what they're called...).
In the first installment we have started with the most obvious part of the model that is NOT tartan. All colours here were chosen to match the colours and designs of the previous post with the painting steps given here. Nothing too fancy with techniques used here, mostly simple layering and shading. Let’s get down to the steps starting with the red part of the Thin Red Line.
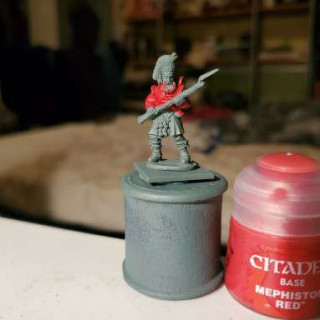
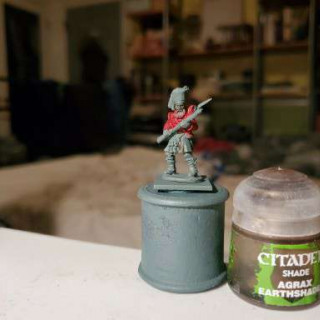
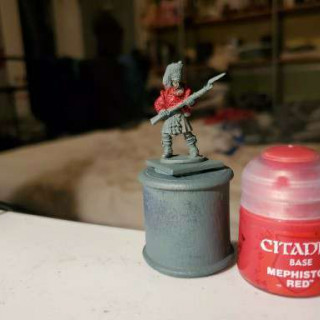
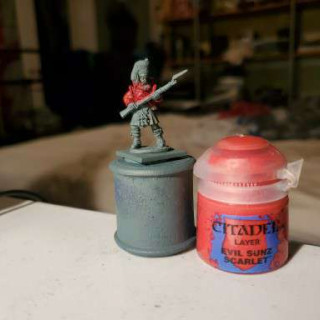
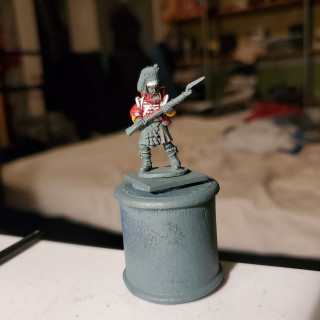
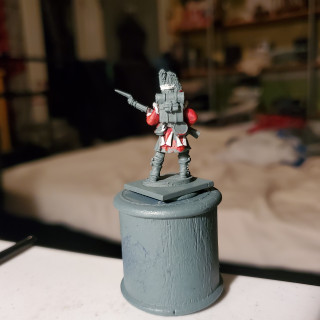
Simple layering transition here beginning with a Mephiston Red basecoated and shaded with Agrax Earthshade (I will get every last damn drop out of that pot!) before brightening up with a layer of Mephiston Red again followed by some edge highlights of Evil Suns Scarlet (which is not doing too well as paints go).
Next up is the taping and white details of the uniform. I also did some of the belting across the chest, but not all of it. This is mainly because it uses the same colour, so I may as well.
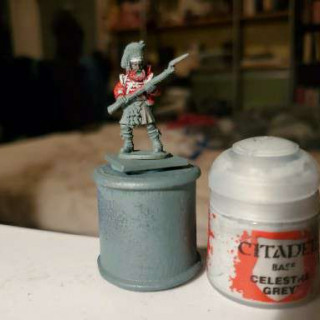
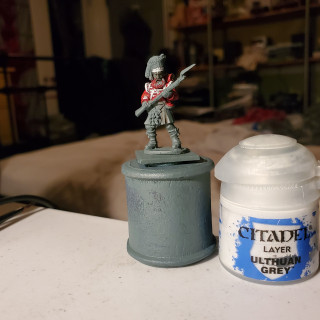
Just simple layering here. First coat was Celestra Grey with a simple layer of Ulthuan Grey. Were this mini a bit larger of a scale then I’d do more detail, but with the rifle held at the charge like this makes is rather difficult to do much more. At some point I also dotted in the buttons that were visible.
Next is the universal regiment indicator; facings!
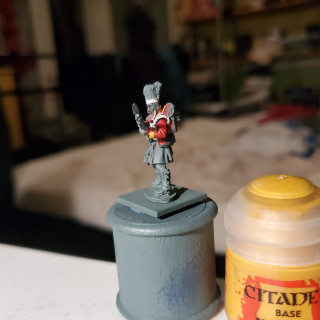
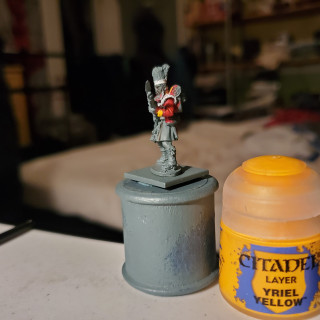
Again, simple layering. The difficult part to reach is the collar, but that is rather difficult to see in the mini. Averland Sunset as a base with Yriel Yellow layered on top. Provided your basecoat is smooth and strong (two thin coats, ect.) the Yriel Yellow shows up very easily in subsequent layers.
And that is the coatee done! Honestly, the tunics would be much nicer to paint, but this has come out quite nicely. Here’s a final shot, complete with Lloyd shot!
Next up we’ll do the tartan, because if I finish much more of the mini it’ll be even worse to paint… Wish me luck!




Leave a Reply