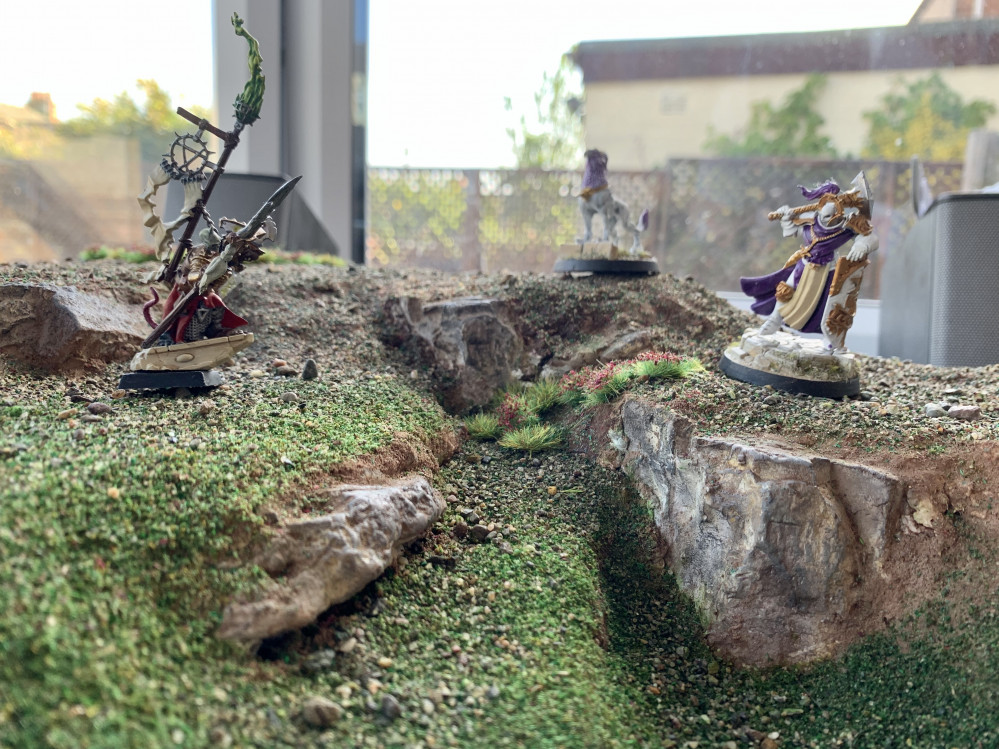
First ever gaming board build
Recommendations: 158
About the Project
I have always wanted to build a gaming board but never got round to it, either through lack of funds or confidence. Anyway I’ve decided what am I waiting for let’s just see what I can come up with
Related Genre: General
This Project is Active
FLOCKING!!!
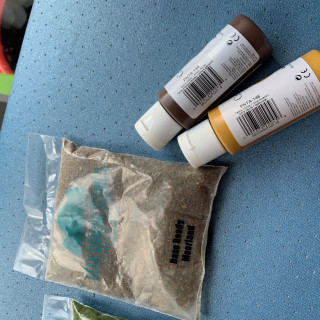
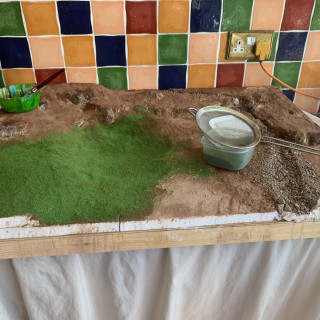
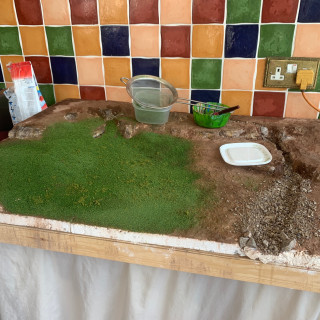
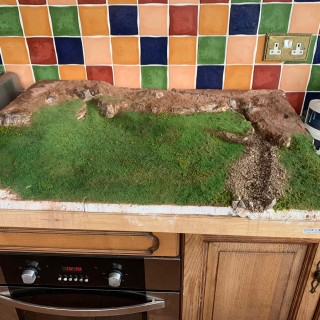
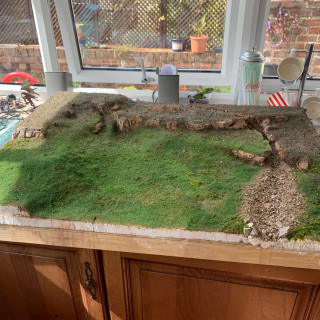
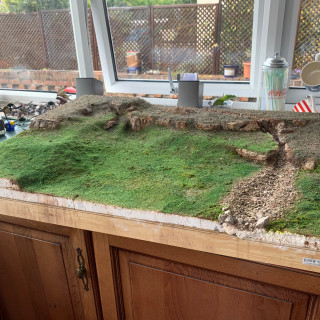
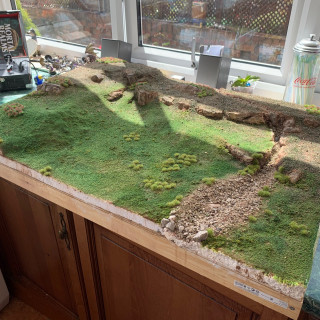
And so on with the flocking… I’ve opted for a foam flock believeing this to be harder wearing than static grass, I have nothing to base this opinion on other than I think im right. To get the effect im looking for im using the green blend foam flock from geek gaming for the lowland areas of the board. For the higher areas I am using the moorland base ready mix which I will feather into flocked areas.
To begin with I painted a mixture of pva glue and water (1:3 ratio) over the areas I wanted to be flocked, next using a sieve I evenly spread the flock over the board. Sieving the flock this way leaves you with some larger clumps foam which I apply to the board randomly to look like clumps of grass. For the highland areas I follow pretty much the same method to apply the moorland mix as I did the foam flock. I did feather the moorland mix over the foam to create an gradual transition and also applied it aound the base of the larger rocks. over the whole ground covering I sprayed the pva/water mixture to make sure everyhting s stuc down.
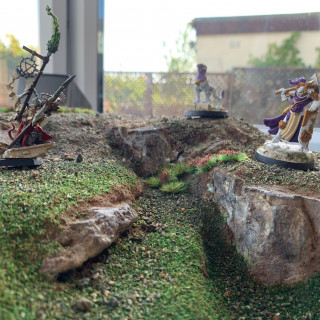
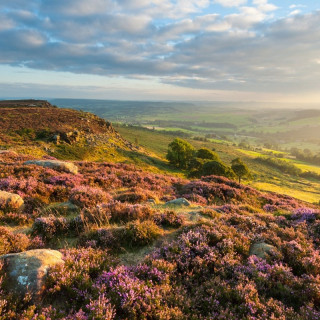
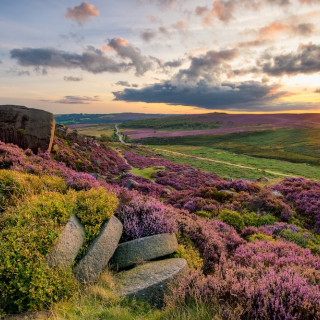
Time for the tufts now, I used 6mm rough grss and heathers to give the variation I’m looking for. The tufts are self adhesive although I like to stick them down with some pva gue and I stick them down in random groups where I think grass would grow taller. For the heathers I use my inspiration photos for guidance and stic them down in swathes across the tops of the hills.
Sculpting, painting and grouting
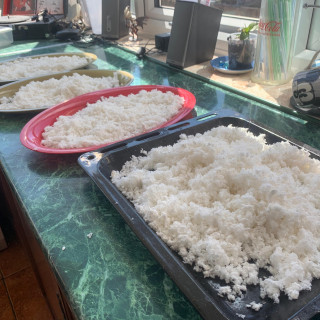
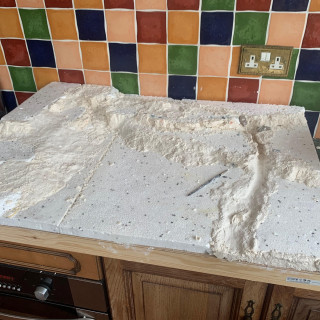
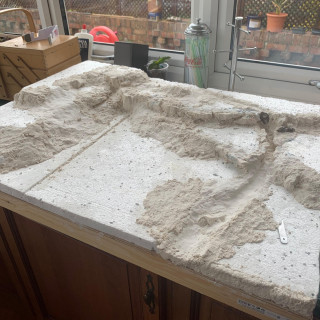
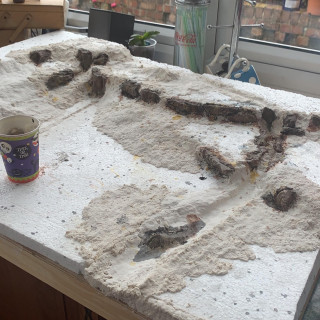
Now I have my basic shape sorted it’s time to fill in the gaps and smooth out the slopes, I wanted to use sculptamould for this however I couldn’t get hold of any quickly enough (I’d left it quite late to order and I’m impatient). Therefore I found a tutorial and made my own sculptamould by cutting up 6 toilet rolls and soaking them in warm water. I then blended the mixture until all the paper was shredded, dried the paper in the oven and mixed it 50/50 with casting plaster.
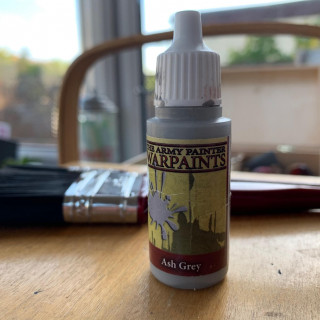
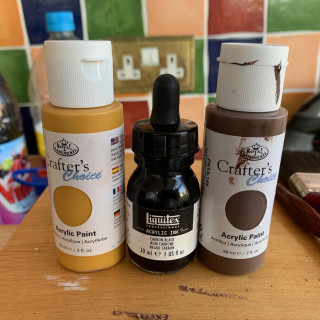
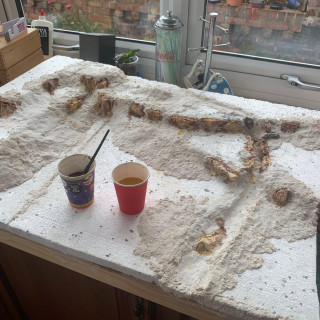
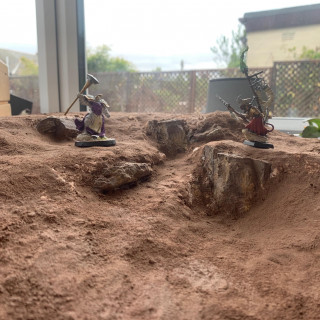
To paint the rocks I used the leopard spotting technique, the colours I used were yellow ochre, burnt umber and carbon black followed by a drybrush of ash grey.
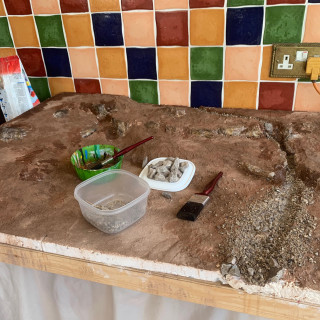
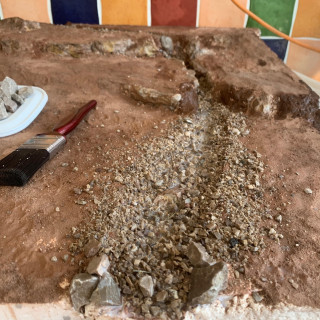
To get the right texture and colour for the ground covering I painted the surface with a mixture of 3:1 water and pva glue and then sieved brown tile grout over the whole landscape. I also sprayed the tile grout with the same pva mixture just for good measure. The tile grout gave the perfect texture and colour and gave a solid surface to from. The final thing to do is to put gravel over the river bed, I struggled to find gravel I liked then I was randomly walking through our local park and found this particular gravel covering the local bmx track!
Rocks!
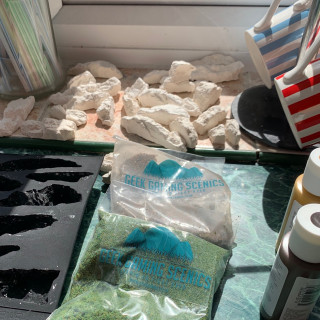
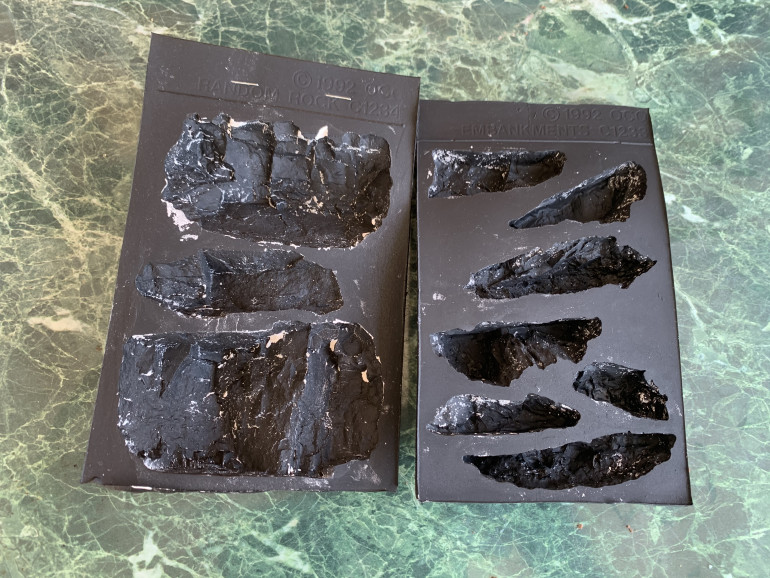
Picked up some Woodland Scenics rock moulds, went for the random rock and embankments.
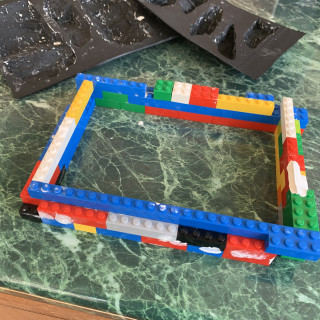
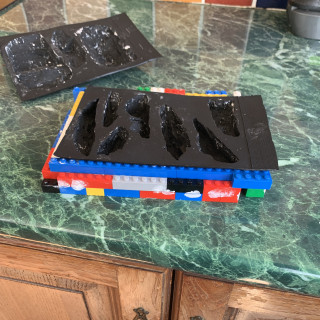
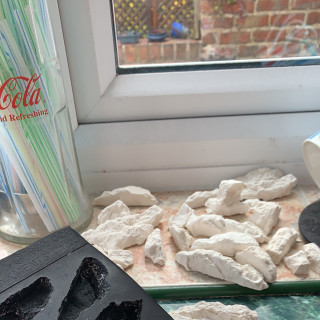
To support the moulds when I poured the plaster in I built a frame out of Lego. Using a fine casting powder I mixed a solution roughly the consistency of double cream, I found this gave the best strength and flowed into the moulds best.
Let’s get started
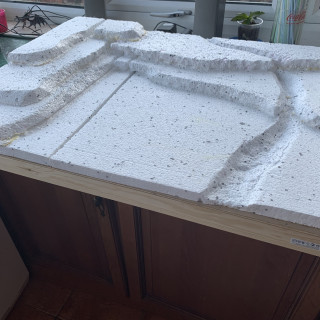
OI have no idea what this board is going to look like so I’ve built a base 3’x2’ and I’m just going to break up a load of polystyrene and see what shapes I can come up with.
the base is just some plywood I had lying around which I have screwed to a frame of 2”x1” planned timber. Because of this lockdown B&Q didn’t have any extruded polystyrene so I’ve gone for the expanded stuff. I stuck this down with gorilla glue and left over night.
The plan is to get hold of some rock moulds and create some cliffs and outcroppings similar to what you’d find in the Peak District. Also to have a stream and rapids running down one side of the board.
Planning
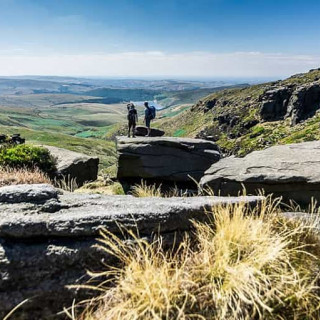
I am a bit limited on storage space here (the board will be stored in the loft) so maximum size I can go to is 2’ x 3’. Not too much of a problem as I mainly play skirmish games. I would also like the gaming board to look as realistic as possible, my inspiration is the English Peak District.


