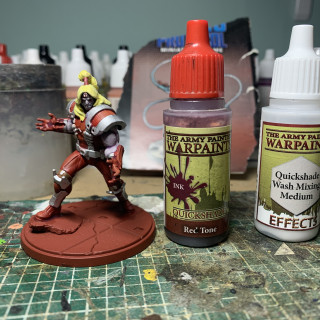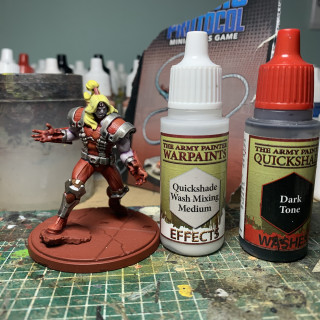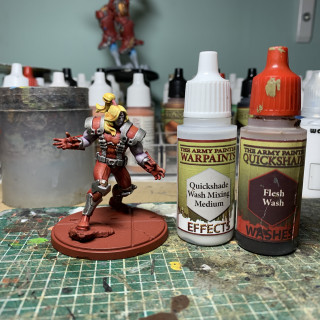
CRISIS, WHAT CRISIS! PT 2
Recommendations: 714
About the Project
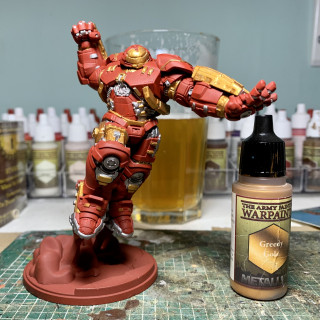
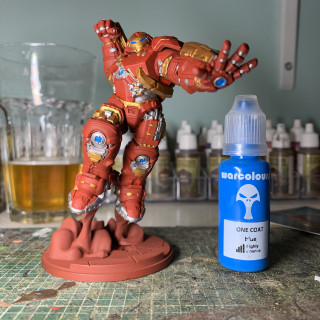
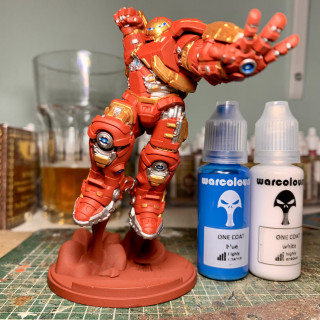
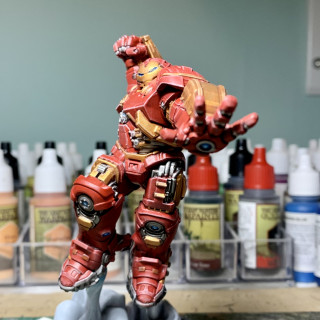
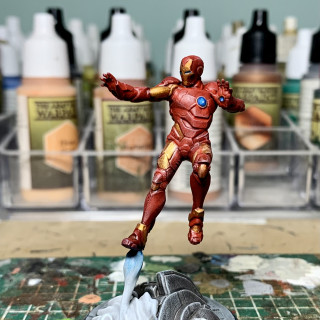
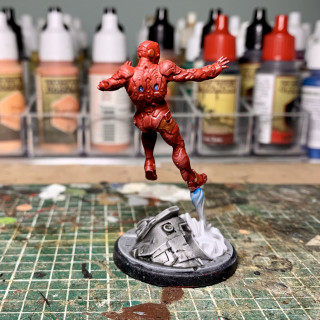
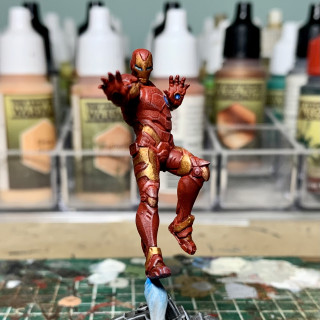
So for the briefest of times i was up to date but then something terrible happened, more models arrived!!! So time to fire up Marvel Pt 2!
Related Game: Marvel Crisis Protocol Miniatures Game
Related Company: Atomic Mass Games
Related Genre: Science Fiction
This Project is Active
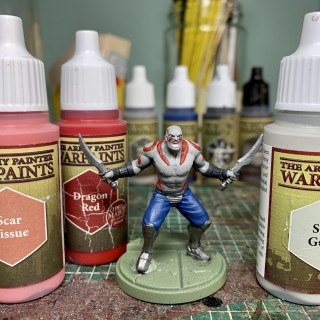
Sweet Christmas!
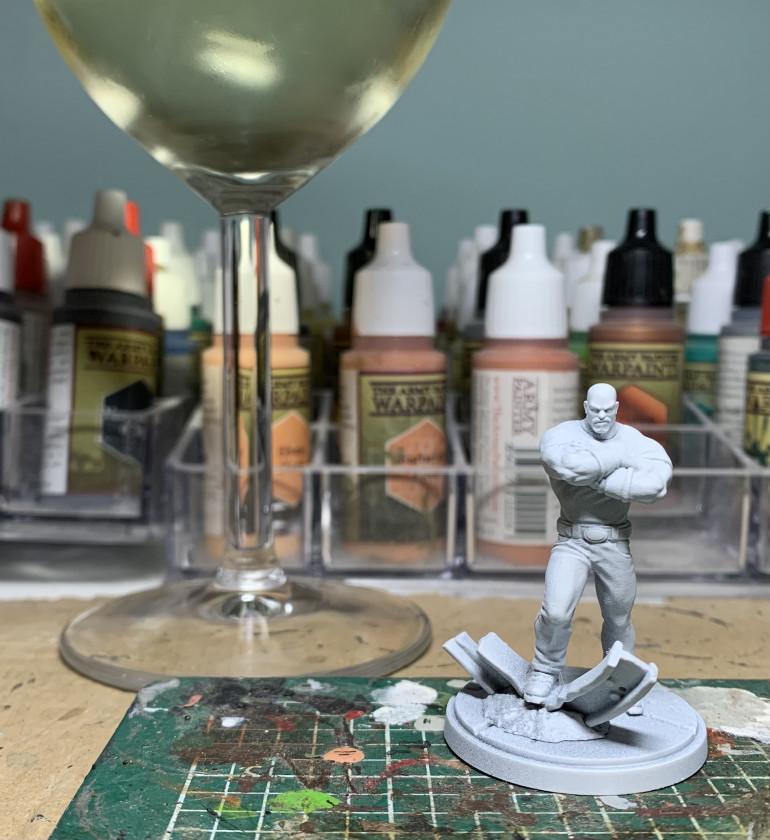
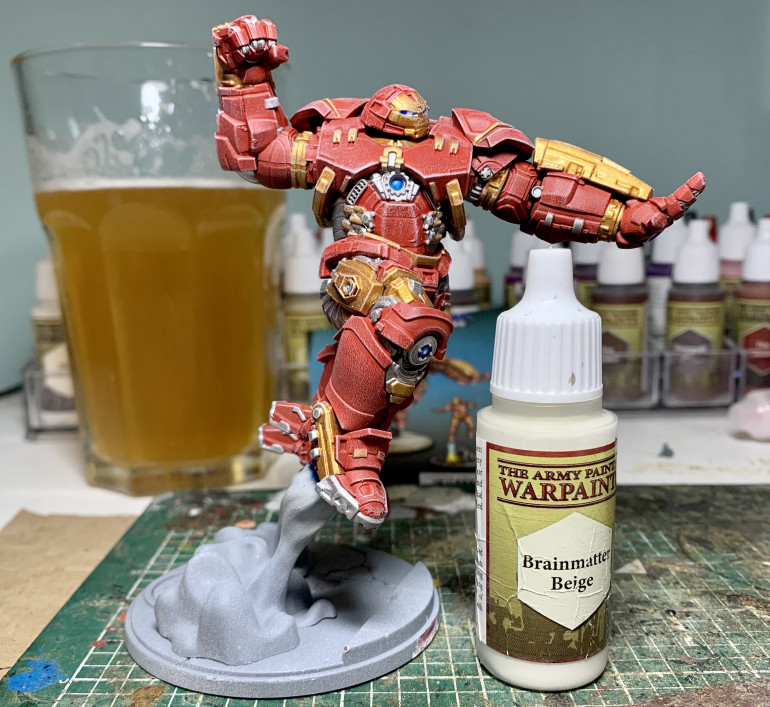
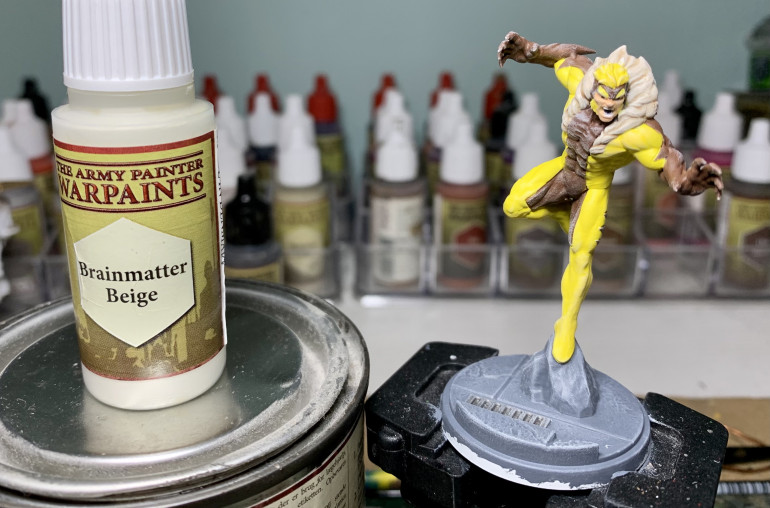
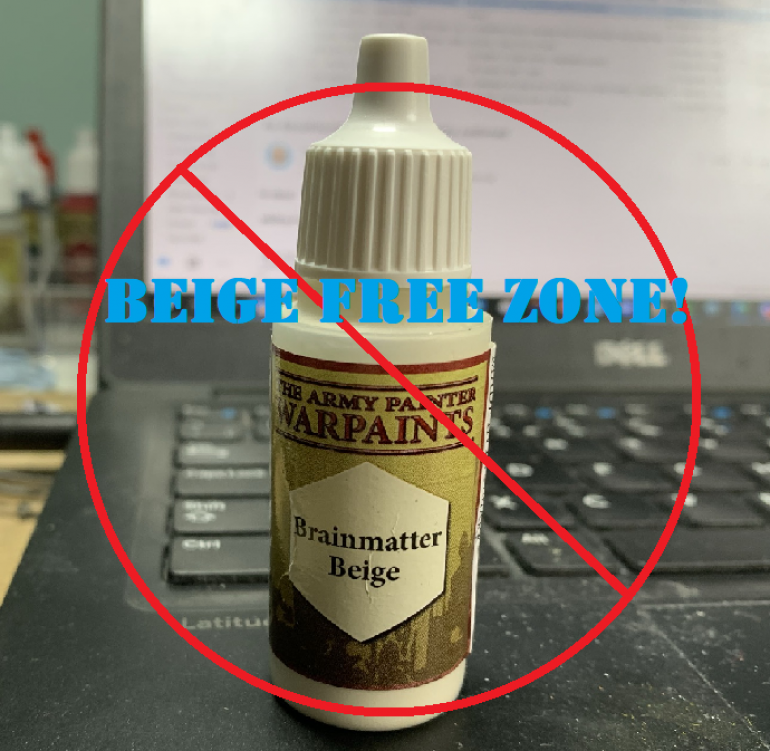
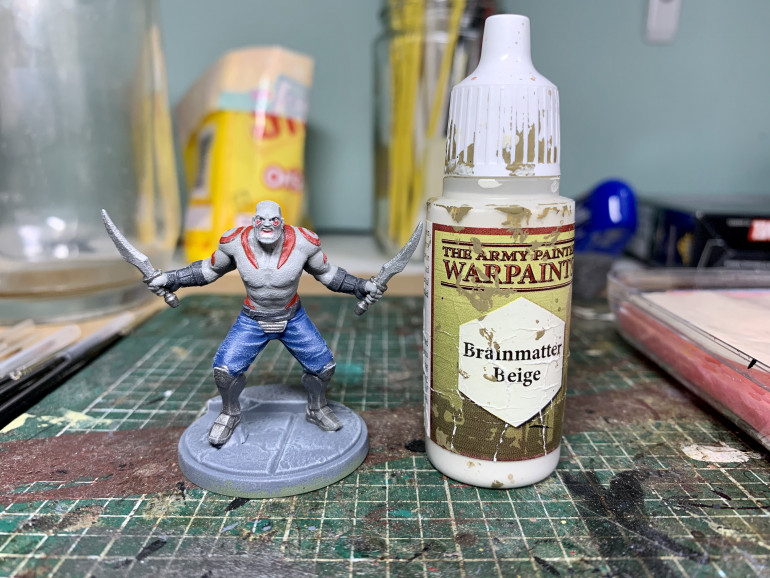
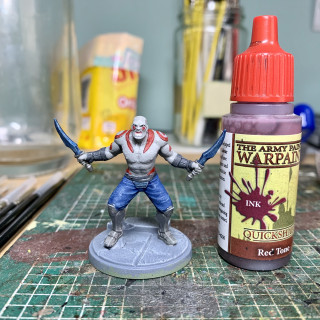
I forgot take the drybrush shot but panic not, I did do a brainmatter beige drybrush!
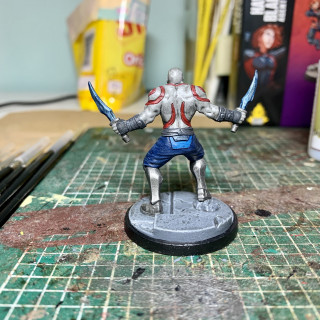
“I live to destroy the Weapon X!”
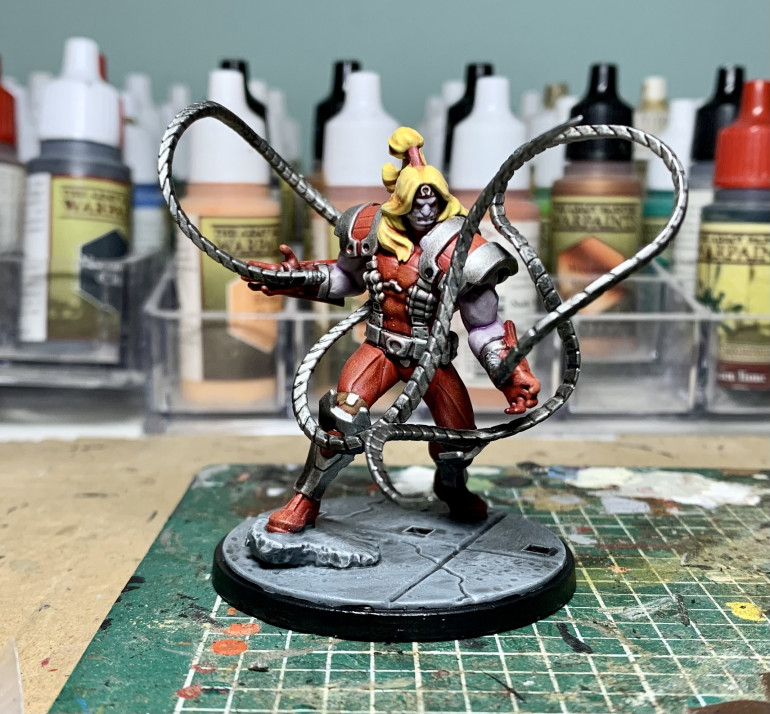
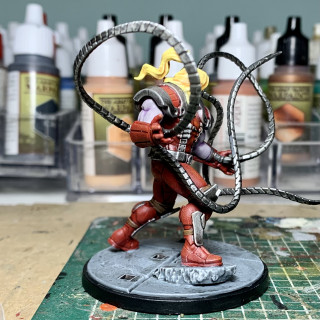
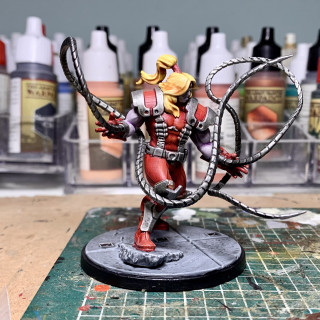
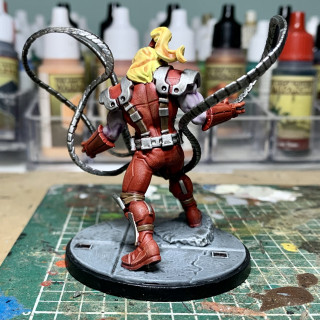
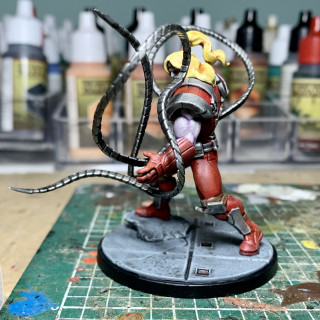
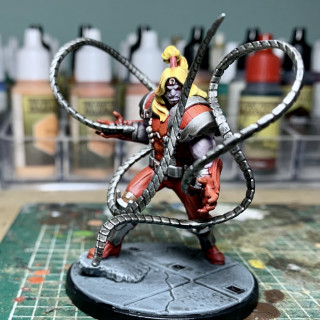
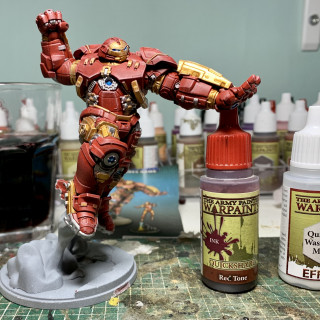
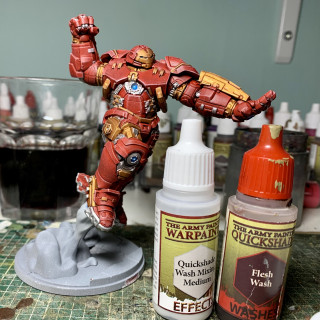
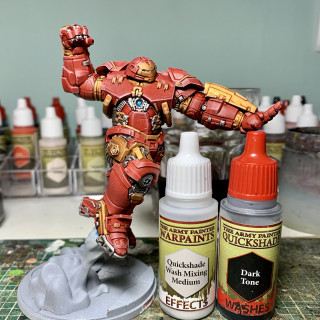
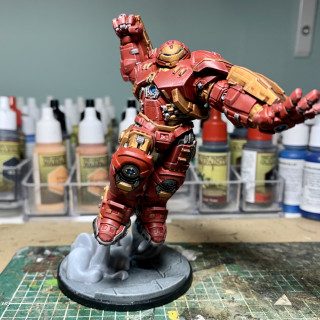
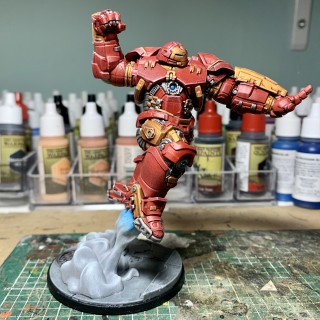
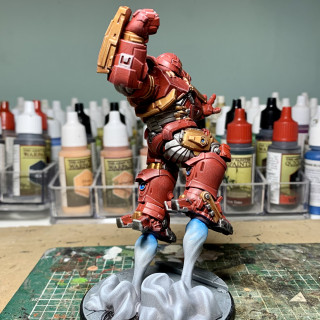
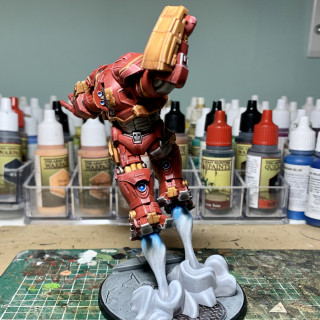
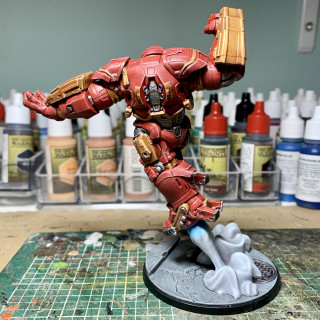
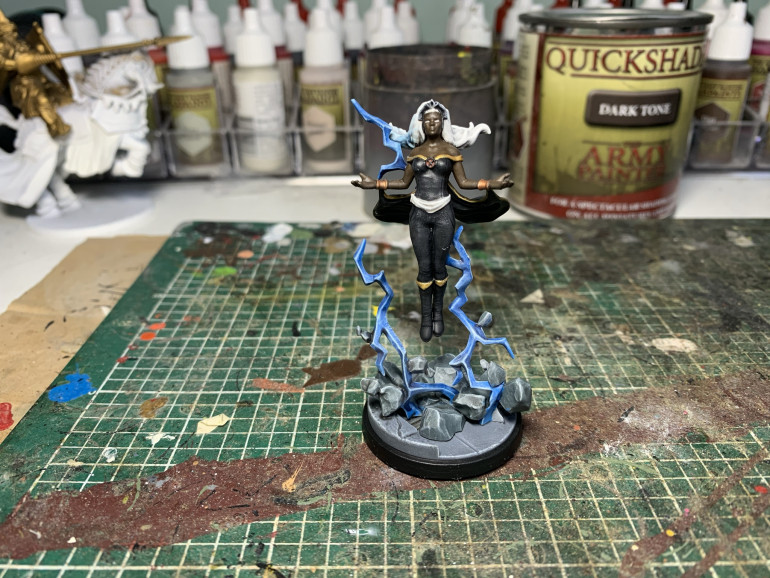
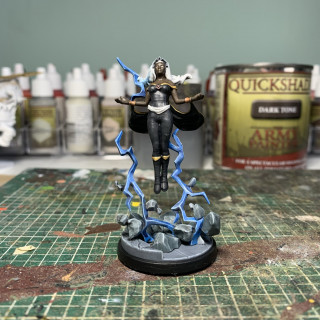
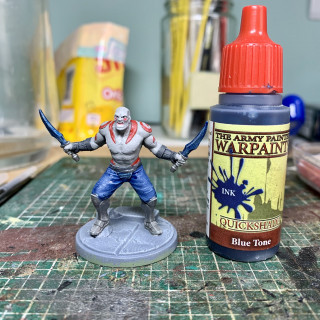
With the main model done I added the coils (silver with dark done wash) and tidied up the base. Now off to go and mess up Wolverine!
“Go to sleep, go to sleep, go to sleep”
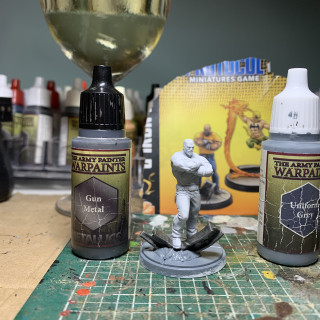
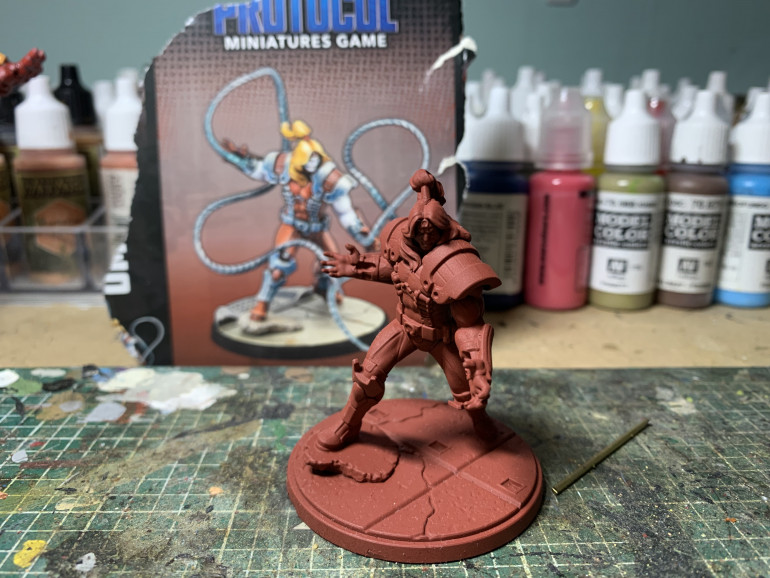
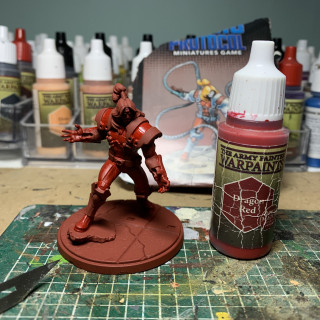
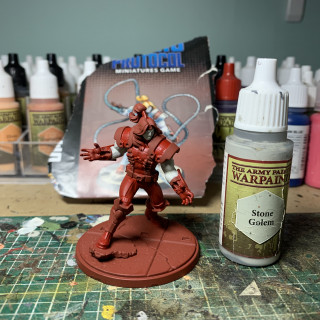
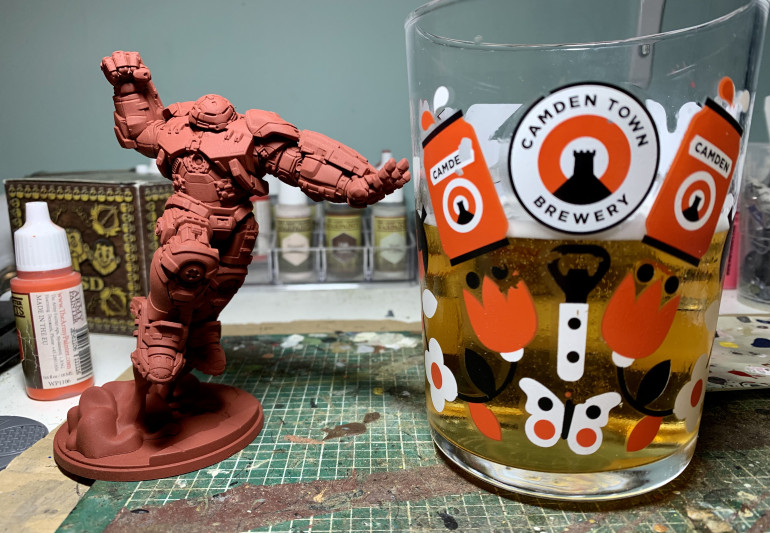
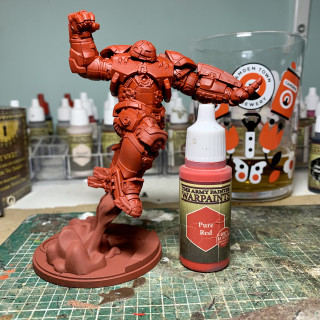
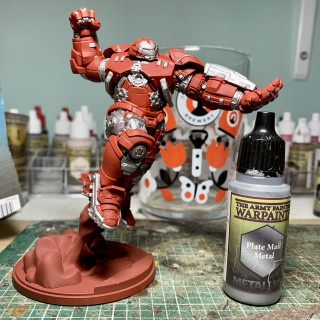
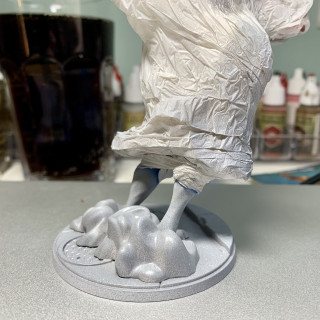
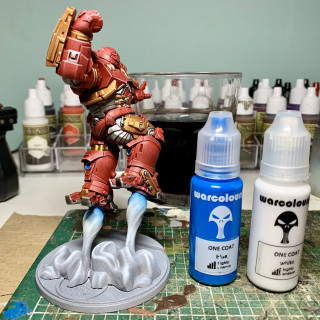
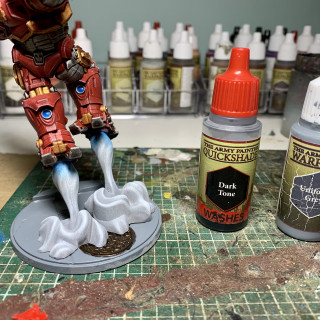
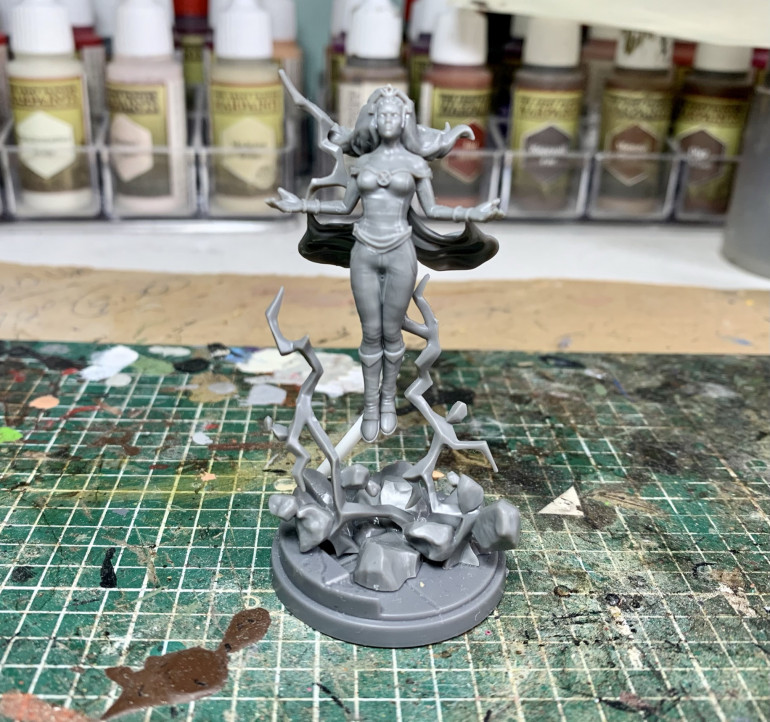
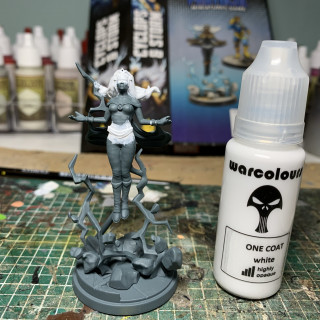
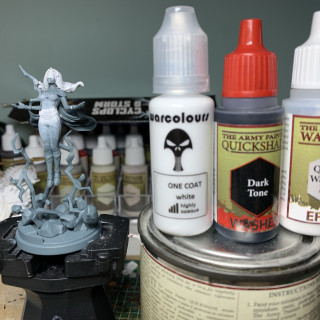
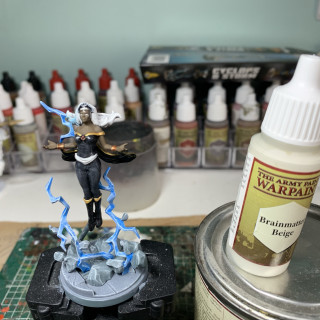
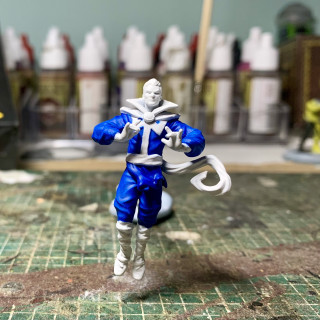
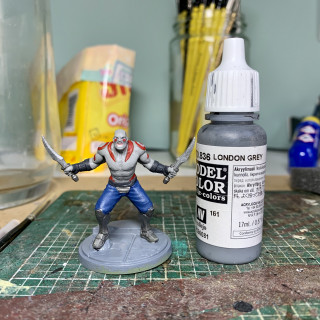
Going back a few steps it’s time to work on the base. First I cling filmed the model and primed it grey with a dusting of white then drybrushed some blue around the jets and then white all over
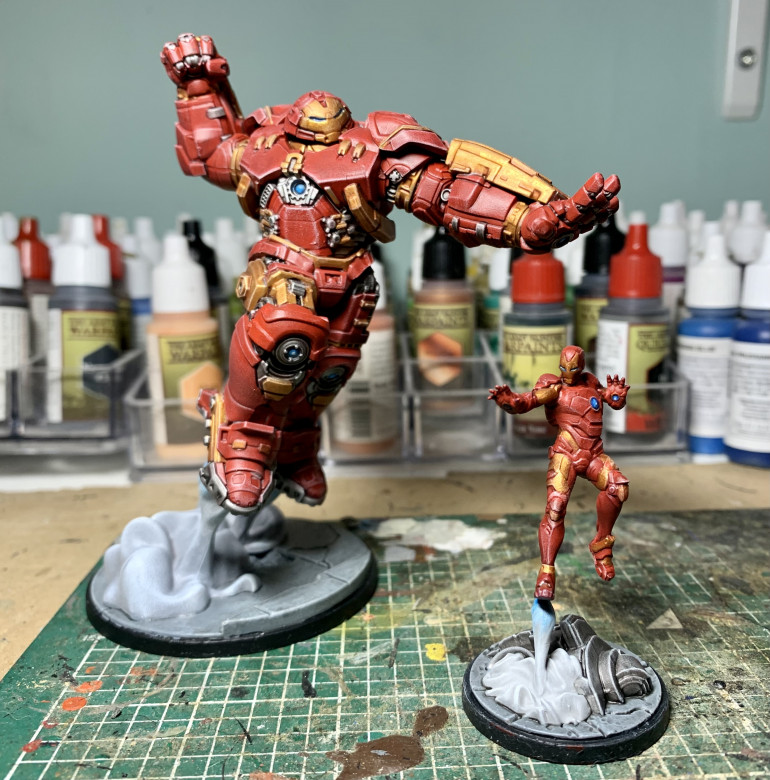
After tidying up the base I painted the small escape suit that comes with Hulkbuster. Exactly the same but smaller!
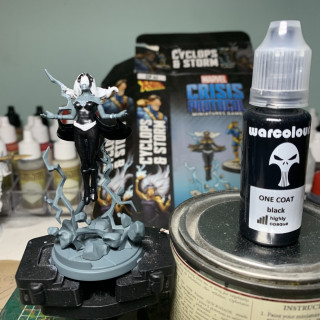
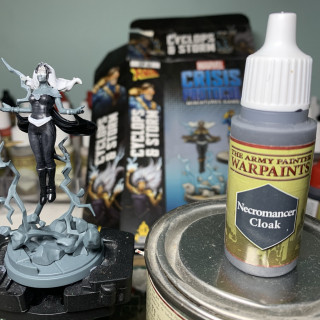
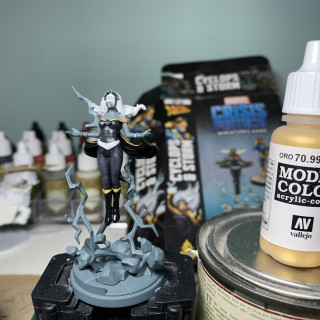
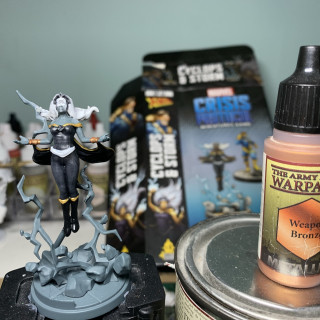
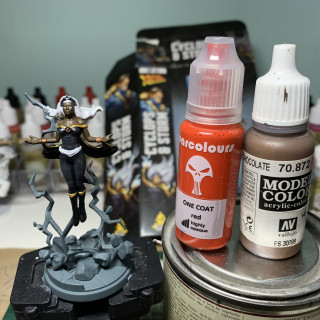
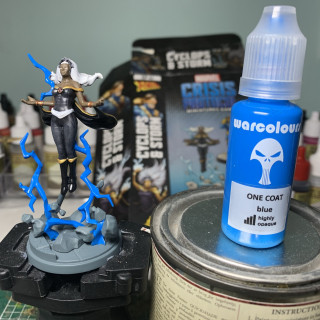
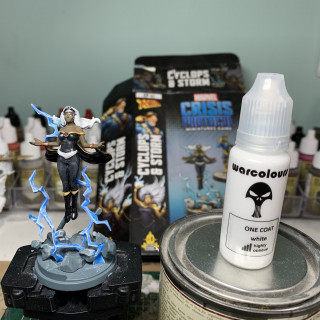
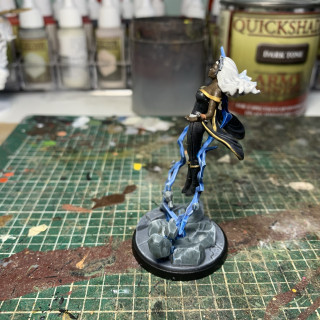
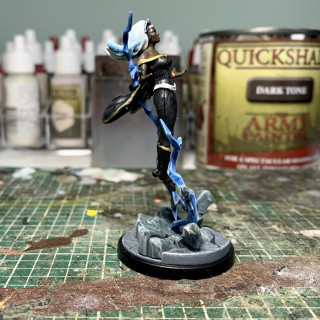
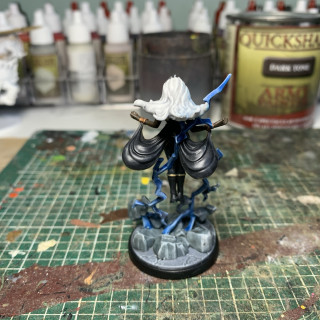
"Do you know what happens to a toad when its struck by lightening?...'
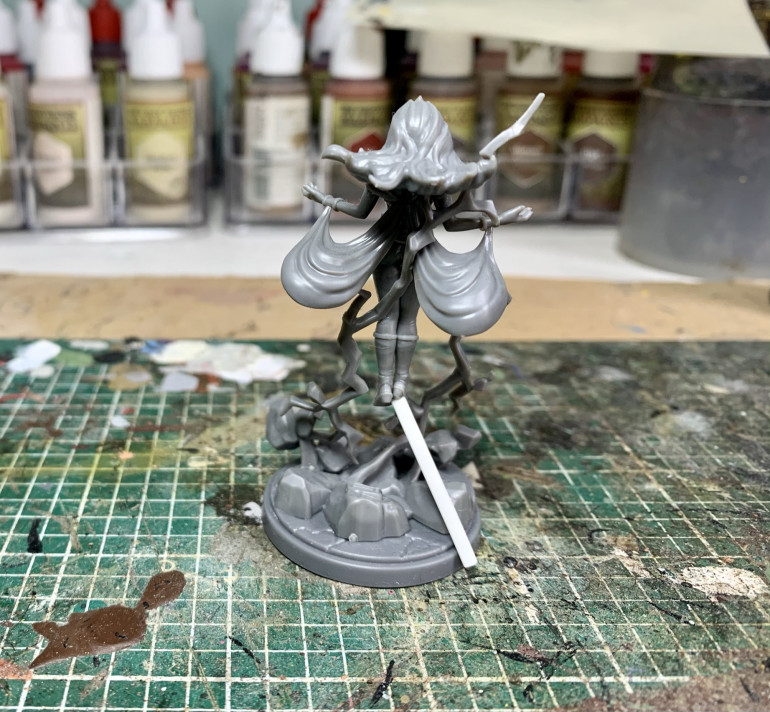
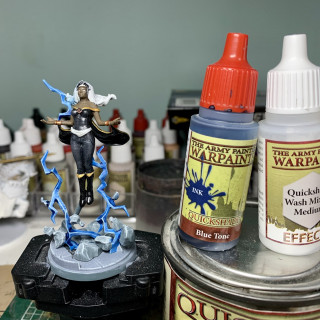
First thing to notice about this model is once assembled she is only attached to the lightening by 2 contact points making her extremely difficult to paint, seriously its like a bobblehead!
Rather than go trhought the Dr Strange split assembly nightmare ive decided to glue her together then add a piece of plastic rod to give the model some stability whilst painting and then remove at the end.
“I’m the best at what I do”
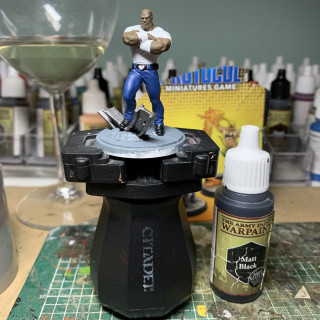
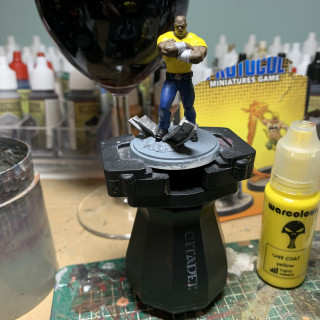
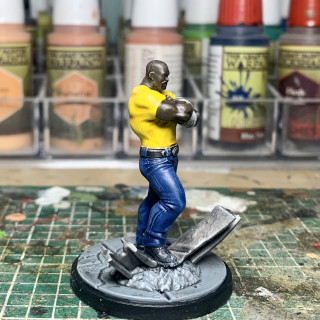
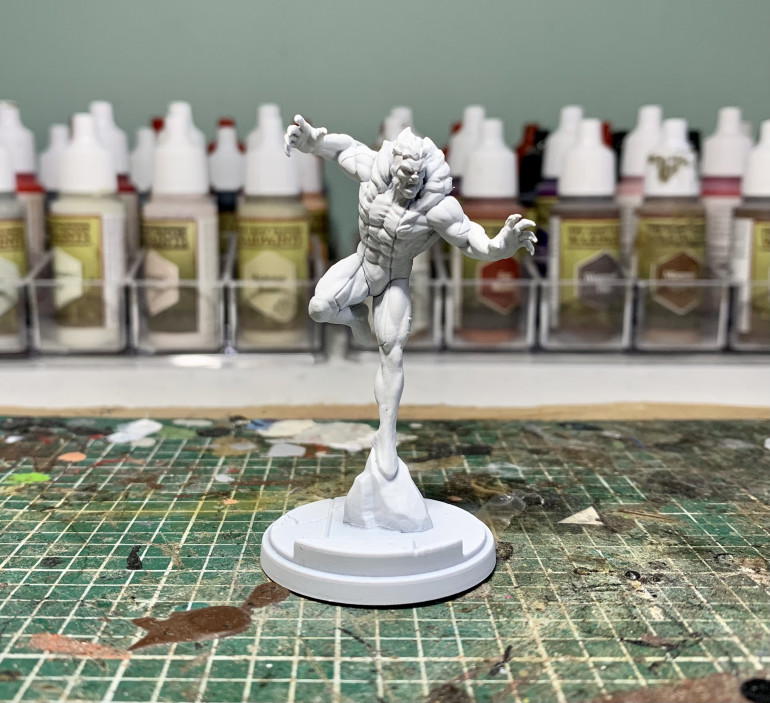
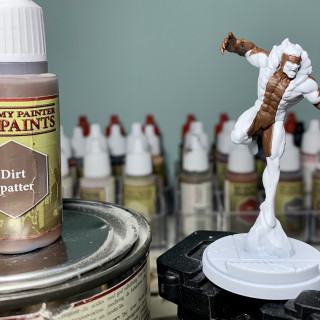
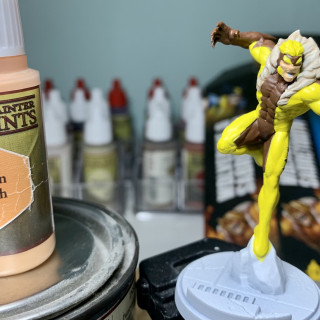
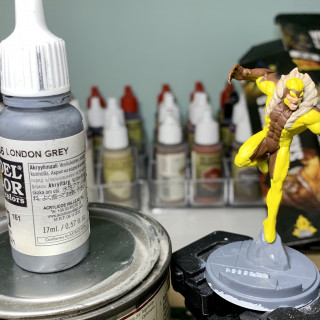
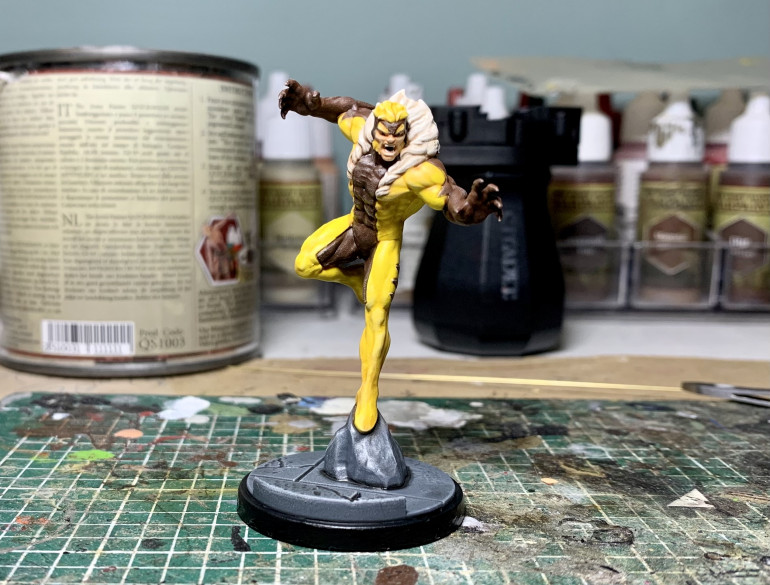
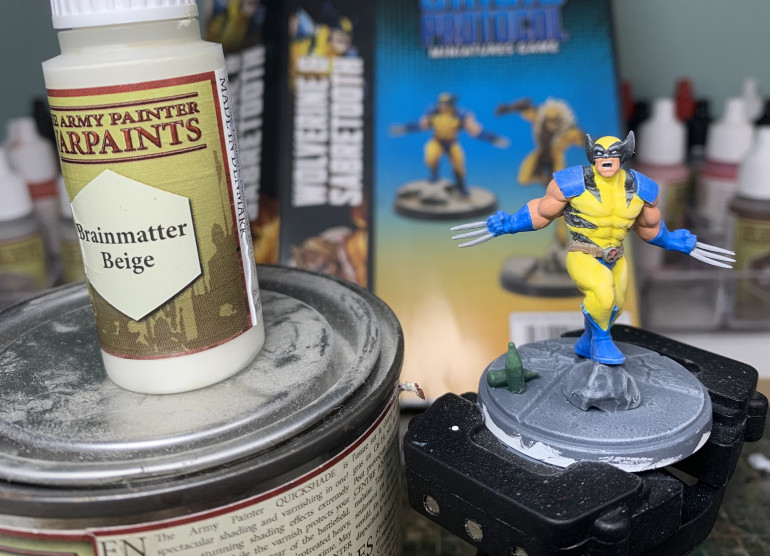
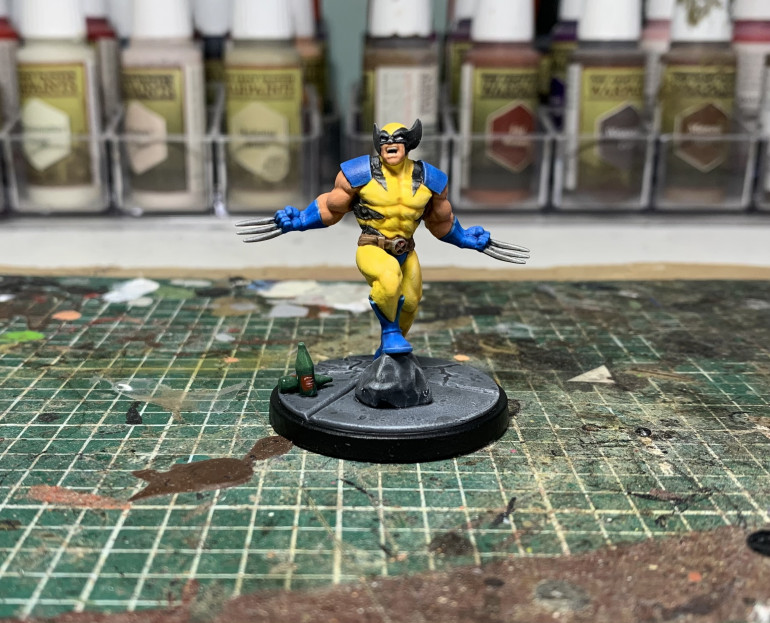
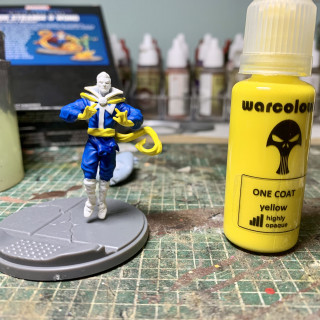
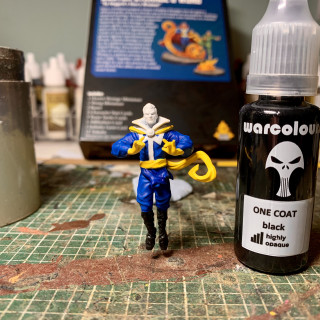
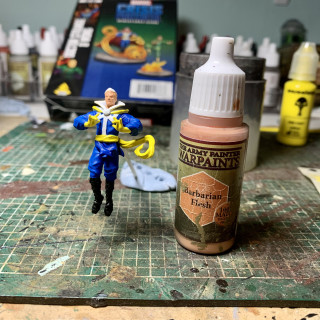
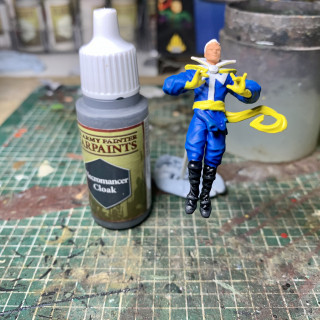
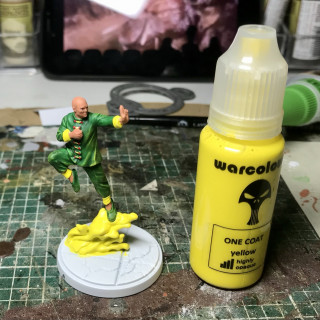
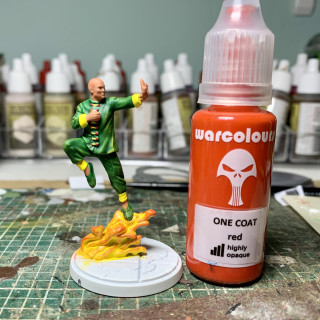
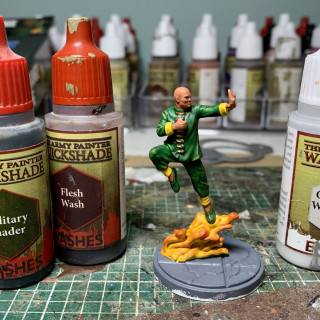
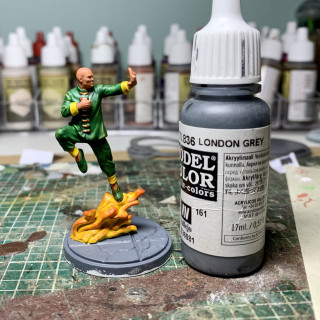
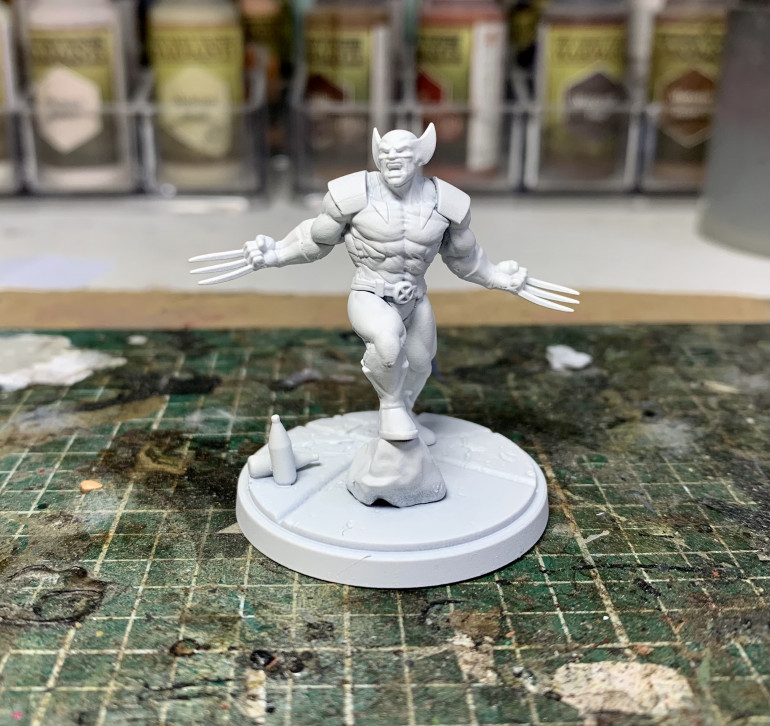 It’s time, a model I’ve wanted to paint a for ages put have been to put off by the colour scheme! I have some yellow, a paint brush and a tiny angry man! It’s time for the Wolverine!
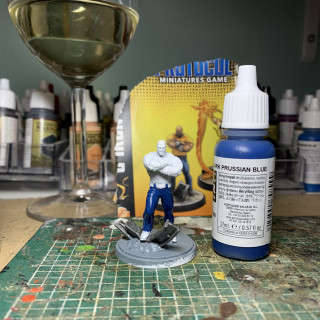
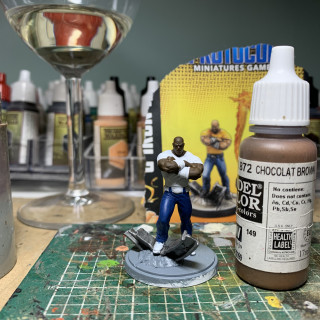
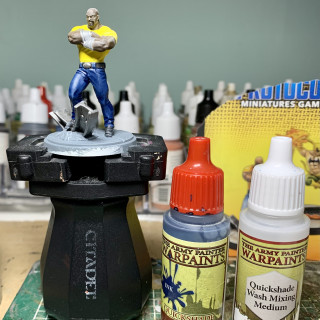
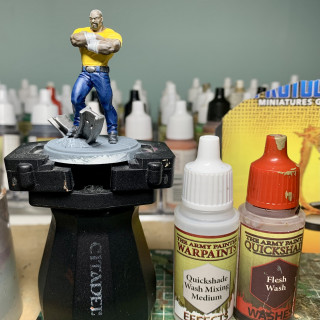
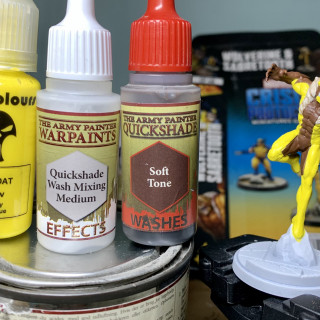
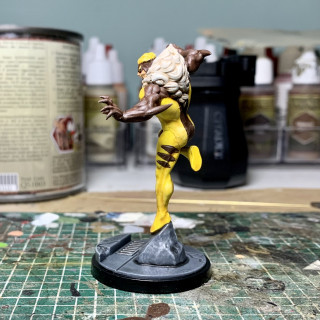
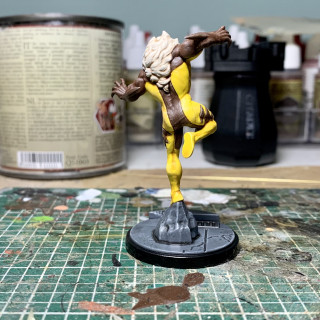
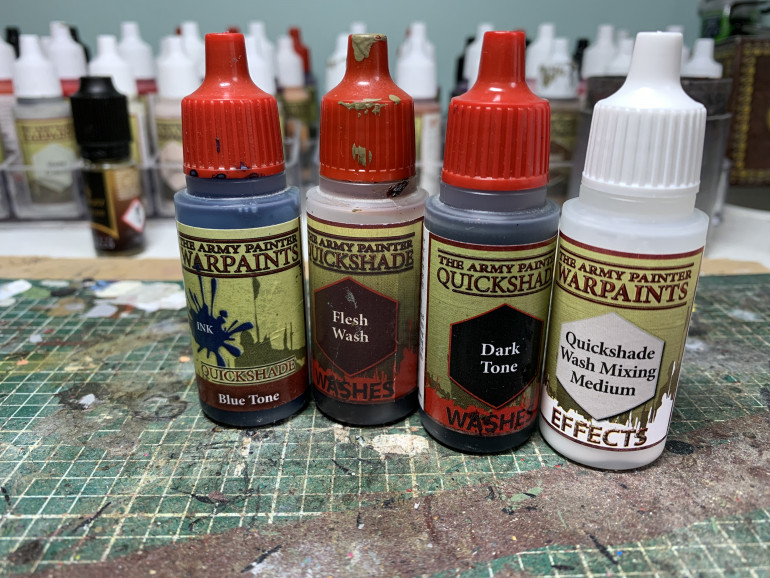
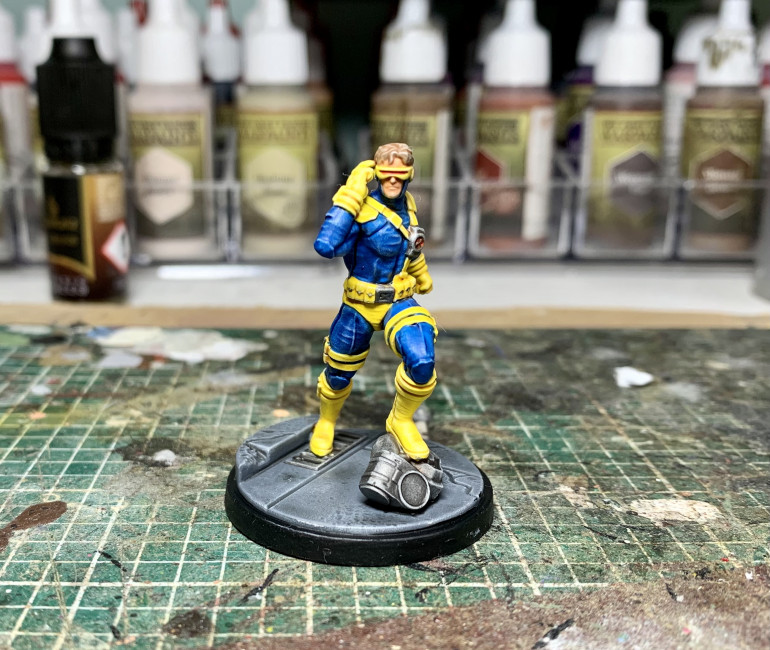
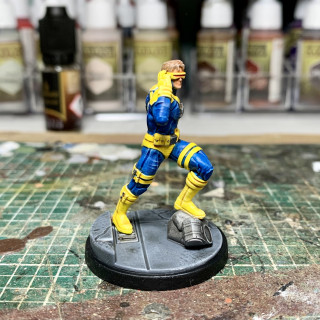
For the shading first it was a 50/50 medium / Flesh tone applied very thinly with a wet brush on the yellow, skin and black. The the same with blue tone on the blue and dark tone on the rest. Finished with a quick tidy up on the base, a Matt coat and glossed the bottles. Happy enough with how he turned out. Black and yellow though, still hateful!!
"Hey, Logan, that healing power is about to come in really handy“
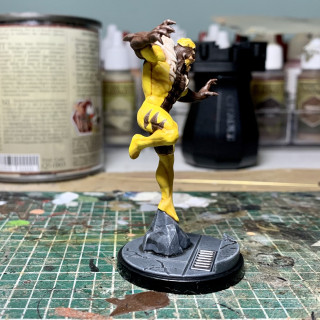
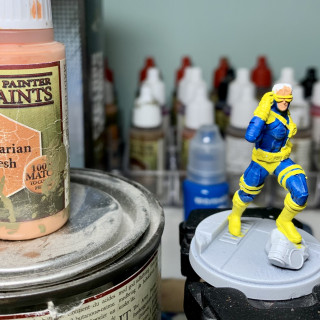
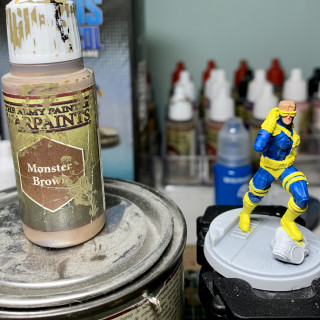
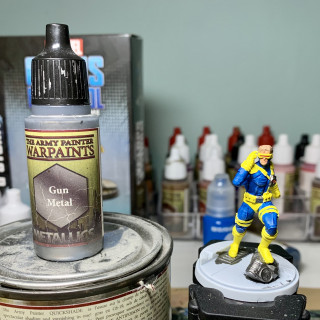
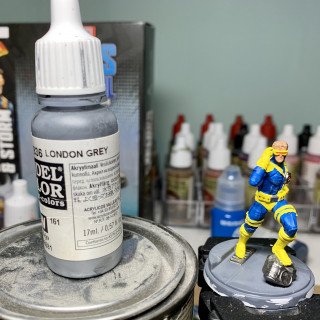
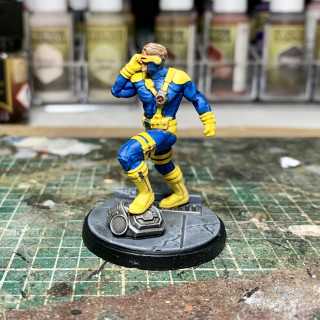
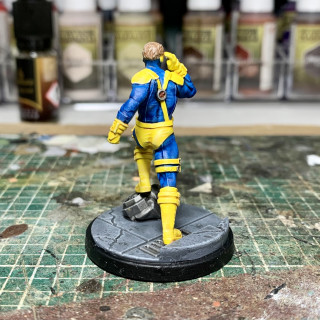
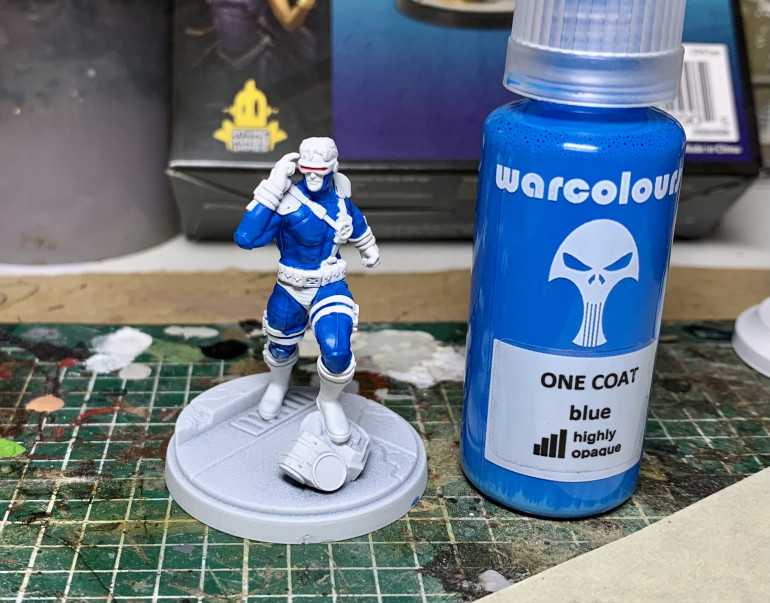 Now that I have found an answer for yellow it’s time to dig out the X Men! First up it’s a favourite of mine, despite how the movies ruined him he’s still a badass. It’s Cyclops!
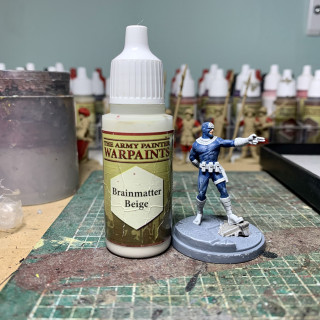
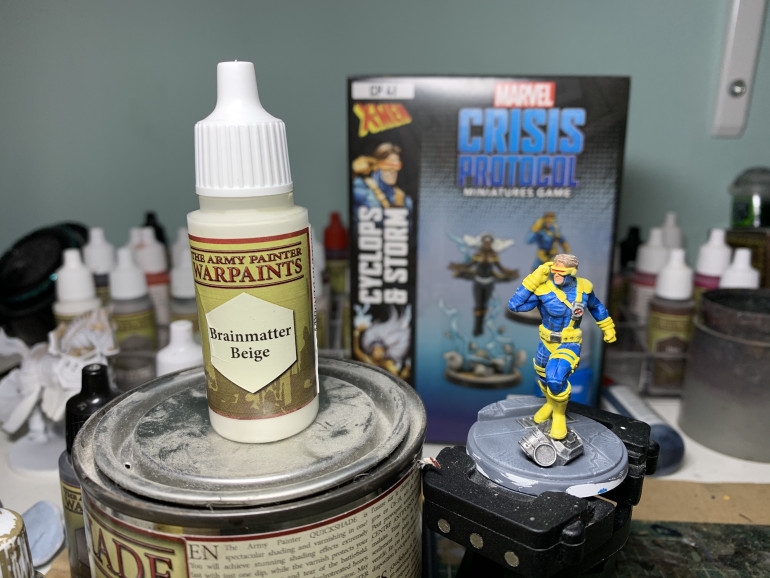 Realising that precise painting isn’t for me I went for my old friend, Brainmatter Beige to even it out.
“We’re in the endgame now”
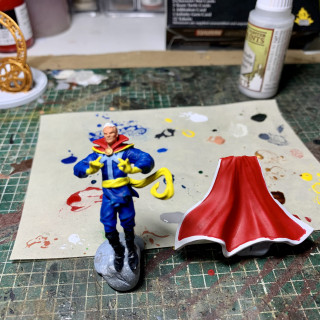
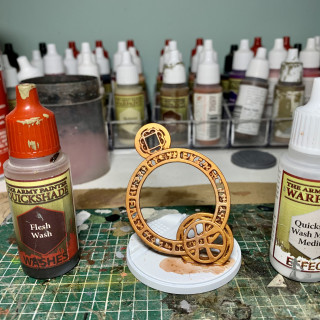
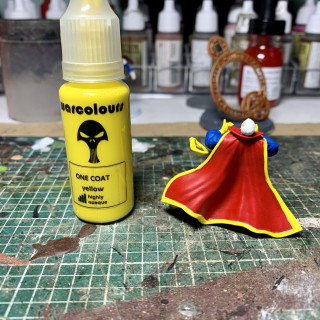
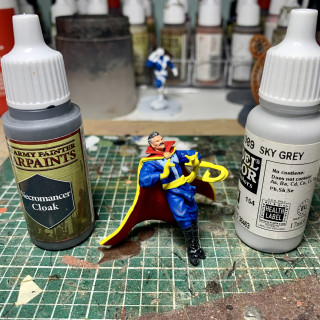
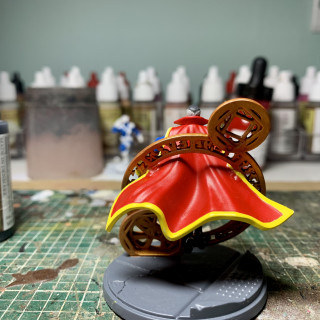
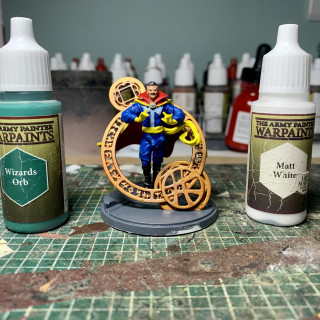
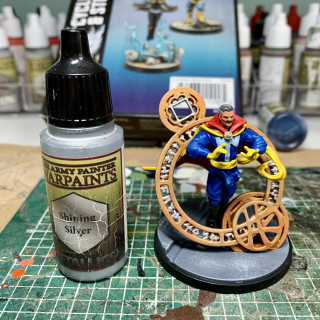
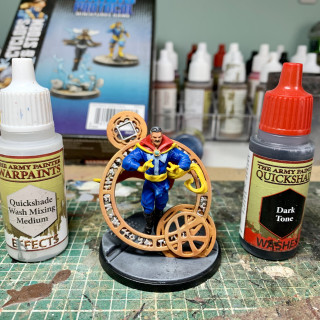
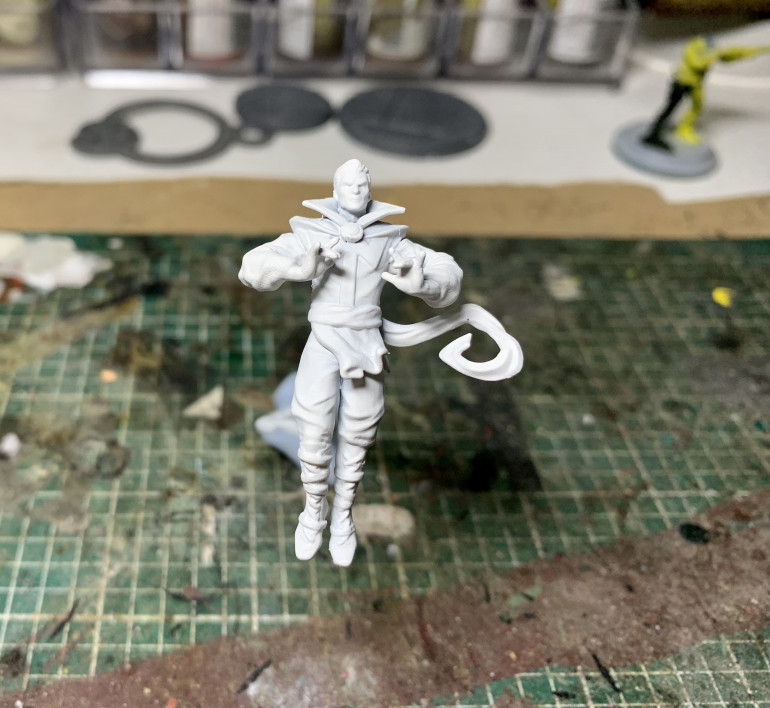 Once again I’m going to try to do another model without my trusted beige drybrush. Also as the good Doctor looks quite tricky to paint once assembled I’m going to paint him in parts and assemble later. Not usually a fan of this approach but think it makes sense here.
Next up came assembly and things started to go awry.
Firstly with the paint applied the joins were tough to get into place.
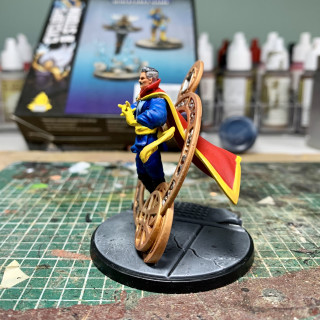
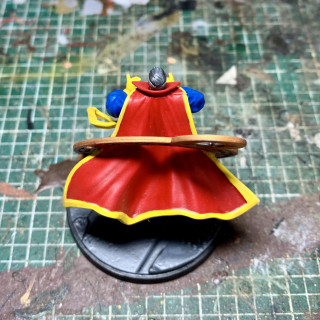
Getting the cape to line up in the ring was especially painful. I had thought I’d cleaned off enough superglue to use a kicker spray but once I took a proper look I realised the joins were very messy. Also I managed to break one of his fingers off which with such a tiny piece was a nightmare to reattach. It was at this point I had to put him down and leave for a few days as I was starting to get really annoyed with the model.
Without my usual drybrush and washes to cover up any small issues I found having to be precise and patient was really winding me up!
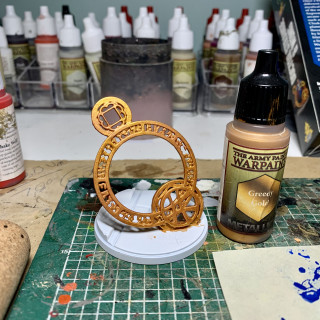
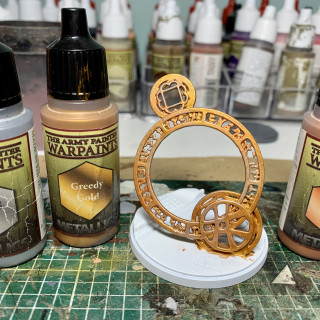
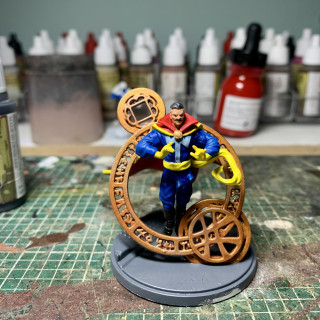
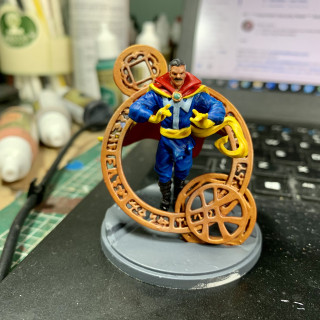
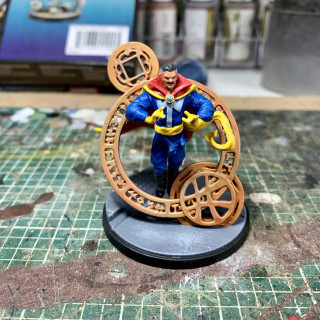
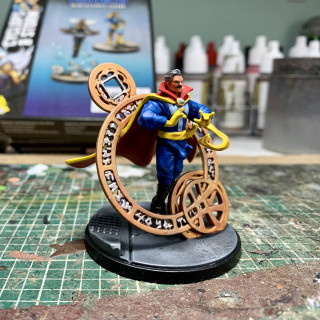
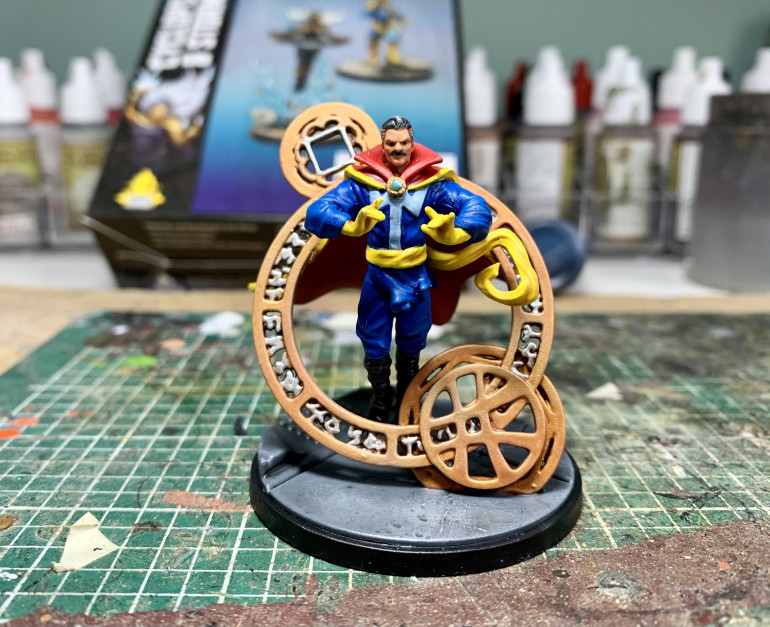 Have to say I’m glad to see the back of this one! Tricky one to paint which wasn’t helped by my own planning! Also decided to paint in the runes at the last minute as it needed something to give it some more life. Not overly pleased with the job on the magic ring, definitely think an airbrush would be the way to go here.
"What, you wanted more?!"
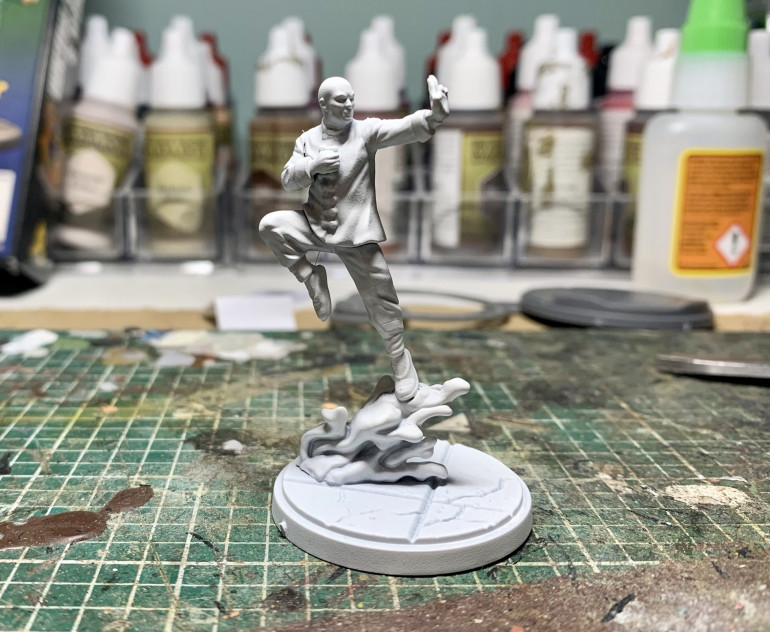
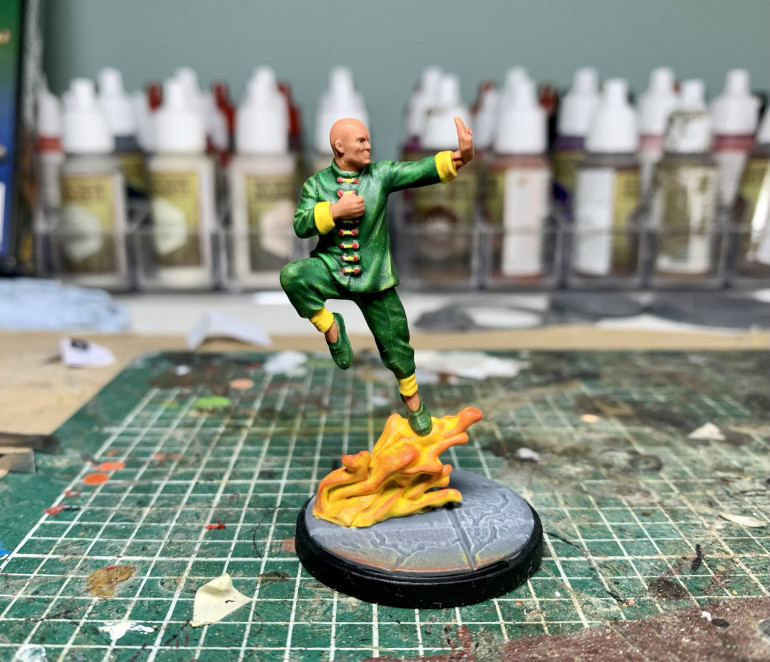
Before i tackle the slightly more complex Dr Strange i thought i’d get Wong sorted.
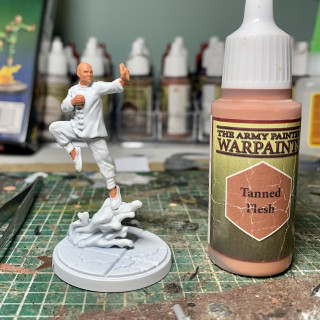
Now prepare yourselves, im going to attempt this one without my beloved Brainmatter Beige. (shocker, i know!)
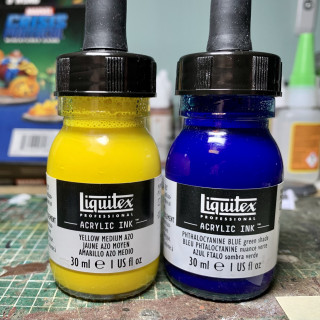
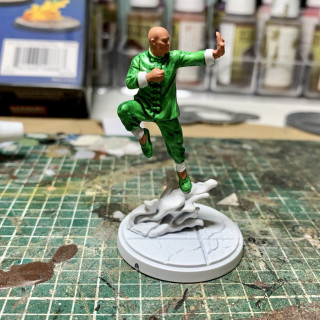
Whilst i think it would be simple enough i’m keen to see if i can get anywhere with inks. Recently i picked up some Liquitex Acrylic inks and i thought seeing as this model is pretty fuss free detail wise it might be fun to have a crack. Full disclosure i have no idea what im doing, im going to make it up as i go. Strap in!
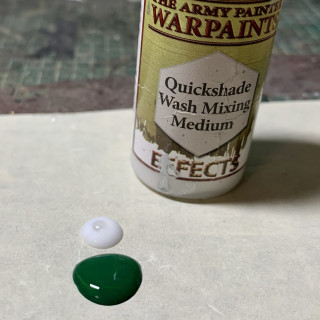
Now i know the initial green is way to light but my cunning plan is to use this as a base for my darker ink. My theory is that the darker ink will gather in the recesses leaving the lighter colour on the raised areas.
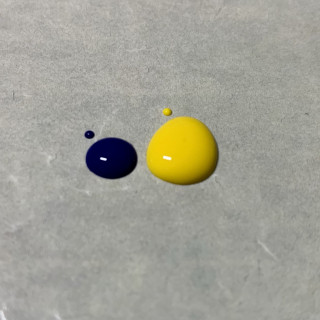
First thing i should mention is that i have no green ink, i do have a blue, a yellow and enough memory of primary school science to remember that blue and yellow will make green! i went with a 3-1 yellow to blue mix with a bit of wash medium added to stop it breaking up on the model.
Here goes!
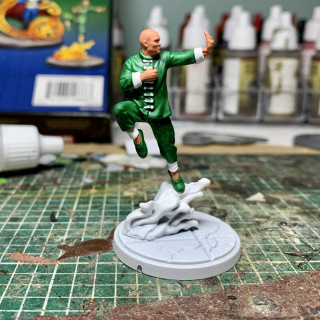
Now at this point i definitely felt i’d ballsed it up as the model was looking patchy and uneven.
I knew i’d need a few more layers so i added a little more wash medium for reasons and ploughed on 2 more coats.
Thankfully this settled the issues down and i decided that would be enough, i was concerned that too much more would end up with just a flat green.
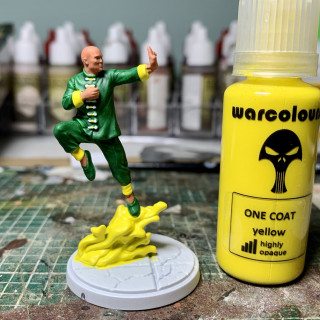
after i had done a few more steps i still wasnt happy and i was contemplating resorting to adding a layer of traditional paint but i thought if its wrong now might as well try one more thing before abandoning it so i added a yellow dry brush over the aised areas to see what would happen and by a miracle it really helped tie the colours together.
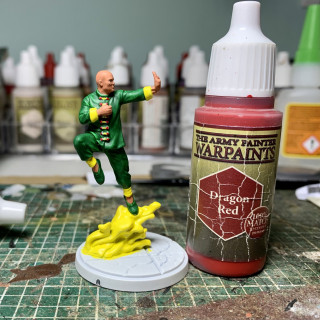
So, disaster averted it was back to finishing him off.
So after a quick tarting up of the base and a matt coat Wong is ready, now for the Doctor…
"The Spirit of Vengeance rides this night."
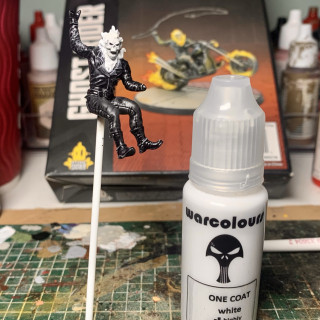
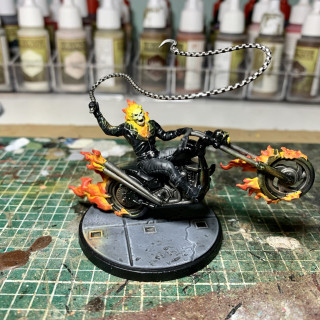
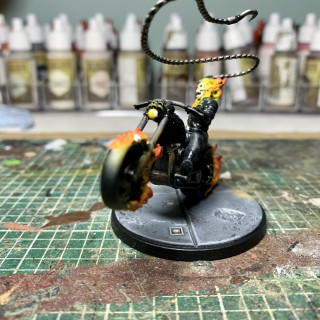
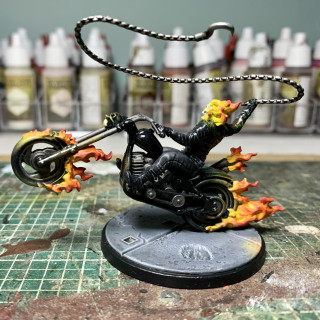
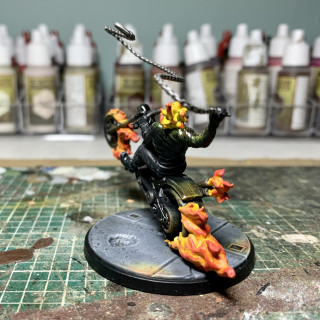
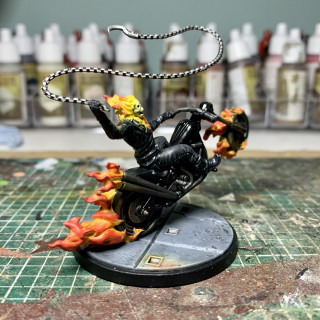
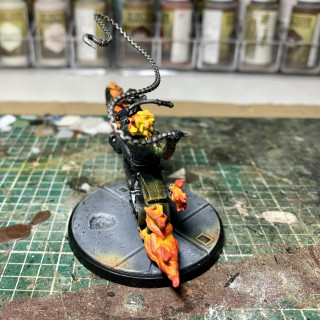
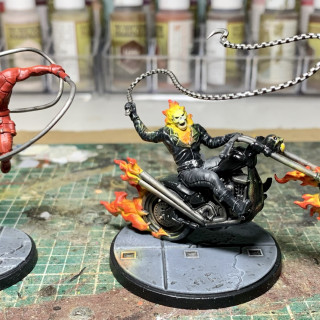
Ah, back to marvel and what better way to get back in the saddle than with the Spirit of Vengance himself, the motorcycle fiend, GHOSTRIDER!
Im going to try something new with this one as i wanted to try something a little different.
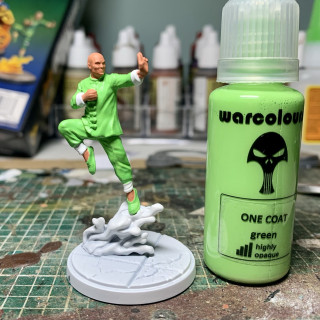
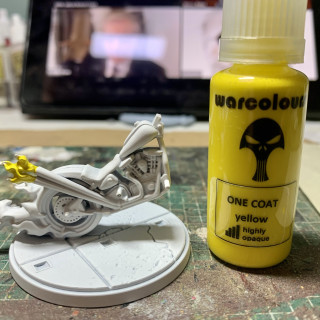
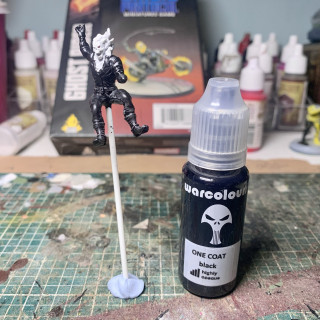
After my recent issues specifically painting yellow i wanted to have a look around at some potential soloutions namely Warcolour one coat base paints and Liquitex acrylic inks.
Also for the first time in many, many years i picked up a can of white primer and starteed testing on some poor unfortunate minis i had laying around.
Whilst i wont bore you with all the details of my alchemy sessions i did find that over a white primer than can provide some really striking results, particularly the Warcolours paints.
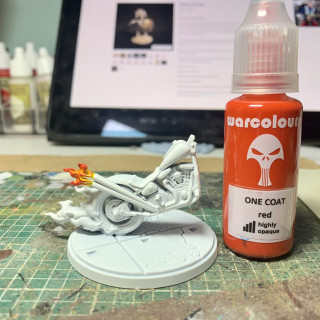
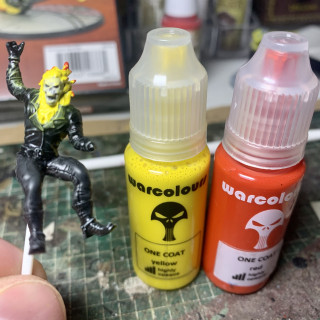
These things are like magic! they go down amazingly well with no mixing neccesary and do indeed cover in one coat without being gloopy.
Bouyed with the successful testing i set about defeated my arch nemesis (yellow) and had a crack at a flaming motorbike!!
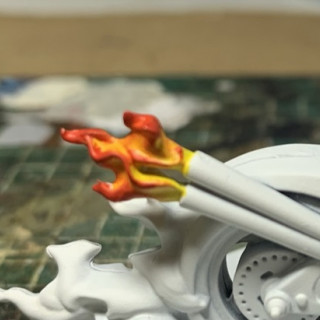
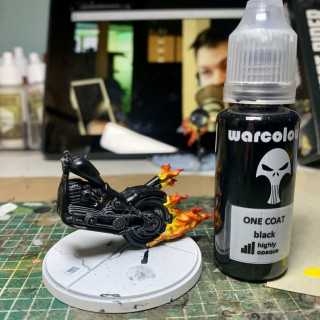
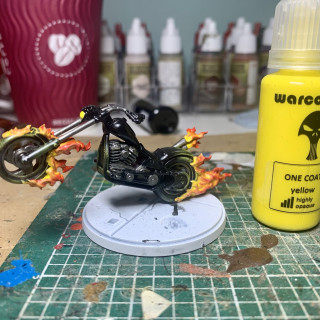
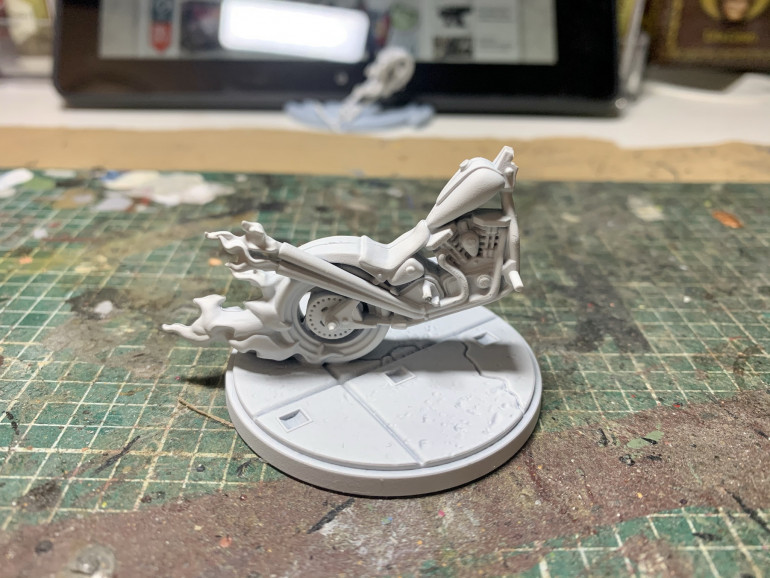 i decided it might be easier to tackle this one in pieces so first up a little flame test on the bike
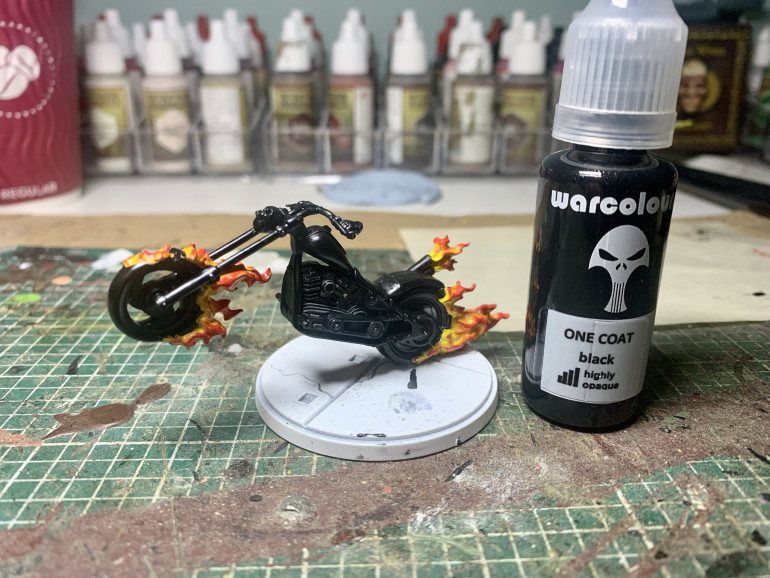
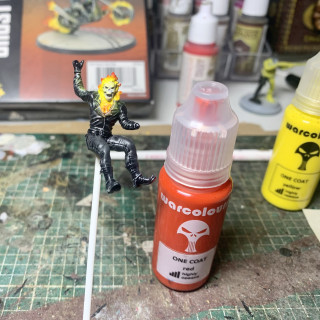
Firstly i painted the fire in yellow and the tips in red. then i went in with a small flat brush an drybrushed red to blend the colours.
Happy with the flame effect and not wanting to overdo it i painted the larger flame around the wheels and gave it s coat of black everywhere else. FYI i gave the parts i wanted to be black (Fuel tank, mudguards etc) a second coat to get them to a solid colour.
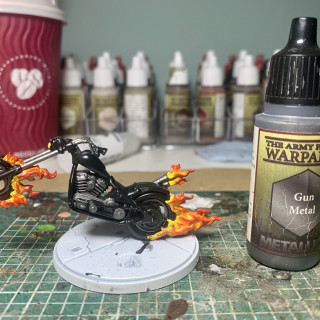
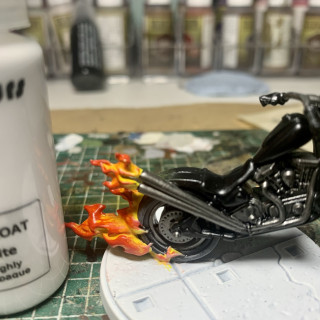
Next up i painted the Engine, wheels, exhausts and struts in gun metal to complete the block colours. then i got excited and decided to have a crack at some basic source lighting from the flames. Basically i drybrushed (very lightly) white ove the areas i wanted the glow and then drybrushed over the white with yellow. I have to say the Warcolours are great for drybrushing!!
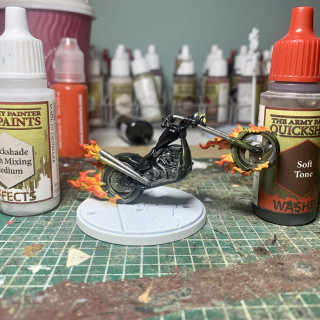
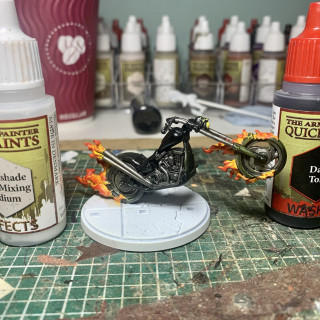
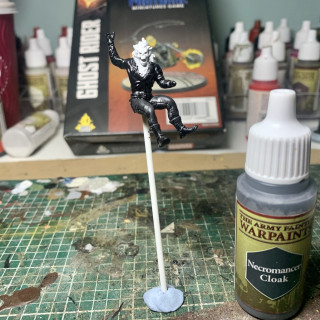
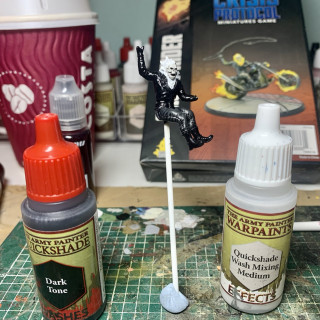
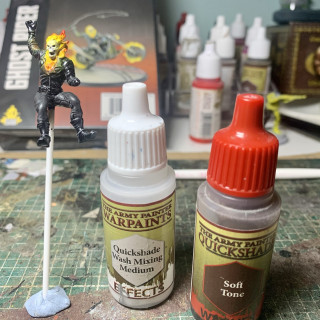
Next up i mixed 50/50 Soft tone and wash medium and applied with a little water to keep it very thin on the flames and a 50/50 dark tone and wash medium on the silver.
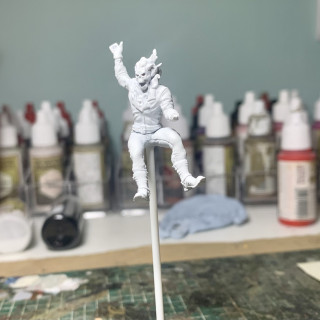
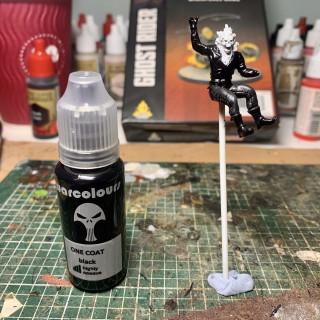
Now that the bike was done its on to Ghost Rider himself. Basically i repeated the procedure except after the first coat of black i gave thetrousers a grey drybrush to change the colour and texture rom the jacket. i then gave the boots and the jacket a second coat of black.
For the skull it was just a thin 50/50 dark tone wash first then drybrushed white.
I also added a light touch of red to the source lighting and as i liked the warmer look it gave i went back to the bike and added it there too.
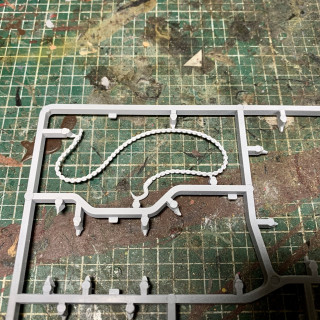
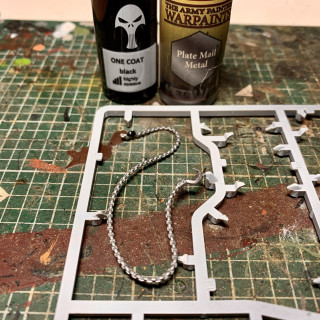
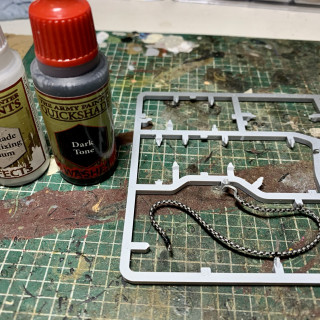
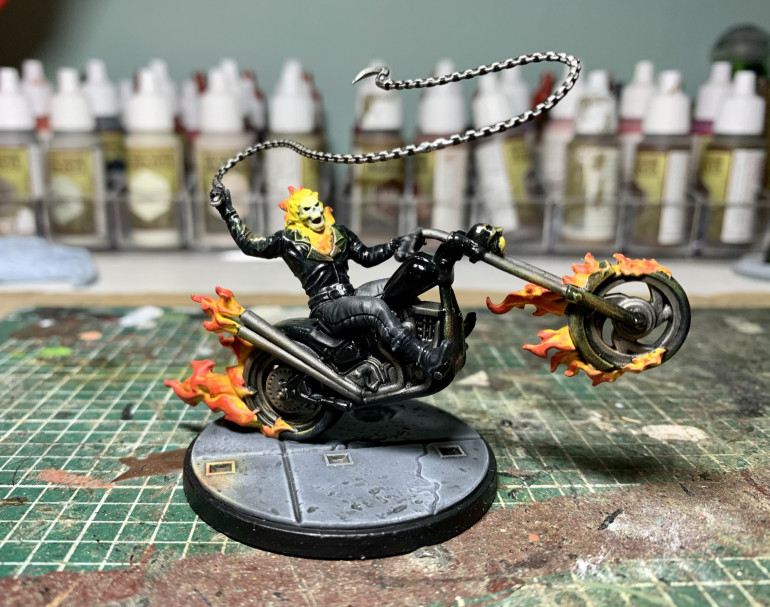
Once that was done i glued him to the bike and painted the chain whilst on the sprue as its very fiddly to handle. Once dry i did MULTIPLE test fits (its a tiny join) and glued into place.
Then the whole thing got a matt varnish spray followed with brush applied gloss to the areas i wanted to pop a little more.
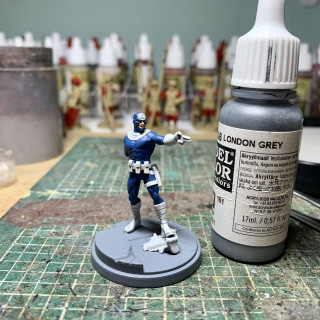
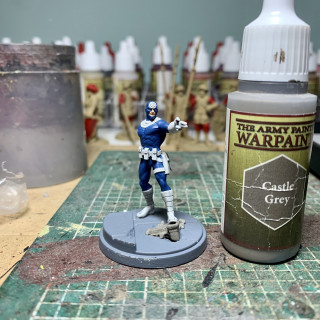
I then tidied up the base with Vellejo London Grey for the base drybrushed biege and then a thin dark tone / wash medium mix and a black rim to finish.
After looking at it for a bit i thought the base looked too sterile and so flushed with overconfidence, tiredness, booze and the taunts of Gerry on the Hobby Hangout i went in and added some source lighting to the base to finish.
Have to say from nervous beginings im very please with how he turned out and finally feel confident to tackle the X men!!
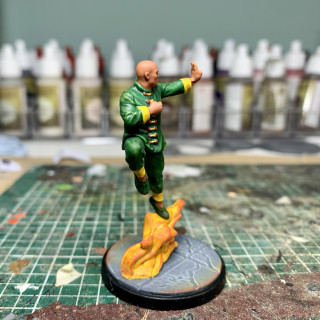
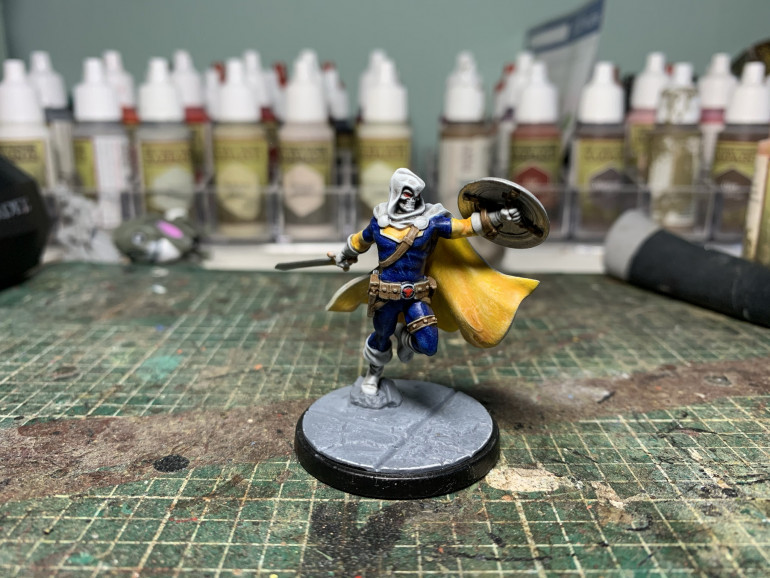
"I'm Taskmaster. I can counter anything you throw at me. I can mimic and adapt to any move you make. I can anticipate any blow."
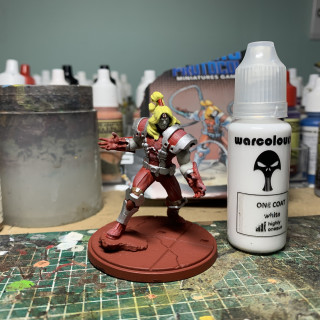
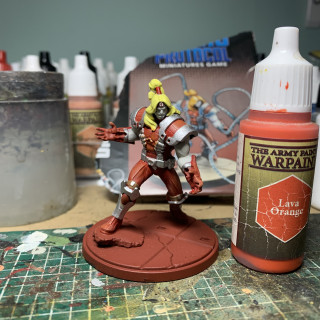
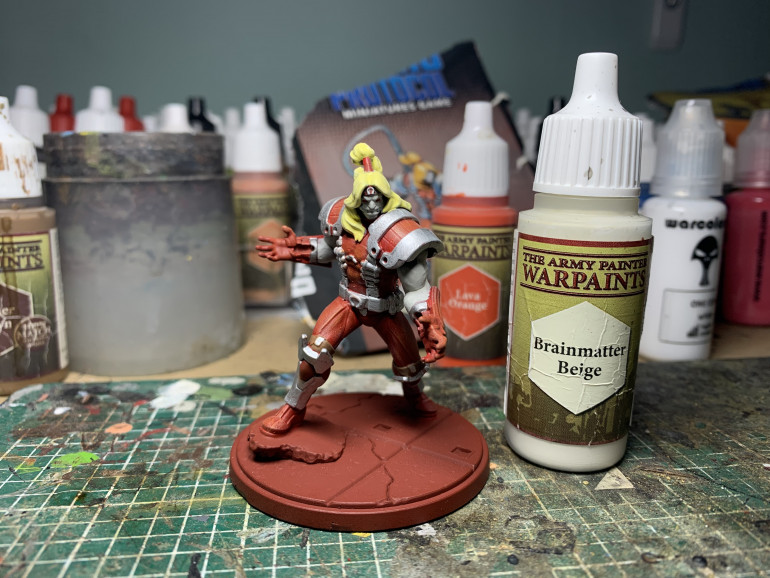
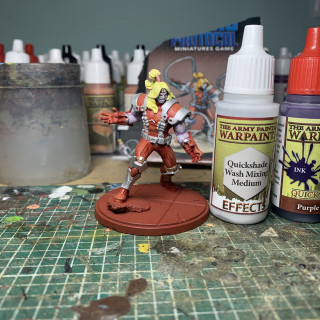
I did paint this guy a few months ago but was so traumatised by painting yellow i had a bit of a hissy fit and abandoned the project.
God knows how many coats i put on but needless to say this model was hateful to paint! i was using him as a tester for the X men as im not buying them until ive worked out yellow.
Many years ago i painted an Imperial Fists force using yellow ink over white primer which worked really well, i think im going to investigate that technique further.
Anyway, finally have got over the stress from painting this guy enough to add him back into the project!
“You hit them and they get back up, I hit them and they stay down”
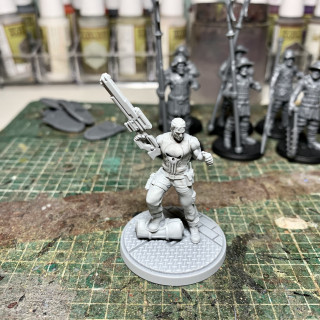
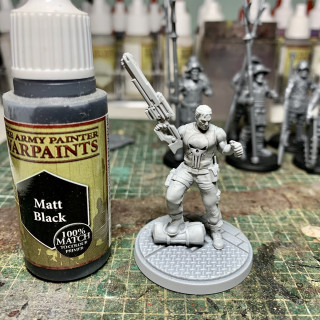
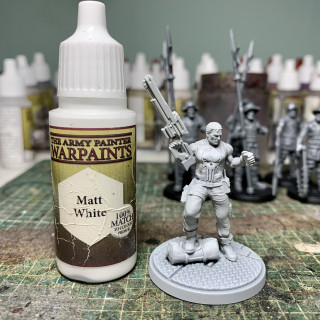
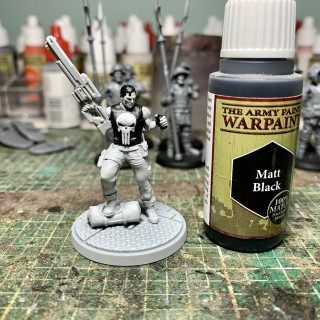
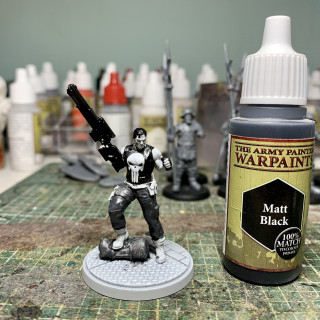
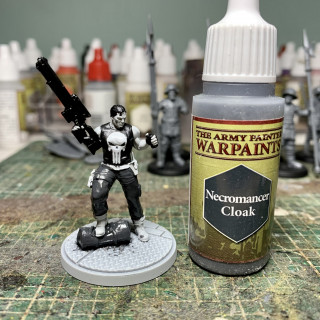
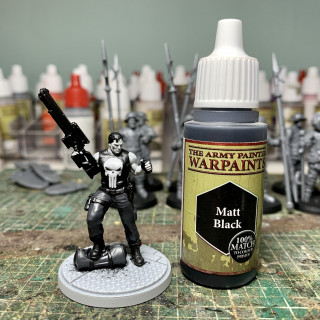
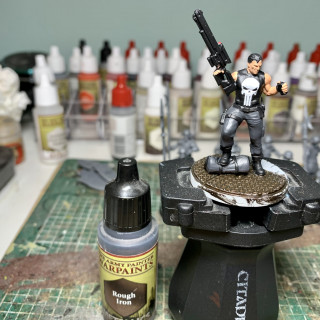
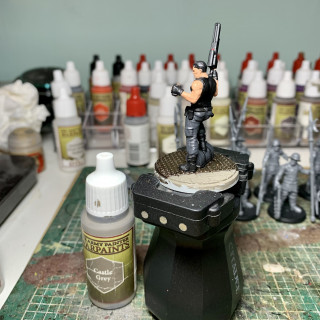
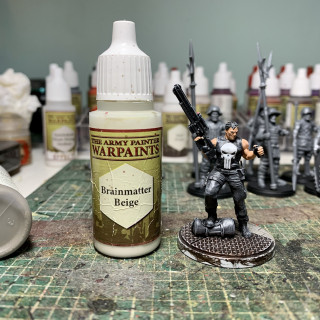
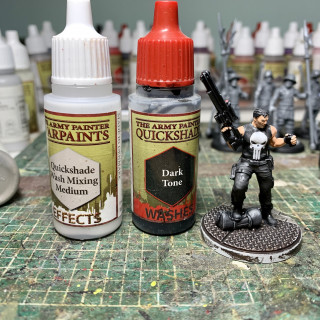
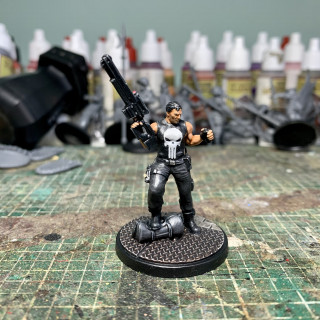
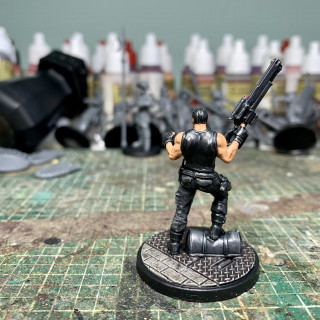
Next up is another favourite of mine, The Punisher. Should be fairly straightforward as it’s primarily a black outfit. Will probably try to break it up a little bit by using some dark grey instead of all black. Apologies there’s a lot of back and forth from grey to black, was a bit distracted (hic!)
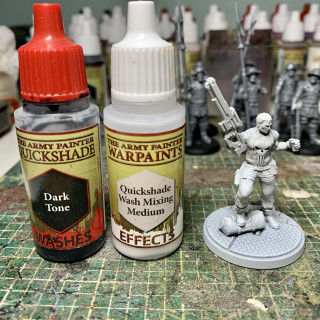
Next up a light brain matter beige drybrush followed by a few layers of dark tone/ medium mix and a flesh tone / medium mix.
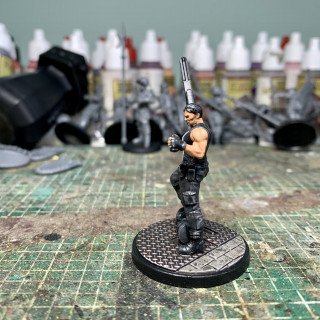
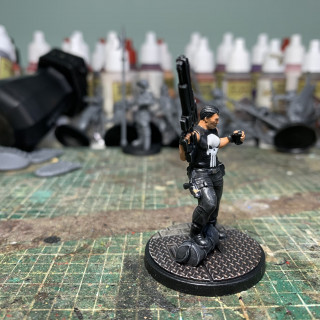
And that’s the Punisher ready to dish out his own specialised brand of justice! Only downside is that my Matt varnish seems to have gone wrong. Think I might have a duff bottle as the model seems to still have a shine on it. Will have to correct later
‘You're good Daredevil, I'll grant you that! But I'm better and I'll prove it’
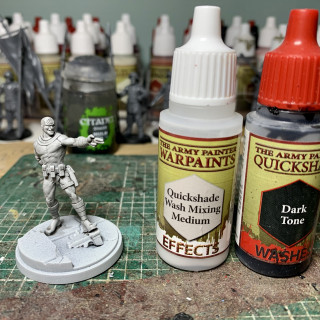
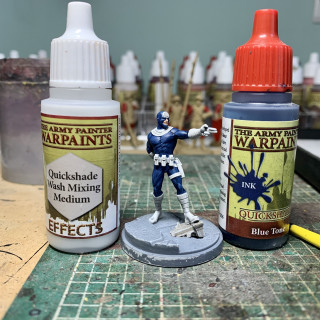
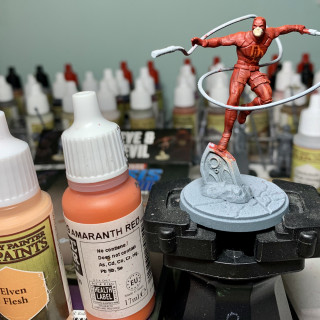
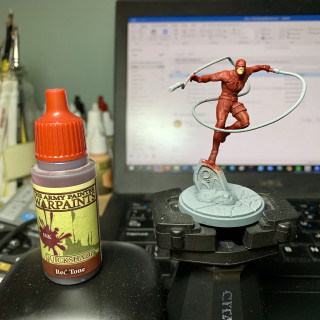
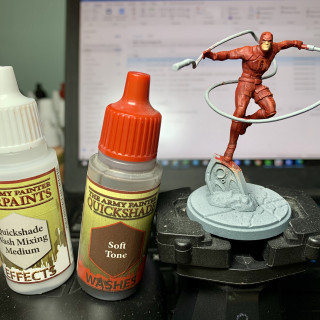
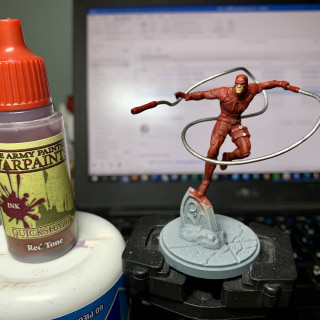
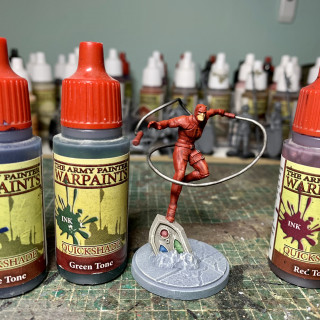
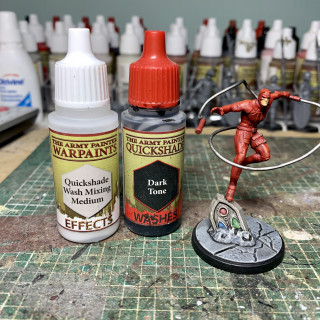
Now for the all important drybrush and washes! These were 50/50 medium to wash.
And he’s ready to chuck lethal cutlery all over the shop! Really nice and simple model to paint.
"I'm Not Seeking Penance For What I've Done, Father. I'm Asking For Forgiveness... For What I'm About To Do."
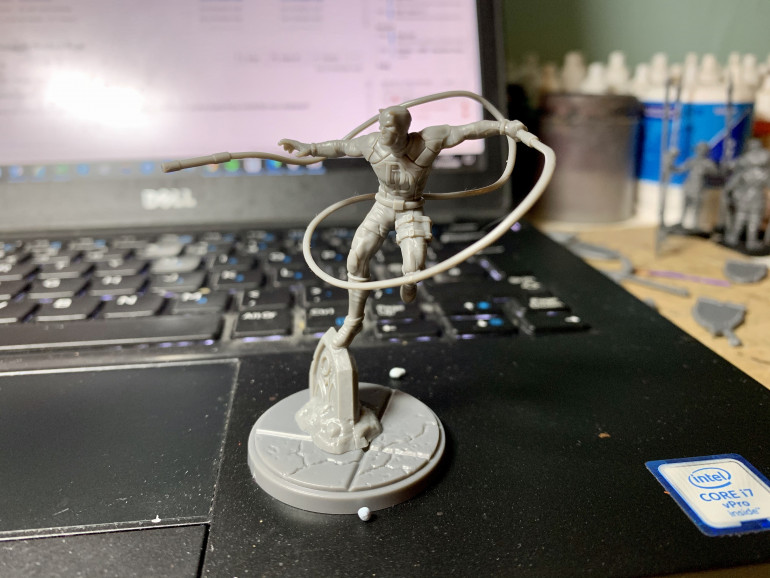
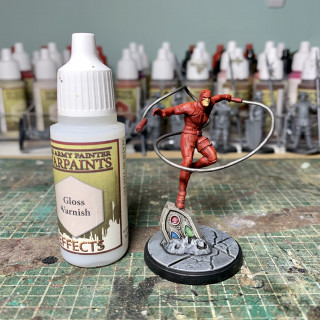
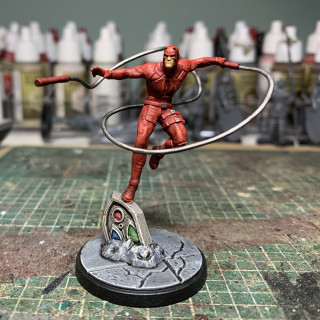
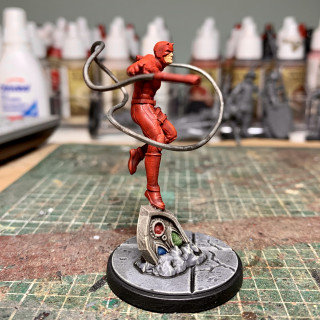
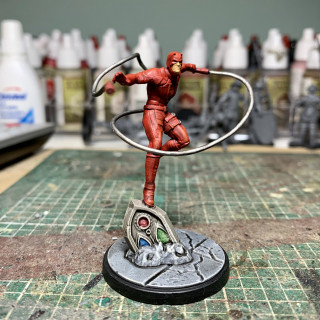
Now it’s time for the one I’ve been waiting for since the game came out. Daredevil. My all time favourite character. Really want to do this one justice so will stay of the booze for this one! First up I should point out I have no idea what to do painting wise. On the face of it he’s just a dude in a red suit but if you look deeper he’s often depicted with an orange tone to the red to give him a ‘devil’ look. I really want to try and at least attempt to get that in there. I thought about edge highlighting but my eyes struggle with depth these days so I may attempt a light drybrush on the lighter areas or possibly painting him with inks.
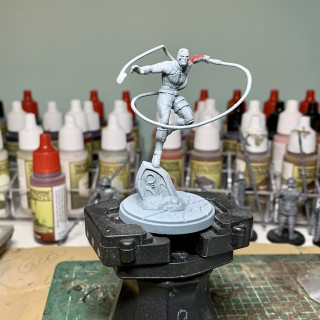
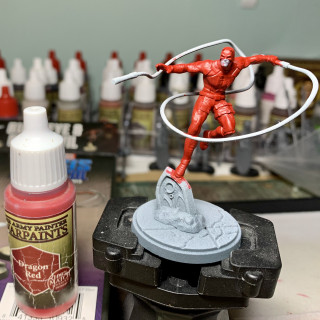
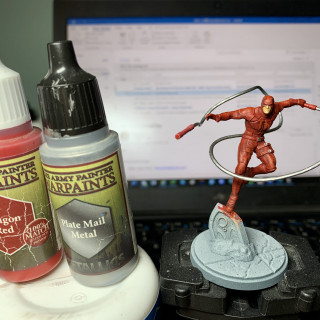
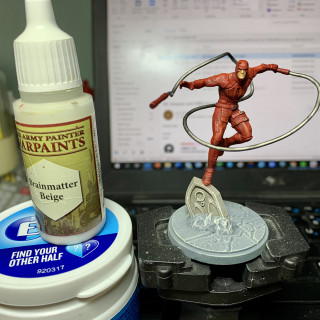
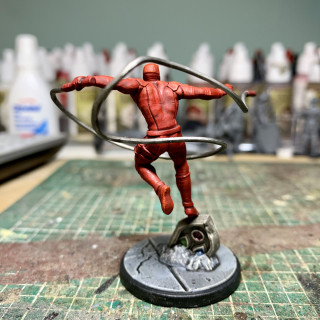
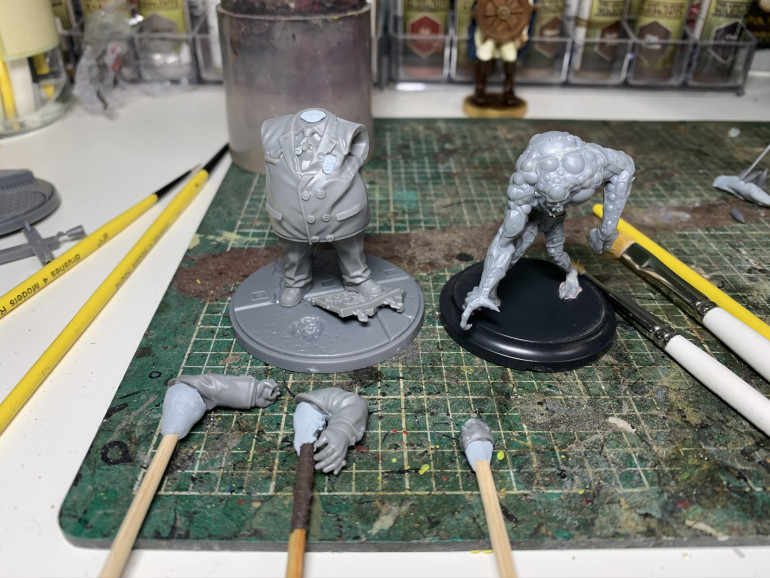
First up I got two hex beasts primed up uniform grey with a greyseer zenith and chucked a load of colour on them!
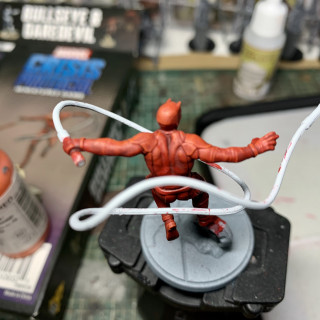
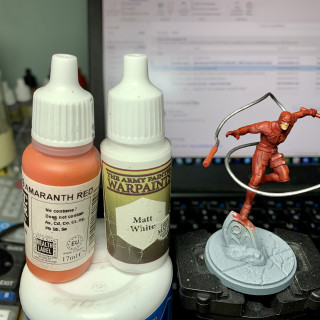
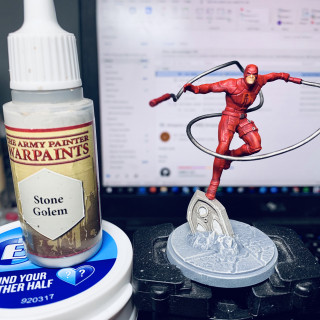
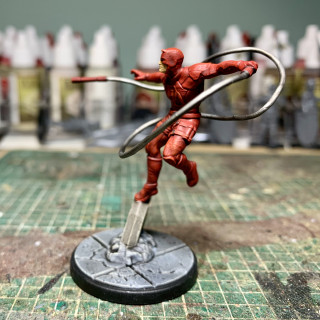
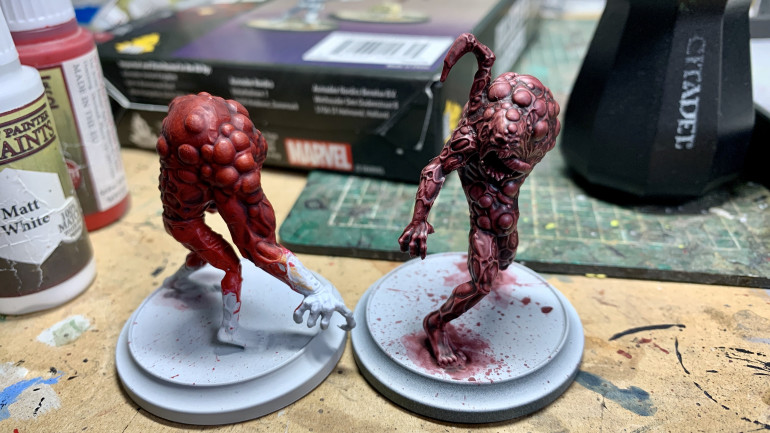 First up the ink only was too stark and I couldn’t get the orange to work. One technique I did like was a pure white drybrush on the lighter areas over a red base. This meant I could then drybrush over with an orange and get that subtle colour I was looking for. Also it held up after it had had a red tone applied so that’s the way I’m going!
Hopefully you can see the orange over red. It’s subtle but at least I know it’s there!!!
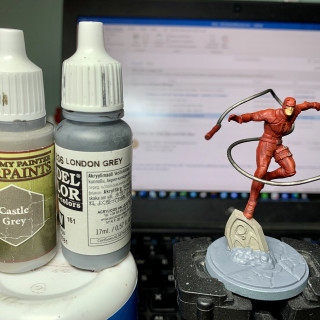
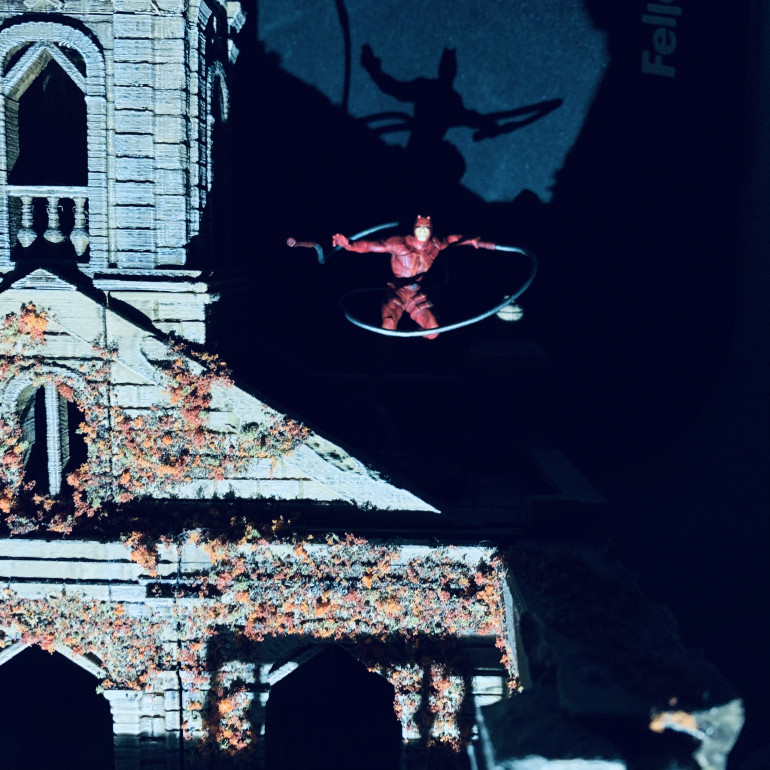
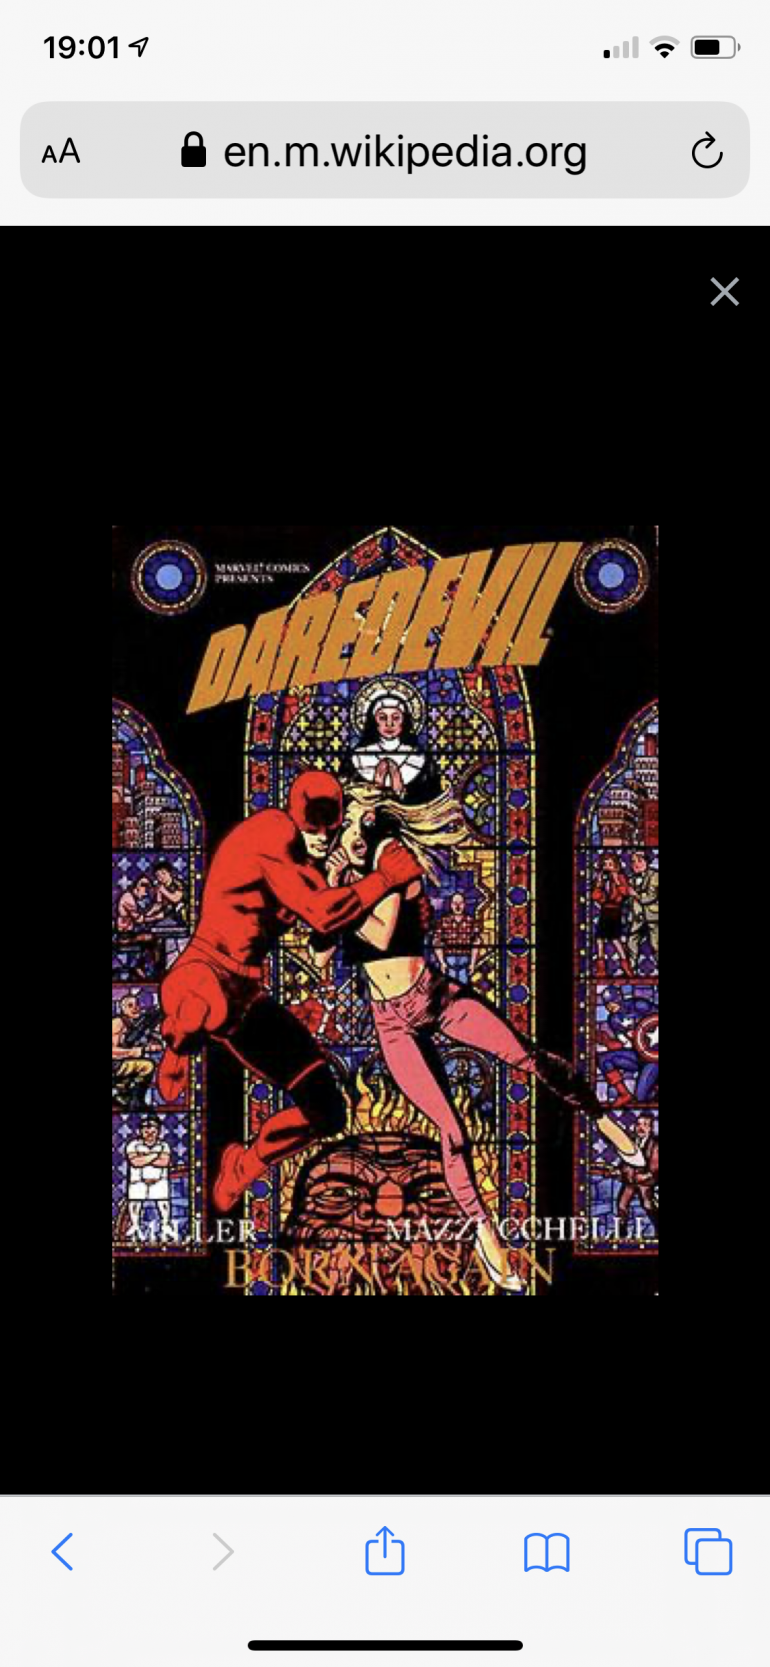 Now the box art has the stone he is posed on as a solid chunk of masonry. All fine but I love this cover art for born again and thought it would be nice to add in some stained glass. Again, sure no one will notice but it’ll make me happy!
And with that, he’s done. Really happy with how he turned out. Would like to have made the DD logo on his chest ‘pop’ a bit more but it’s a really fine detail and I’m worried if I go further I’m going to mess it up. Also wondering if I should have replace the wire on his billy clubs with actual wire to make it stronger. It’ll do for now, I guess I’ll get round to it when I actually break it!
'I'm just a man with a dream'
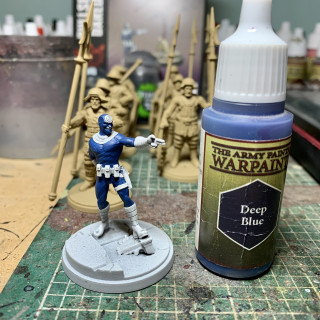
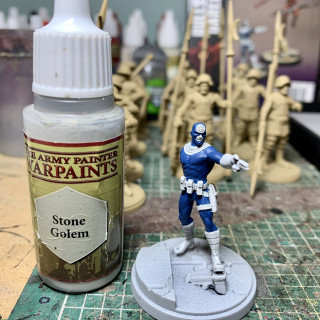
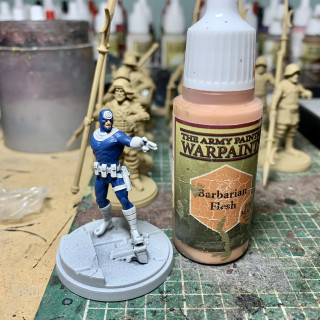
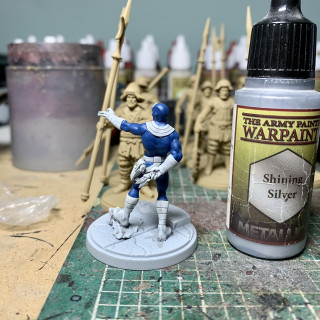
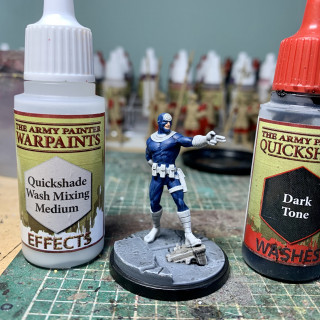
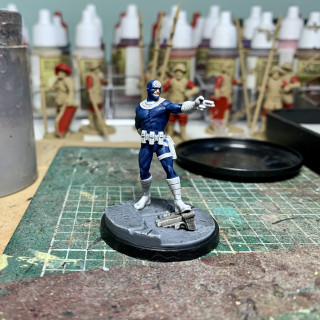
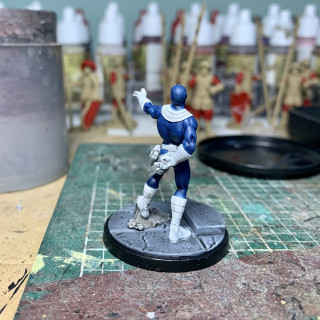
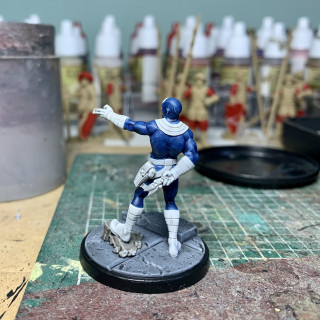
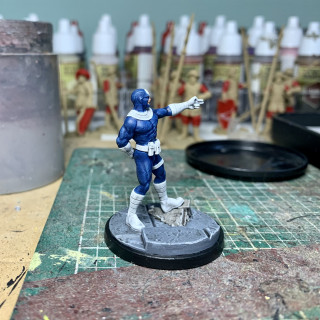
In an exciting development a parcel arrived containing Kingpin, Daredevil and Bullseye.
Now, since my comic heyday in the 90’s Daredevil has always been my absoloute favourite Marvel hero. He is such an interesting and tragic character that i couldnt help but root for him. It was always just as things seemed to be getting a little better for him everything would then go catasrophically wrong and ususally Wilson Fisk was somewhere behind it all!
So, desperate as i am to paint him i know from past mistakes its always better to take a step back on these projects as diving in too quickly always leads to mistakes. This isnt such an issue if its a generic model but when its something you really want to treasure it can quickly spiral out of control.
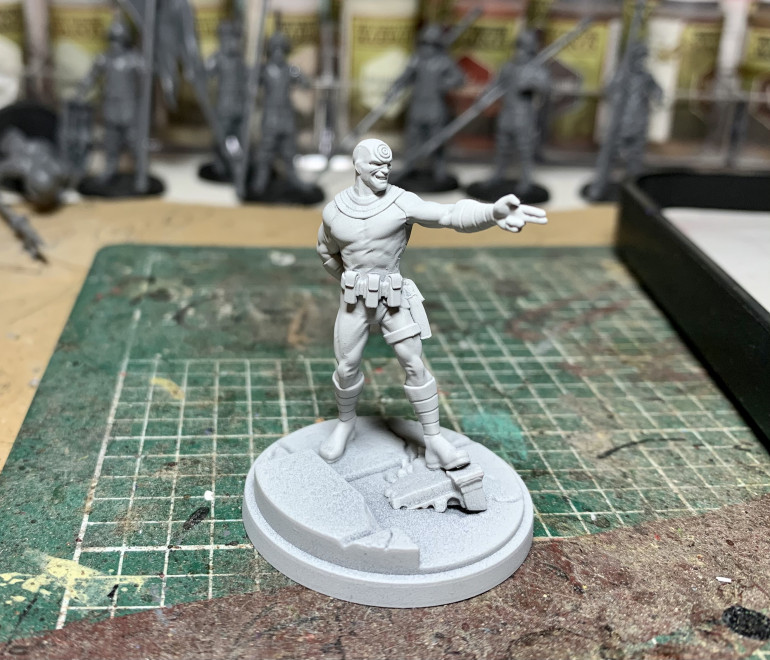
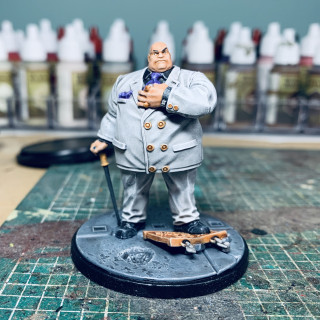
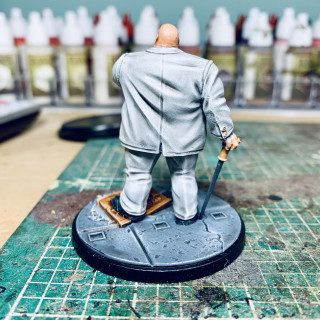
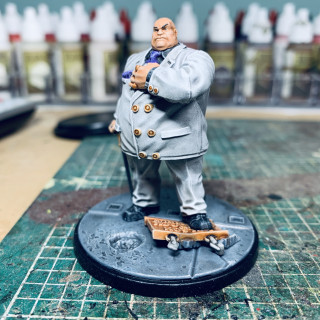
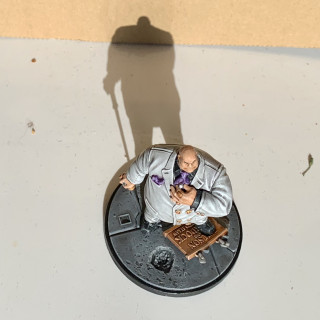
So putting Daredevil aside for now i decided to to have a go at Kingpin. Dont get me wrong, i love this character as well but i am absoloutely terrified of painting white! I have been avoiding it since my illfated Deathwing attempt back in the 90’s!
I knew from the start my standard speed painting formula of block colouring / brainmatter beige drybrush followed up with inks and tones wouldnt work. Ive tried before and white always get to discoloured or the transition from white to shade always looks weird.
I also decided that this might be easier to tackle unassembled. I dont want to have to paint the hands etc over white. My eyes arent as good as they used to be and i struggle with fine details, constantly trying to touch up white is something i wanted to avoid.
So with the model clipped out i masked off the contact points and set to with a tin of Grey Seer and a test model!
Now remember earlier when i was preaching about taking your time and not rushing…….
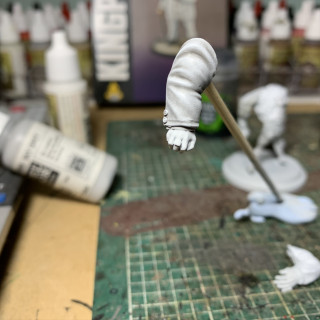
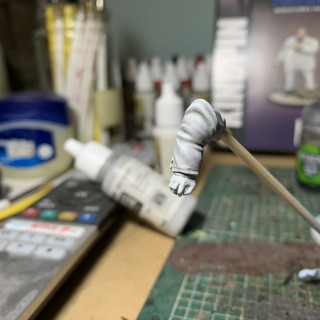
Should have really taken my own advice as after i had primed i immediately realised a problem. His left arm comes in two pieces and you need to attach the shoulder section to the body before you attach the forearm. It quite clearly shows this in the instructions but being too keen i completely missed this little detail.
So in an attempt not to panic i have already started to panic and at it was at this point all attempts at creating a stuctured project went out the window!
I managed to hack off the majority of the connecting tab and save the arm but it highlighted the fact that i needed to focus.
On the test model i tried some various techniques involving painting up highlights and thinned down dark tone in recesses, even my old faithful Stone Golem wasnt working. The only bit that actually looked okay was where some of the dilluted wash had ran down the leg of the model.
Over the grey seer it blended really well and i wondered if a white drybrush would be enough to bring it back from pure grey.
I took an arm and gave it a shot, the wash (3-1 medium to dark tone) went down well. I then gave it a few goings over with a white drybrush and the results werent horrible!
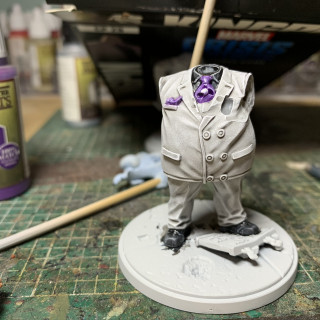
So taking the plunge i decided this was going to be the route i was going to take and set about the other arm and main body. At this point the head was still seperate so i detailed the shirt/shoes (Black) and the tie/kerchief (Alien Purple)
I then painted the hands/head whilst still seperate (Barbarian Flesh)
When i drybryshed the white on the suit i let the black an purple pick up the drybrush as these can be toned back with black and purple washes
A this point i did notice an irratating mould line on the arms that i hadnt seen before the washes. I toyed with the idea of trying to fix them but i was worried about causing more issues. I decided it wasnt worth chasing as i still had to get him assembled without messing up what was already there. I then gave the hands and head a brainmatter beige drybrush (just for Gerry 😉 )and after painting in the eyes i gave them a 1-1 wash medium and Soft Tone wash.
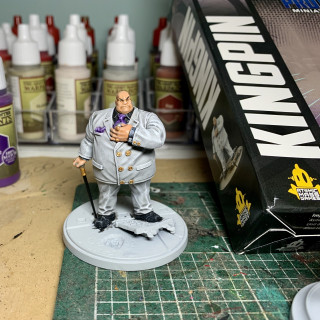
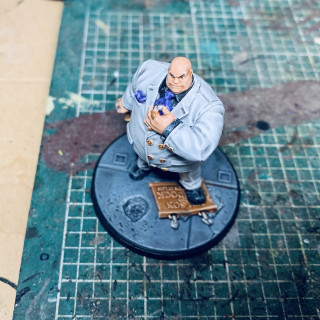
Finally i painted the base with London Grey and Shining Gold on the signage. Then a Brainmatter Beige on the base followed with a 1-1 wash medium and dark tone wash and flesh wash on the gold.
Tidied up the rim with black and then a matt coat to finish.
All in all not perfect but considering how much i could have ballsed it up i’m happy to leave him there. Now just need to work out what im going to do with Daredevil………
"I am inevitable"
Whilst i am excited to get started on Thanos i want to give a little more attention to this model than i normally do.
Anyone who has followed any of my previous projects will know that i prefer a speed syle over finesse which is fine for me normally but for a character of Thanos’s station, who i hope will be a real centrepiece i want to try to put in a little extra effort.
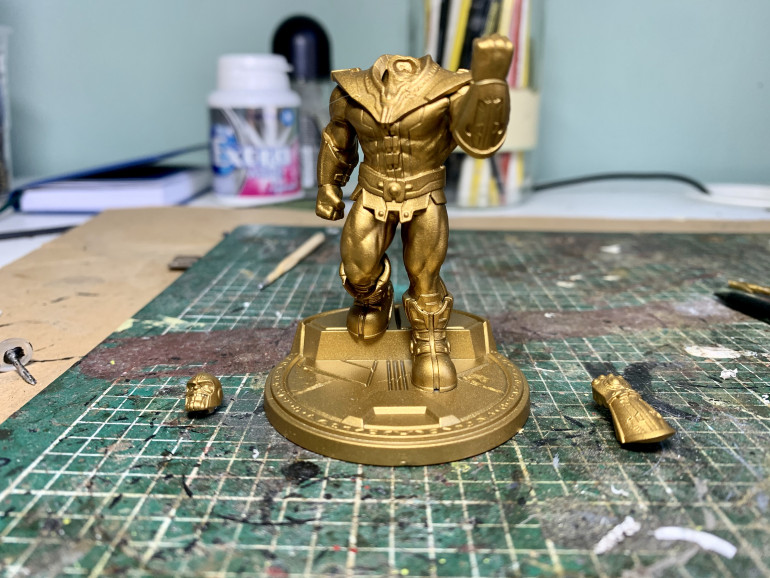
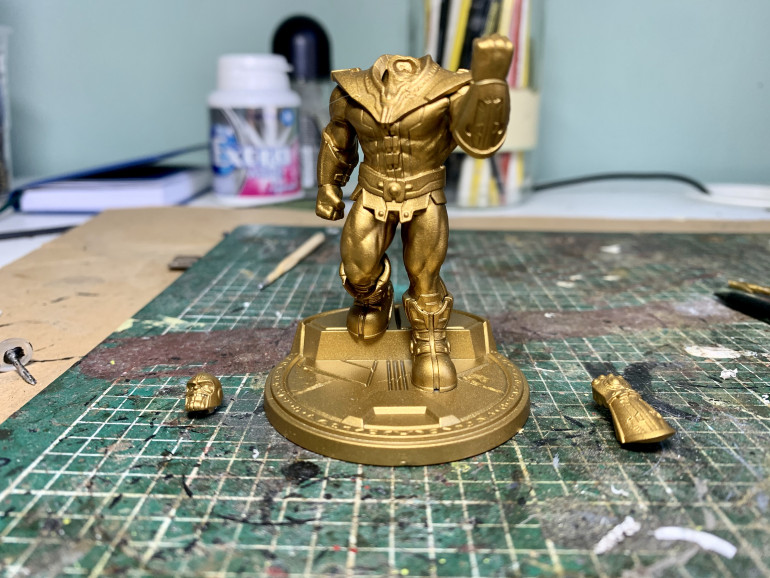
Also i want to be able to use him both with and without the Infinity Gauntlet so i magnetised the arm and both hand options.
Now, even though the colour scheme is a quite simple (Blue and Gold) i think my usual block and drybrysh may be a little rough as the dry brush could end up looking to obvious on the large, flatter areas.
Also im not a fan of painting gold over large areas as it can end up looking quite rough which doesnt reslly fit the character.
Thankfully due to a mix up buying some primers a while ago i do have a can of Retributor Armour laying about and due to a Covid enforeced lack of primers in the house i was forced to use it on a Reichbuster model and actually it gives a reall good finish. So, with that in mind i decided to prime with that and work out the blue.
This brings me to my test model. Ive dug out a WWX Hex Beast as its predominantly a clothless model which has a lot of surface i can practice colour schemes on, i shall name him Dave.
So i primed Dave up and got to testing.
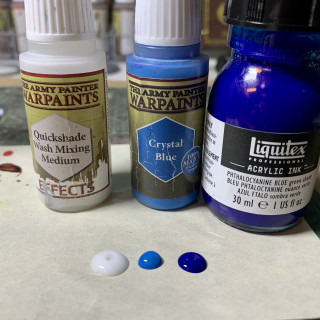
So after various blues, drybrushes and inkwashes i decided on a Crystal blue base with a Voidshield Blue dtybrush then a brainmatter biege drybrush followed by two coats of a 50/50 blue tone / medium mix.
Also i did a little test for the purple skin using a purple tone over stone golem and was very pleased with the result so have decided to go with that too. Thanks Dave!
Finally the Gauntlet!
And he is done, really pleased with how he turned out. Its all down to Dave!!
“I’ve Got Red In My Ledger. I’d Like To Wipe It Out.”
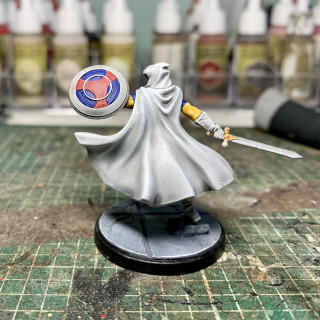
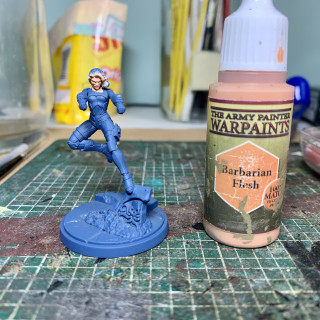
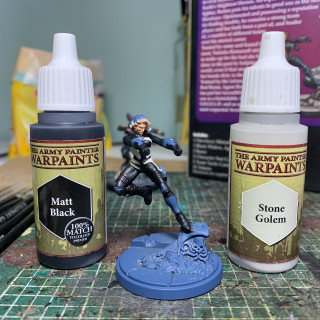
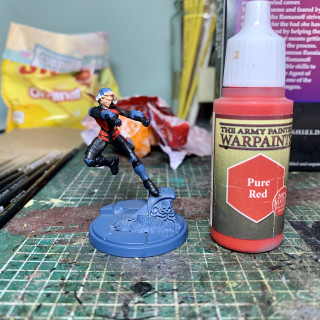
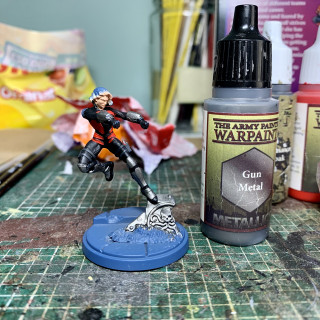
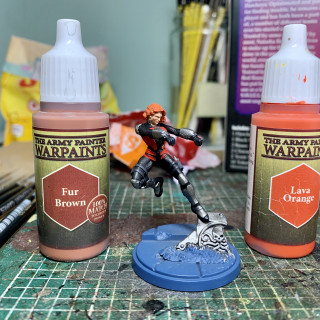
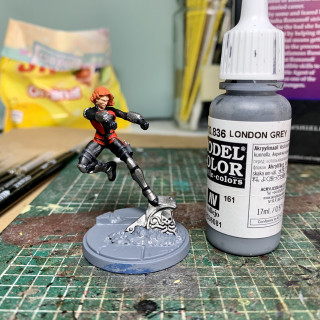
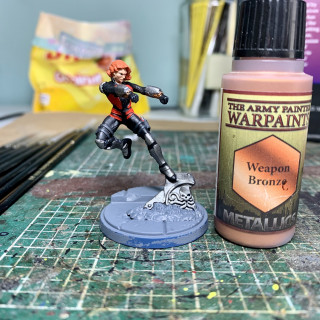
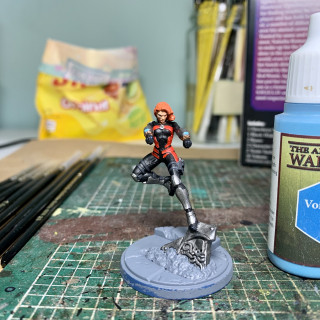
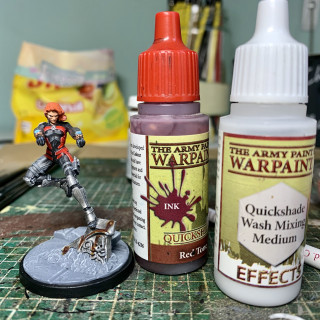
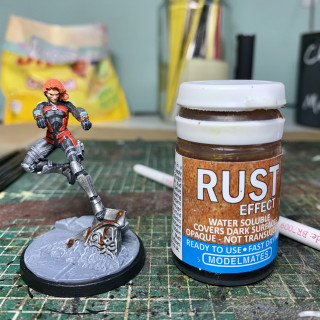
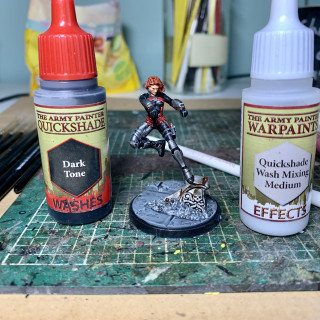
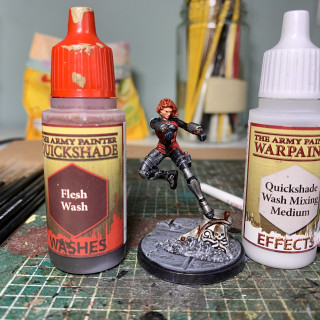
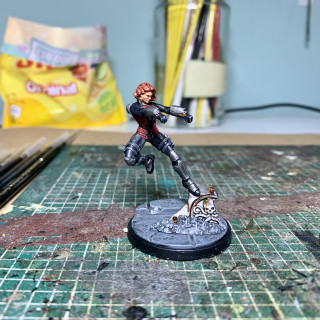
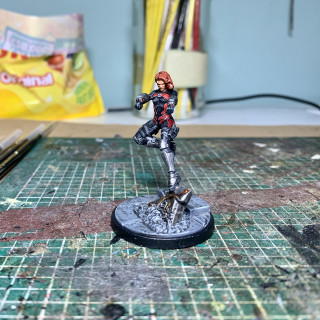
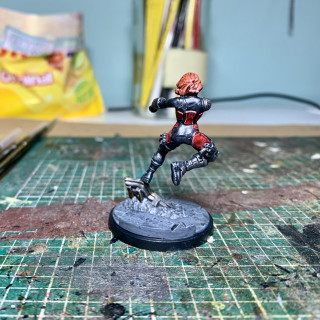
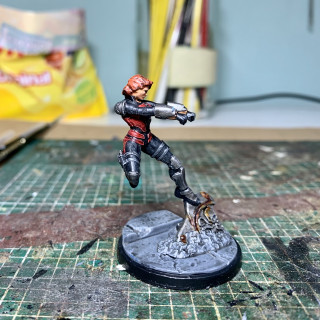
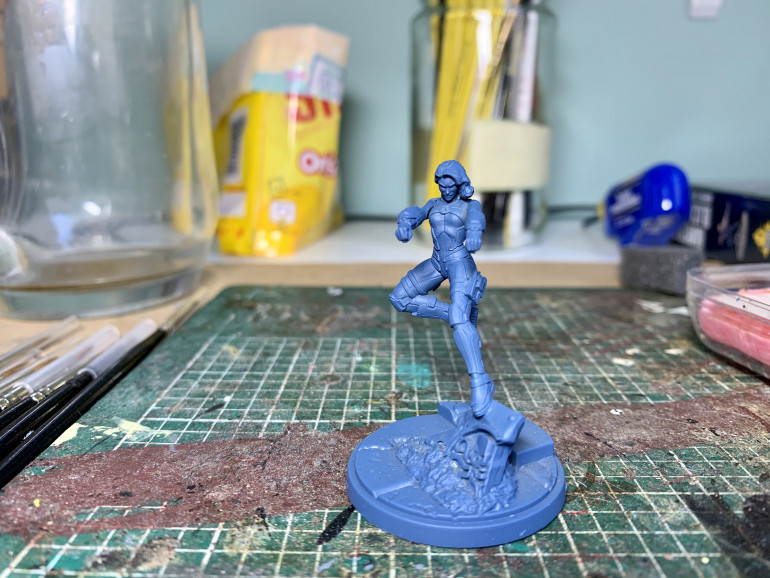 Model number 36 and I’m painting models I’ve done before but she looks cool so it’s fine. It’s the Shield version of Black Widow!
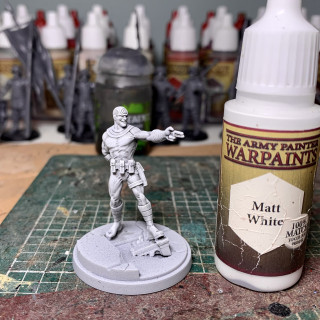
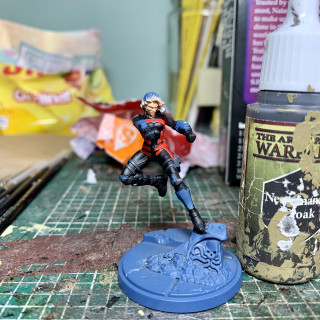
There was a drybrush step in the previous photos that was missed, no surprises as to what it was!!
Matt coat and done!
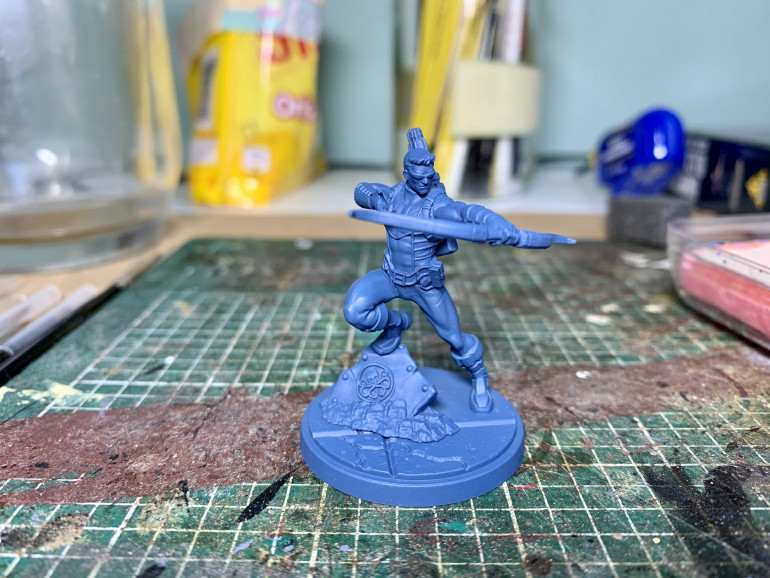
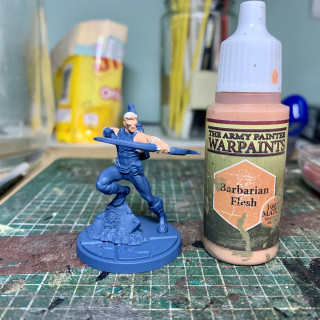
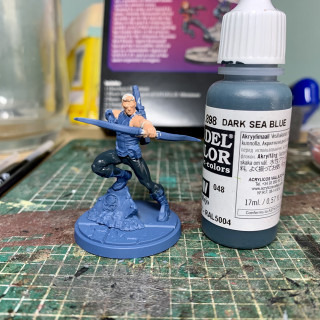
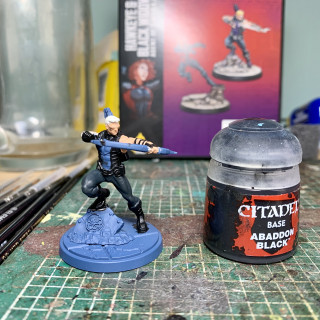
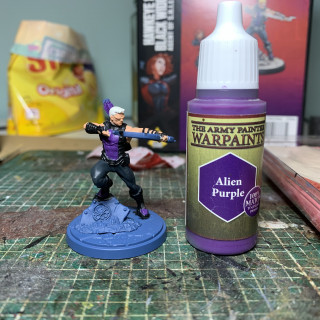
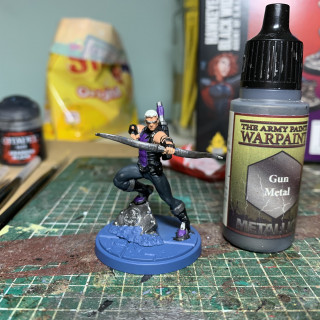
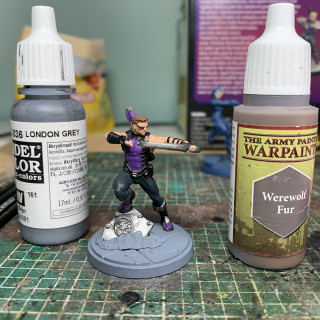
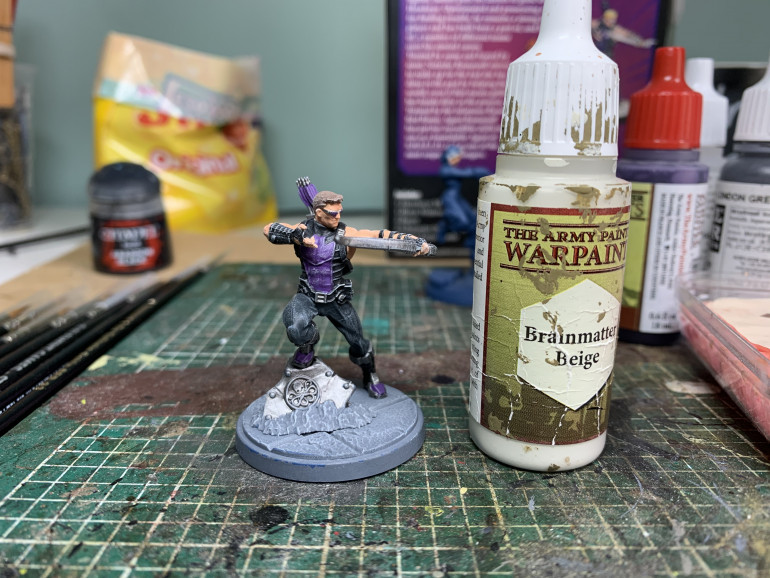
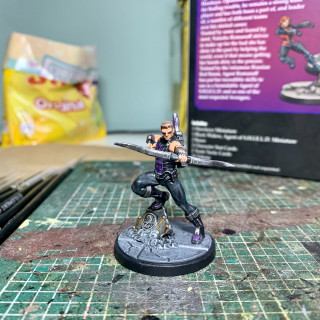
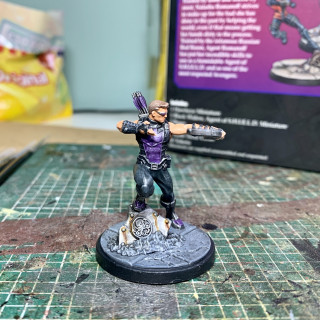
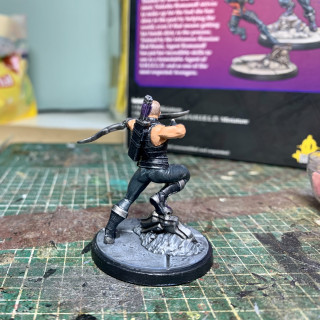
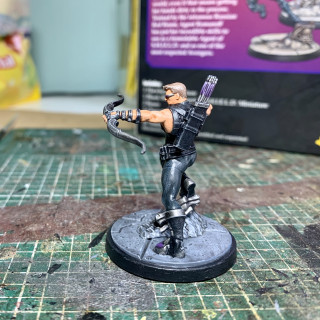
"The city is flying, we're fighting an army of robots, and I have a bow and arrow.“
Matt coat and done!
"Nothing goes over my head. My reflexes are too fast. I would catch it“
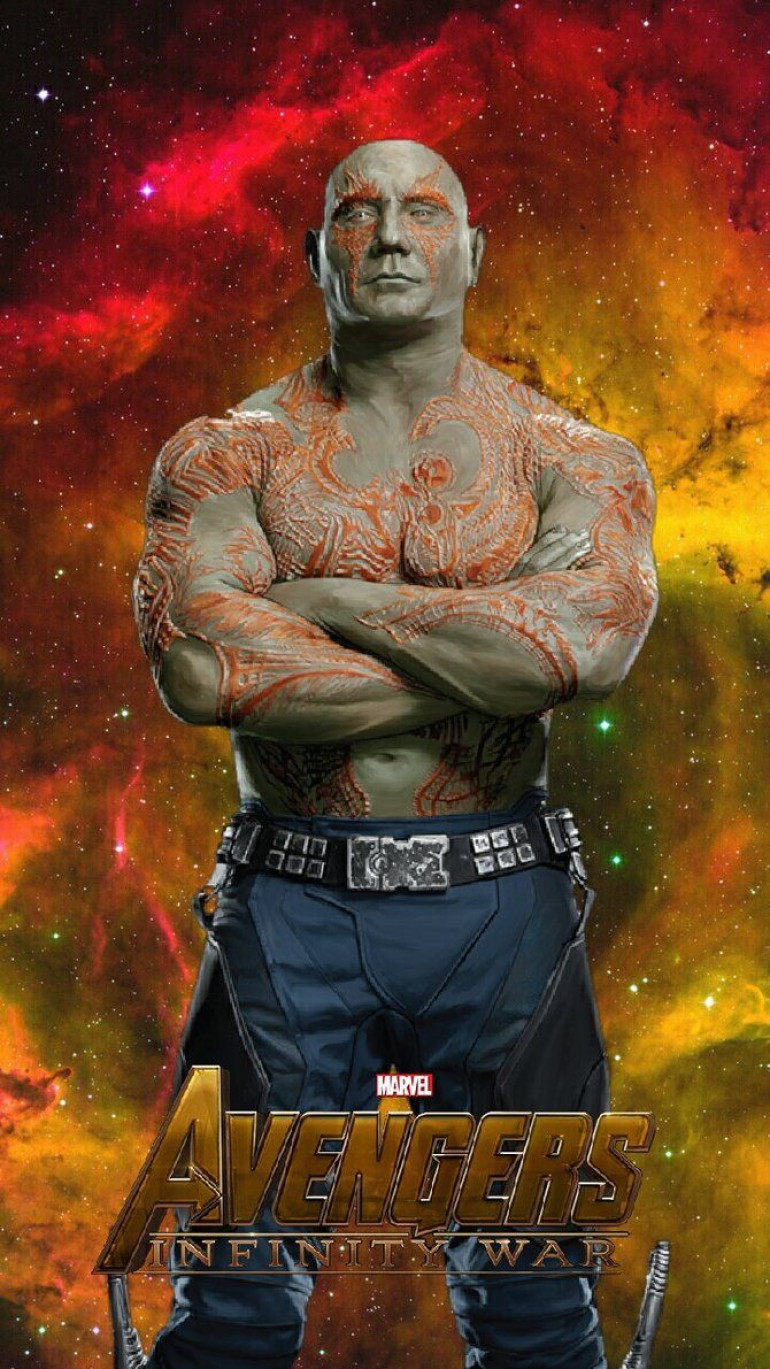 As much as I like the green style of the box art I have to go down the movie route as he is such an amazing character!
Tidy of the base and a Matt coat and he’s ready to join the team. FYI forgot to take a picture of the final wash which was a 50/50 dark tone / medium mix


