Ork Expansion
What a F*$%#n' Mess!
After my last post I was thinking about what to do next. I realised that my original intention was to add something cool to my army and that the Grots were intended as a big of a filler to work on when I had a few moments to spare. I needed to crack on with the Stompa otherwise this project was simply going to turn into painting a load of Grots which, on its own, isn’ that interesting.
With that in mind, I devoted a few hours to the Stompa.
Normally, I don’t like to share any evidence of work in progress with anyone, not even close friends. Usually there’s the moment of grand reveal, ta-tah! Finished mini(s)! That’s probably why I’ve never documented a project in this way before. We all recognise that there’s the really, really ugly stage(s) that minis go through before things come togather. This is the first of those stages.
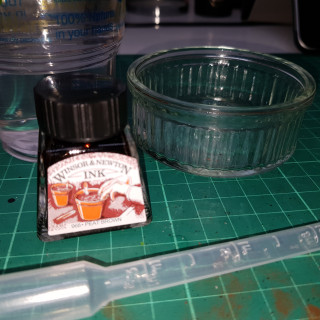
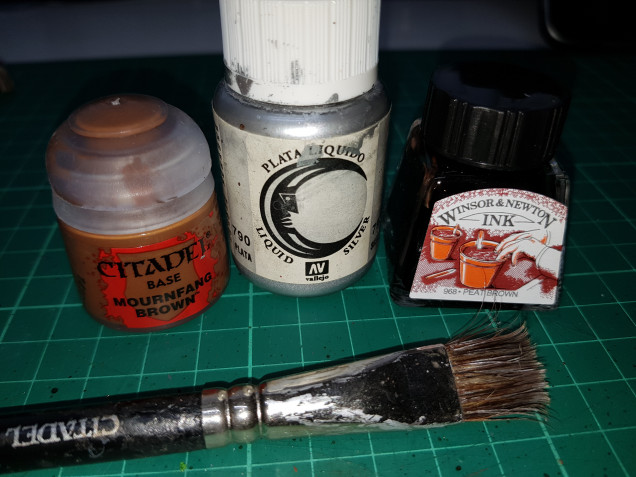 As has become tradition; here's what I used. As it happens, one of these proved to be less useful...
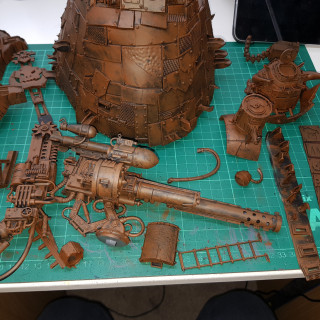
First of all, I smashed a load of Mournfang Brown over everything using a big, old drybrush. This was a very similar process to that adopted for the Grots. More of an overbrush, incredibly rough.
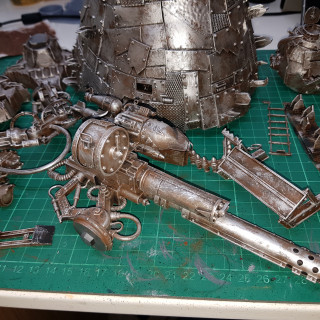
Next, I did a similar thing with some silver. This was Vallejo Liquid Silver which I find works well for this technique/process. This isn’t a silver I’d use for a lot of purposes as it’s really, really shiny and gives good coverage but for this it’s great. This is an acrylic but, I believe, the solvent is alcohol. I find that it’s easy to wipe on to a paper towel to give you that drybrush setup and the fact that it dries quickly and seems to go a long way means that I can cover a lot of mini in a relatively quick time. I gave a lighter coverage than I did for the brown, alternated coverage and approach for different areas and used both a drybrushing and a stippling/general smooshing technique.
After this, it all went a bit downhill…
As I’ve noted a few times, I’m trying to replicate techniques I’ve used previously. I recall on my Ork Trukks that at this point I added a layer of the old Citadel Brown Ink. I have some of this left but not enough so decided that the Windsor & Newton Peat Brown Ink would likely be an able replacement.
My hazy memory thought that I diluted this and used it as a wash. I tried 2 parts water to 1 part ink. Too dilute. I upped this to a 1:1 ratio. Still too dilute but what the hell, I’m going for it.
The purpose of the ink, rather than a normal wash, was to stain the silver and tone it down somewhat.
The dilute ink didn’t really have the desired effect, in fact:
- It pretty much ran straight off the pieces;
- It made a right mess of my desk;
- It took a lot of clean up;
- It stained my fingers; and
- The only noticable effect on the actual parts seems to be a few areas of a reddish staining.
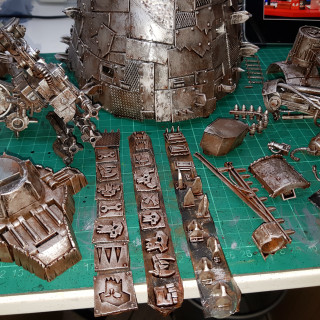
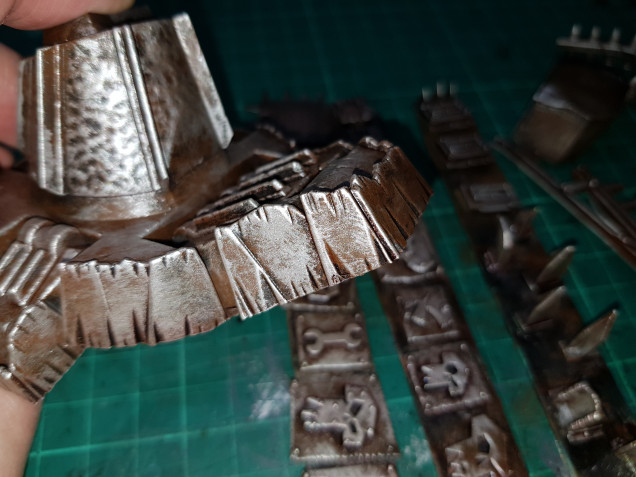
I’ve included pictures in the gallery below of before and after the ink stage and you can see the lack of noticable effect.
Thinking back, I’ve realised that the approach I used previously was to apply the ink neat, realise it was far too dark and then use a wet brush to remove it from certain areas.
If/when I paint more Ork vehicles in the future I’ll likely skip the ink stage completely and see if the final result is similar.
Ultimately, this gives a good metallic base to work from for the rest of the mini. Whilst a good amount will get covered up in the upcoming stages, I find it easier to do the whole mini this way without too much thought or having to avoid certain areas.
Any areas that are accidentally missed will have a half decent metallic appearance whilst some areas can be intentionally left or made to look effective with little additional effort.




Leave a Reply