
Brisket Bust by Broken Toad: Lawnor's first ever bust (& a cheeky attempt at winning the Spring Cleaning comp)
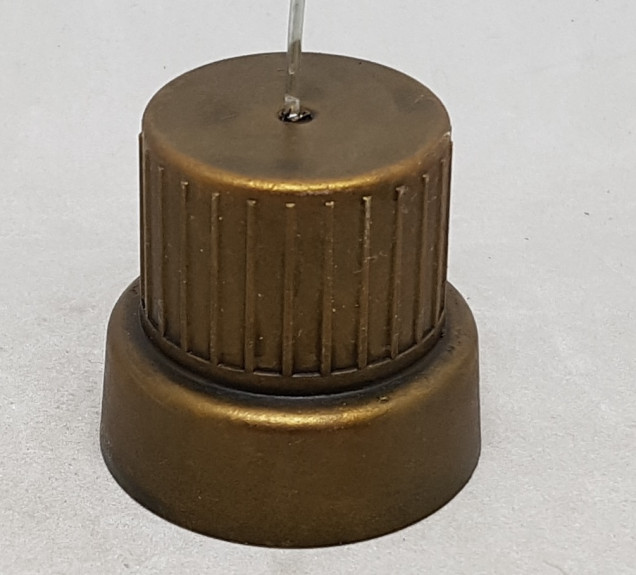
The Handsome Plinth
I’m no woodcrafter and I don’t want to spend £10 on a plinth when that money could go towards more plastic crack so I’m going to make my own plinth out of trash. This can take a few days of drying time so start this early on. Here’s how:
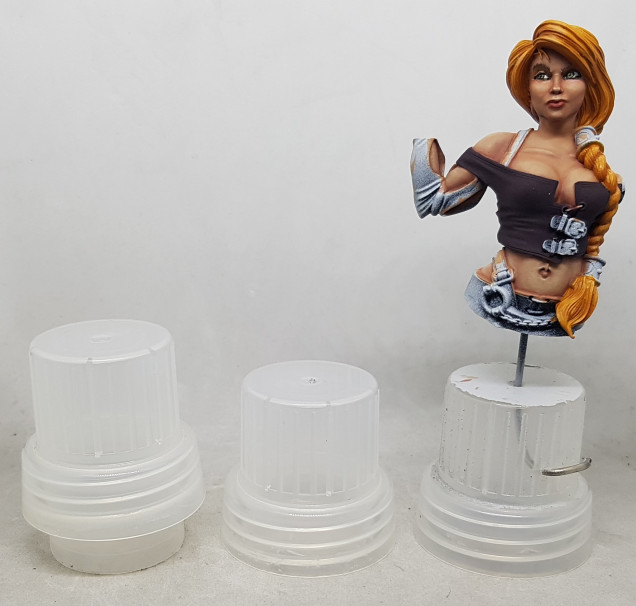 I start with the top from a bottle of washing liquid (Surf). Give it a thorough wash, then cut the inside part out. I use scissors to cut shark teeth in to it and then cut them out in chunks. It's easier than cutting around in one pass.
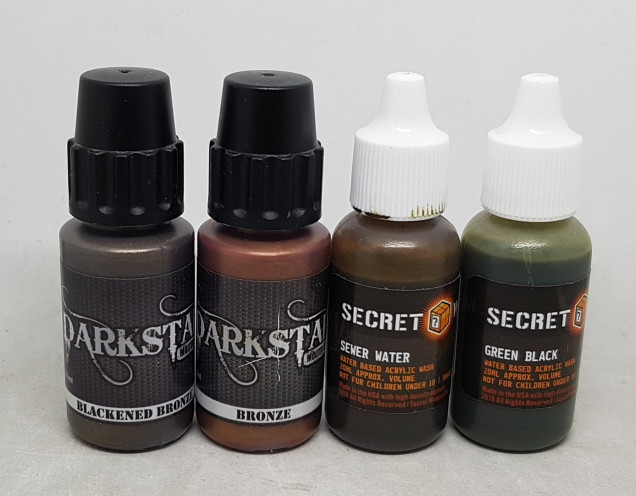
Brass recipe used:
Prime Black – The cap was transparent. To reinforce the black I also primed inside the cap as it wasn’t going on as solid as I’d expected.
Base coat Darkstar Blackened Bronze
Drybrush Darkstar Bronze
Wash 50/50 Water / Secret Weapon Sewer Water
Wash again anywhere you want darker (Along the insdie of the step)
Drybrush Darkstar Bronze
Targetted wash of Secret Weapon Green-BlackWash only in the recesses. Inside the step again, and inside the botton of each of the lines along the outside of the top part
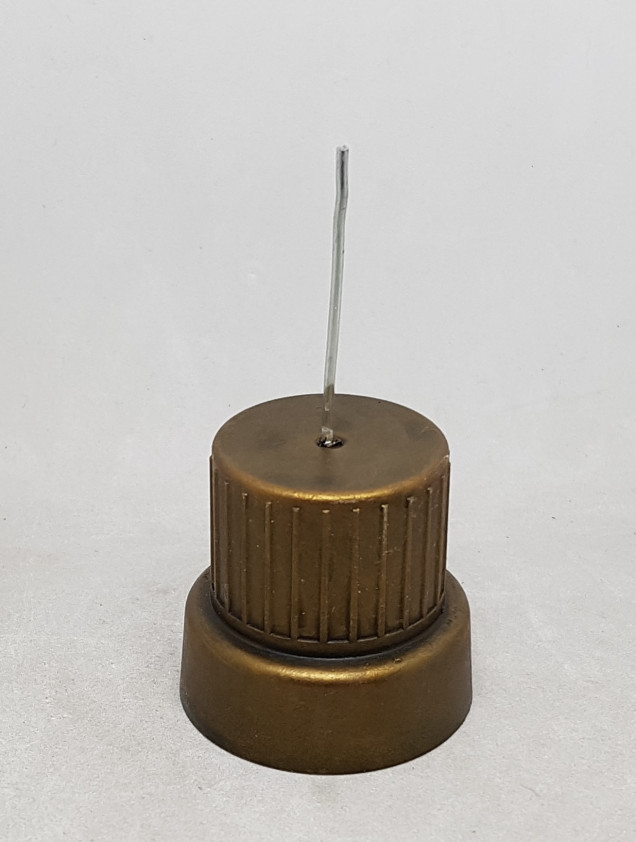
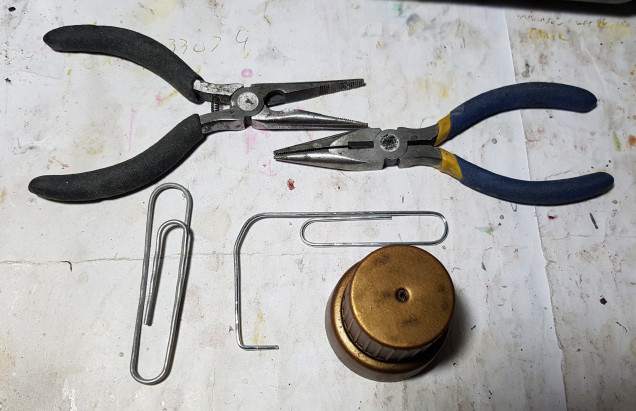 Once dry and ideally varnished, get a chonky paperclip and bend it in to an L shape like this using a couple of sets of pliers. The bottom of the L needs to be as big as it can be but still smaller than half the width of the top of the cap so it fits inside. Cut off the paperclip so it will be higher than you expect to need. You can always remove more, but you cannot add more. Drill a hole in the centre of the top of the cap and feed the paperclip through from underneath
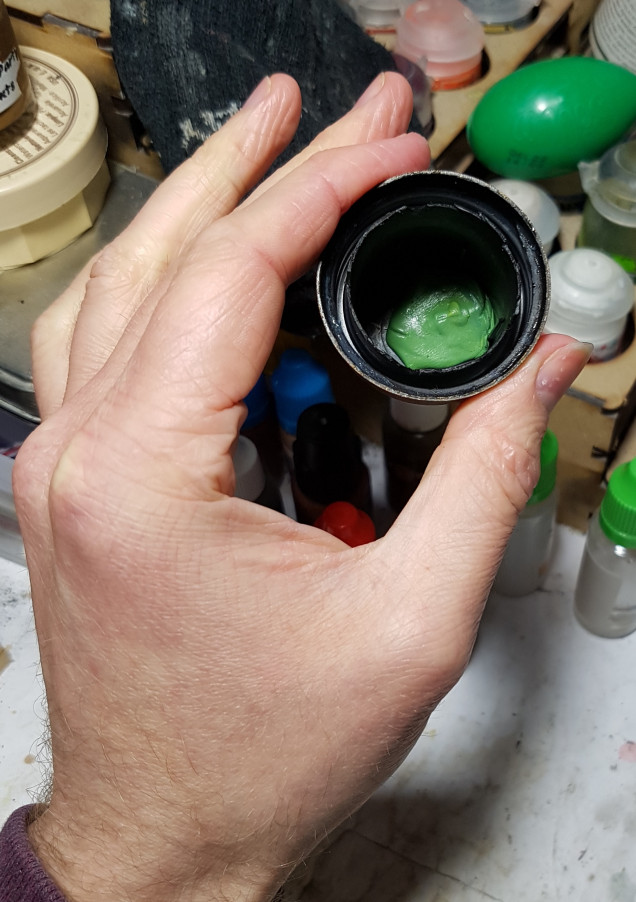 Mix up two lumps of green stuff. You want a little between the paperclip and the cap, and the bigger piece over all of the paperclip. This serves two purposes. To hold it in place and to block the hole so it is waterproof, to avoid leakage later. You could always leave it here.
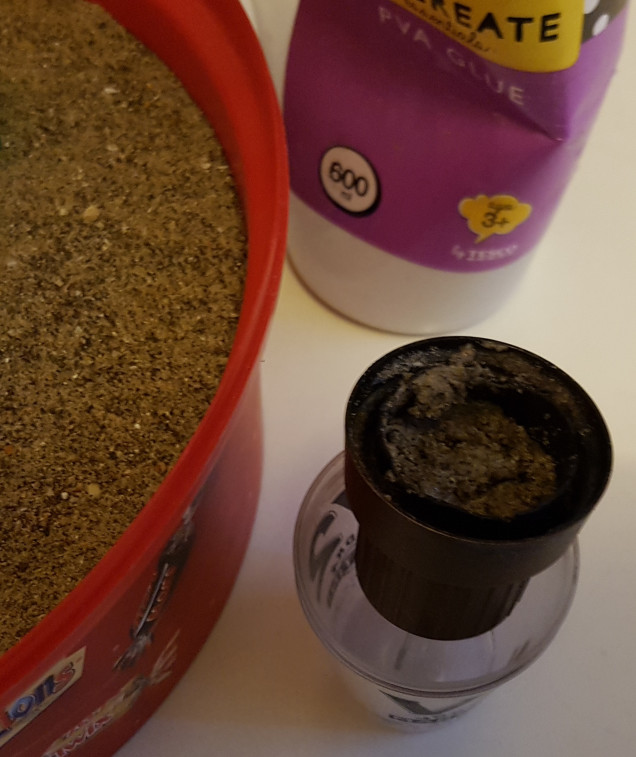 If you want to add extra strength so the paperclip doesn't come loose or you want to lower the centre of gravity so it is more stable once the bust is attached then mix up some water, pva, and glue inside the cap to make something akin to cement. Be careful not to get anything on the outside of the cap, and be careful if you clean anything off as sand is abrasive and can remove paint. Leave 24+ hours to dry. Mix up some water and PVA so it is watery and pour it on top so it soaks through the sand. Do not add so much that it pools. It will take forever to dry, and PVA contracts as it dries and will pull in the walls with it, warping them. This could take a few days to dry, but onces it is, it's ready for varnishing and use.




Leave a Reply