
15mm Italian Chapel - Spring Clean Challenge
Weathering the Chapel
With the walls finished, it’s time to start weathering the chapel and the roof.
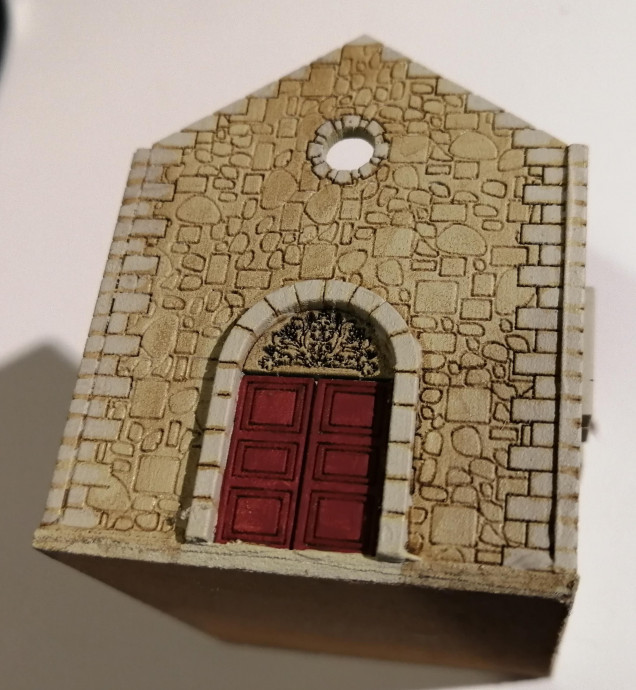
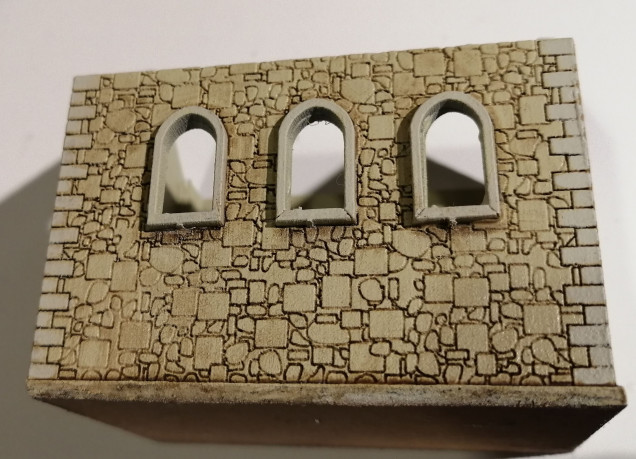
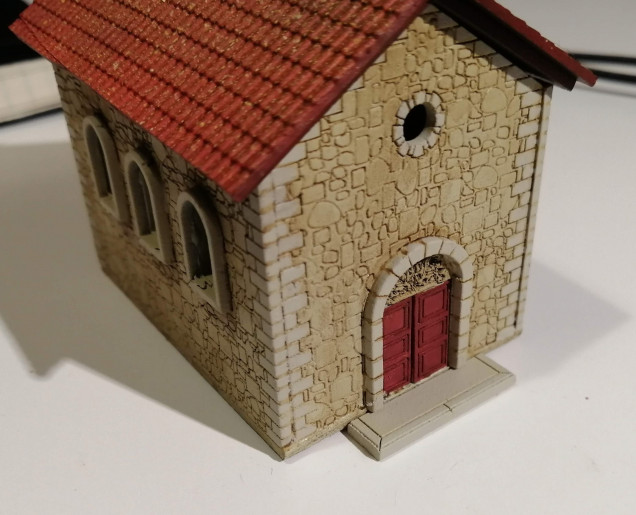
For the chapel, I’ve used some strong tone from Army Painter but I’ve watered it down at least 2:1 water to strong tone. It may even have been 3:1. I’ve then liberally applied this over the chapel. However, rather than let it dry, I’ve then wiped the wash off using a paper towel. I’ve done this lightly and only where the paper towel could reach. In this way, I remove most of the wash lying on the upper surface but leave most of the wash in the cracks. I’ve also wiped down the building (roof to floor) so it also creates slight streaks.
Once dry, I’ve picked out the corner stones and window stones using silver grey, just to give them a little definition.
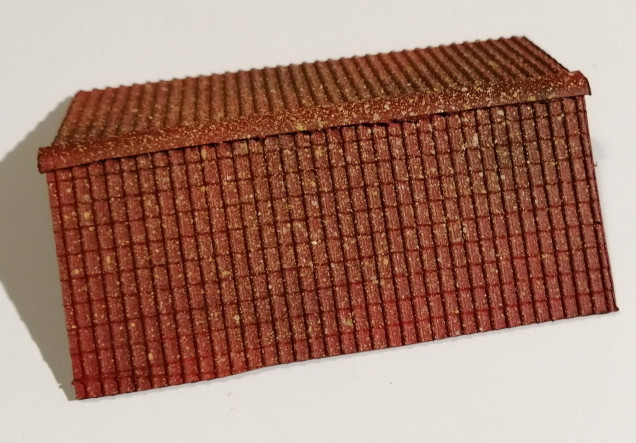
Looking at some reference pictures, I see that an ochre moss grows in patches on some roofs. To try to emulate this, I’ve used my ochre pigments mixed with some pigment fixer. Using a toothbrush, I’ve gently flicked this over the roof. Once dry, I used an off white pigment and very lightly flicked this over the top. Finally, I gave the roof a matt varnish and drew the brush down the tiles in the same direction that the water would run. The varnish has the effect of lifting some of the pigment and ‘smearing’ it a little, which softens the effect
Below you can see the effects of the weathering. I also found a windowsill from a larger mdf set that was left over which makes an excellent entrance step 🙂




Leave a Reply