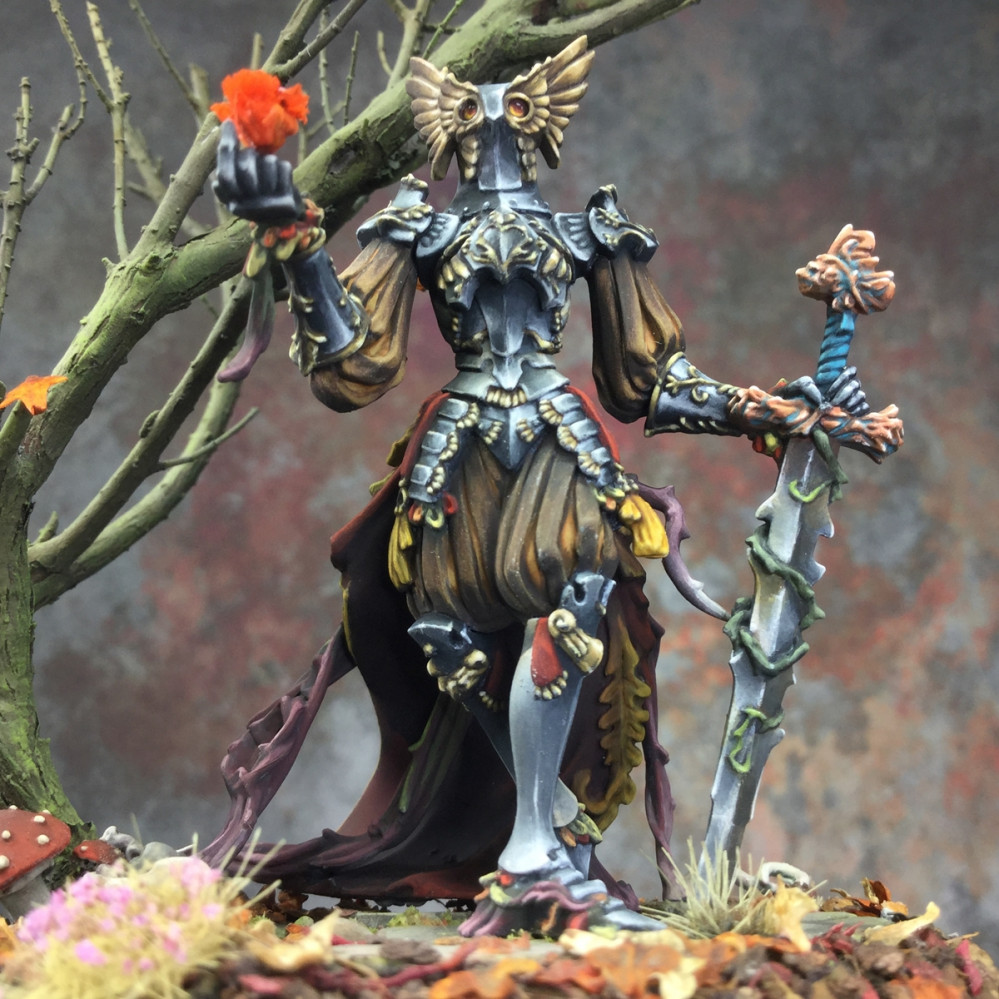
Kingdom Death:Monster - What have I gotten myself into??!!!
The Flower Knight Returns - Building a Base Pt 2
Gooooooooood morning Beasts and happy….. Tuesday, aye, Tuesday…… or so the computer tells me!
And on with Part 2.
With the main core build down, made of paperclips, plasticard, air dry clay and epoxy putty – it’s time to start refining and texturing our build.
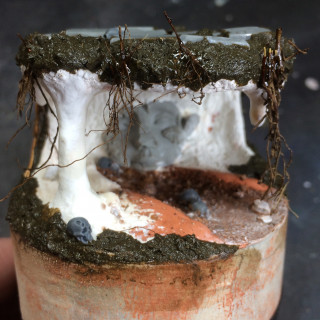
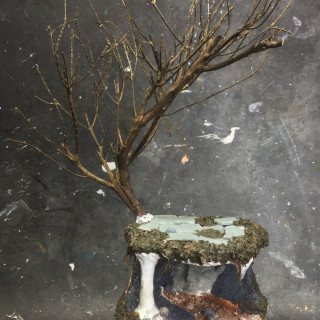
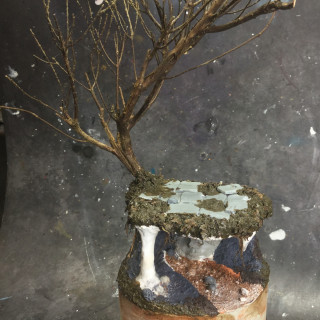
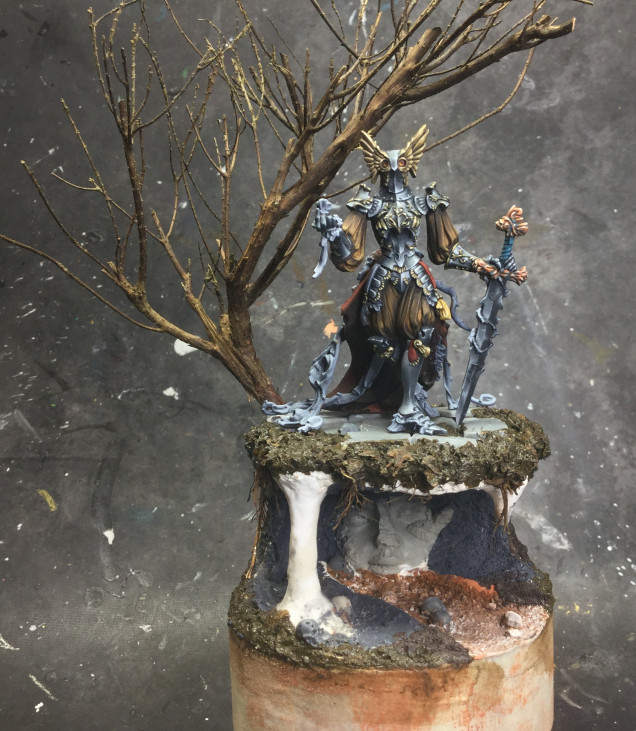
So we have a wee cave, cave stream, an overhang platform and some stalligtites that all need their own texturing.
I want an over earthen texture to start with so time to head out into the garden and get some stuffs!
First thing is some mulch!! Well I call it mulch. basically small scale garden detritus! dirt, birch seeds, bits of root and the like. easy to find in an irish garden! I get a box of this stuff and then bake it on a baking tray for an hour. Anything you get out of your garden, woods, parks etc – bake that shit in an oven for an hour – this will a) dry it out nicely and b) kill off any bacteria, bugs, whatever.
For the initial texturing I used some of AK Interatives wet ground acrylic diorama texture paint. This stuff is awesome and comes in a dirty great big 250ml tub. Like GW texture paints except waaaaaaay more cost effective.
I add a few skulls for the GW skull box as well before texturing time.
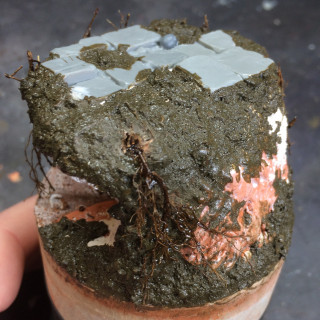
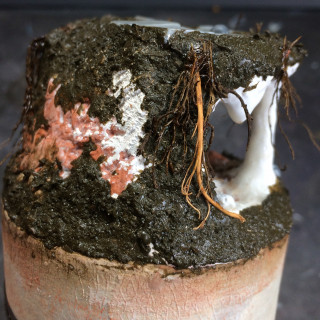
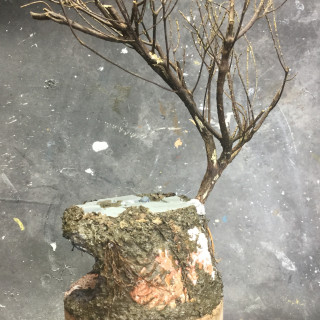
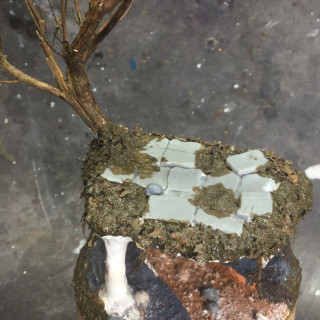
I mixed some of the mulch into the AK texture and applied that onto the base. First layer to get a base texture and then when that had dried – I drilled some holes in and glued in some roots, again from the garden and then added on some more of the mulch/texture paint to add further texture and bio mass. This second layer had a higher amount of the mulch in it so bits of the organics would be visible.
The cave stream got a thin layer of sand and grit (red canyon grit from Rival Crafts) and the roof of the cave a layer of GW astrogranite debris to give it a rough stoney texture.
Next up comes sealing. All this needs to be sealed in and down. Now a lot of folk will use thinned down PVA (white glue, Elmer;s glue whatever you want to call it) – DONT! PVA glue is a pain in the arse as even when dried it can reactivate with water which is a paint in the arse especially if you are planning to pour resin for a water feature.
So, instead of using PVA to thin down and use as a sealant, I use wood glue. very similar to PVA with the added bonus of NOT reactivating later on.
I use the wood glue neat and thick on the cave column and the stalligtites to smooth out the texture and give them that more smooth drippy texture they get from being built up of minerals dripping over a long time.
Thought I was all done but felt there was still something missing from the composition…………. need a tree!!!!
Back to the garden!!!
Heather. Heather bushes are bloody amazing and we have tonnes of the buggers in our garden. Look for the parts of the heather bushes that have died back. The scale, size and structure of heather bushes are perfect for making trees and there is no mucking about with wire aramtures, tapes, paper mache etc.
Once again, bake your new trees in a hot oven for an hour or so. The died back parts of the bush are already pretty dried out and seasoned but the oven will finsih that and kill any wee filthy feckers that might be living on it.
I drilled an inch hole up into the ‘truck’ of the tree and another inch hole down into the base. Heavy gauge paperclip to pin the tree to the base and then Gorilla Superglue gel + baking soda to cememt the tree down.
Once the ‘cement’ is dry, another layer of AK Interactive wet grounds and then with the wet brush I picked up some more mulch and pushed it into the wet texture paint to make a base of the tree look more natural and growing out of the base.
That is essentially now the build for the base complete. There will be more scenic elements still to be attached but they will come after the painting phase – mushrooms from spellcrow, UV resin from greenstuff world and moss from woodland scenics and so on.
So, with the base built its time to prime and thankfully (and finally ) my Stynylrez black primer arrived in the post this morning 😀




Leave a Reply