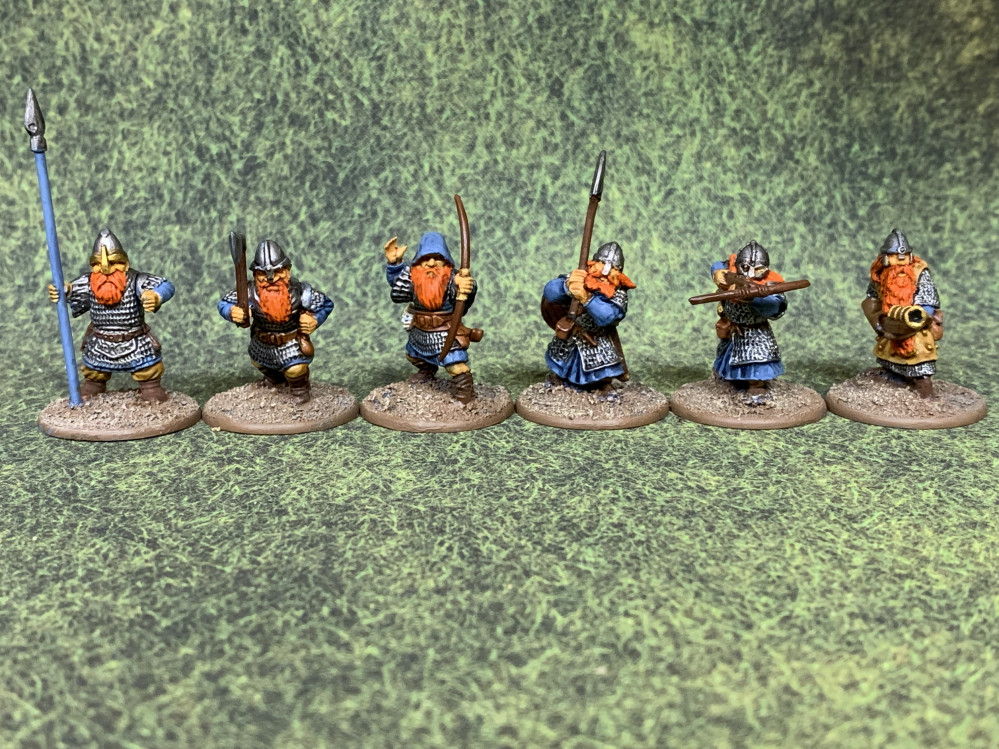
Blipvertus multigame Dwarf army
Shields Pt 3
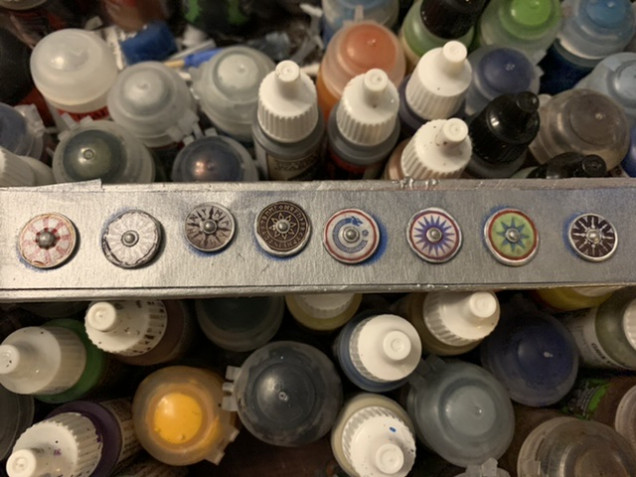
 I trimmed the transfers, peeled off the plastic covering and then applied them sticky side down. I then firmly pressed them onto the shields. I then wet the transfers by sticking the whole assembly into a clean cup of water and then again pressing the backing paper firmly onto the shield. I then peeled off the paper and applied Micro Sol transfer solvent. After several applications of Micro Sol, I then found matching paint colors and carefully painted around any gaps between the transfers and the shields. I then scraped away the paint down to the bare plastic on the back of the shield and either the hand or forearm of the minis. This enabled a good surface to use Testors plastic cement to create a chemical weld. After the cement dried, I washed the back of shields with Seraphim Sepia and the rims and boss with Nuln Oil.


Leave a Reply