Kingdom Death:Monster - What have I gotten myself into??!!!
The Flower Knight Returns - Building a Base Pt 1
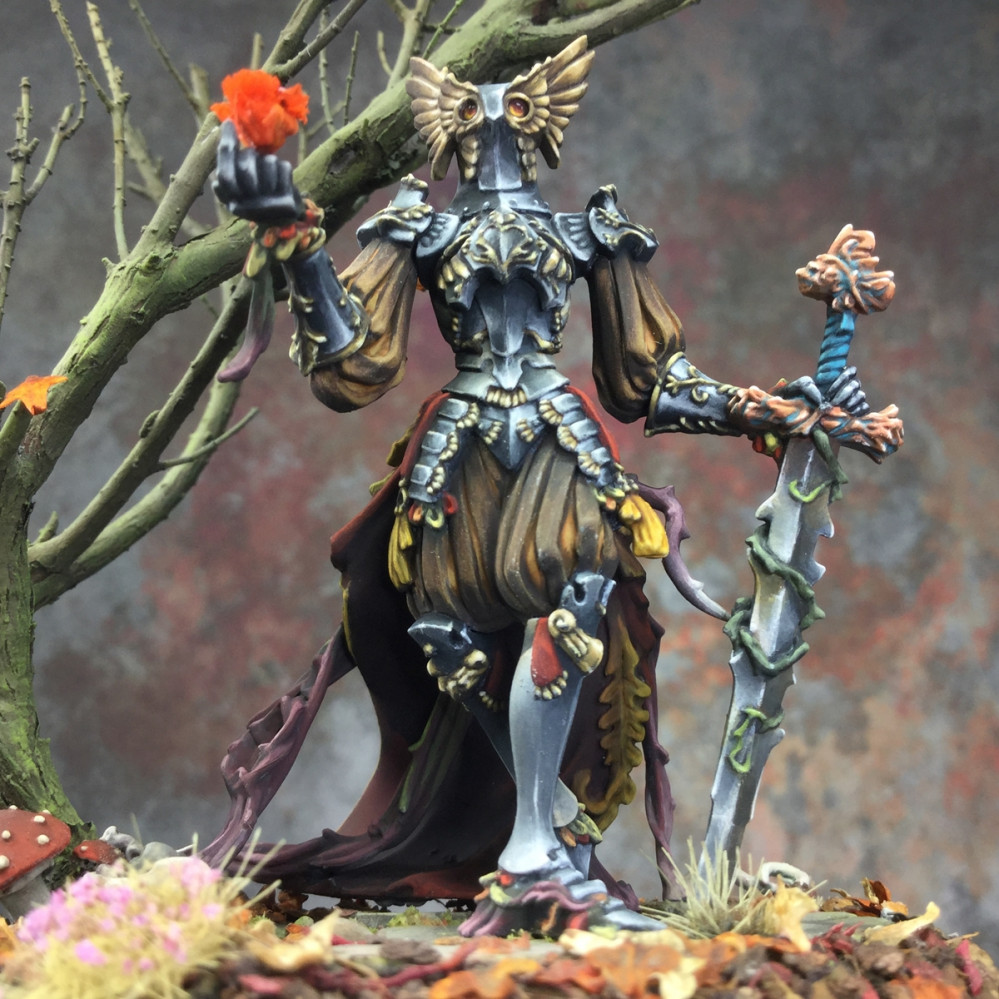
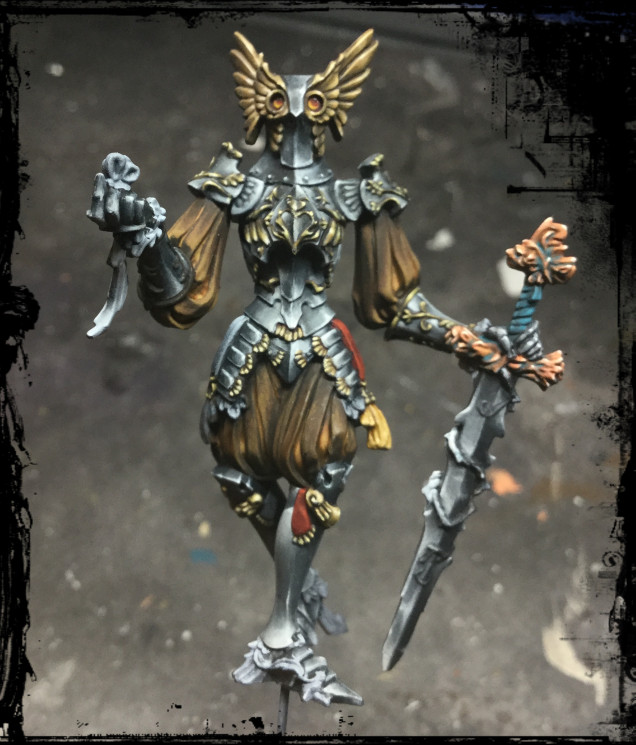
So the work on the Flower Knight commission continues and she’s coming along rather nicely buuuuuuut It’s about time to make a base for her. A big old smexy vignette scenic plinth base!! Due to the limitations of how many entries per post, this is gonna take a few posts but stick with me and I’ll walk you through how I build the base for The Flower Knight from KDM 🙂
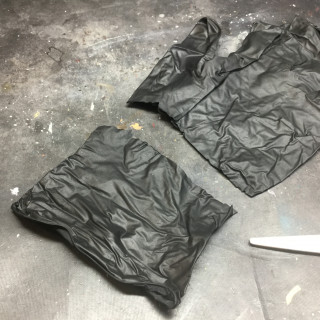
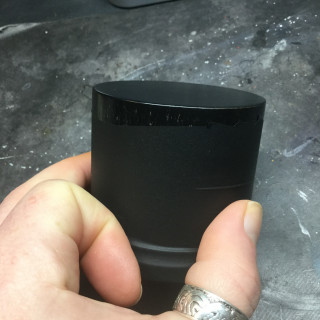
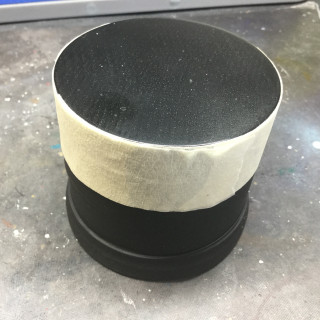
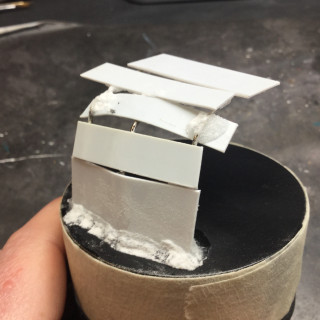
So first things first, let’s get the plinth ready. I chopped the arse….. ahem…. wrist part off of a nitrile medical glove and sleeved it up the shaft of a black lacquered wooden plinth I am using, then fixed it on with masking tape up to the top edge of the plinth. This protects the plinth while I’m working, building and later painting it and gives it a good grip to hold.
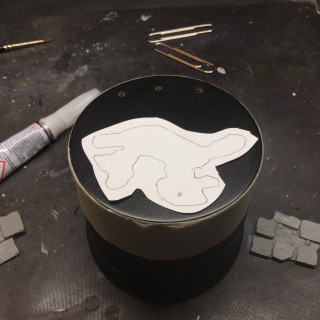
next I traced the ‘footprint’ of the model (that’s the odd little scrap of paper) so I could check easily as I built that the model would fit properly onto the scenic element I was planning to sculpt/build on top of the plinth.
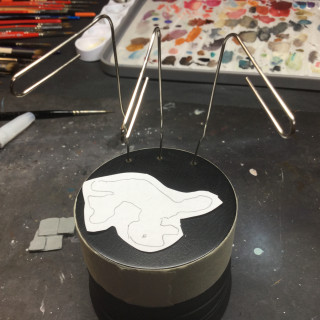
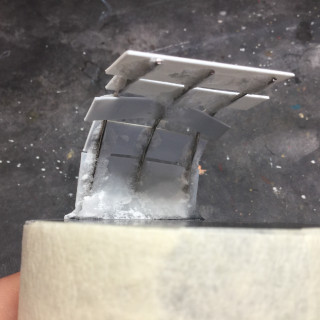
Then, I drilled three holes into the top of the plinth and fitted and glued three large paperclips into the holes as the start of the armature.
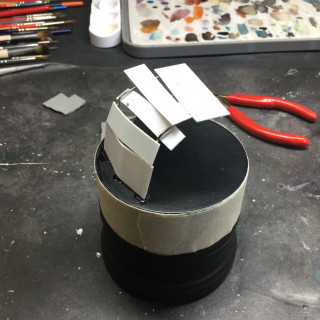
With the ‘pins’ glued in place, bent in the correct direction and trimmed back, next I needed to start added a platform around which to sculpt. I glued on pieces of plasticard to the wire armature then ‘cemented’ them into place with more superglue and baking soda. While some folk use baking soda as a cheap superglue accelerator for superglue, it also makes for a really hard cement with which to secure the armature.
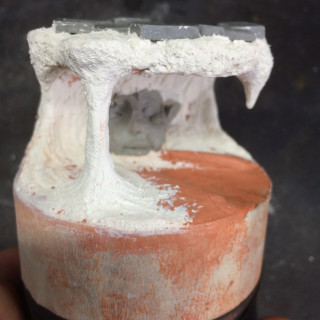
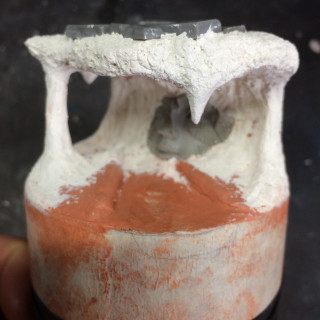
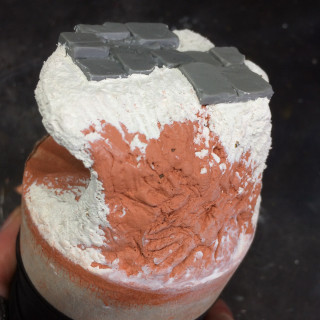
With the armature built and as solid as a Guinness shi……. house, time for some sculpting. First comes the core. For this I used DAS. I hate DAS for the most part as it takes forever to dry and is kinda greasy to work with BUT it is incredibly cheap so I use it for the hard core of a build and then once it (eventually) dries, I sculpted the outer form with milliput extrafine.
While bulking out and starting to refine the cave, overhang, stalligtites (or however you spell those down pointing buggers) cave column, stream bed and so on I pushed some temple flagstones from gamersgrass into the top and a face from Scribor into the back wall and moulded the milliput around them. I left some of the rougher textured DAS peek through at the back as this would be painted as a rock face.
Right – am knackered so off to bed!! Part II comes tomoro!!
Stay home, stay safe, stay hobbying folks 🙂




Leave a Reply