All things Fantasy
Recommendations: 264
About the Project
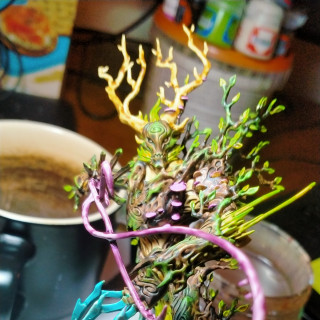
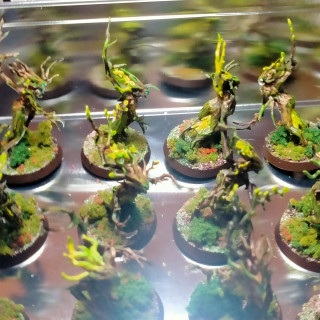
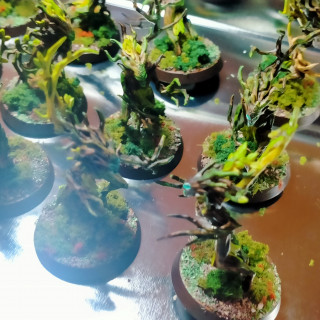
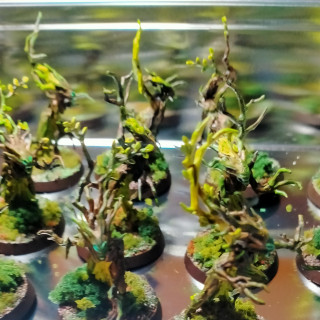
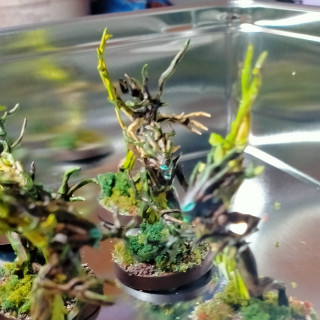
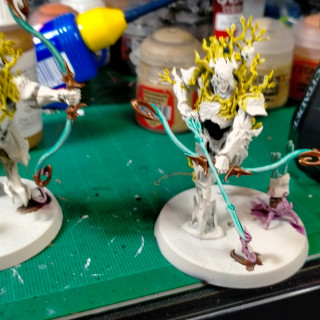
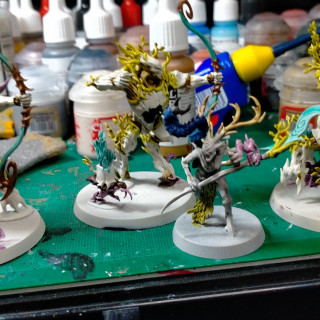
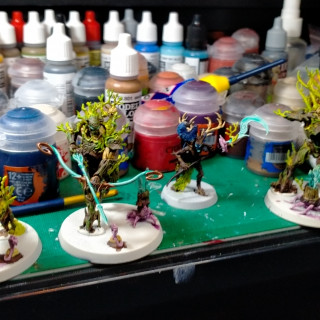
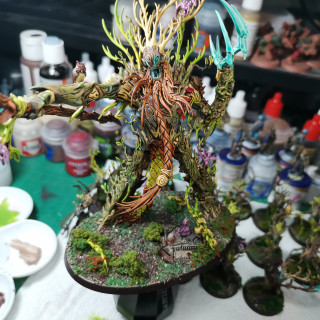
Sylvaneth - they have seen many battles but are still in bare plastic, however! Since they've been winning many battles I think it's time they recieved a lick of paint. This is a step by step of my process for painting my sylvaneth army. I have a plan and have collected all my materials - thankfully before all this Corona stuff kicked off - so now is a good time to get them painted. I will list what I am doing and what paints etc. I am using, so if you like the scheme or something that I've done it will be easy to follow along. The idea is that this is a leafy vibrant glade, a close cluster of dark barked trees and vibrant mossy undergrwoth. To achieve this I am using browns and tans for the main body. The more armoured or branch like parts will be a dark brown colour and the more recessed fleshy areas wiil be tan, like the fresh wood under the bark. This will be accented by greens and yellows on the mossy base and the leaves and flowers on the model itself. Hope you enjoy!
Related Game: Warhammer Age of Sigmar
Related Company: Games Workshop
Related Genre: Fantasy
Related Contest: Spring Clean Hobby Challenge (Old)
This Project is Active
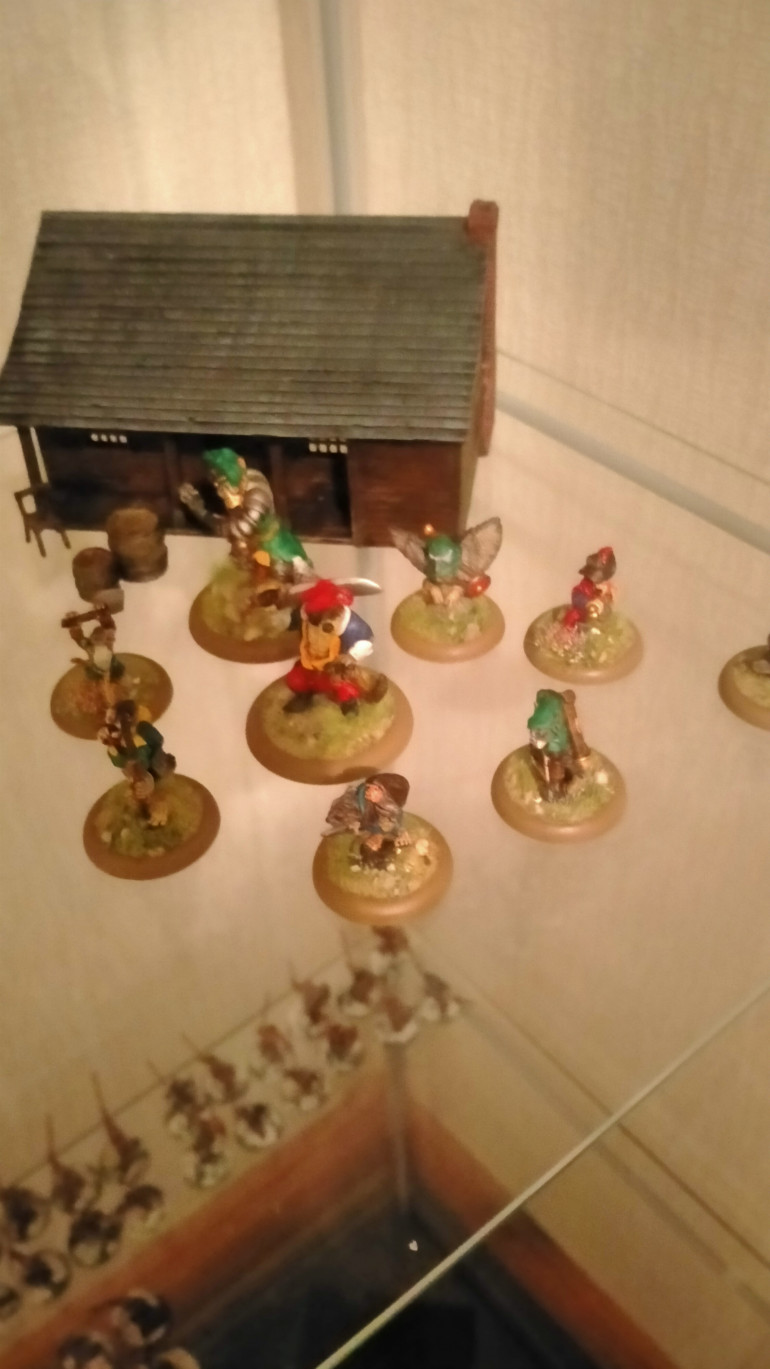
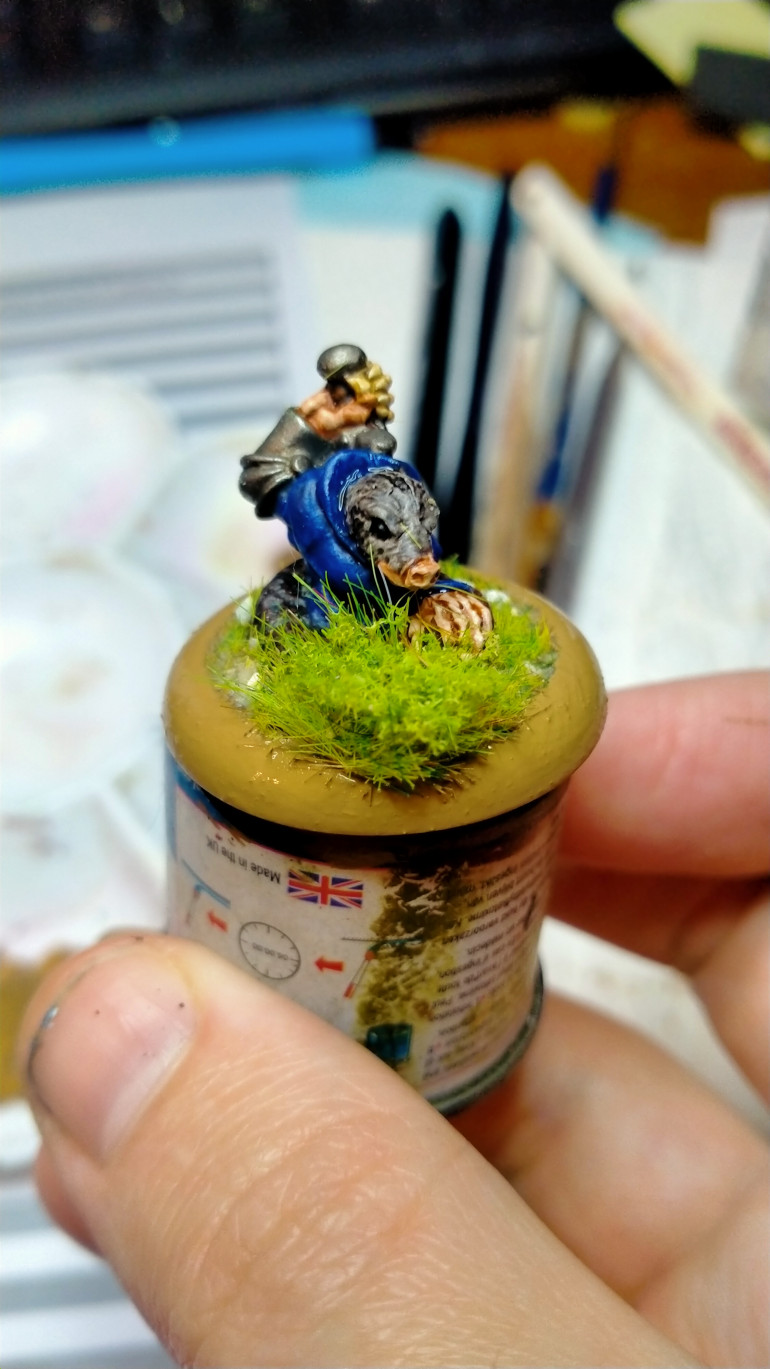
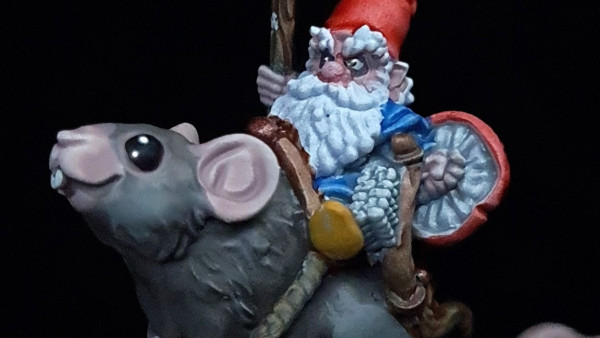
Redwall - Burrows and Badgers
As a Dibbun I read all, and I mean ALL, the Redwall books. I loved the world and the creatures in it. The sense adventure, battles and sieges, Cluny the Scourge and the Hares of Salamandastrom (spelling it from memory).
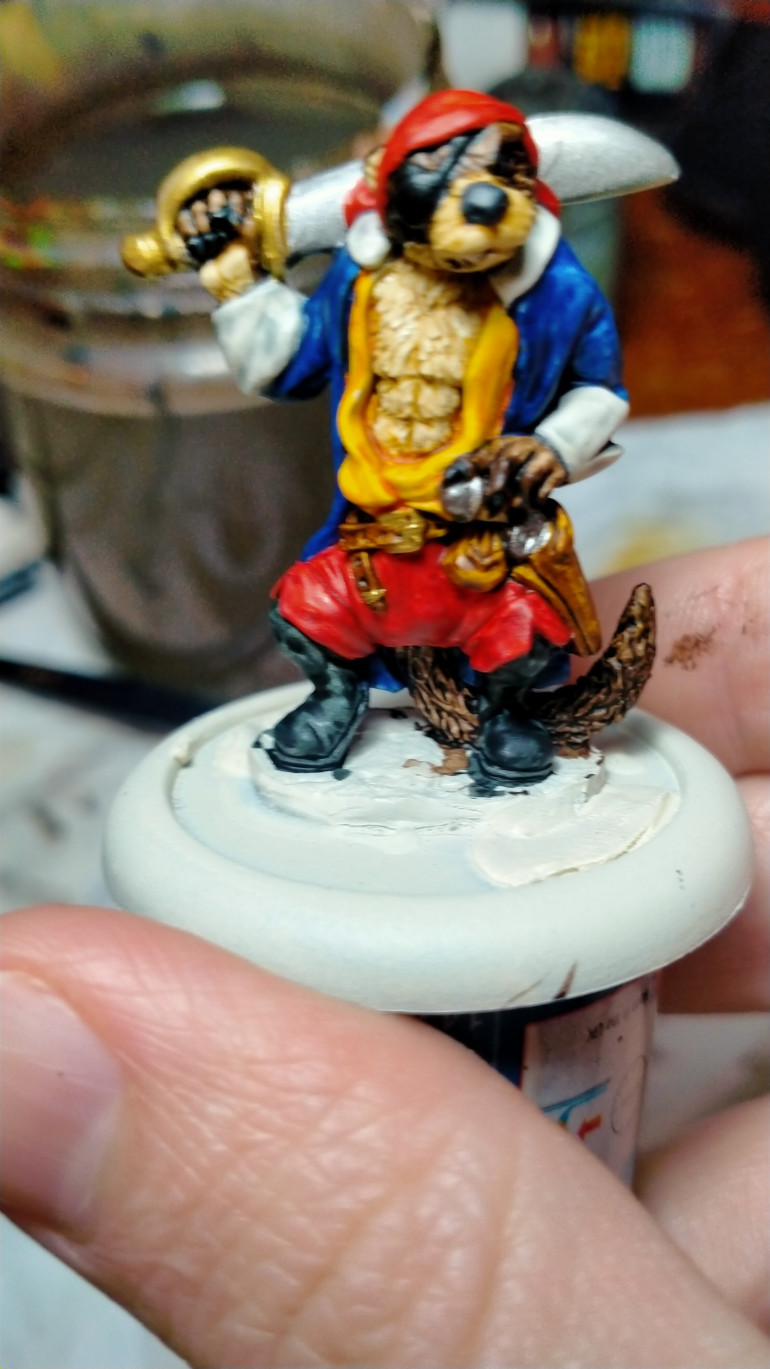
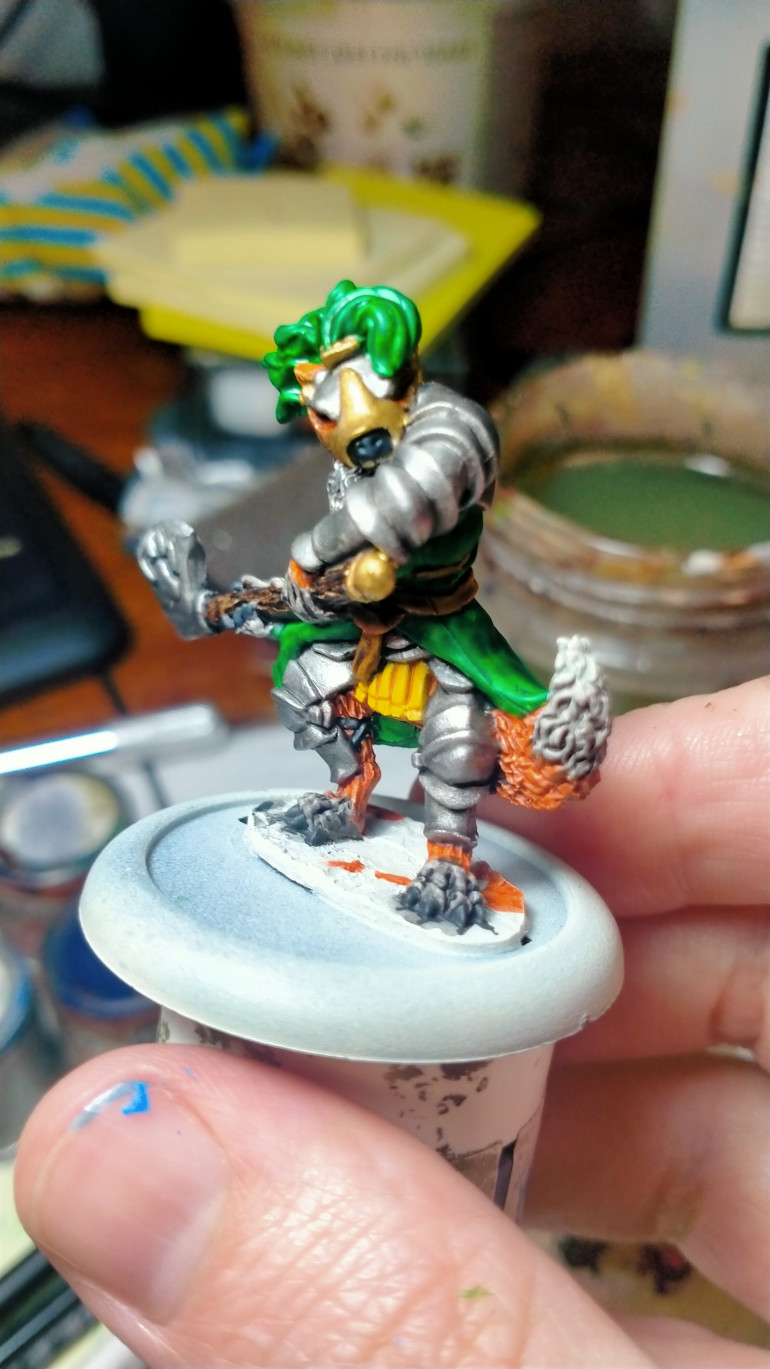
So the metals from Oathsword are the perfect way to paint and play this world though using their Burrow and Badgers ruleset.
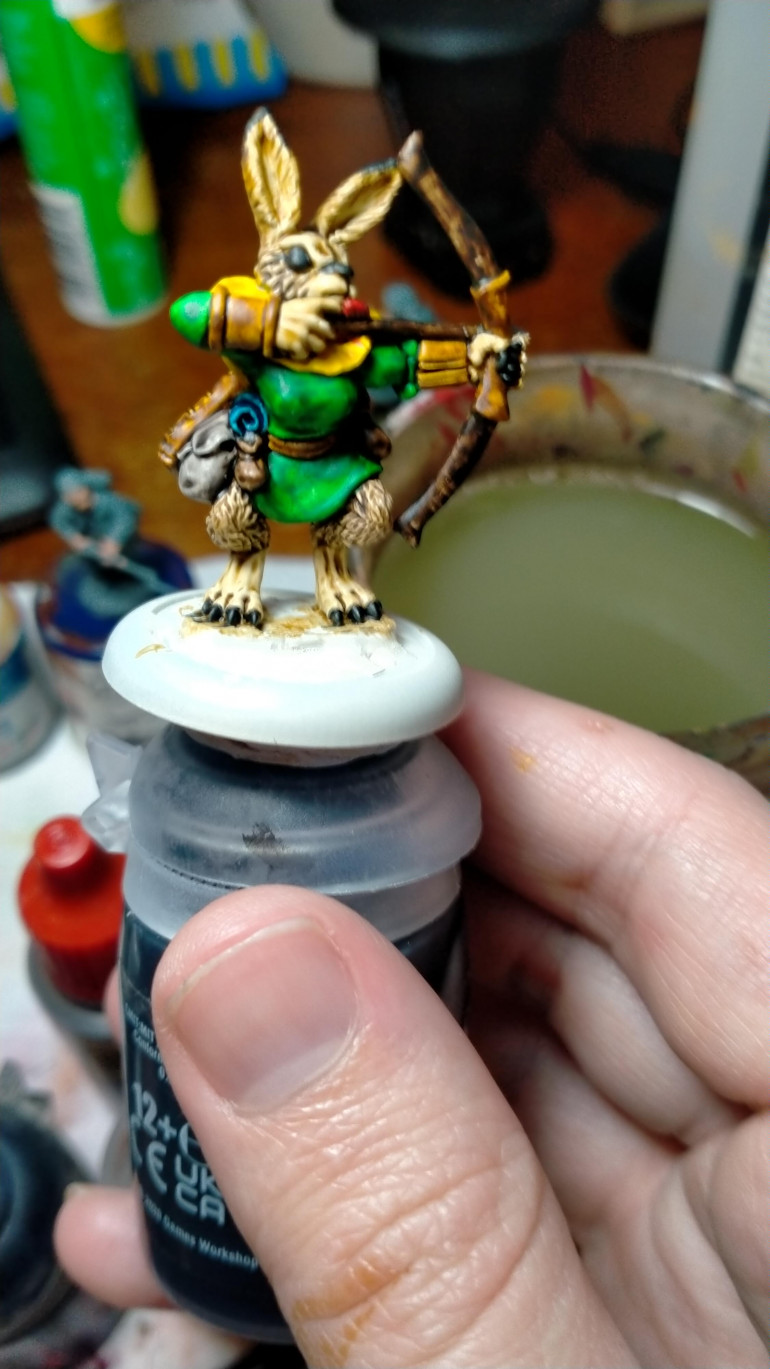
I bought one of their starter sets and everytime I need a palette cleanser from painting a squad, regiment or something large I paint one of these using contrast paints and I love it every time.
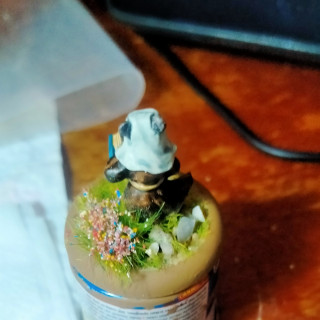
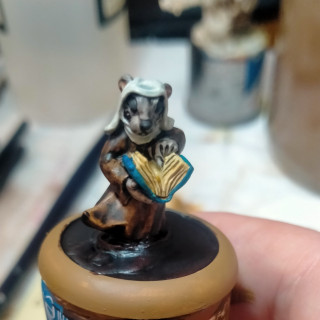
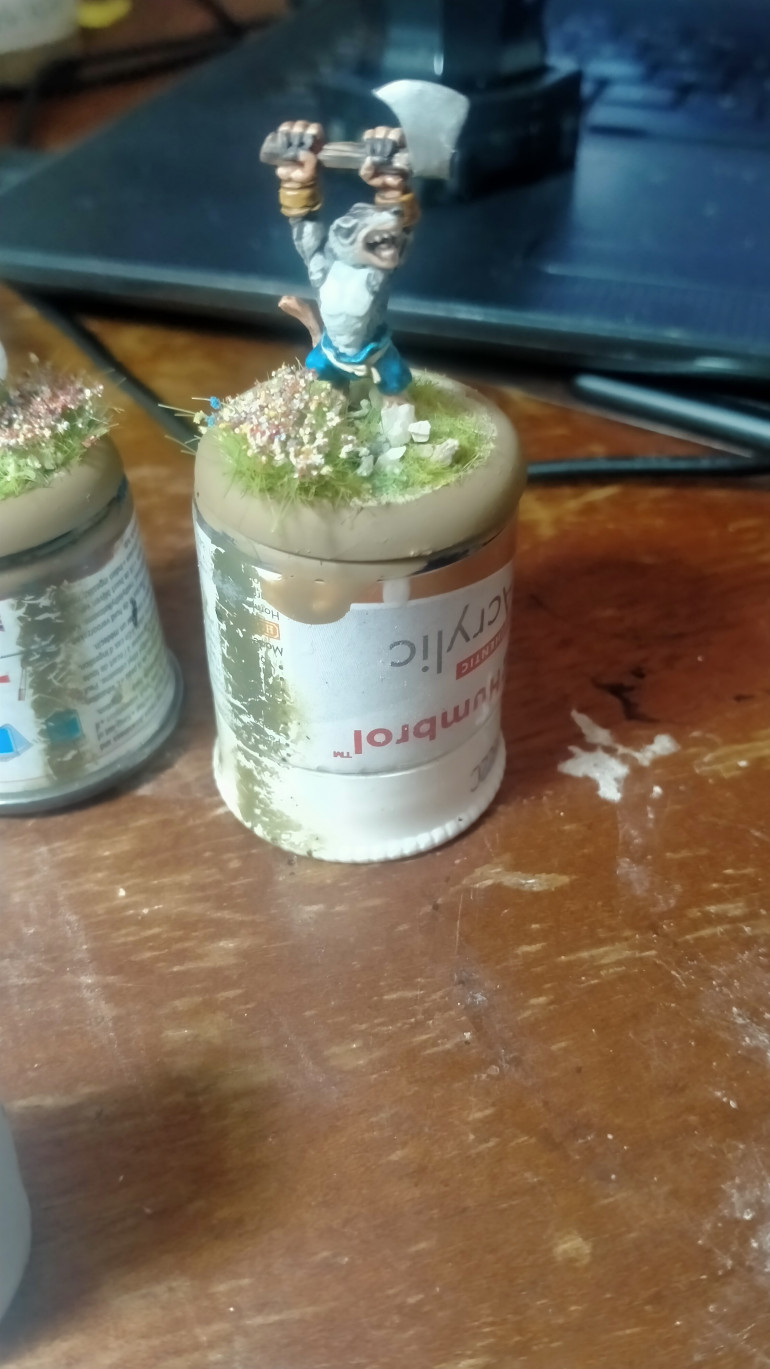
Mouse Mother Muriel will be a healer type (I think this is a thing in Burrows and Badgers…)
Mini Update
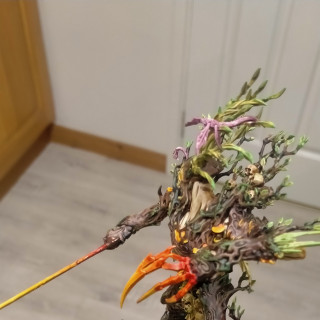
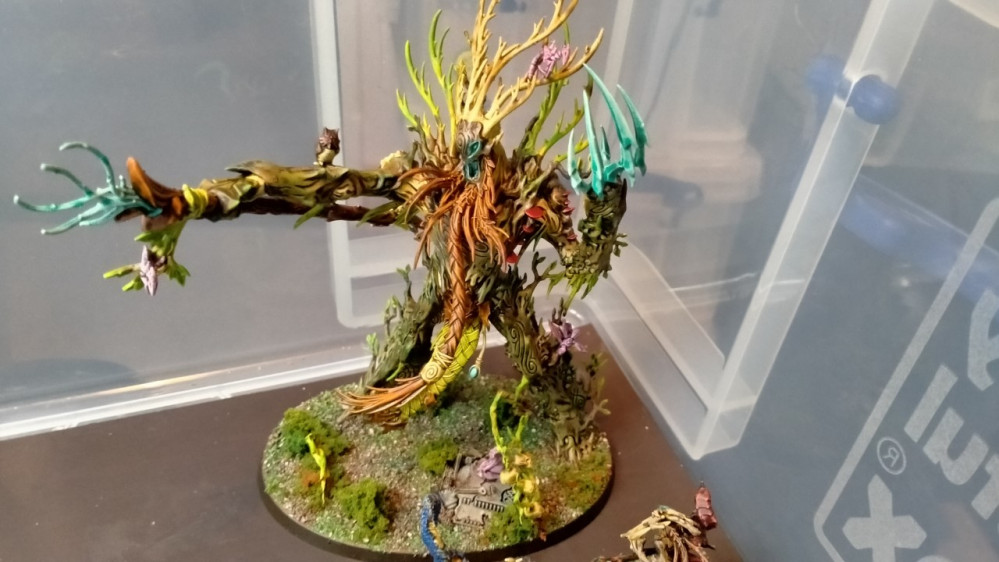
Just a quick project update; adding a Spirit of Durthu to my Sylvaneth army. Painted much the same way as the Tree Lord and Tree Lord Ancient I experimented for the first time wet blending. I used GW Contrast paints, an orange, yellow and red. I kept the majority of the blade yellow and the red went to the base of the blade with a thin strip of orange as an mid-range blend. Keeping my brush wet and working quickly this actualy provided alot of versitility and I’m satisfied with the overall effect.
Project Update
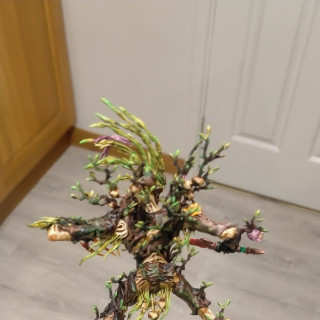
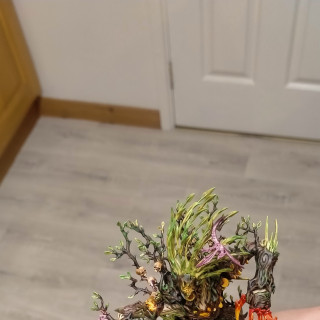
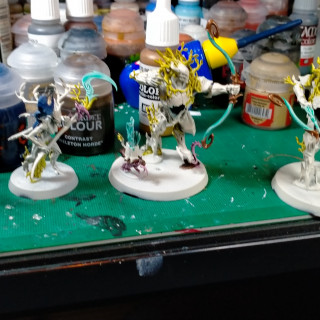
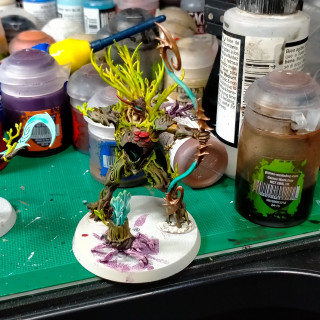
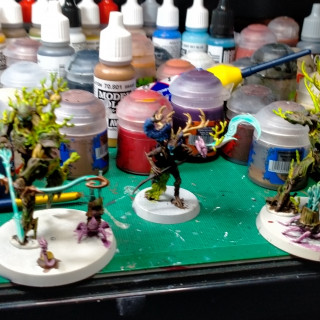
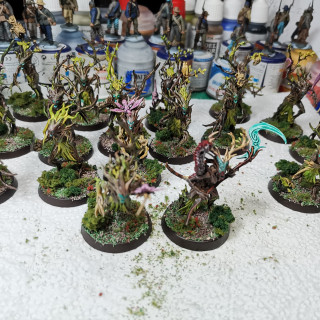
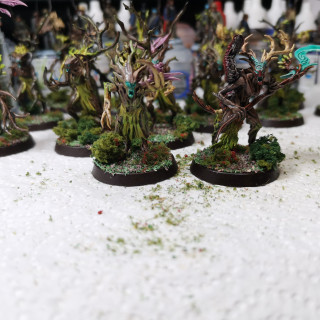
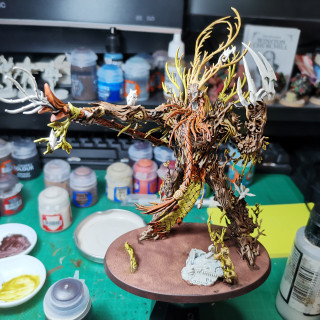
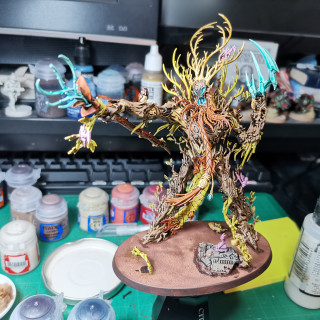
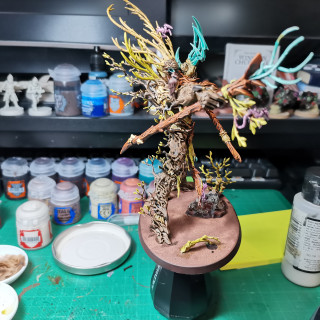
After a painting hiatus I’ve hit a hot painting streak and have painted more in the past four months than the past four years. Included in this is the continuation of my Sylvaneth army painting. Above and below are the latest units I’ve finished. I completed the last 15 Dryads and a Tree Lord.
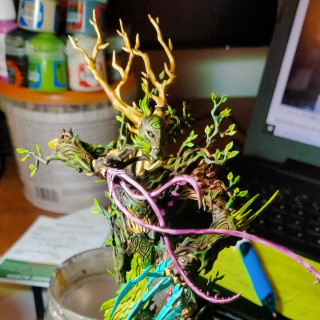
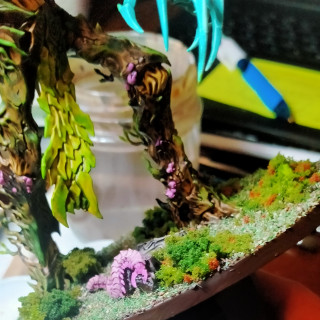
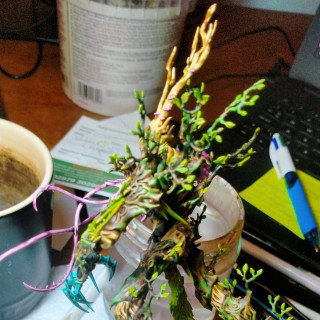
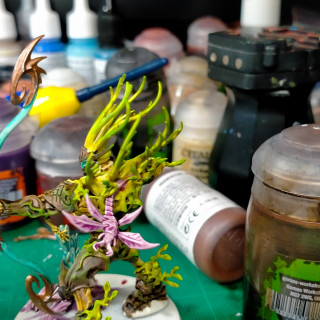
The Tree Lord was a bit more plain as compared to Durthu or a Tree Lord Ancient, to give it a bit of interest I used Vallejo Pink to paint it’s mushroons and fungi. Then Magos Purple for the Tendrils coming from its hand.
These minis have magnets attached to under their bases; they can be placed in a Really Useful Box which I’ve superglued magnetic sheet to the bottom of. Though if you’ve ate your way through some tins of biscuits the magnets will stick to these too. My excuse for eating a tin or two of Scottish Shortbread.
Eat, Shoots and Leaves
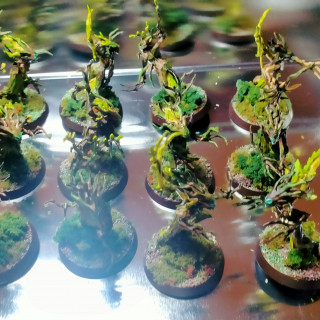
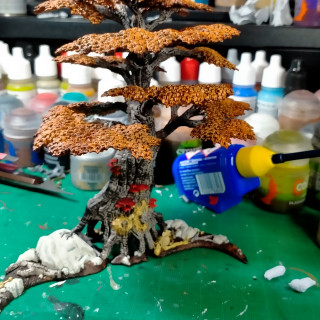
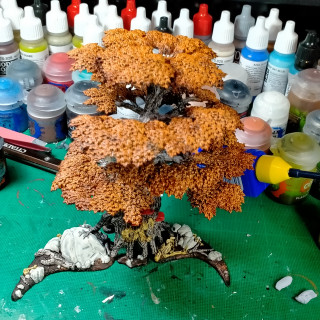
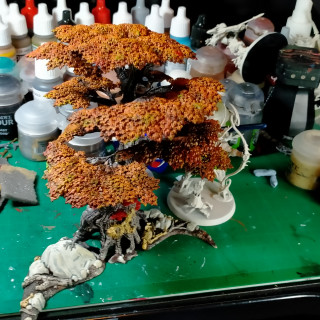
Part of being a Sylvaneth player is needing GW Wyldwood Terrain. The idea for this scheme came from painting the Tree Lord Ancient. I really liked the effect of the Gore Grunta Fur Contrast paint and was looking for an excuse to use it.
So autmunal trees was as good an idea as any and the Silver Birch bark seemed a good contrast to the rich leaves.
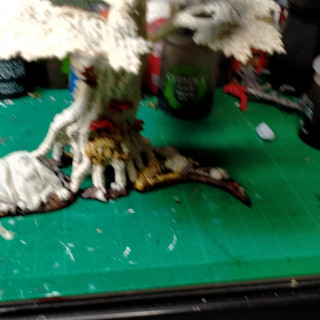
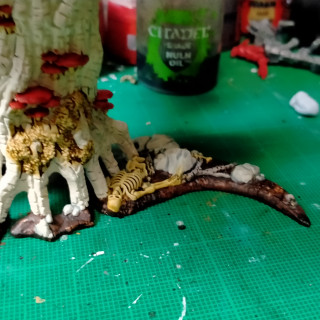
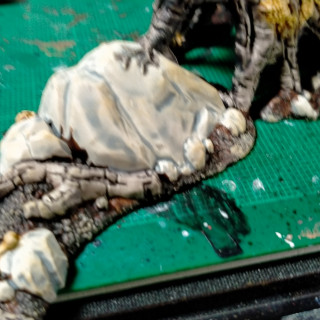
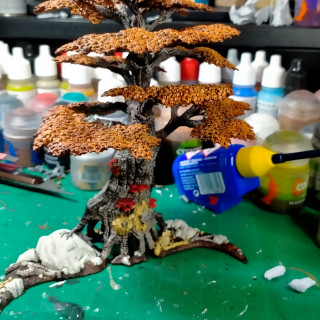
I started on the base useing Cygor Brown for mud, Apothecary White for rocks, Bsilicanum Grey for fallen branches, Skeleton Horde for bone. Finish with a light highlight of Ushabti Bone to tie it all together.
At this point I found it was difficult to paint the tree trunk (Basilicanum Grey) and leaves (Gore Grunta Fur) and painting the base made it more difficult as I had less areas I could hold the mini by. The fungus was painted first with Skeleton Horde and the mushroom tops with Blood Angel Red.
The leaves looked good but lacked something. So to complete the autumnal feel I chose my brightest green (Moot Green), red (Evil Sunz Scarlet) and yellow (Flash Gitz Yellow). With these I stipled the leaves using some scrap foam and this completely lifted the look of the leaves. I may have gone too light asit isn’t too noticable from a distance so I may add more.
Kurnoth Hunter and Branchwych
After a break I’ve come back to this project and dived in with the Kurnoth Hunters. The Main colours are the sames as the Treelord Ancient.
Again on the bigger models I find the Wyldwood cotrast paint is enough without the need to drybrush. Also a second coat can add some added depth to the recesses.
The Branchwych is my second one and has a blue bug instead of red to differentiate them.
The Main difference is that I used Bronze on the bows for the handle and the tips of the bow. In my mind this is like a lightsaber and the blue zzzzmm’s out from bronze bits. These are highlighted with silver which actually gives a good effect – I had been dubious when I saw this being done on Utube.
Next up is my first go at the Wyldwood terrain.
Part 5 - Finale - Basing
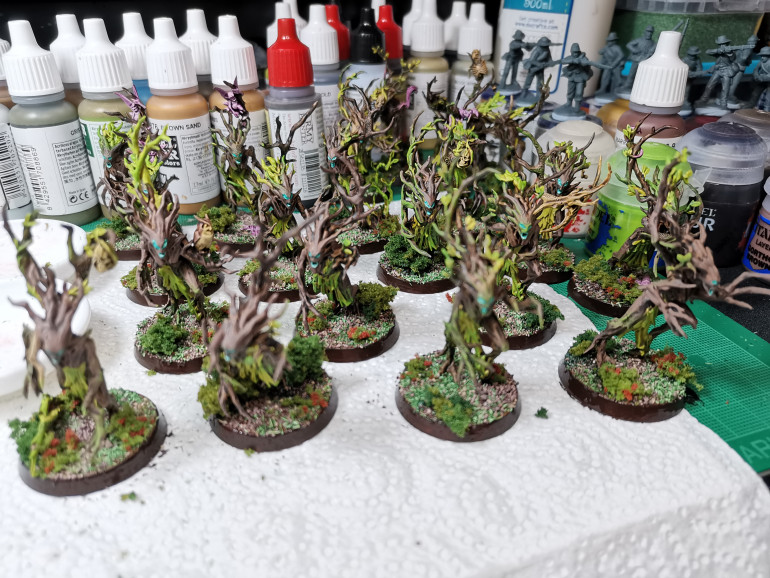
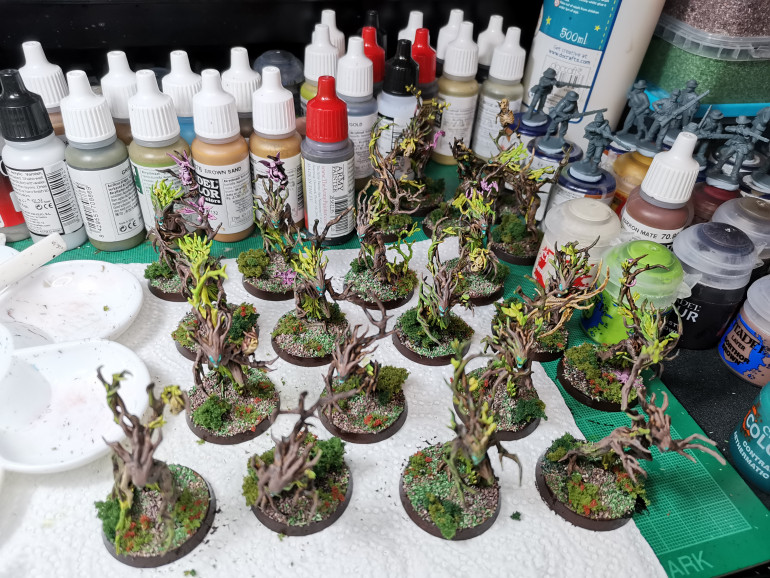
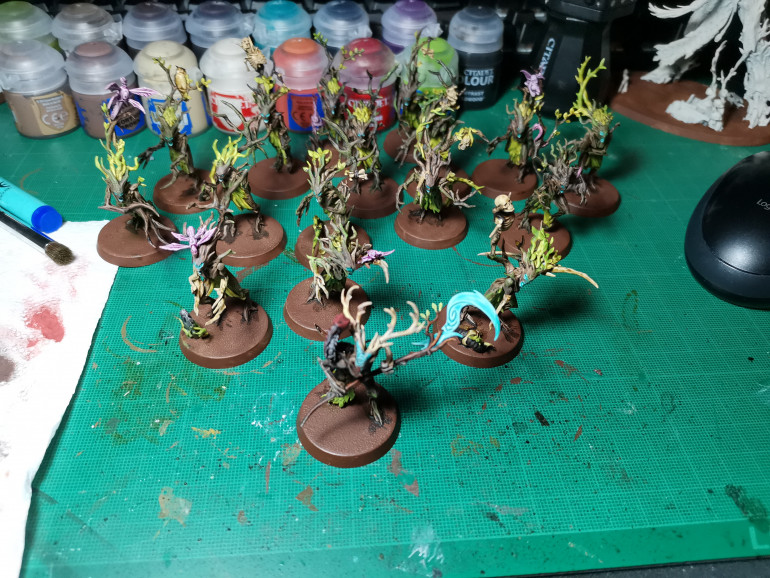 The Dryads and Treebeards brother are looking not to shabby, even my photography got better as the prokect went on. The final step is the base. As I outlined at the beginning of the project I wanted to create a vibrant, loamy forest floor.
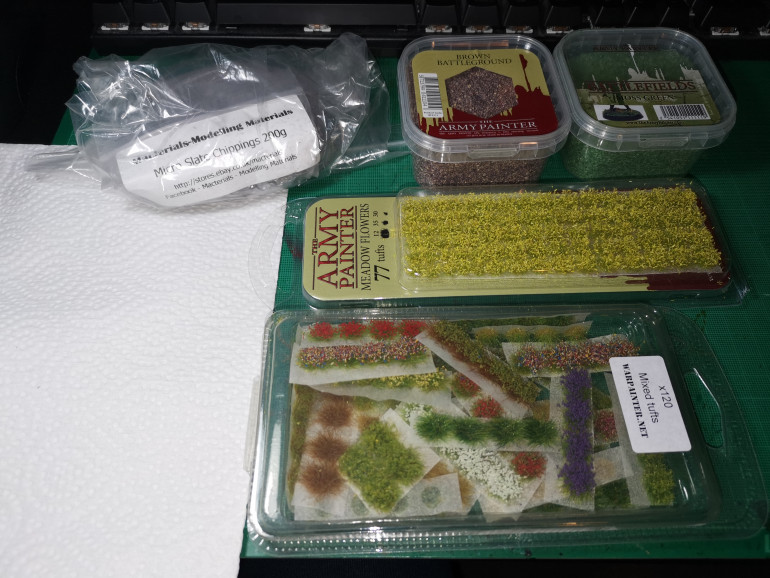
 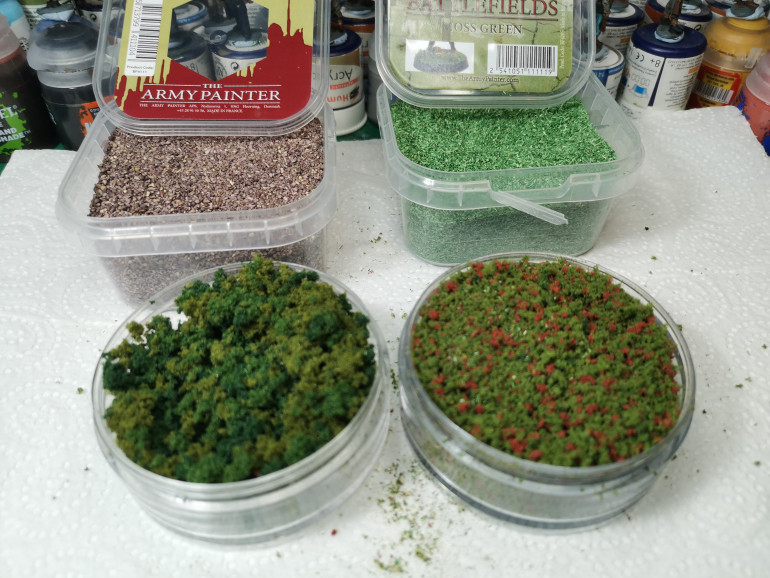 These are the products I will use, the grit and the grass I experimented with in my American Civil War project and liked the effect and also for a change I enjoyed the process in making the bases.
The method for basing is fairly simple so I’ll just list what I did in order of application:
Paint the base brown to help hide gaps that may be cause.
Cover the base in PVA Glue, I’d recommend watering it down slightly – I’ve had problems when applying pva thickly.
Sprinkle grass, it’s to your preference but I added less grass than grit as more green will be added later.
Sprinkle the grit to cover the rest of the base, do it second as it settle better among the grass and the grass itself looks more like it is growing through the dirt rather than sitting on it.
Next use super glue to add the clumps and the mossy grass with the red flowers. Let it settle and gently tease away any loose pieces and add more if needed – broad headed tweezers were great for adding the clumps to the super glue.
The rim is painted a darker brown…
Once the glues have fully dried I add a little pva glue to a disposable spray bottle I bought on amazon and heavily diluted it with water. I spray this over the base. The rest of the mini will get drenched with this but it will dry clear and leave no marks.
The final step is waiting for all this to dry and end with a matt varnish.
 Well that's the end of that. The project was spread over a wide period of time but that was more to do with me and my distractions. The scheme is actually very time effect and a couple hours over a couple days can see these brought to completion at a decent level. I'm suprised how these came out and the base definitely brought it all together. The way I recommend the Satin Varnish, the PVA spray over the base and the matt varnish at the end will leave these minis as well protected as possible, considering the dryads shape and the contrast paint seeming to be more easily chiped. I'll continue to do this for the rest of my Sylvaneth, I'll probably update this project everytime I paint new models, I have Kurnoth Hunters which should be on this project...... at somepoint.
Part 4 - BOSS LEVEL - Treebeards brother
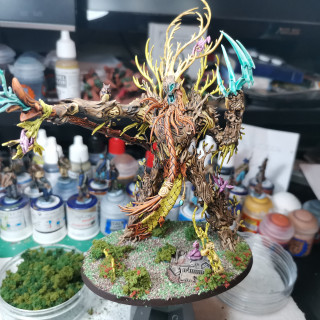
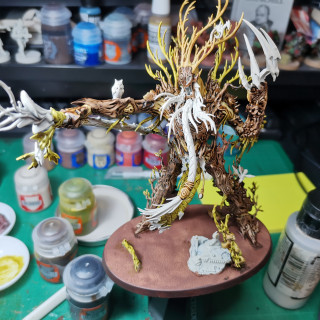
So like any good boss level it should be a test of previous skills accumulated. Likewise here the Tree Lord ancient uses all the skills and techniques used to paint the Dryads and Branchwych. I really like the Goregrunta Fur used for the beard and have an idea for later where it will be used more signficantly. I also found that Cygor Brown makes a good muddy colour for the base which I used around the base of the ruins.
Painting Branch Wych and Squad Leaders
The first character I’ll paint is the Branch Wych from the start collecting box. The main thing I want is a consistency across the army to tie everything together, which also helps me paint quickly and get an army together quickly.
I painted the branch Wych and three squad leaders to lead dryads at the same time. The main parts of these, the body, the leaves and branches, eyes and mouth etc. are painted exactly the same same as the dryads – as shown in the previous entries – so I will just show the differences below.
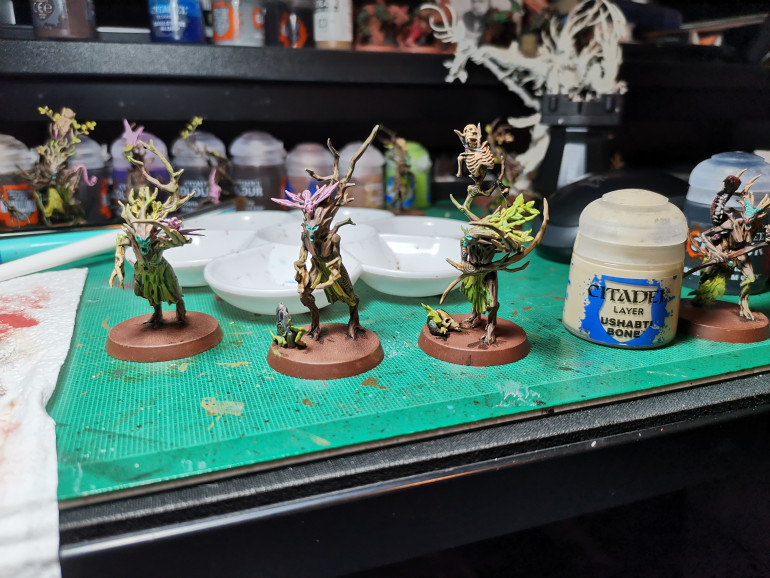 One problem I had when battling on the tabletop was that I kept forgetting about my dryad leader's extra attack dice and I never could tell at a glance which blob of branches was in charge. So I wanted to differentiate the leaders. Easiest option; I took Skeleton Horde contrast paint and painted their hands/branch tips and viola a dryad born to lead. Oh yeah, dry brush Ushabti Bone and your done!
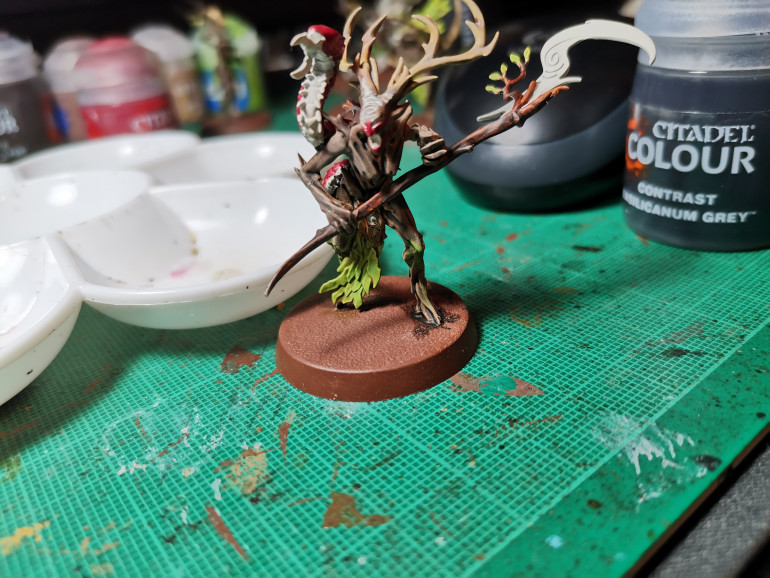 Now to concentrate on the branch whych. Paint these like the dryads before; then prep the underside of the bug critter, the scythe blade, the eyes, mouth and fore head swirl with Wraithbone for more contrast paint.
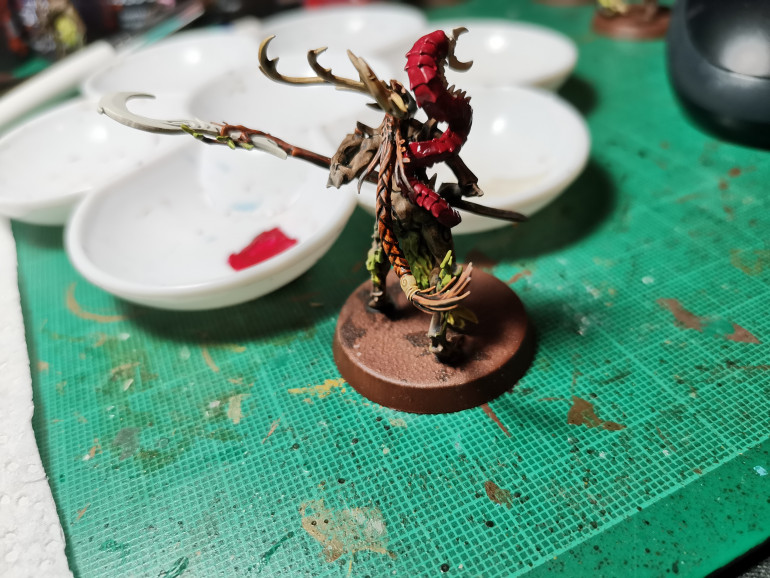 The Bug's Carapace is painted Khorne Red and dry brushed Squig Orange for subtle a highlight. Skeleton Horde for the antlers and the bone hairband thing in the hair. The hair is painted with Gore Grunta fur, this is an amazing contrast paint which I have plans to use more later in the project.
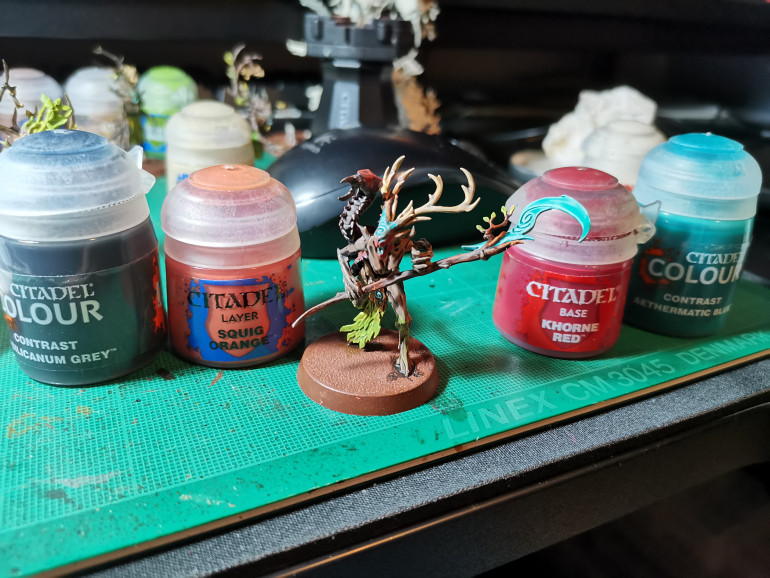 The bugs underbelly, head and mandibles are painted Basilicanum Grey, I think this could do with a dry brush (Ulthuan Grey perhaps) to lighten a little but I did not want to have to clean this area up as the bug is the most difficult area to paint due to it's twisting shape. Goregrunta Fur is used for the weapon haft just so it looked a different type of wood to the body of the Branch Wych. Plague Bearer Flesh for the grass loin cloth with a dry brush of Moot Green. Skeleton Horde for the Antlers with a Ushabti Bone Drybrush.
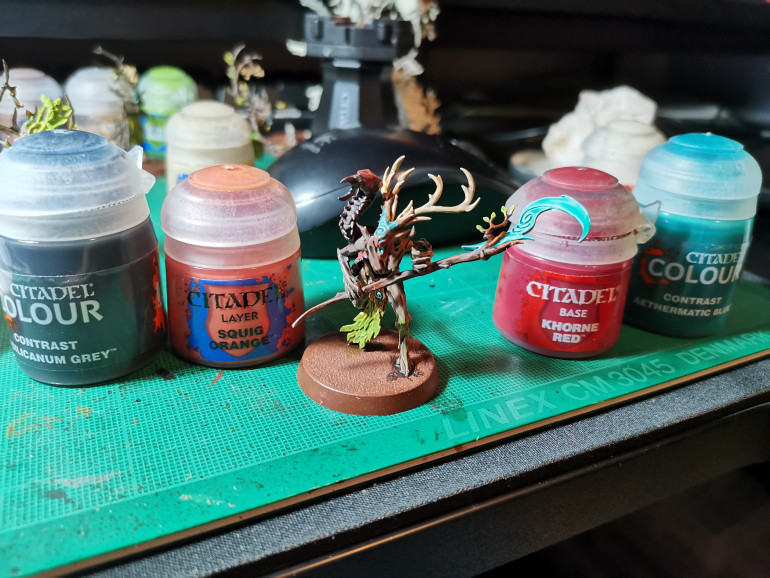 Final Step is Aethermatic Blue for the eyes, mouth and the swirls on the forehead. The weapon blade I'd recommend a thin layer of Aethermatic Blue I let my coat dry too thickly, I fixed this but I'm not a hundred percent happy. While painting the bugs carapace I had Khorne Red left on my palette which i though was a waste so i painted a thin layer around the mouth and nose stopping below the swirls which gave a nice war paint effect, with a hint of skin showing beneath.
 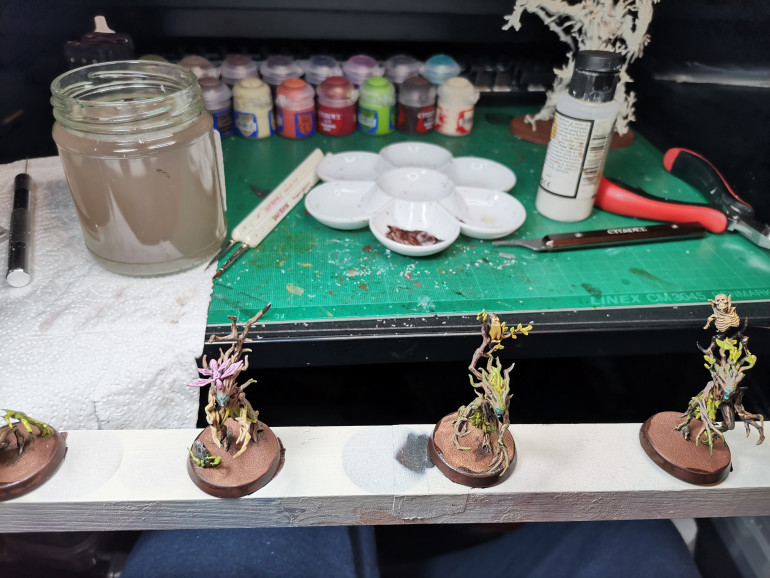 I'd recommend at this point varnishing your miniatures, I sprayed mine with a Satin Varnish. The reason for this is that I find the contrast paint rubs off easily and this is especially true for the Sylvaneth as there are a lot of pointy bits and fragile bits. I've already broken a few creatures, I found half of a worm one week later and super glued it back on, then I found the other night another bit that is primed and not painted on the carpet so I don't know where it fell off. Anyway be careful with these minis I need to plan storage, magnets may be the way to go.
 Part Three - Finish Painting Dryads
So the end of the previous step leaves your miniatures looking presentable and ready to fight; but I’ve found that dry brushing really ties the minature together and helps smooth out the contrast paints.
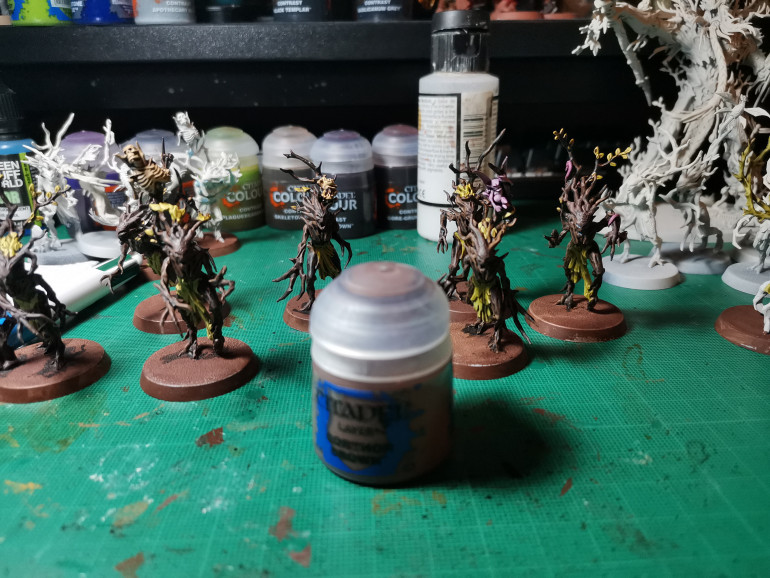 First dry brush is Gothor Brown followed by Sylavaneth Bark. I give this a heavy dry brush all over the bark areas focusing on the face torso and hands.
 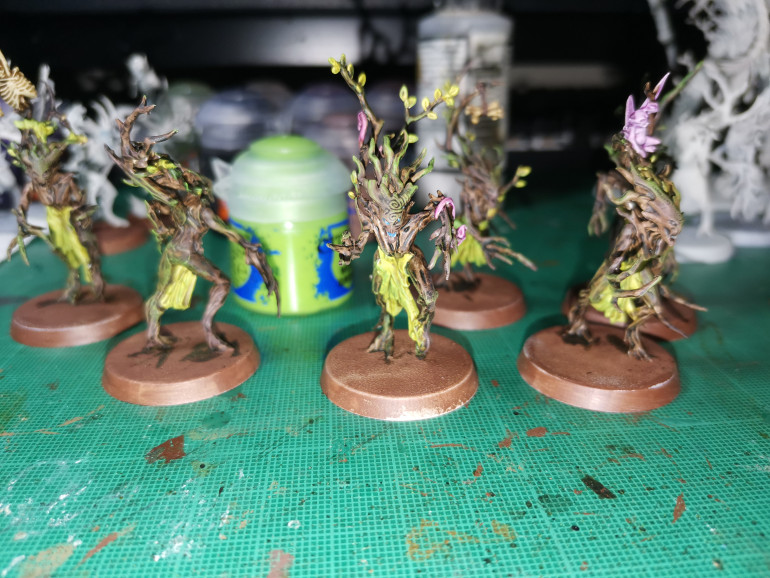 I drybrush moot green over the leaves and vines, this can be done fairly rough as it gives a gradient from yellow to green. I then drybrush the bark with Mootgreen to give a mossy effect, especially where there are more creases like at elbow joints. (Bonus tip - try stipling)
Part Two - Starting to Paint - Dryads (Got Motivated)
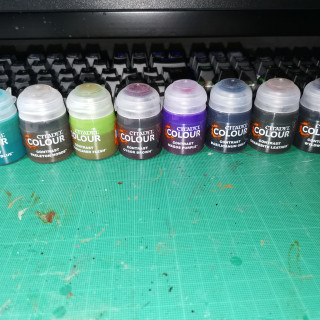
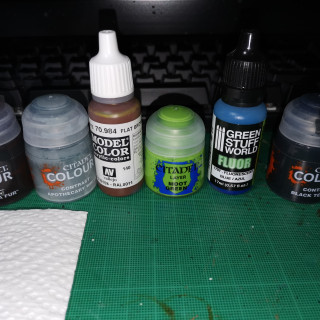
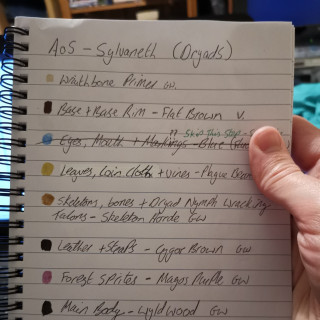
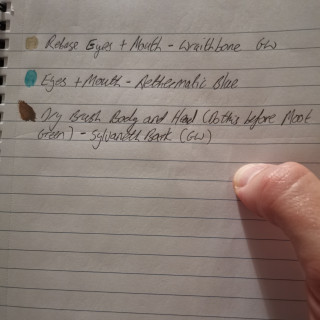
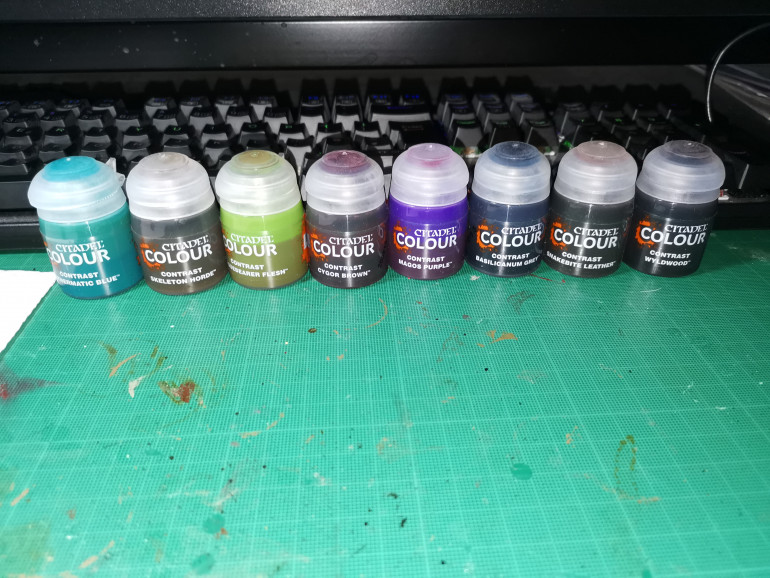
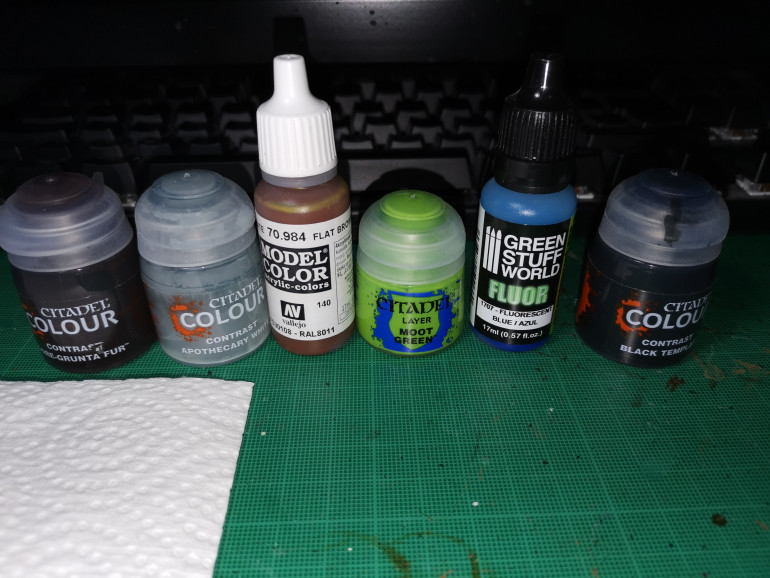
Ok so first things first I assembled my paints and below is a list of the paints I have used, there may be a few more that I will add later. There is a hand written list in the photos below which shows everything that is used.
Usually I paint the largest areas first starting with the darkest colours, however due to the nature of these minis and the nature of Contrast paints this is completely reversed.
I saw it would be easier to use the lightest colours first and hit the smaller details first, this meant when it came to doing the bark I could quickly and easily see what was left to paint without covering other details due to over zealous bark painting.
This part is the painting of the Drayds and the Branchwych. I split these into 3 batches – 7 Dryads, 6 Dryads, and the 3 Leader Dryads with the Branchwych.
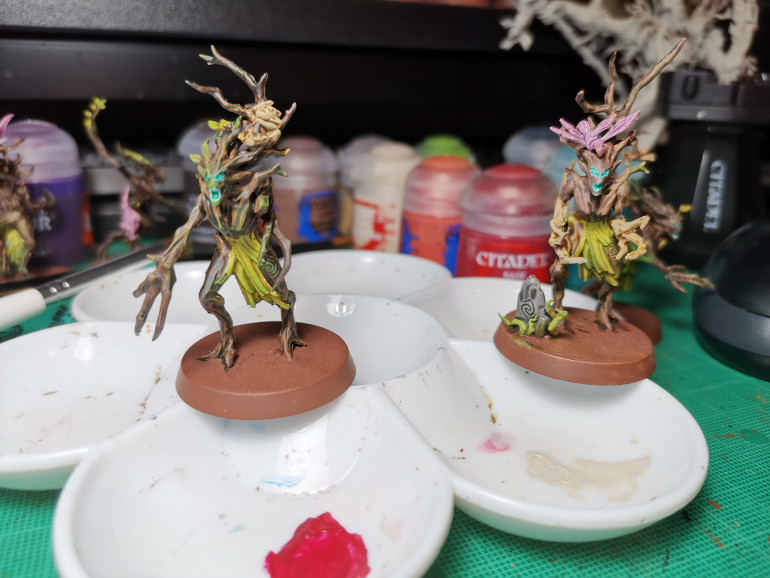
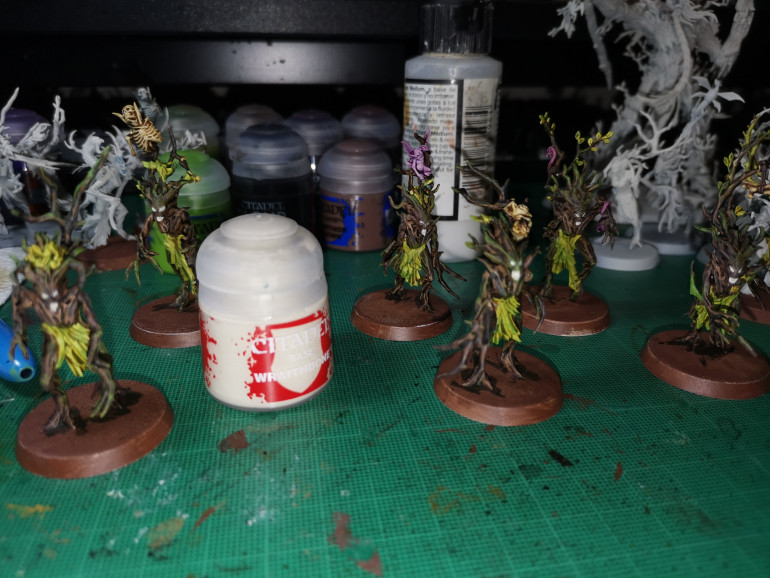
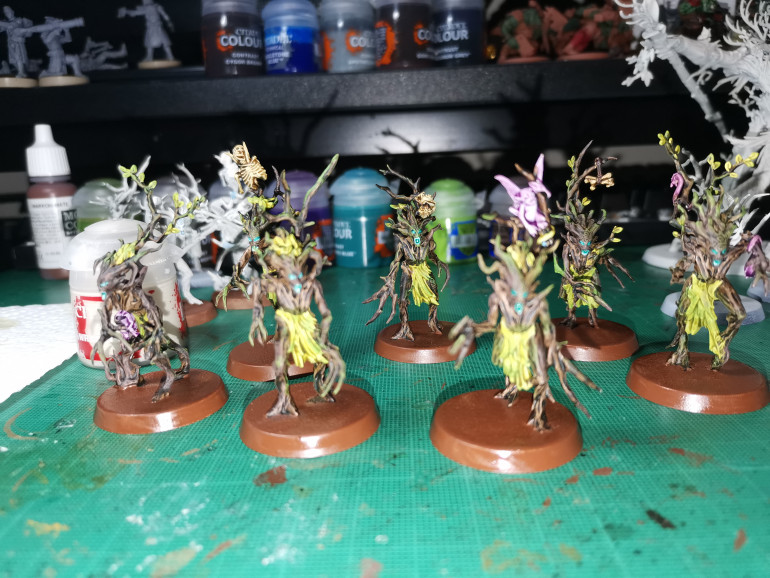
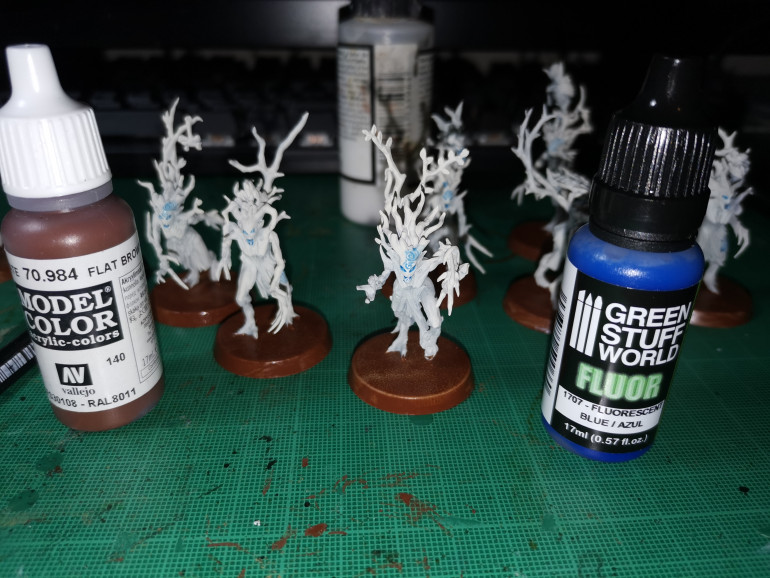 The base is painted in Vallejo Flat Brown, one coat leaves a few natural highlights two gets a nice solid coat, most of this will be covered at a later point. The eyes, mouth and the swirl on the dryads I originally painted with Soulstone Blue - I would recommend not doing this and instead don't worry about painting over these areas and see what I do in step three; it's a much better way.
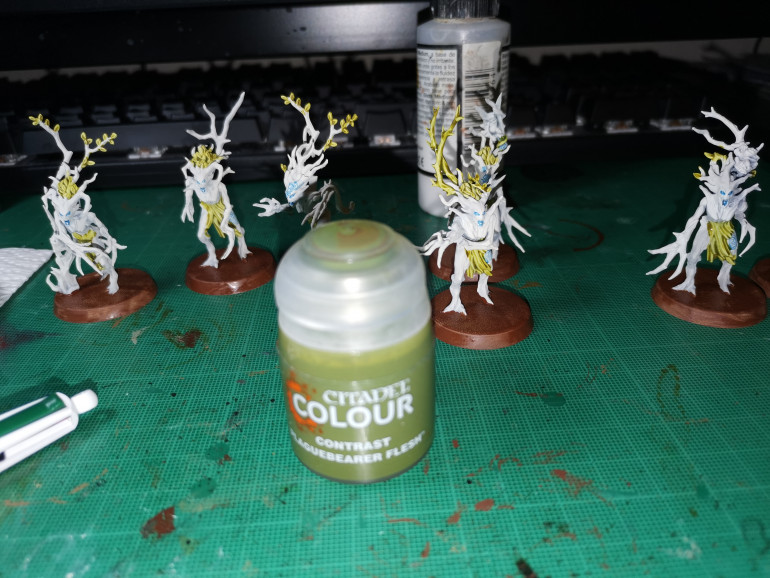 The first contrast to use is Plaguebearer Flesh, this is for all the greenery, so leaves, the skirt and vines; apply a good solid layer. Do not worry about getting this on the braches it will add character and can be tidied up later.
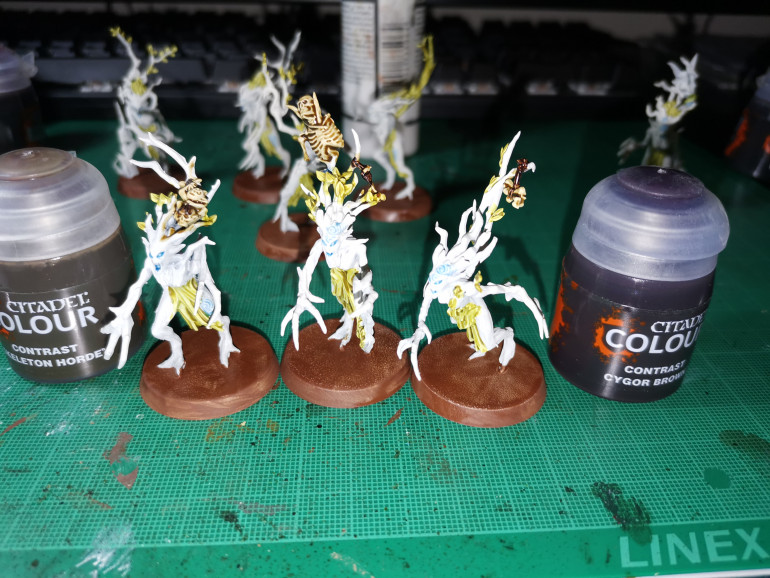 Next use Skeleton Bone for the bones and Cygor Brown for any straps or leather which is usually on or around the bones. These colours are also good for painting the owl. I found the Cygor Brown to have very strong pigmentation so it didn't always show highlights like contrasts are meant to, I would recomend applying this thinly.
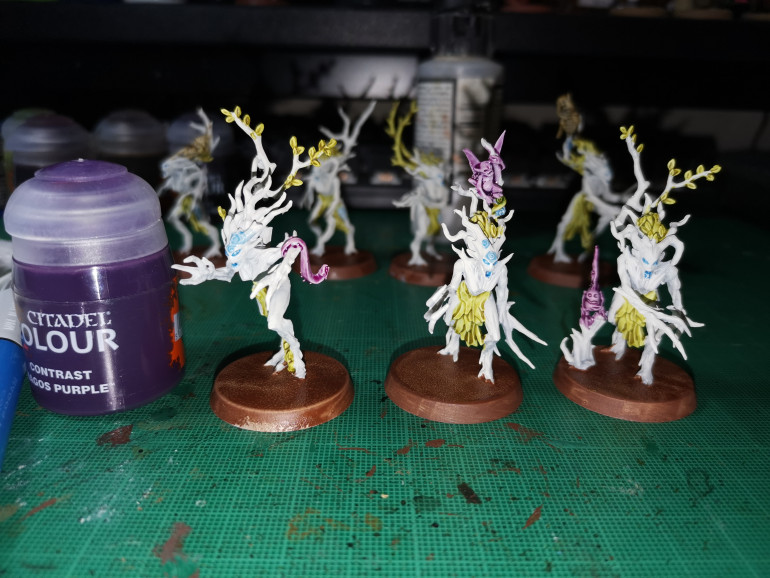 I used Magos Purple for the Sprites, since these sprites are small for the best results I found it best to not let the paint settle too heavily on the mini.
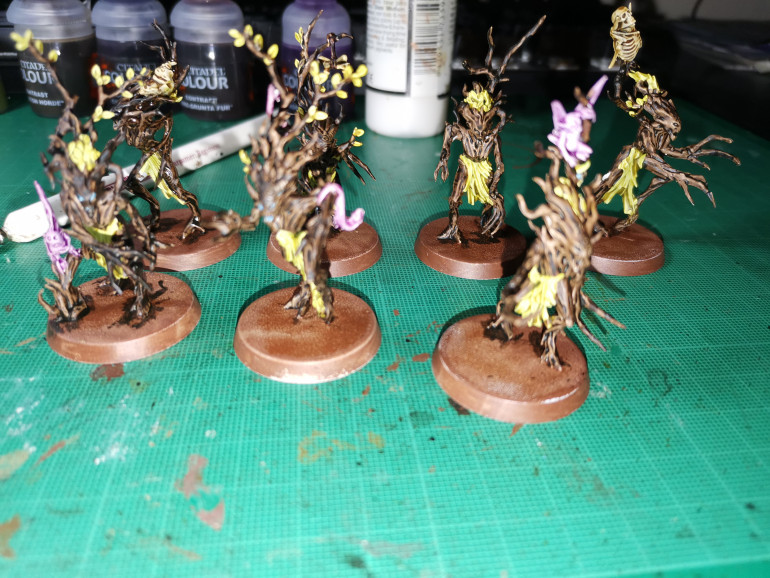 The final part of this step it to paint the Bark. An obvious choice is Wyldwood contrast and thanks to the order this was painted in all the remaining areas can be quickly covered in Wylwood contrast paint. With the second batch I painted I used Vallejo Glaze medium to thin the Wylwood and this produced a much better result than just out of the pot.
 Ok so this is a good point to take a break and let all the contrast paints dry. So go outside and top up your sunburn or get a cup of tea – since I paint late in the evening I usually call it a night at this point. The contrast Medium tends to add to the drying time and I find that even when dried the contrast paint still slowly becomes a slightly lighter shade – or I could be imagining it…
Next up is the dry brushing stage, you could stop at this point but the next stage really brings everything out and it the best tiem to correct mistakes. Trust me despite the rubbish photos they look quite good on the table in natural light.
Part Two - Starting to Paint (Get Motivated)
It’s getting late I’ll do this later.
Part One - Prep and Assembly (aslo what's up with that picture it is terrible :)
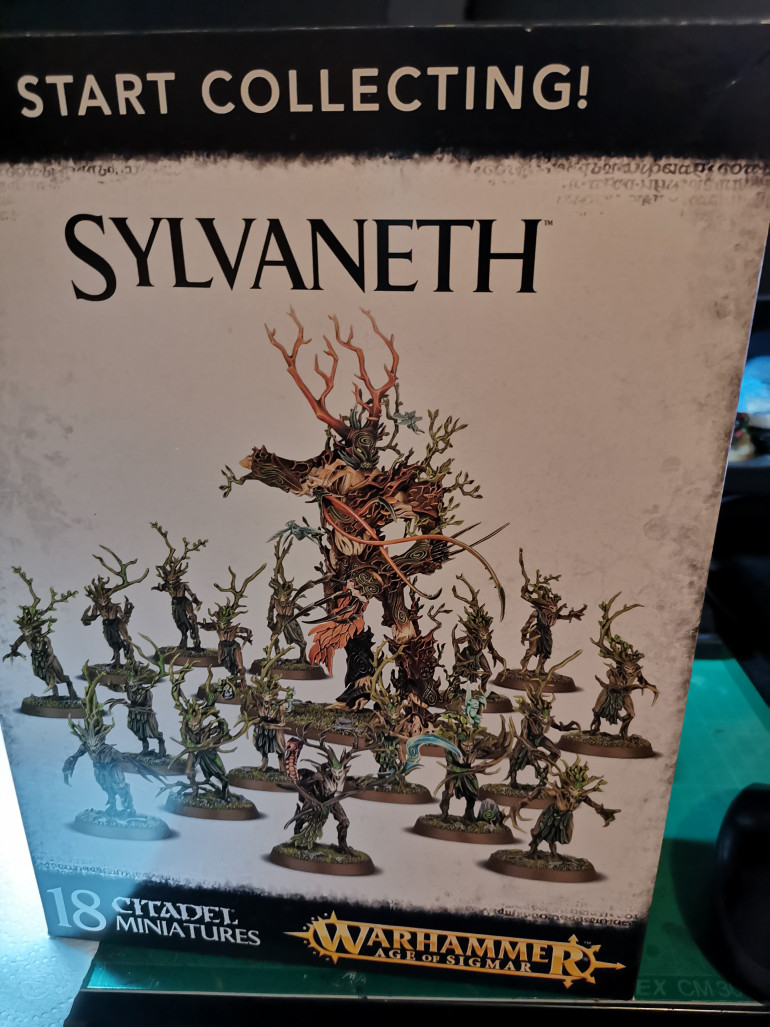
First things first, my purchases started with a start collecting box, followed by another ;). A third is needed but for a change I later purchased a box Kurnoth Hunters and Tree Revenants. This is roughly 1250 pts of minis.
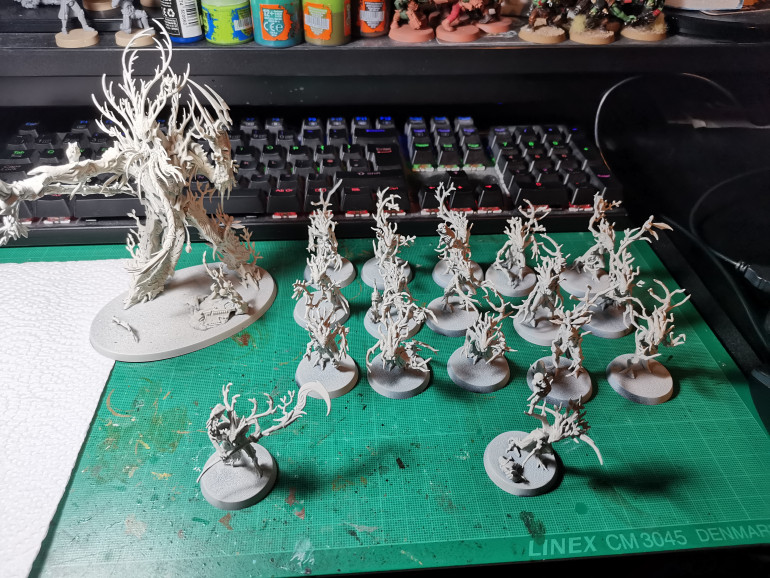
As I purchased the minis they where clipped from the sprues, had their mold lines removed and assembled using plastic glue (revel being my prefered choice).
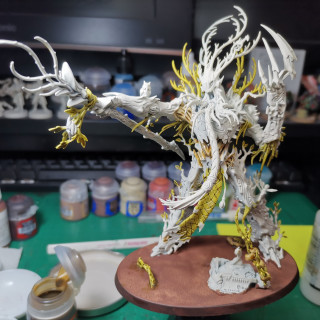
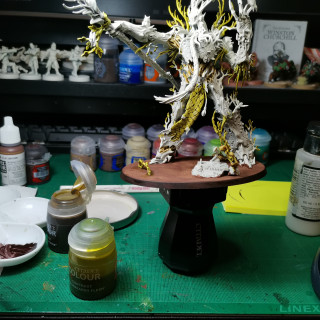
After this it was time for priming. Since I planned to use contrasts I chose to use Wraithbone. I wanted brighter finish for the contrast paints, hence Wraithbone over Greyseyer.
The final step in prep is to gather the paints and materials I will use for this project. These are mostly GW contrast paints but I will likely have at least one vallejo as well and a variety of basing material.


