RAF Thunderbolt
Recommendations: 78
About the Project
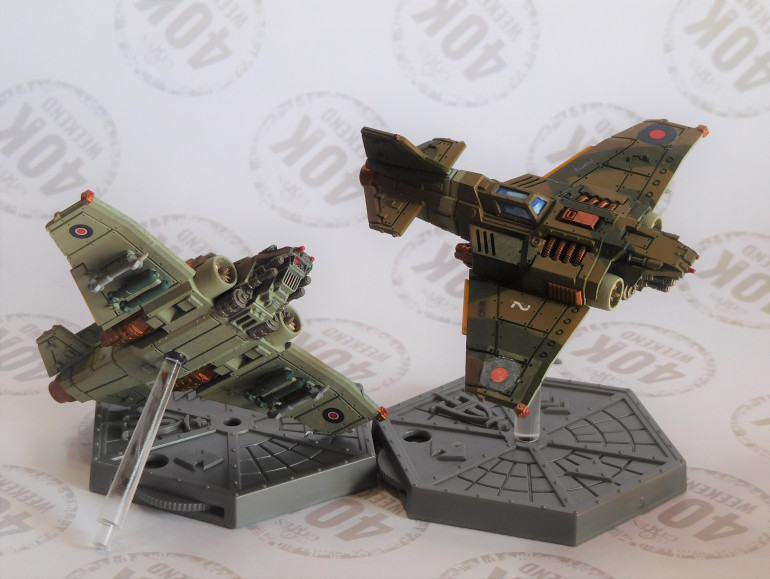
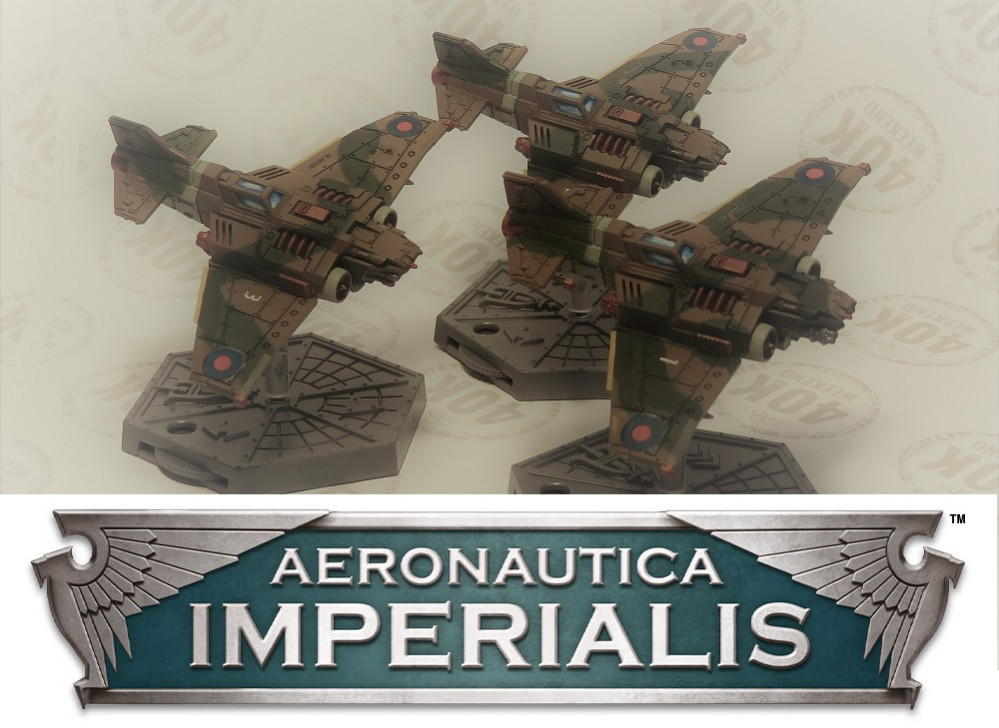
Painting Aeronautica Imperialis Thunderbolt in RAF Battle of Britain colours.
Related Game: Aeronautica Imperialis
Related Company: Games Workshop
Related Genre: Science Fiction
This Project is Completed
Choosing the colour scheme.
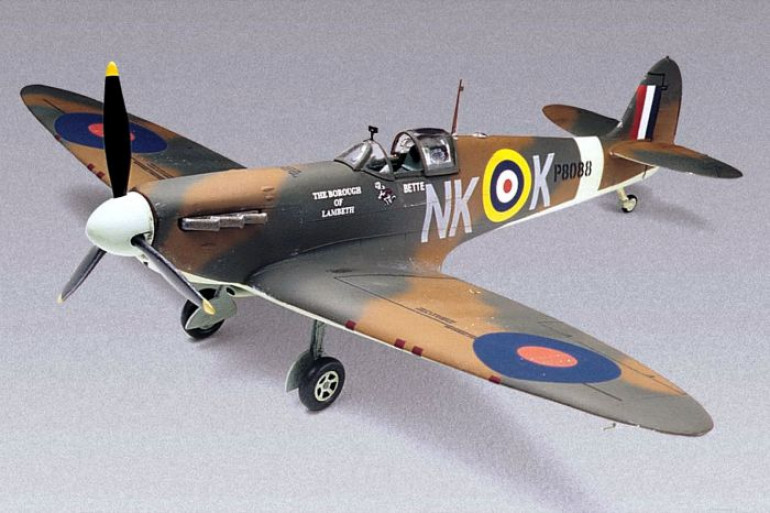
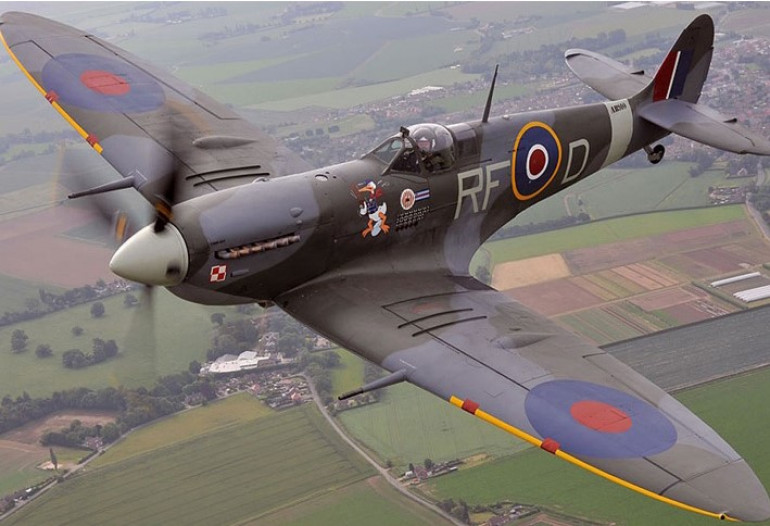
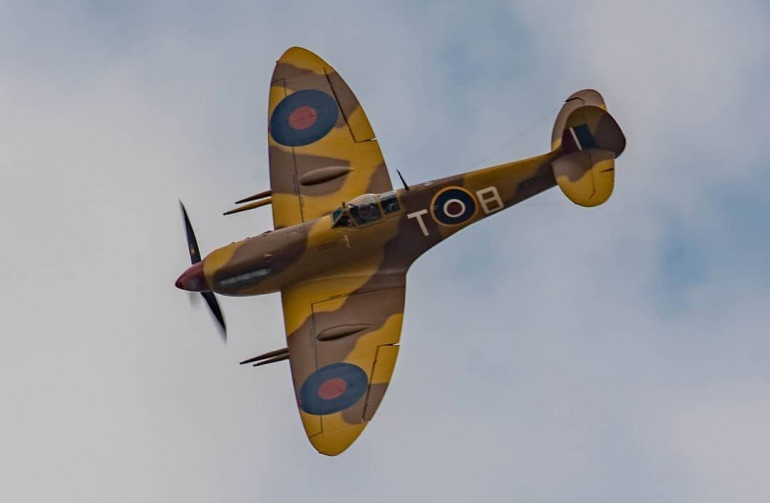
The theme for my Imperial Navy aircraft if RAF WW2 (see my Marauder Bomber and the Marauder Destroyer). I was thinking that the Thunder Bolt has a battle field role similar to the Spitfire or Hurricane. So the plan was to pick a colour scheme based on the Spitfire. There are three main different colour schemes that the RAF painted the Spitfires. The three main schemes are: early war, desert war, and late war. The sample of each are shown below.
There were other paint schemes, but these there are the main/most common paint schemes.
I had chosen the early war scheme.
A few details that I may want to incoporate into the painting details. The spinner dome (or cap on the propeller) would be different colours depending on the squadron; this will be the engine cowling on the Thunder Bolt. The late war model has this yellow strip on the wings leading edge; must find a way to add this my models. Some of the aircrafts have a strip on fuselage.
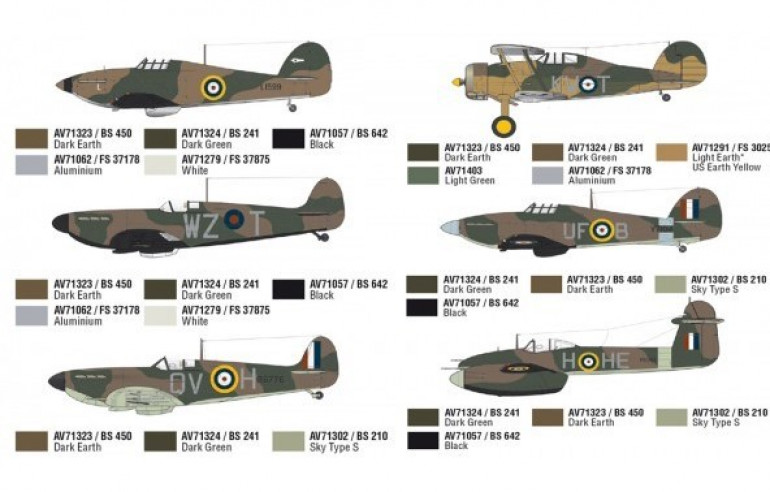
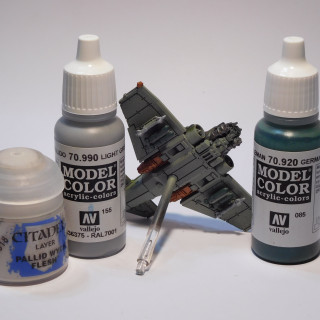
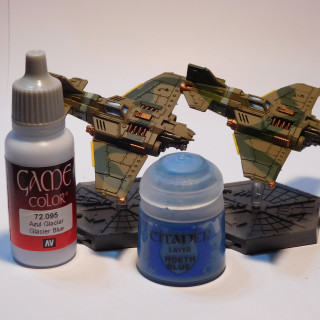
Below is the break down of Vallejo paints on some RAF aircraft.
Prime and Base Paint
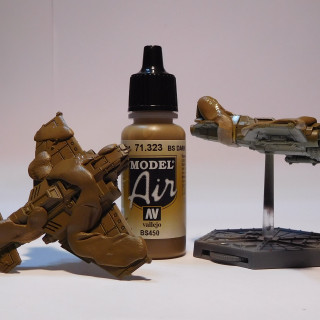
The models come with extra flight stand; the clear plastic rods. These extra flight stands where used as handles for holding the miniature while it was painted. These stands could get paint on them.
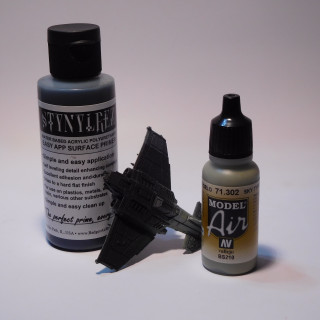
The model was primed black with an air brush.
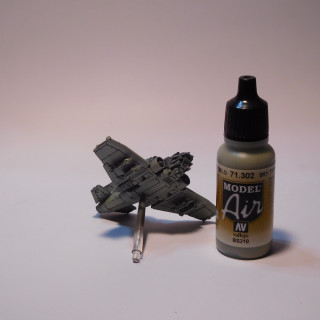
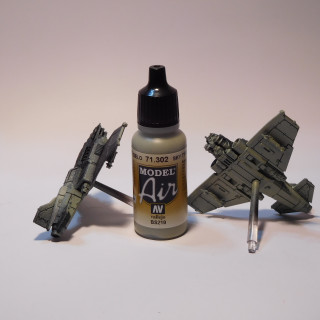
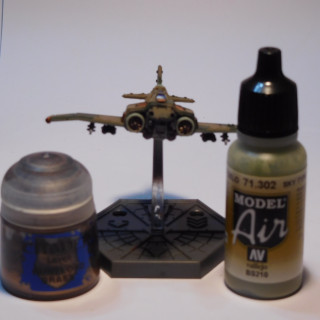
The bottom was air brushed with Vallejo Sky Type S. The fuselage section between the wing and tail was also painted with Sky Type S. This will be basis of the fuselage stripe.
If any of the top surfaces got the Sky Type S colour, not to worry as this would be covered in the next steps.
Masking tape was applied to the fuselage to make the fuselage stripe to the area previousely painted Sky Type S. The masking was done after allowing the paint to dry to the touch.
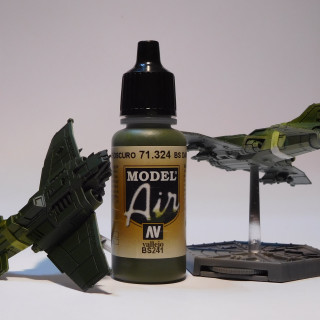
A dark green was air brushed to the top surfaces of the model. The air brush would naturally do a blend transition on the sides of the fuselage.
Parts of the top surfaces where masked off using blue tack, this was to make the camouflage blobs. Again the masking was applied after the paint was dry to the touch.
Next the brown was air brushed on.
That was the last of the base colours to be applied.
Painting Details
With the base colours blocked in, it was time to paint the details. First up, is to paint the techy bits. The engine parts painted bronze. Gun bits painted silver. Base the windows dark blue.
Any bombs where painted green. Missiles got a coating of light grey and a highlight of off white.
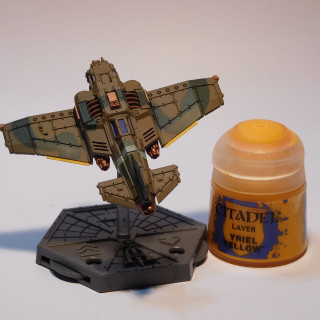
Some Spitfires have a yellow stripe on the leading edge of the wing. For these Thunderbolts, a yellow stripe was added to the trailing edge of the model. This change was due to the model having an easy paint panel molded on the model.
The windows receive several highlights of light blue. This was repeat of what was done one the Marauder Bombers.
The engine cowling got a coat of paint matching the undersides. The fan at the inlet was painted bronze.
A light dabbing of a dark wash was applied to make the panel lines more visible.
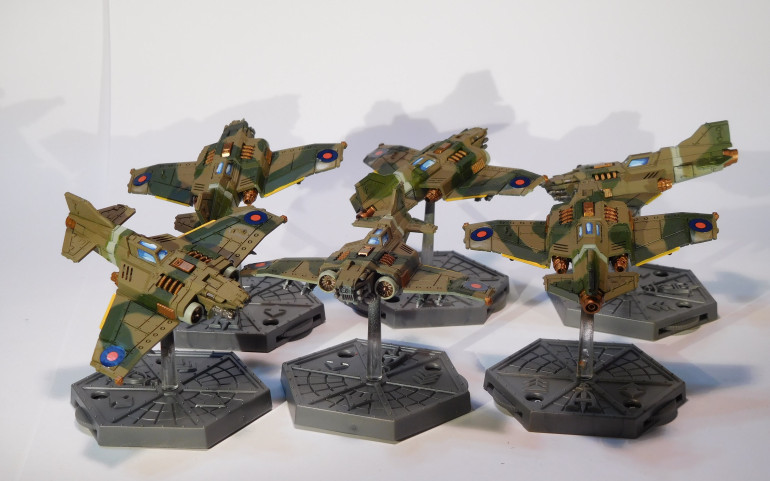
Decals from Warlord’s Blood Red Skies where used for the roundels on the top and bottom of the wings. The was not enough room on the fuselage for the roundel and serial number, so those decals were not used.
Finished
Some extra decals added. Numbers were applied to the wings for identification.
A small amount of touch paint was needed after applying the decals due. This was impart due to the varnish leaving a white residue. Lesson learned, the varnishing being used required addition of water to thin it down prior to application.
Final step was a coat of Army Painter anti-shine varnish.
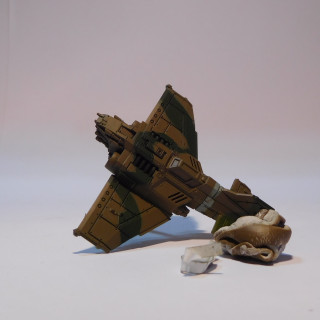
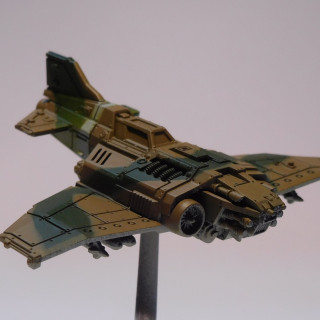
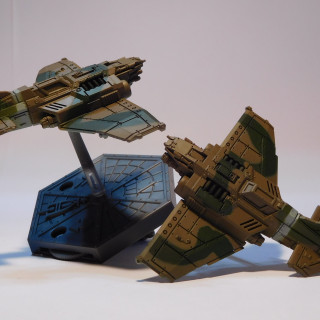
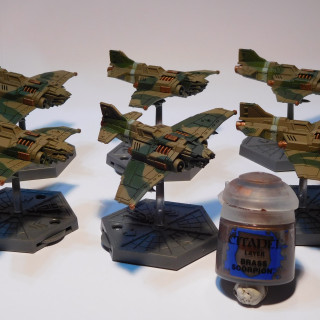
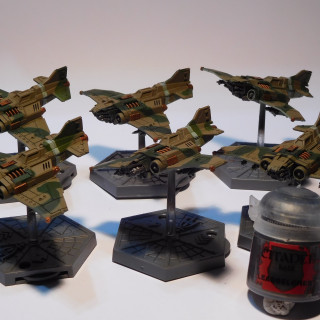
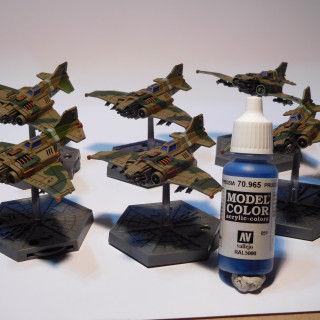
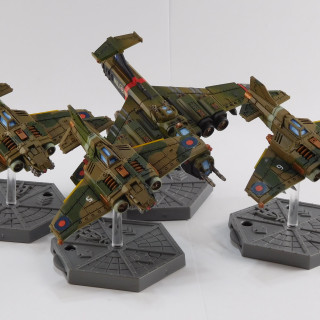
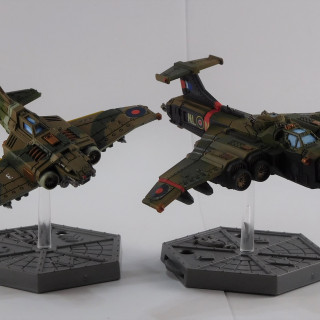
Above are some random pictures of the models.


