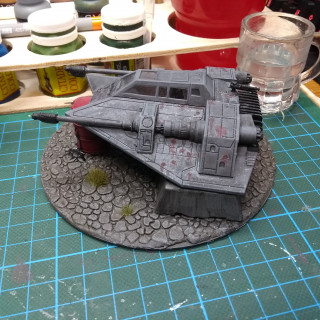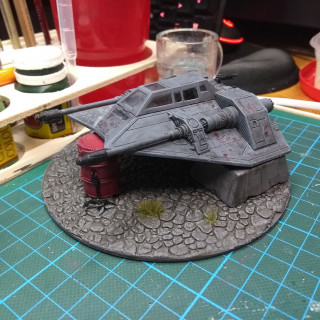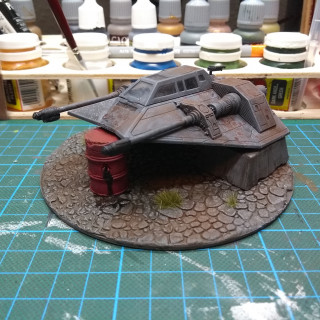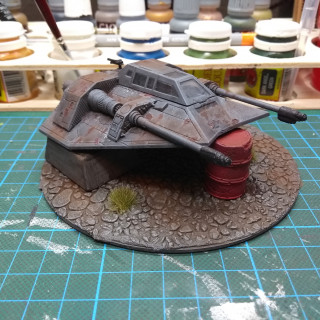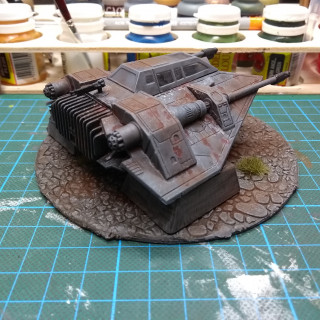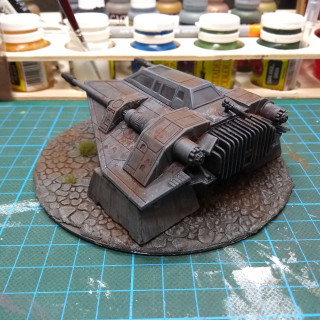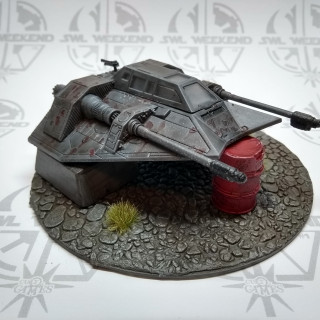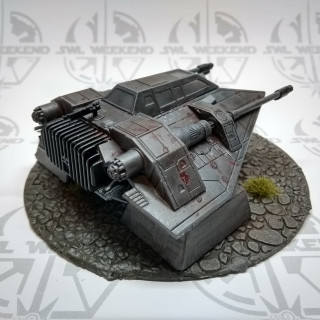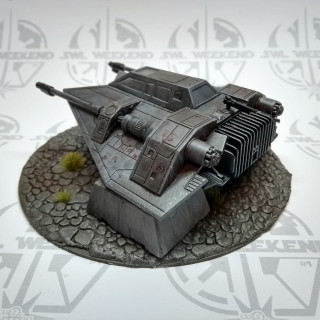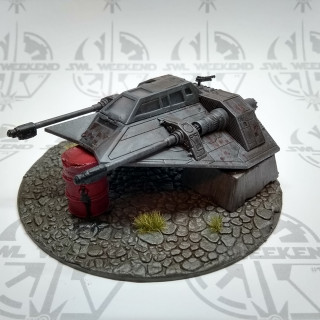
A small piece of terrain for Star Wars: Legion.
Recommendations: 36
About the Project
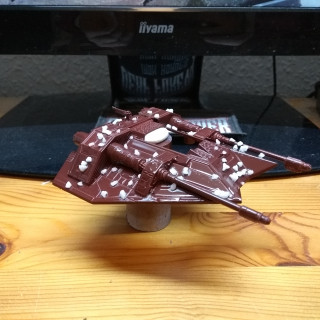
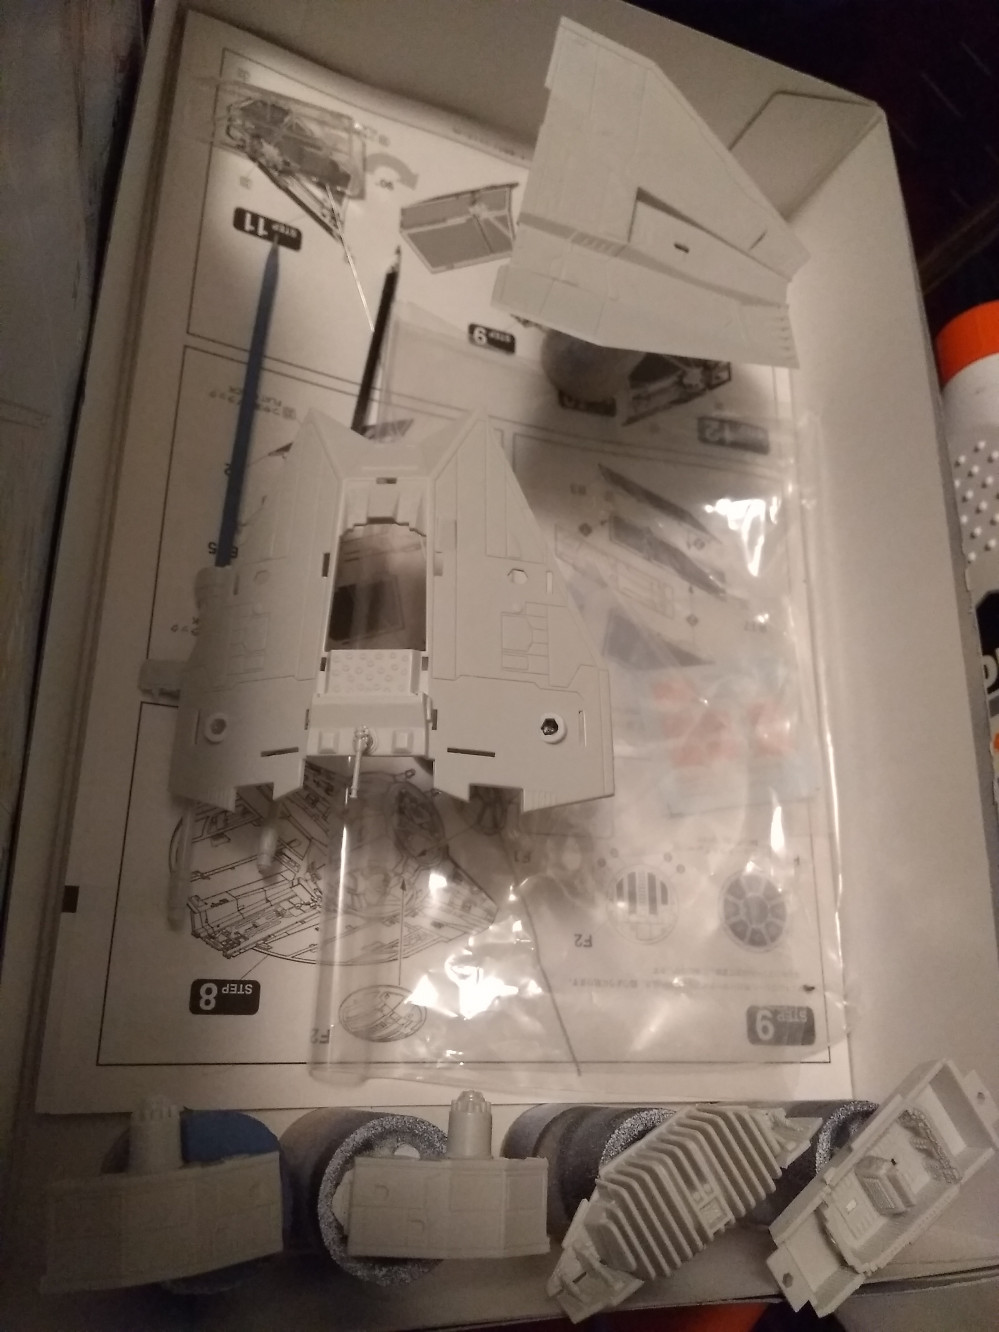
Since the beginning of Star Wars: Legion the Revell T-47 Snowspeeder has been on my mind. With 7 Euros it's much cheaper then the one from FFG but it's a tiny bit smaller. But as a terrain piece, this wont matter.
Related Game: Star Wars: Legion
Related Company: Fantasy Flight Games
Related Genre: Science Fiction
Related Contest: Star Wars Hobby Weekend
This Project is Completed
Being a bit salty
So I will try the “salt” method for the first time on this little project. Later on there will be more things I will do for the first time.
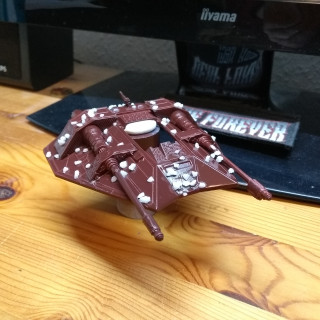
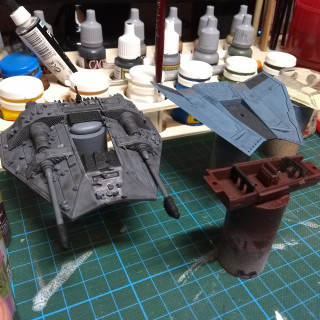
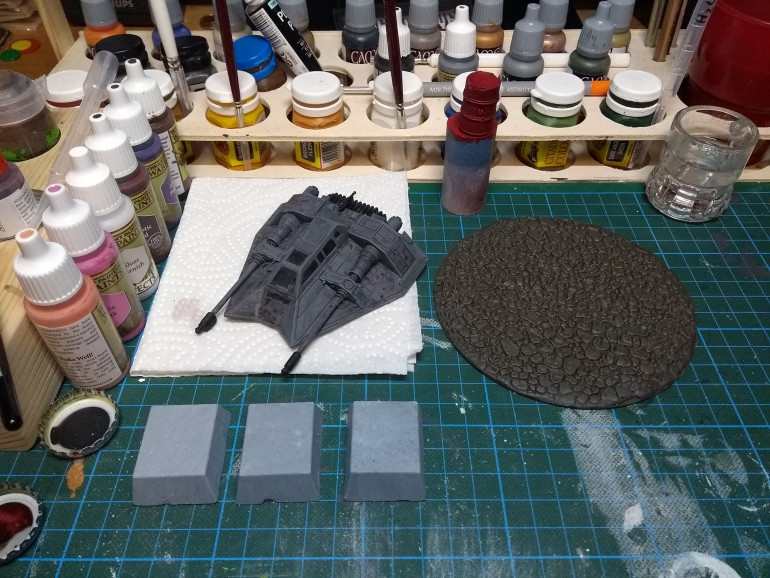
The build on this model is very straight forward. Cockpit has three parts, one lower hull section, upper hull with the 2 guns and one tow cable gun and the rear section.
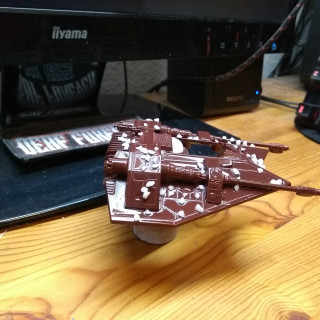
To make painting and weathering easier I assembled the upper hull with the rear section, left the lower hull for it self and build the cockpit.
And then everything got a good coating of Army Painter Chaotic Red. After everything dried the upper section got a thick coat of hairspray and salt.
Bring in the colours
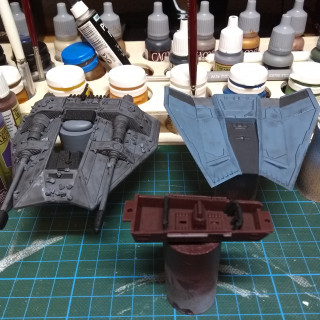
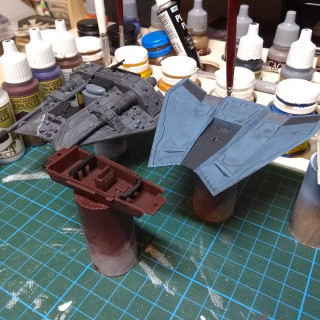
After all the red dried the upper body got a coat of Army Painter Uniform Grey and the lower section was painted with Army Painter Wolf Grey.
Letting that dry again and then blocking some colours and adding a lot of Citadel Nuln Oil.
And because it’s starting to get closed to finish I need to start the base.
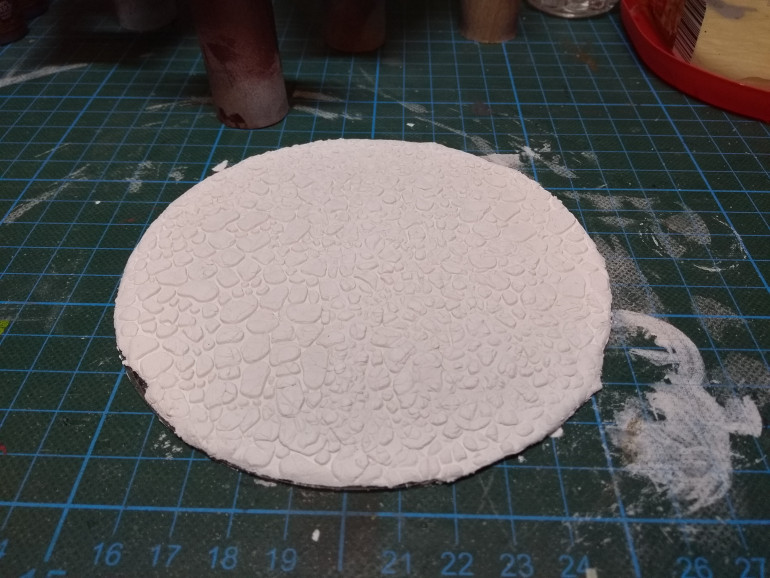
This is a new technique to me: air drying clay on a CD structured with GreenStuffWorld cobblestone roller. I am excited on how this will turn out.
Bringing the pieces together
Now everything is dried I assembled the T-47, did a dark grey on the base, red on the barrel and a light grey on the big “concrete slabs”
After that, the cockpit of the T-47 got a wash too and the salt was removed. A red wash applied to the barrel and a light grey dry brush to the base.
Since I’m working in batches now things have time to dry and after I dry brushed the base it was able to apply red wash to the rust spots and a brown wash to the base.
And this is the result:
Assembly and final touches
And here we have it. After giving everything a good wash the barrel was fixed on the base and a UV-Resin mixed with ink is used as sludge on the barrel. I don’t know if the resin itself takes so long to cure but I think the ink is making it taking longer. This is another first for me 😉
Then the two concrete slabs are glued into position and the T-47 on top.
And then yet another first for me: pigments. I crushed some artists paints and there I am… and I think it looks awesome.
Tomorrow: seal it all up.
It's sealed...
And the pigment with all it’s heavy dusty rusty effect vanished.
WTF?!
Well it look good the way it is now. Maybe someday I will use some more pigment and (as some *other* dude on YouTube suggested) use hairspray to fixate the pigment.
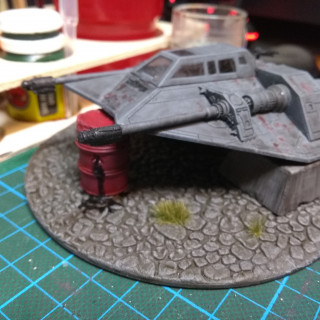
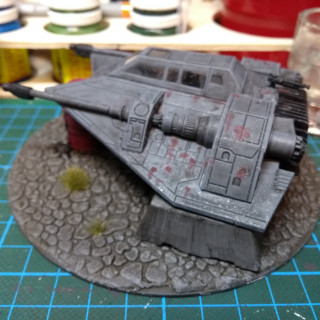
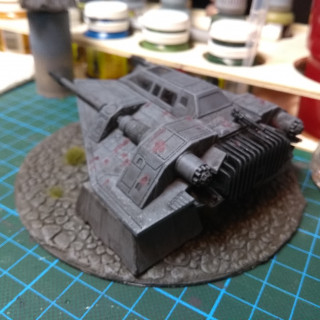
Without further ado: The T-47 Airspeeder.


