
The Millennium Falcon
The internal floors
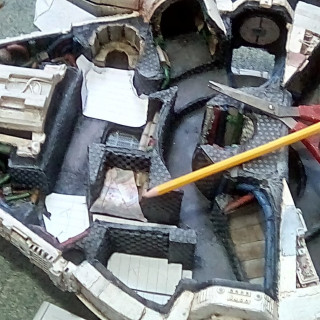
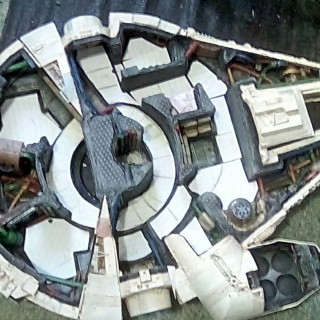
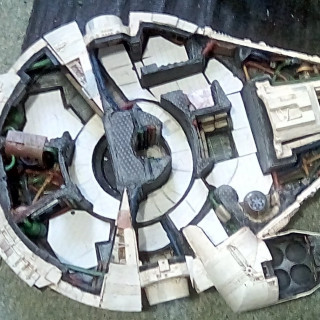
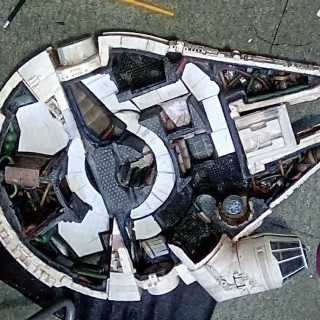
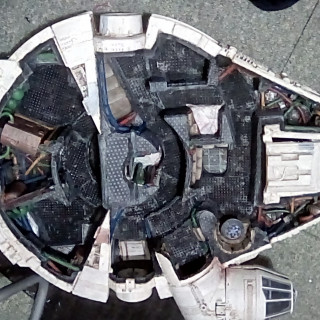
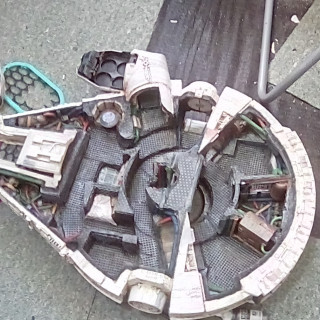
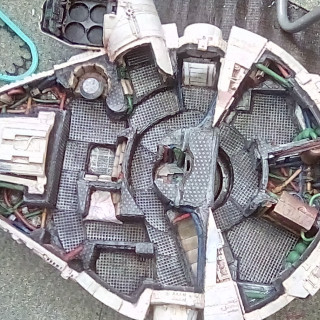
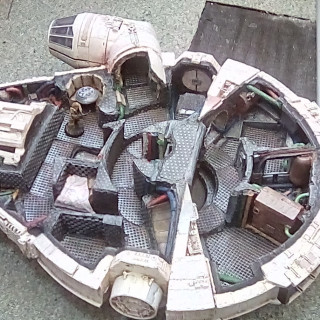
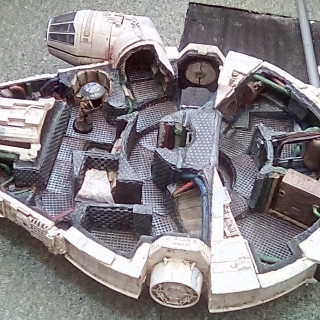
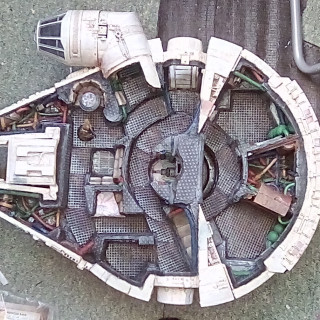
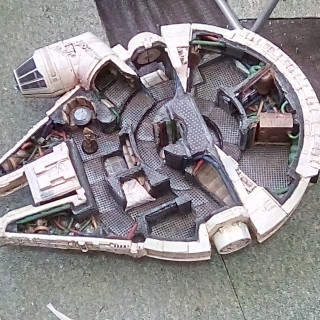
Next up is the simple but messy & time consuming stage where the cardboard floors and corridors get upgraded to look like metal mesh.
first make.paper to templates of all the flooring and corridors to be covered remembering that the paper needs to be able to lie absolutely flat.
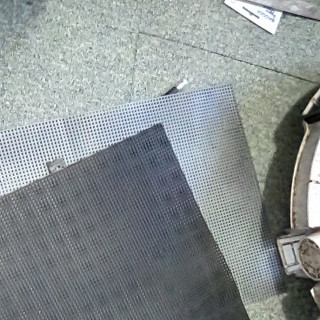
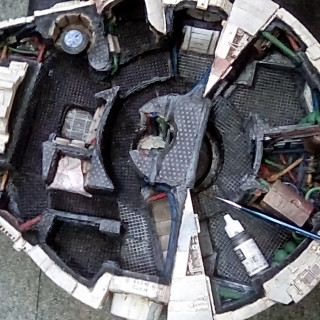
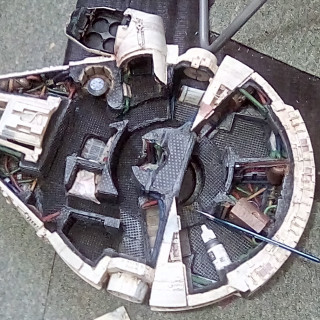
I had picked.up 2 a4 sheets of plastic mesh from a local craft shop, the sort used to sew tappestries. As they are white I prime.these and then paint one side black with spray paint. Spray paint adheres much better to this kind of plastic than brushed on paint. Once dry I make the mesh flooring pieces by cutting around the paper templates with scissors and gluing them in place with a thick gel superglue. I use rubber topped pencils to push the mesh down in place, rather than my fingers, as some glue will leak through the holes in the mesh. Once dry the black.paint is touched up.by brush where the glue has seeped through.
The mesh is then Drybrushed with gun metal grey to pick out the pattern and give it a metallic look. I chose the top left corner of each mesh panel to get highlughted with natural steel, and the bottom right corner to get painted with rust effect (all valehjo paints). This makes each panel distinct from.it’s neighbouring floor panels and helps the ship look old and rusty.
There will actually be 2 stages after this, but I won’t photograph those as they shouldn’t look any different.
Firstly, once everything is dry I will cost all the mesh flooring in a generous coating of yacht varnish. Not only will this stop mini’s bases scraping the paint off the plastic.mesh, it will help seal the mesh to the card layer below and fill any loose edges the super glue may have missed.
Then I will redo all the rust areas left too shiny by the varnish, as rust should be Matt to look realistic.




Leave a Reply