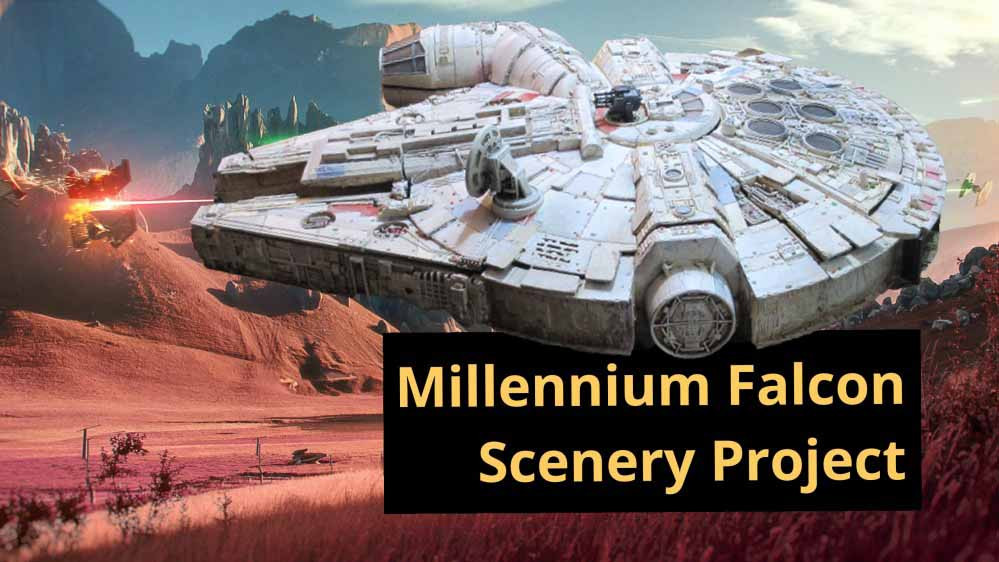
The Millennium Falcon
More painting and details...
In this update I am going to group together a few little things I had to do to add vital details and correct a few little niggling things that have been bothering me.
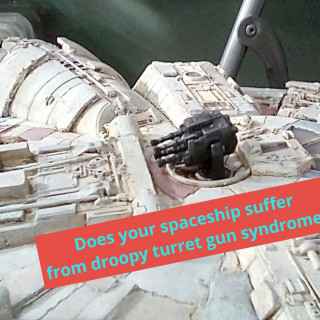
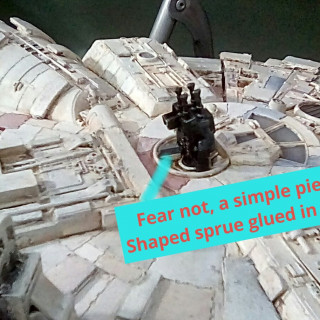
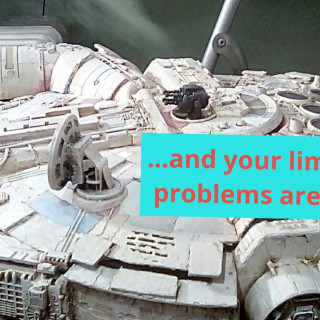
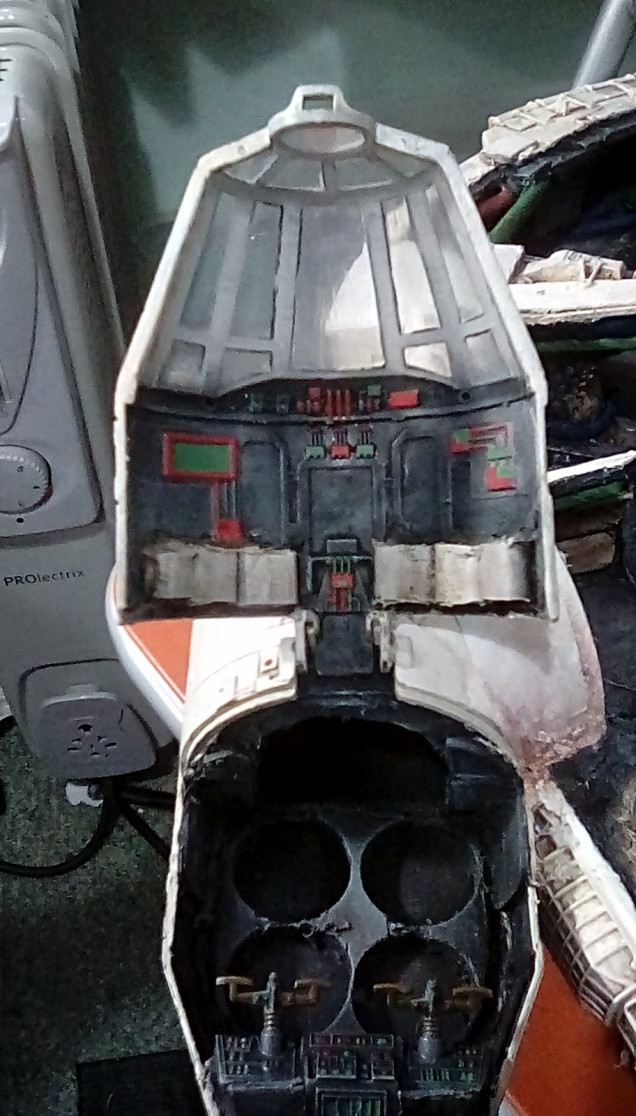
First up is the turret gun. I don’t know if it was a design fault, if my be built top hull is higher than the original was, or if a part is missing, but the turret gun drops too low – shot in that position it would blow a hole in the ship. I simply glue a piece of shaped sprue into place to stop the gun dropping down too low. I could have just glued it into a fixed position, but I quite like the fact the gun can move and wanted to keep that.
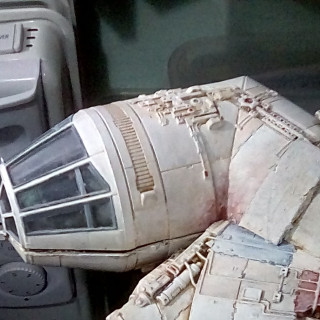
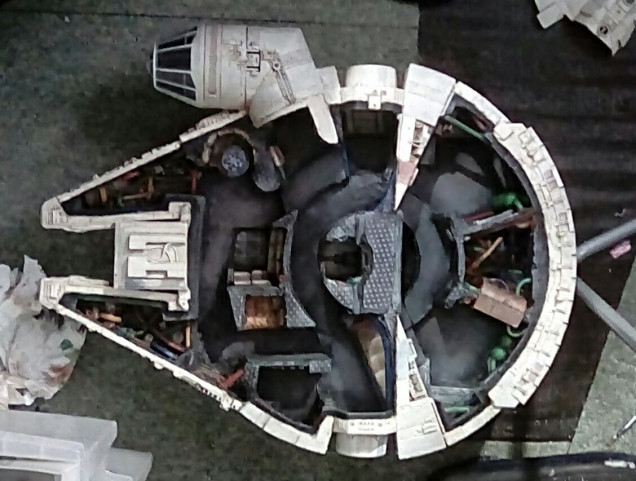
I add a bit rust. I don’t want to go too overboard with this, after all this is supposed to be the fastest ship in the galaxy and shouldn’t look like it will drop apart if it goes too fast. But as a neglected and dirty ship inevitably there would be a few bits of rust here and there. I add rust in the inner corner between the cockpit and the main hull (as a man who has had many old second-hand cars, this is surely the spot where rust would appear and make the Falcon eventually fail it’s space MOT). I reason the inner airlock doors might get a lot of condensation on them, so add rust here aswell. I had already plainted the corridor to the turrets and the inner airlock the same base colour as the hull, so they can be seen against the other dark details.
My method for adding rust is to stipple on a rust effect paint (I use valehjo rust air, but applied with a old brush), then once dry stippled over it with the original colour you were covering to feather the edges of the rust. Rinse & repeat until you are happy with how the rust looks.
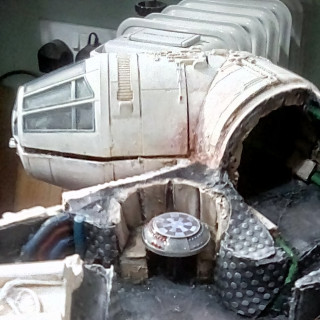
It was very important to me that the ship has Chewie’s halo chess table, and luckily the original toy spaceship still had this part. I cut the base down (so it’s not to scale, but as close as I can get it) and just painted the outer rim. The chequered chess board is the original sticker that I have vanished over to protect. At the moment it is just pinned in place, so I can still remove it while doing the floors later.
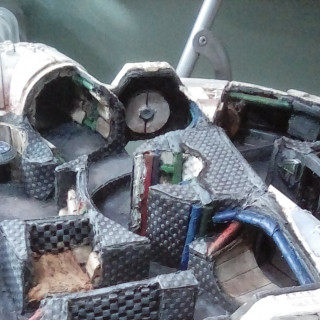
The cockpit roof gets some red and green display lights painted on – I paint similar lights in the rest of the ship where there are any molded details showing.
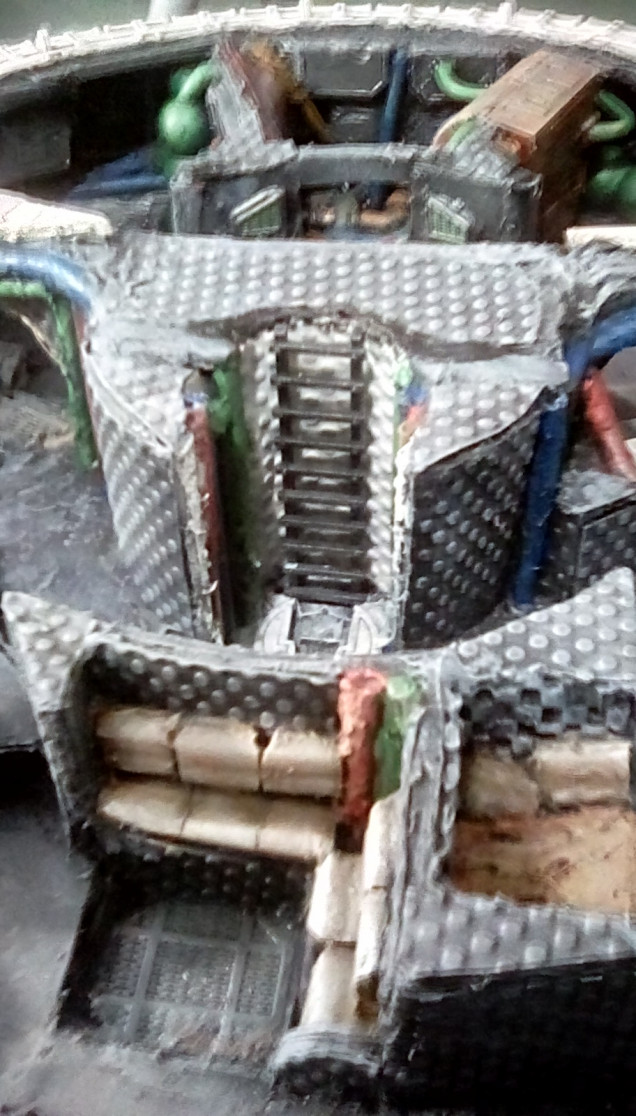
I found a resin ladder I had bought for another project. Although moulded as a fantasy wooden ladder, it looks suitably sci-fi painted black then Drybrushed with gun metal grey. Again, not glued in place yet as I may decide to paint the tube it is in to add more detail, but the dark ladder stands out well against the light background, which is more reminiscent of the film than my original colours where.
Having dulled down the bright pipes and wiring yesterday, I highlight their top edges today so they stand out against the darker walls and corridors. This may seem like a waste of time, but now the pipes have some shadow and look grimy on their undersides, while giving me that almost cartoon look of a cut-away diagram of a spaceship that I have decided I want. I’m not building a realistic diorama but a fun wargaming peice, so people have to be able to tell from a distance what each area of the ship is – without re-highlighting the pipes they just merged too much into the background. I also drybrushing surfaces that are supposed to be metal with gun metal grey – this is a vallejo paint that gives a darker finish than the natural steel I normally use.




Leave a Reply