That Gold Leaf Project
Recommendations: 24
About the Project
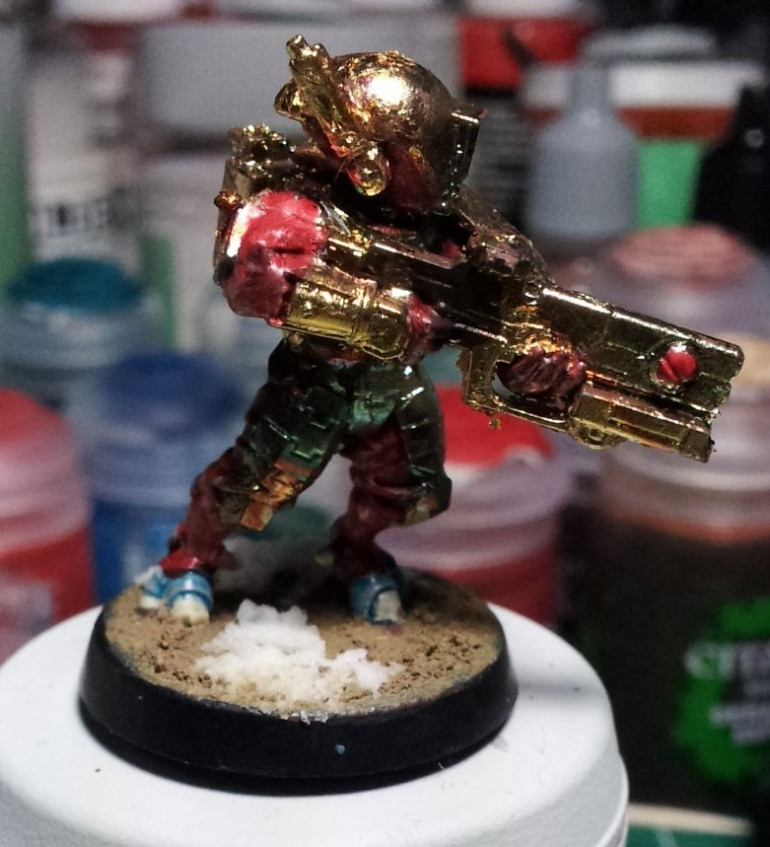
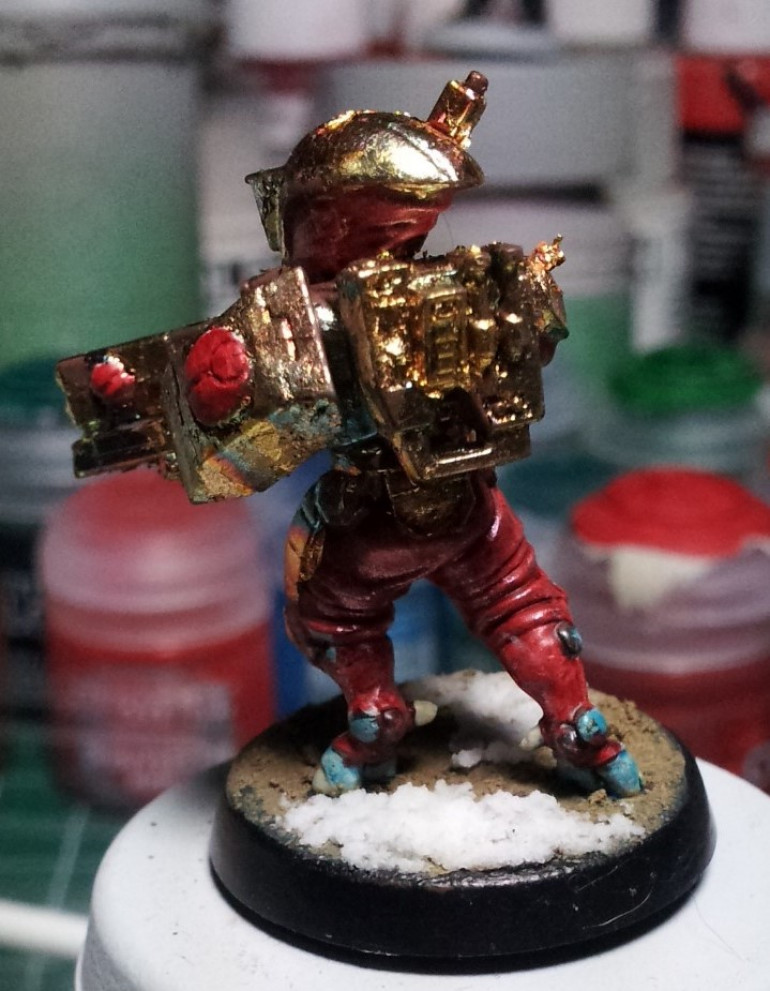
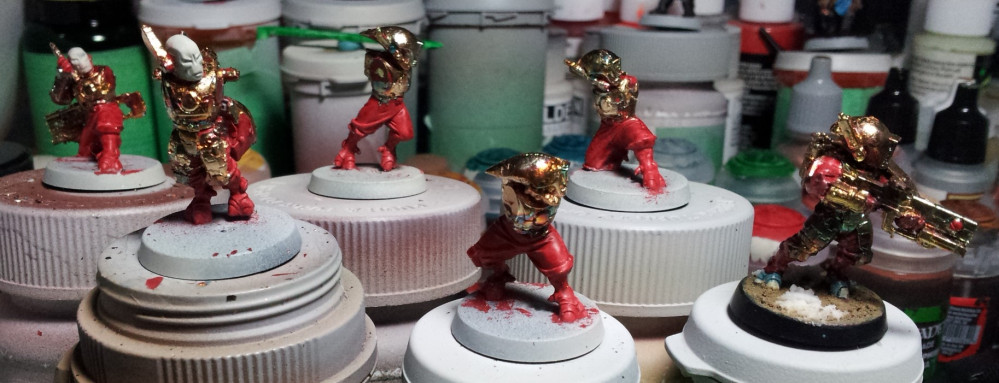
This all started out with me asking an art supply store clerk about a way to really elevate some minis in a way that I'd never done before. After some thinking he asked "Have you ever tried gold leaf?" I'm going to talk about how I went about using the stuff and the tools and techniques to do it. :)
Related Game: Warhammer 40,000: Kill Team
Related Company: Games Workshop
Related Genre: General
Related Contest: Spring Clean Hobby Challenge (Old)
This Project is Active
Getting set up
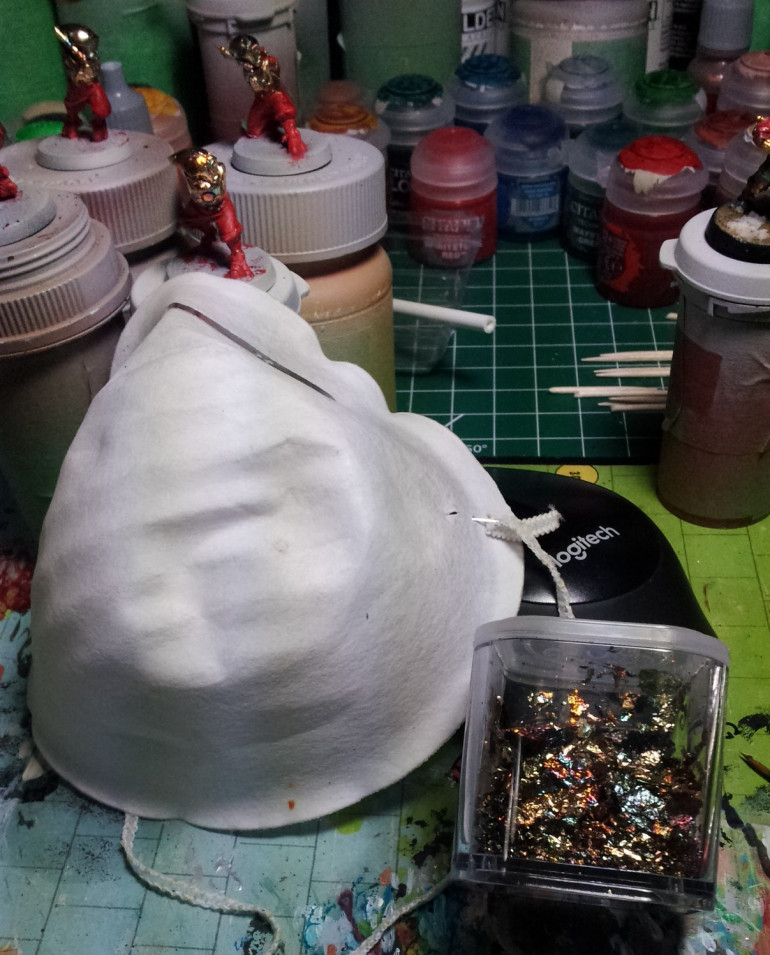
We’ve got all the materials at hand, let’s look at prepping the workspace.
Working with the gold leaf can result in a small, fairly easily contained scatter of excess flakes or in an apocalyptic cloud of big golden flakes stuck to everything within a 3 foot radius. o_0
The dust mask is to protect the gold leaf from your breath. Even the slightest waft of air can send loose foil flying. I found this out when an errant sigh looking at my first attempt blew a cloud of loose leaf all across my desk.
You’ll also want a small working container for the foil, so that you are not trying to work from the main package. I use a dice container that snaps securely shut, which allows me to reach the foil inside easily and close the box securely when I’m not using it.
The small box is hard to spill and if I do knock it over then I have lost relatively little and the mess is fairly small.
I also lay down piece of printer paper of my workspace to catch the excess litter so that I can return it to the storage container.
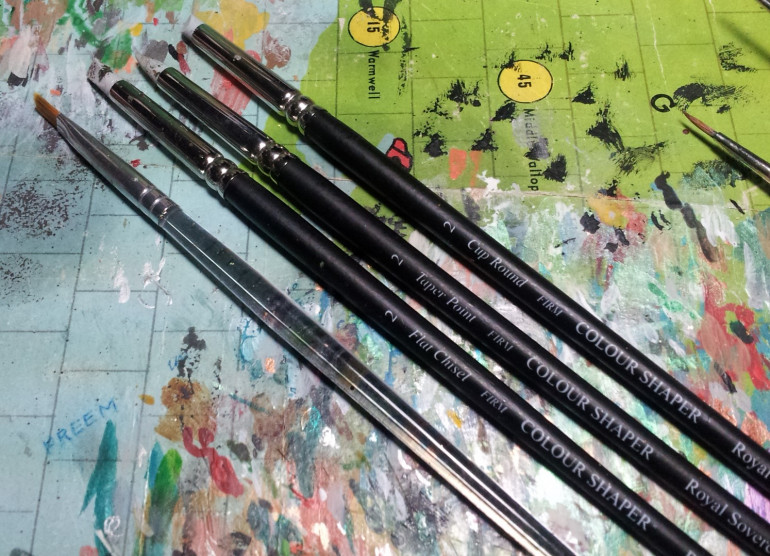
The whole process we’re using, is to press the gold into the details and recesses where the size has been placed. Mainly, your fingers are the best tool for the basic work, but you’ll also want tools for getting into the places where your fingers don’t fit.
I used Colour Shapers for the task. They are meant for clay shaping, I think, and they have firm but yielding silicone tips. They are great for pressing and moving the gold into tiny crevices without tearing it or stripping it off the model.
A soft bristle brush is also useful for pressing the gold down into the size.
A brush with stiffer bristles is used for brushing the excess gold flakes off the mini and onto your paper sheet.
But we’ll talk more about the application techniques in the next update. 🙂
Just what do you need for this?
Putting gold leaf on the minis is a pretty straight-forward simple process, but it is in no way a fast one. The “glue” which is called size or gesso has to cure for a bit before it becomes properly tacky to receive the leaf. And keeping your work area tidy can be problematic if you don’t take proper care.
Alright, so let’s start talking what you need to do this. 🙂
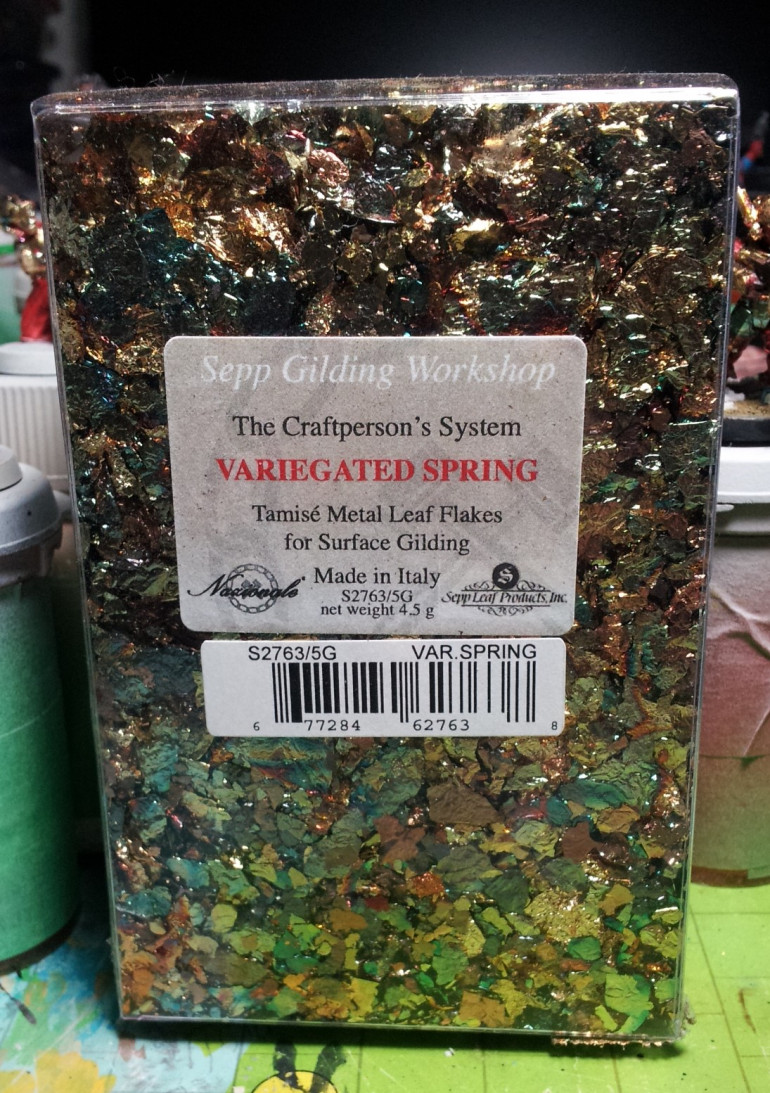
This gold leaf is basically very thin gold leaf scraps, think of it like big pieces of adult glitter. I chose the Variegated Spring color blend because I thought that exclusively gold would have little highlighting or visual interest. My thought was that the random color changes would help with the visual interest concern.
Gold is actually surprisingly translucent and needs a bright undercoat to help warm it up and increase it’s luster. A black undercoat increases its shine but dims its “goldenness” a lot like painting over black, likewise a white undercoat tends to wash out the “goldenness” and makes it look milky.
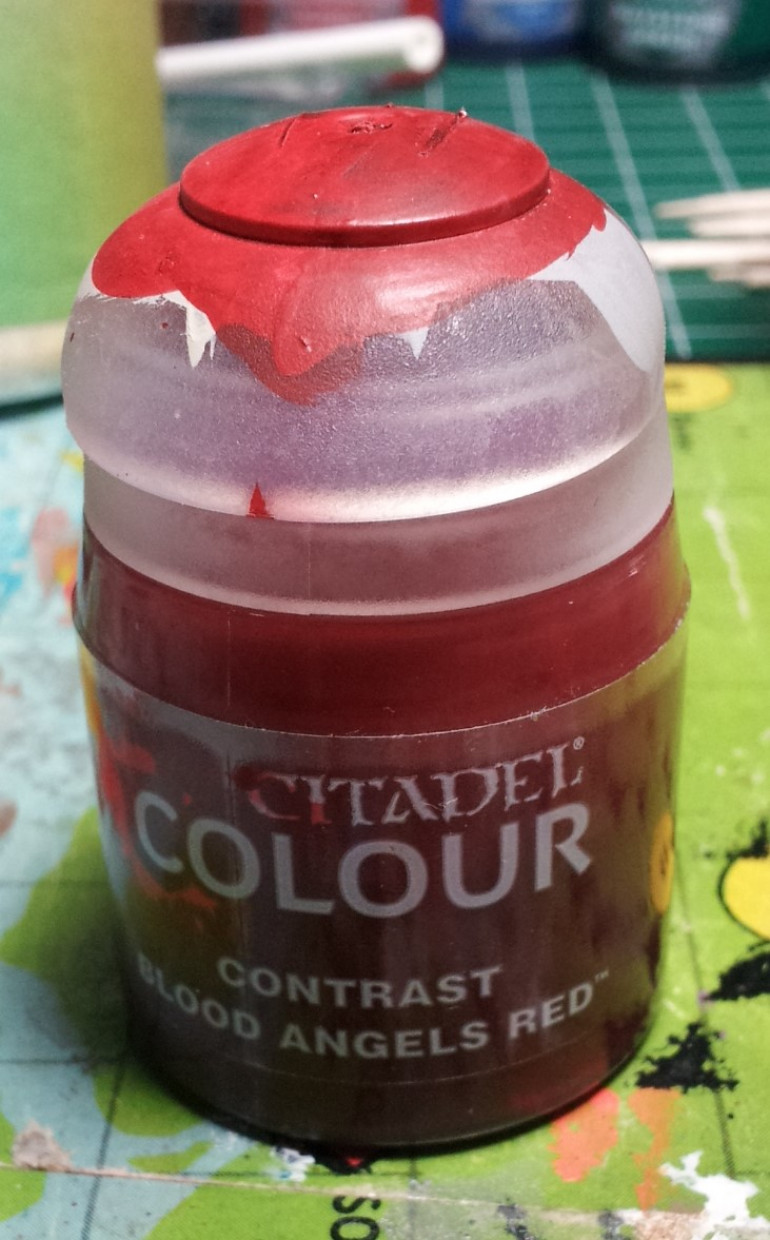
I learned that bright red is used as the primer/undercoat in other gilding processes. Red Contrast paint over Wraithbone primer allows me to get the right setup in the least amount of time.
So all that sounds fast so far, right?
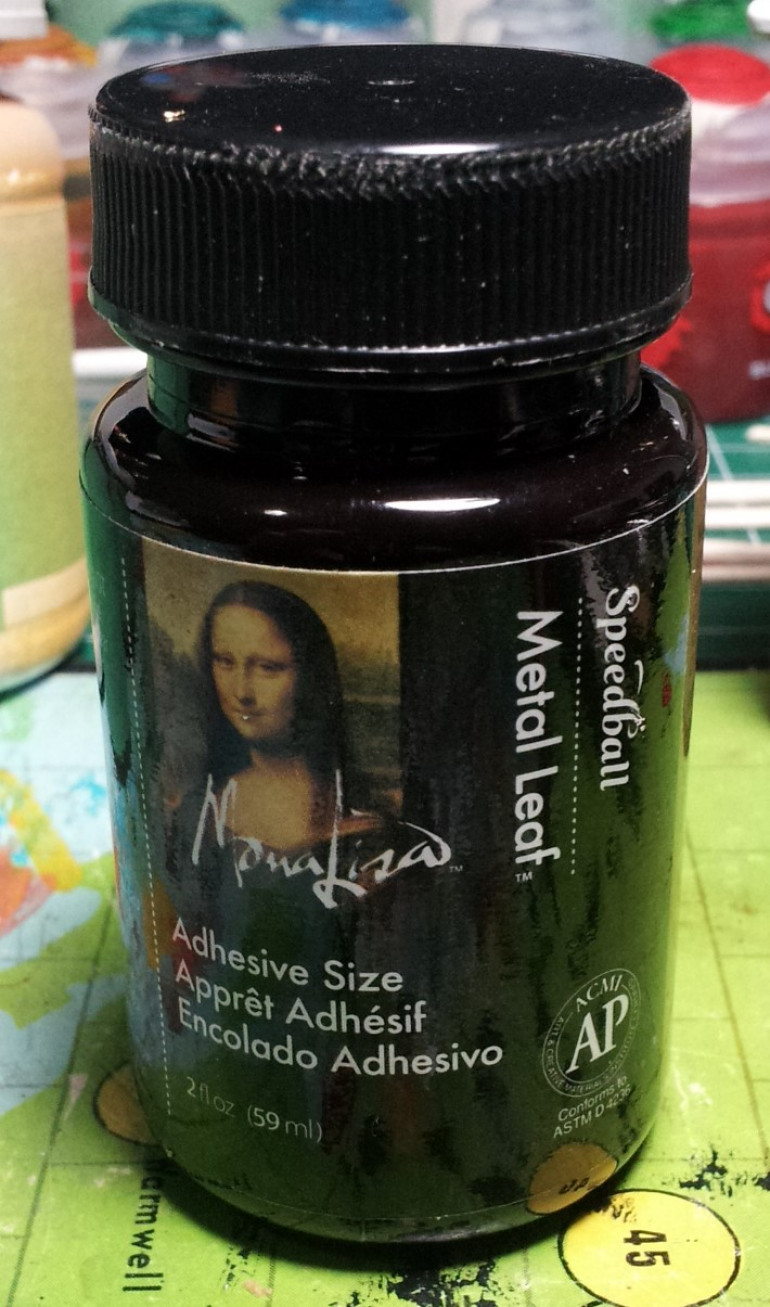
Well here it all slows down. The size is the special glue that the leaf will adhere to. It gets painted on with a brush just the same way you would do with paint.
I chose Speedball size because it is ready for application after just 30 minutes rather than the more “proper” size which must sit for 24 hours before applying leaf.
The window for applying the leaf is probably about 30 minutes, before it starts to lose its tackiness to hold the gold properly.
So that’s a quick description of the big players on the component side. Next time on That Gold Leaf Project we’ll talk about workplace setup and mini prep.
Why? Just Why?
This all started out with me asking an art supply store clerk about a way to really elevate some minis in a way that I’d never done before.
After some thinking he asked “Have you ever tried gold leaf?”
I’m going to talk about how I went about using the stuff and the tools and techniques to do it. And maybe a little bit about the lunacy that gets me into stuff like this… 😀 😛 😀
The gold leaf is surprisingly malleable and the whole process is really simple.
But not fast. And potentially it can be very messy to clean up if you don’t take the correct precautions.
Oooh, that sounds ominous!
What could it mean? Find out next time, in the next installment of That Gold Leaf Project.


![How To Paint Moonstone’s Nanny | Goblin King Games [7 Days Early Access]](https://images.beastsofwar.com/2024/12/3CU-Gobin-King-Games-Moonstone-Shades-Nanny-coverimage-225-127.jpg)


