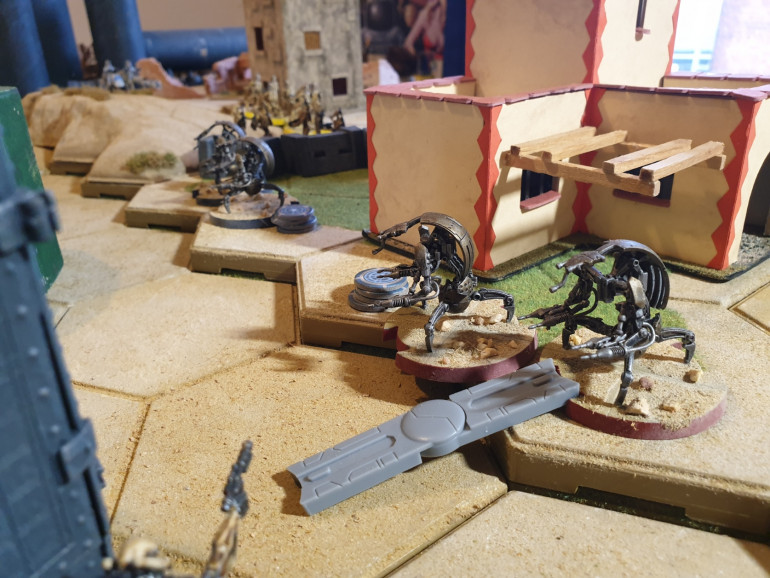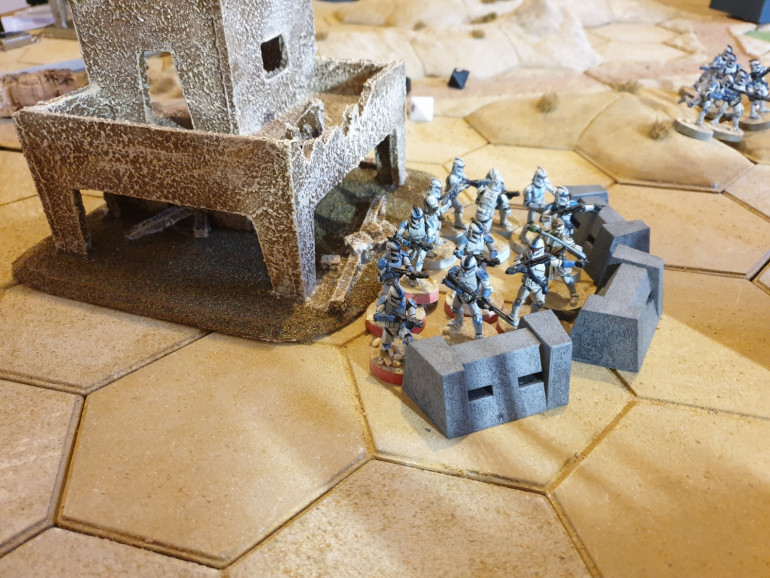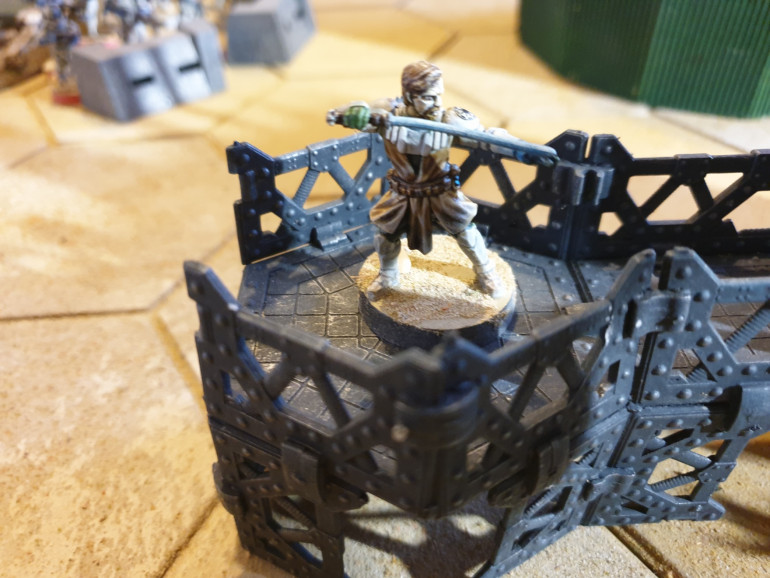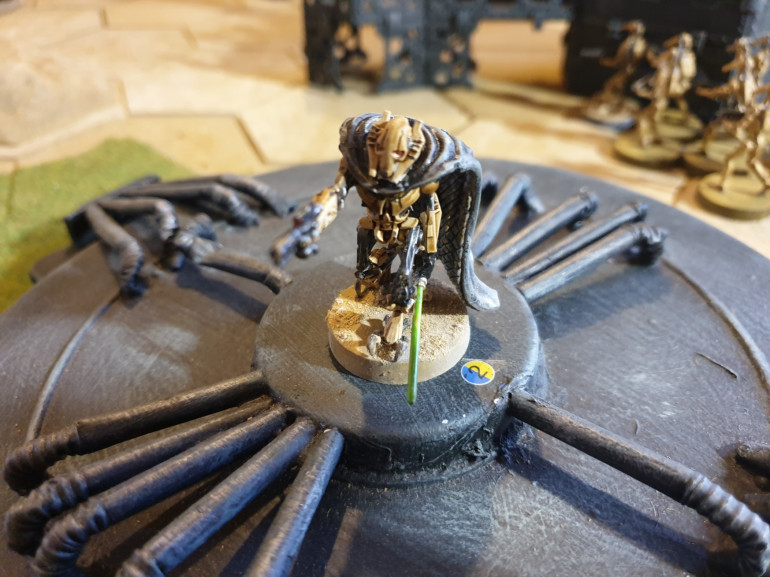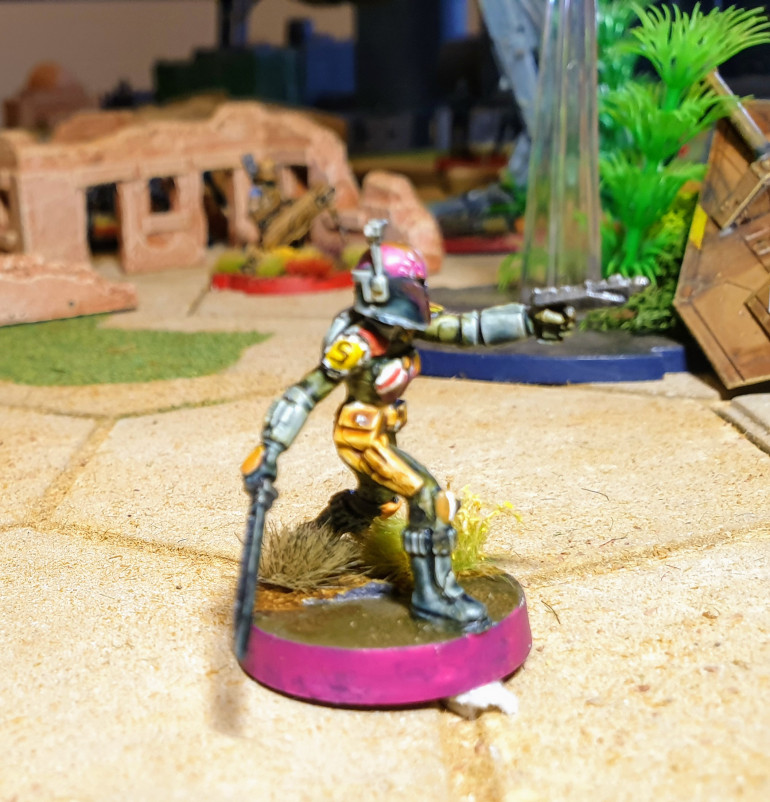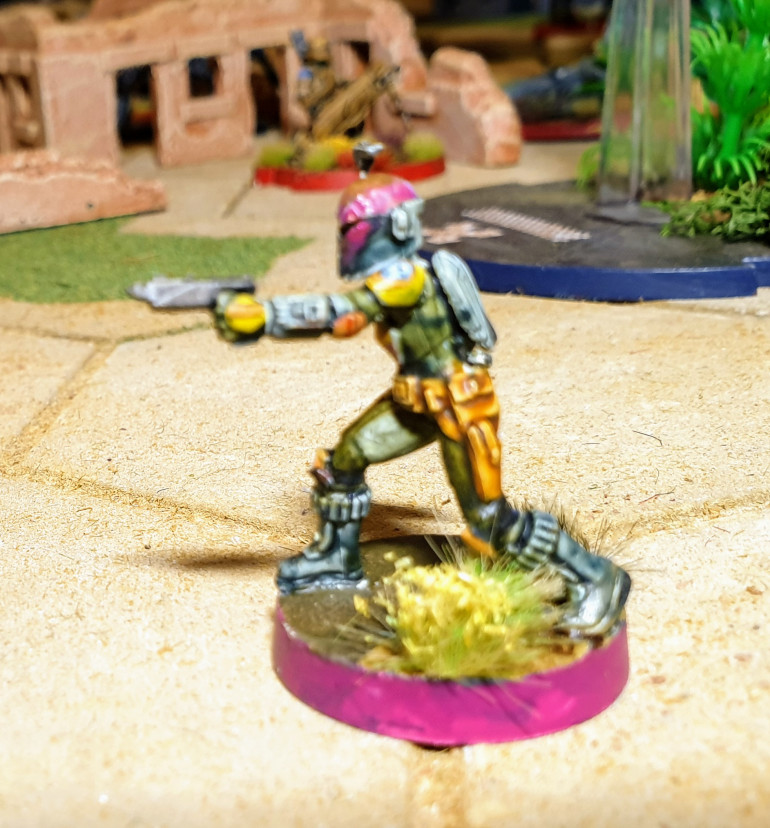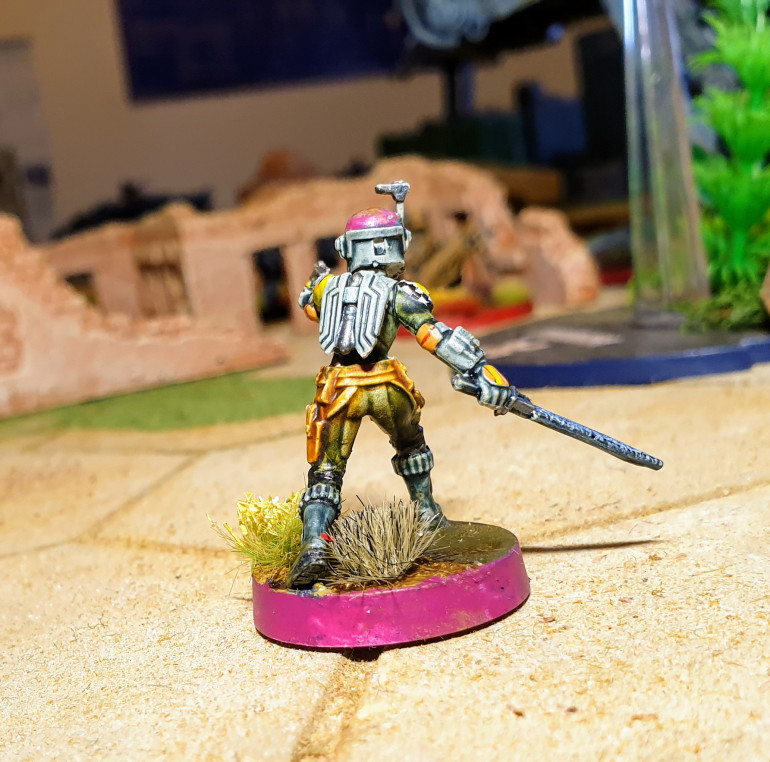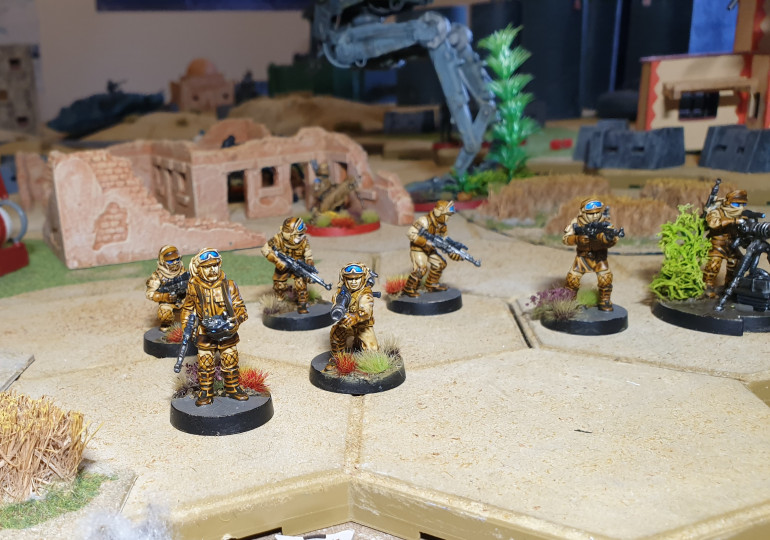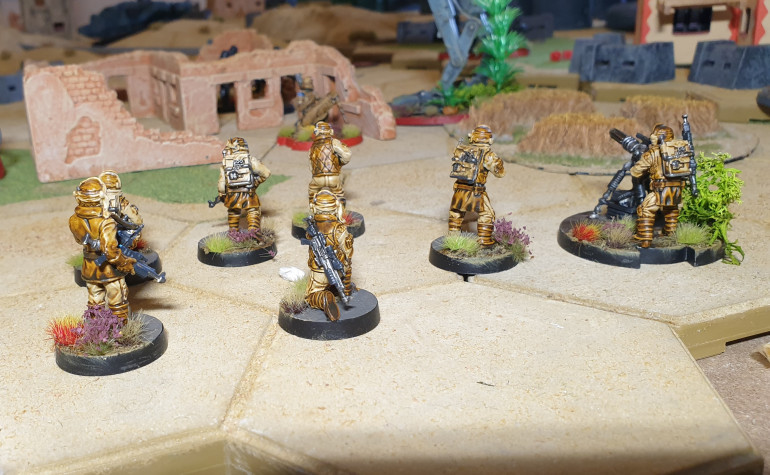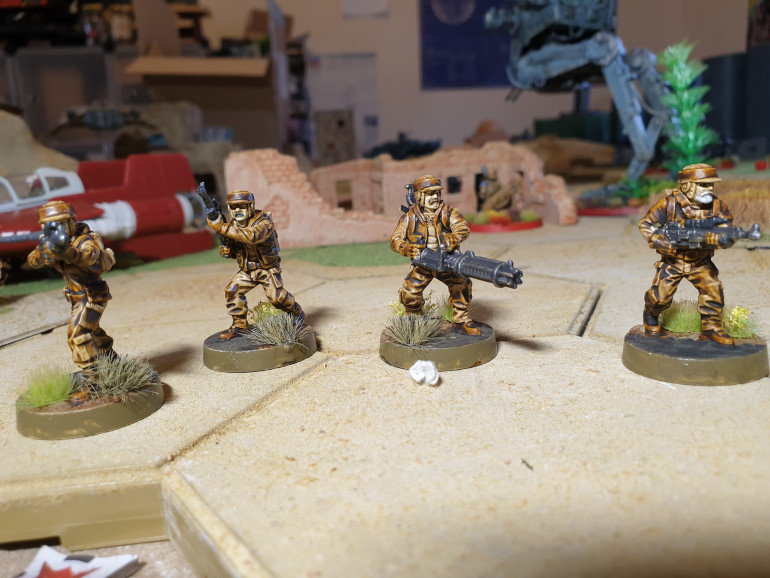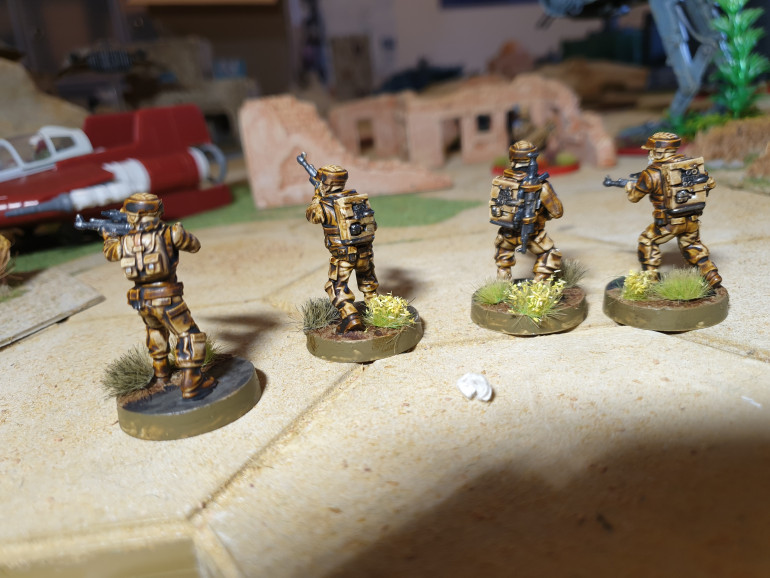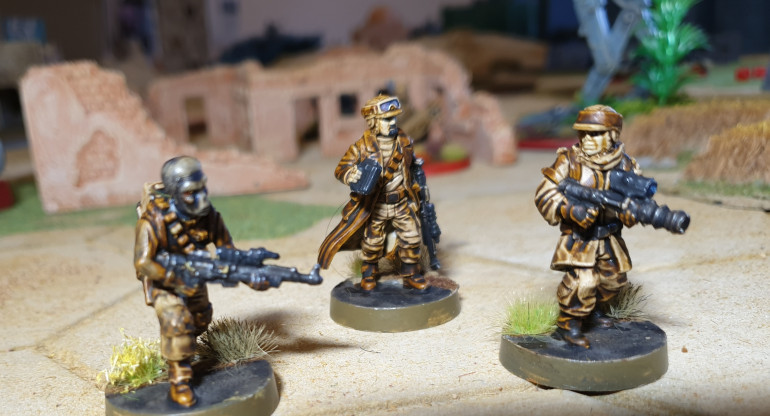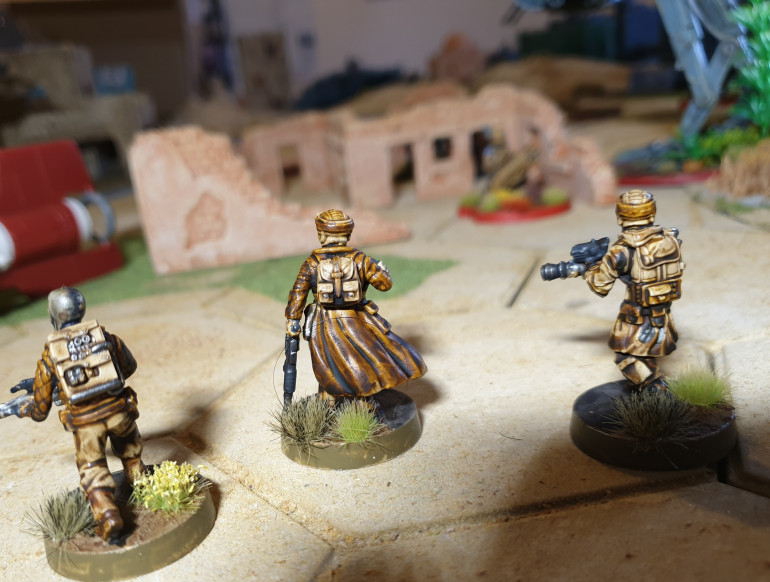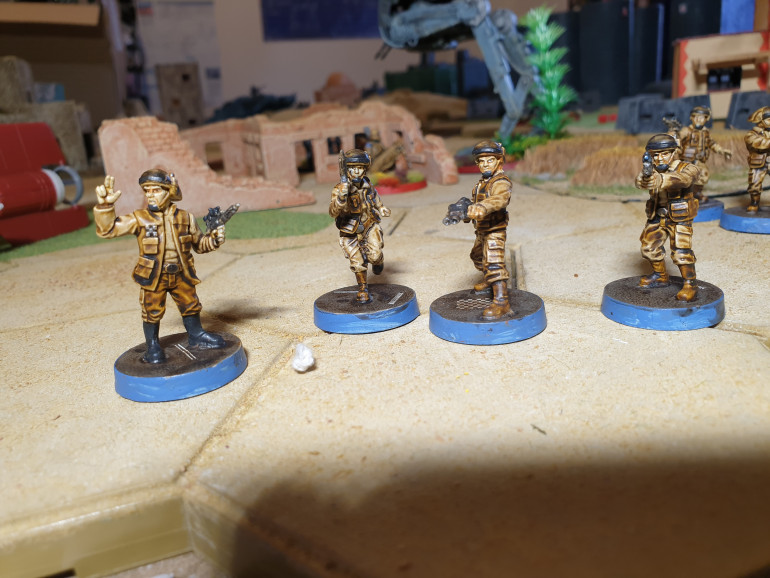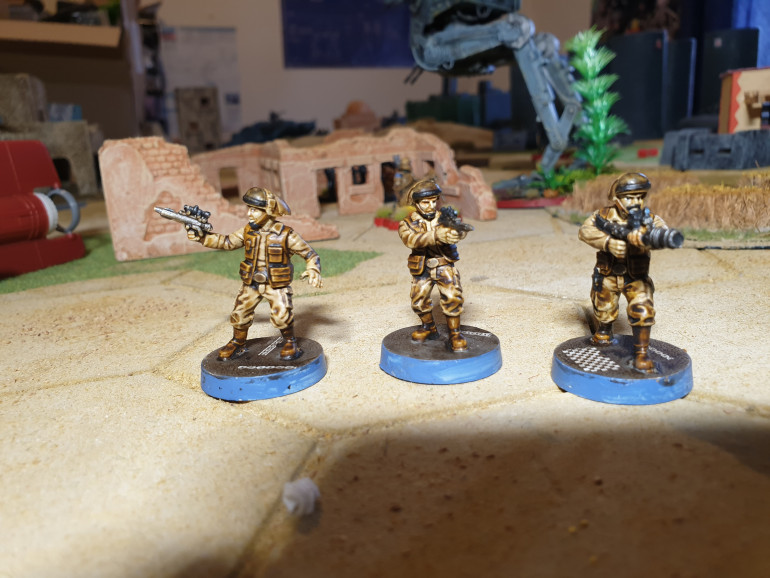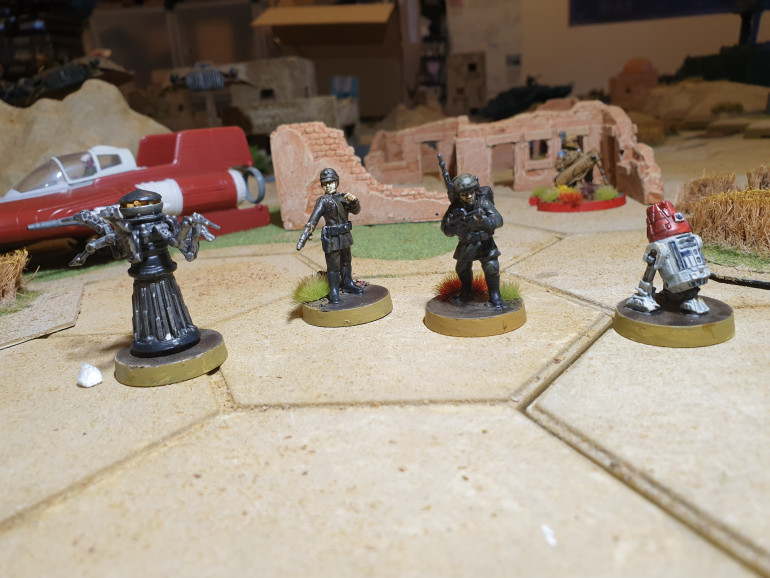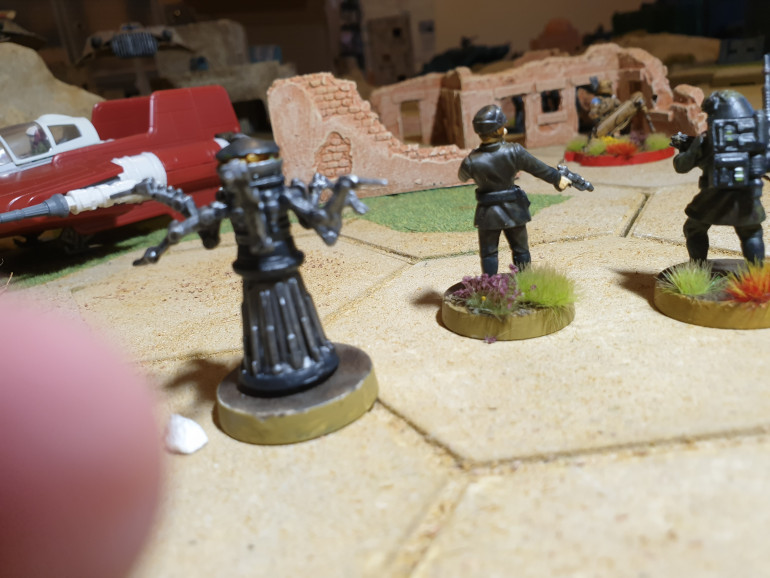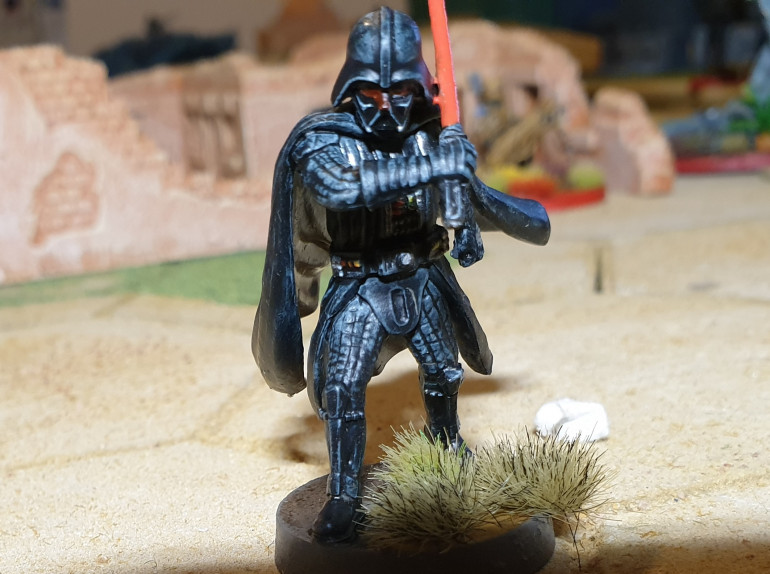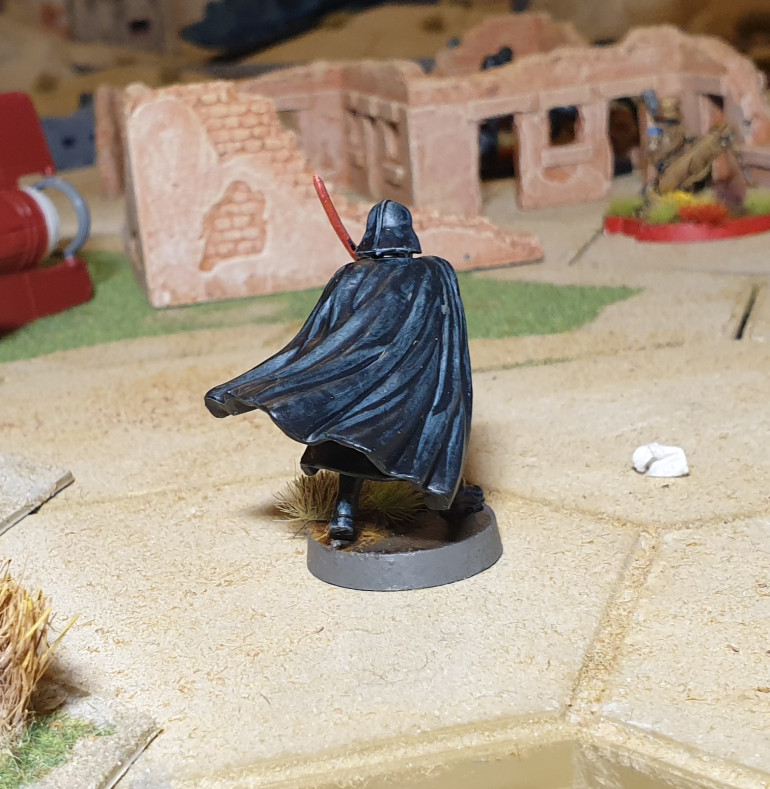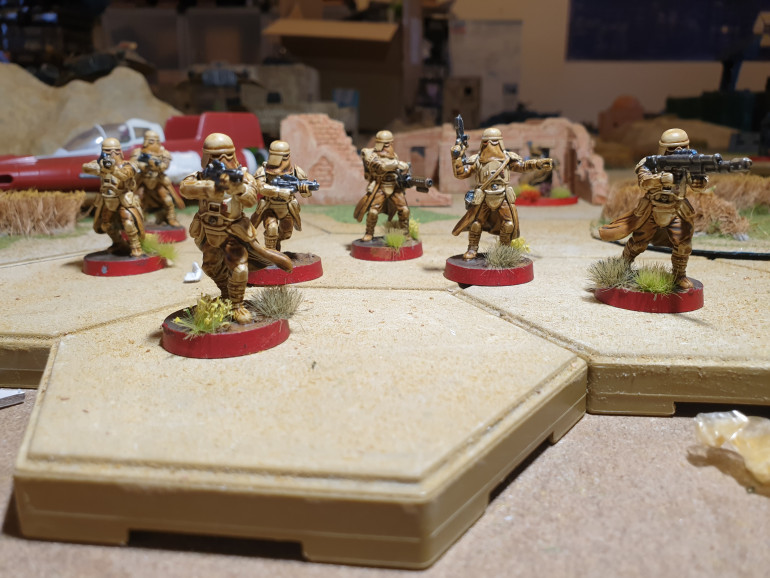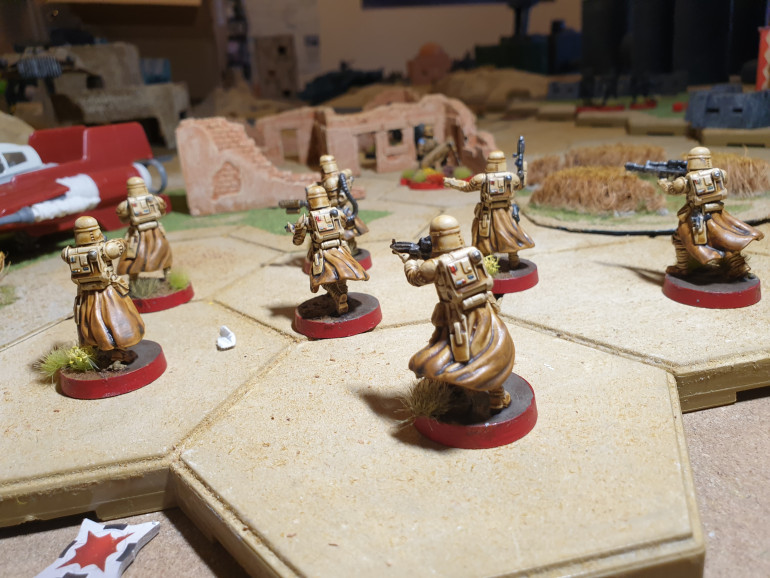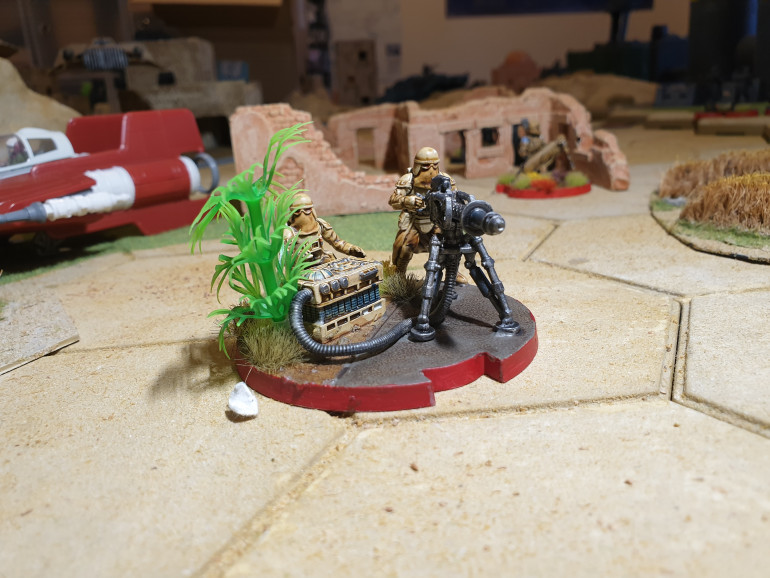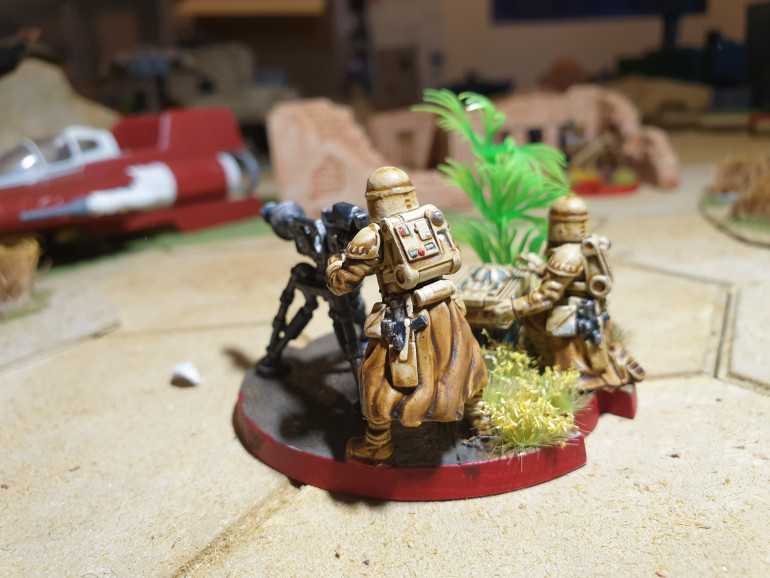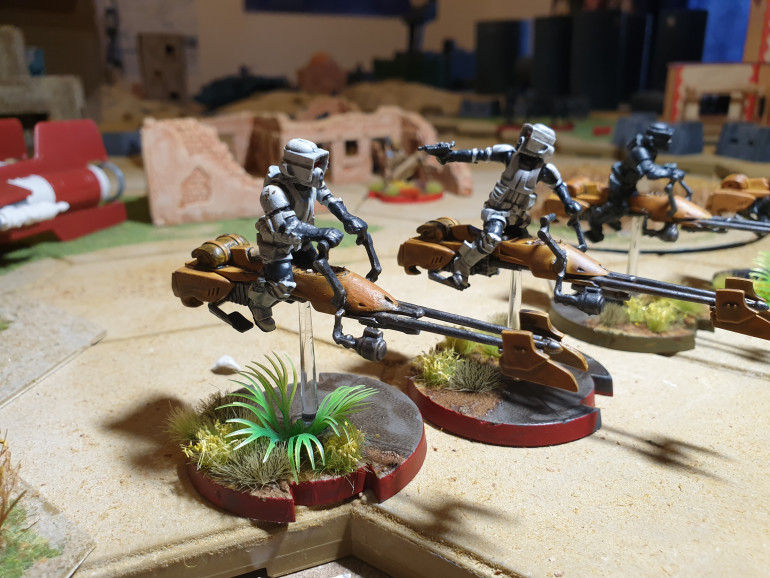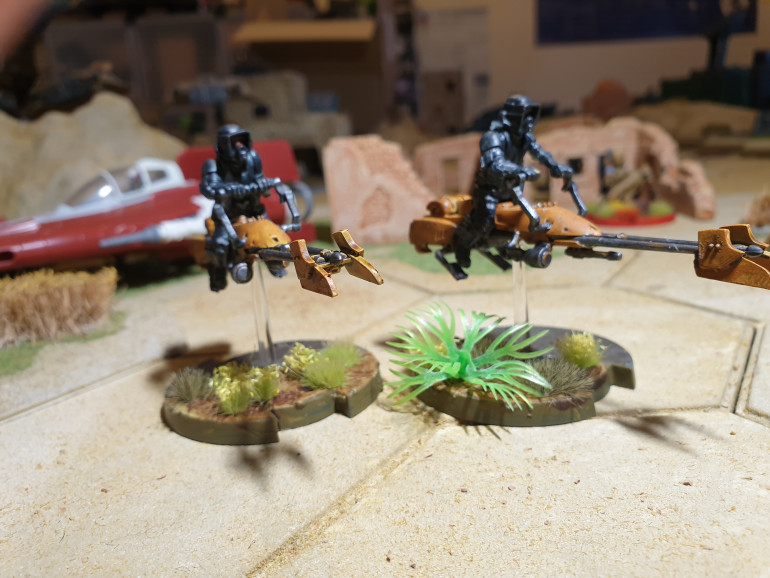
In A Galaxy not that far away.
Recommendations: 466
About the Project
Well back from Star Wars hobby weekend, so what next for my new toys, plus what did I paint next.
Related Game: Star Wars: Legion
Related Company: Fantasy Flight Games
Related Genre: Science Fiction
Related Contest: Star Wars Hobby Weekend
This Project is Active
And Naming the Walkers
Now I have nearly finished the Walkers what shall I call them.
Well they will start naturally with AT for all Terrain
Then for the one with the
‘Don’t point those guns at my Planet’
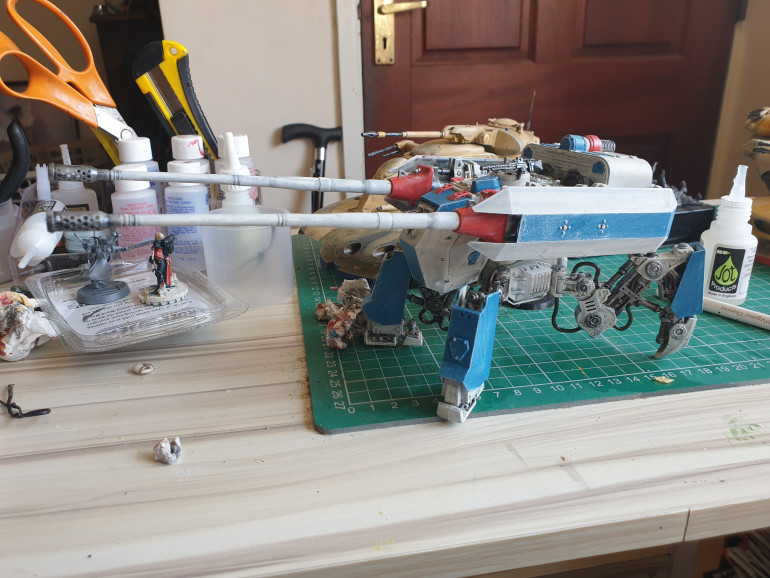
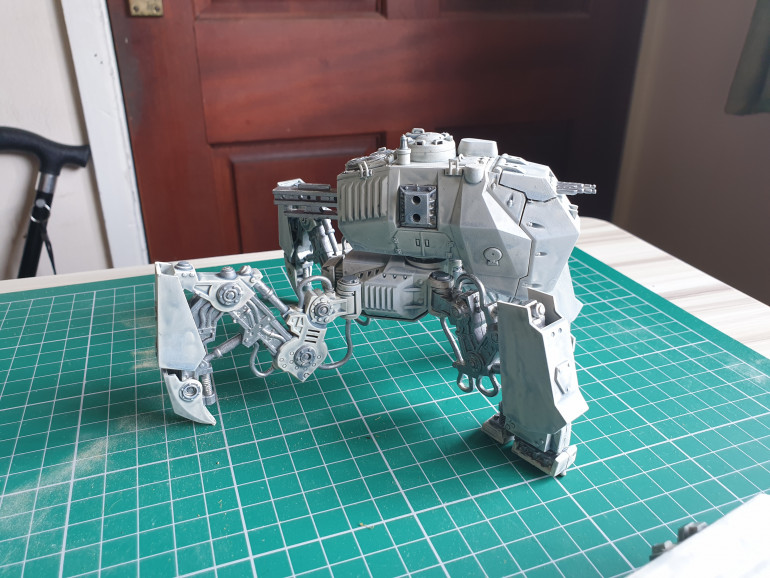
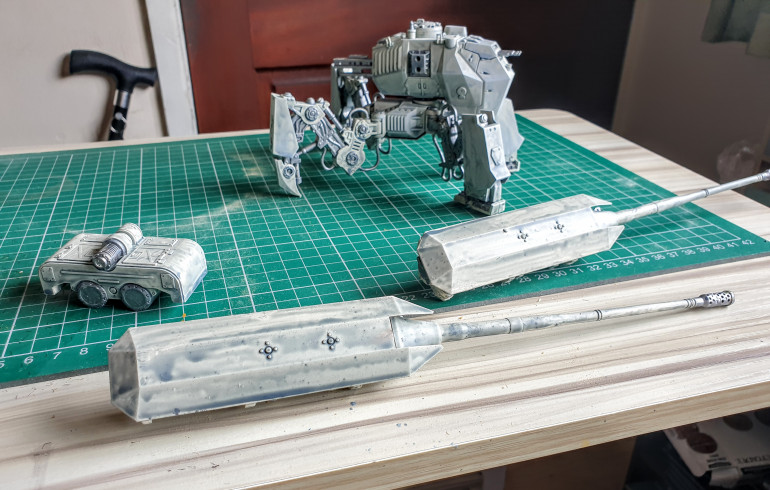
AT-SG (Seige Gun) nicknamed ‘Warren’ by the Clones
The 4 barrelled or ‘pew pew’ as Gerry has nicknamed it
AT-MT (multi gun tank) or ‘Justin’
The Troop Transports are
AT-LT (Land Transport) as the walkers clone find the most practical its been nicknamed the Lloydy!
Damn Part 4 Finished
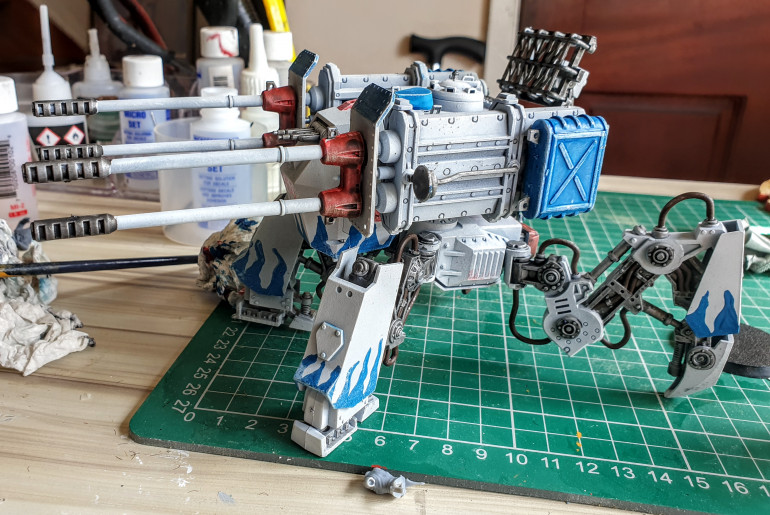
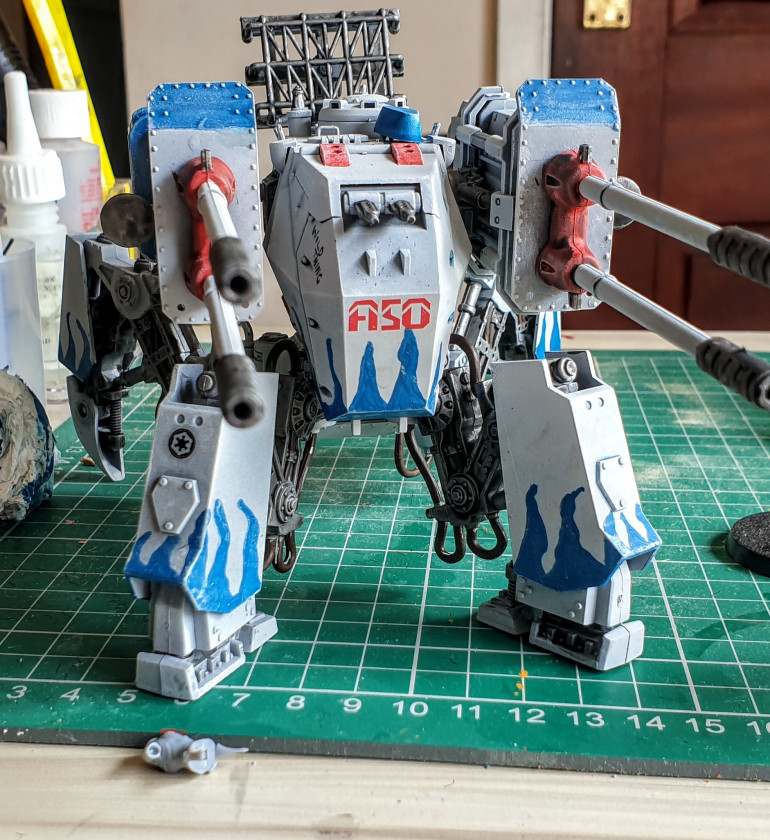
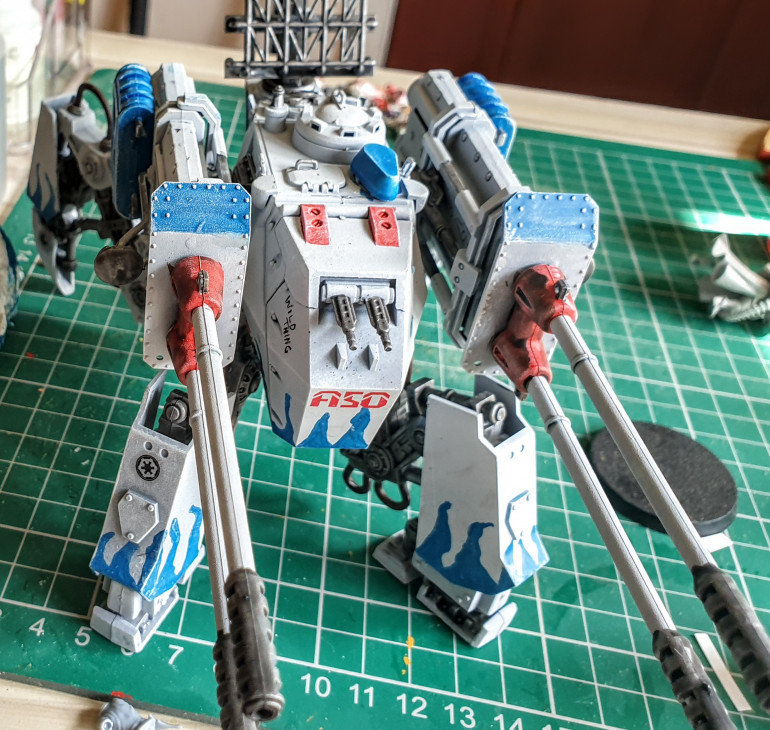
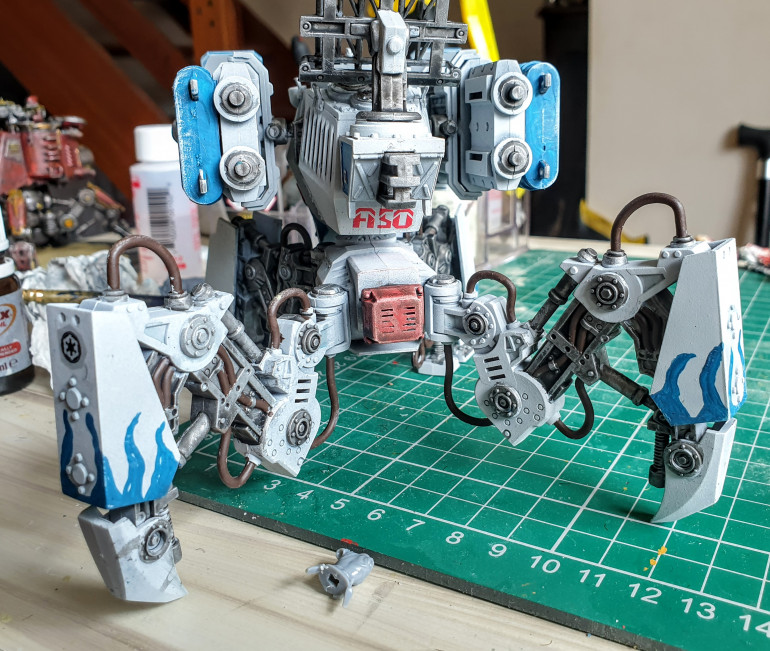
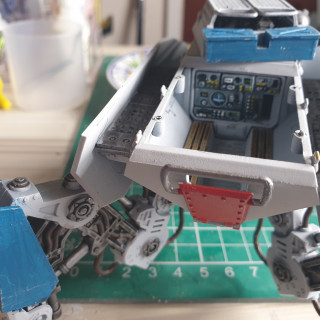
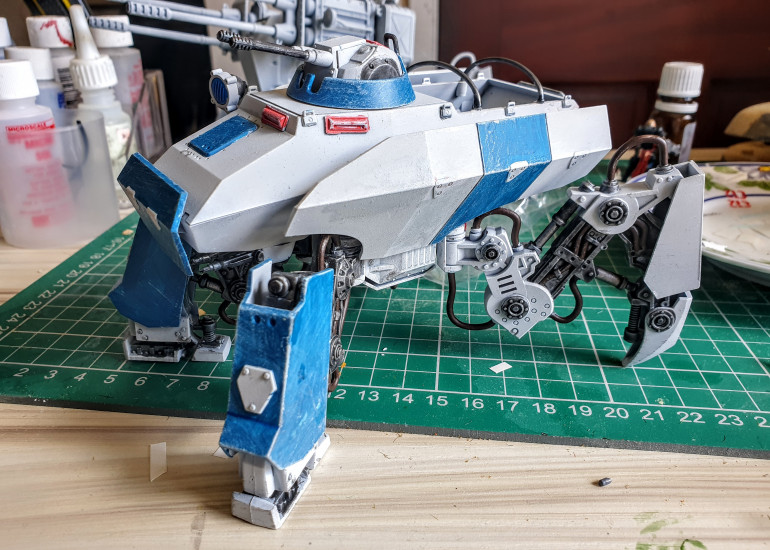
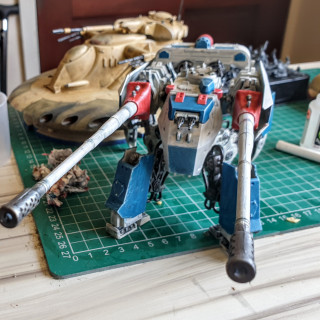
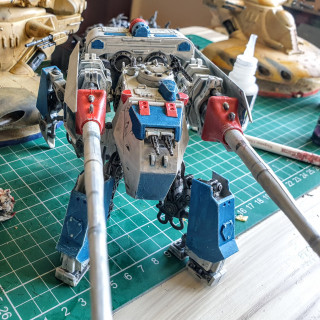
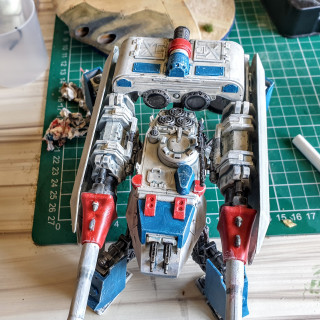
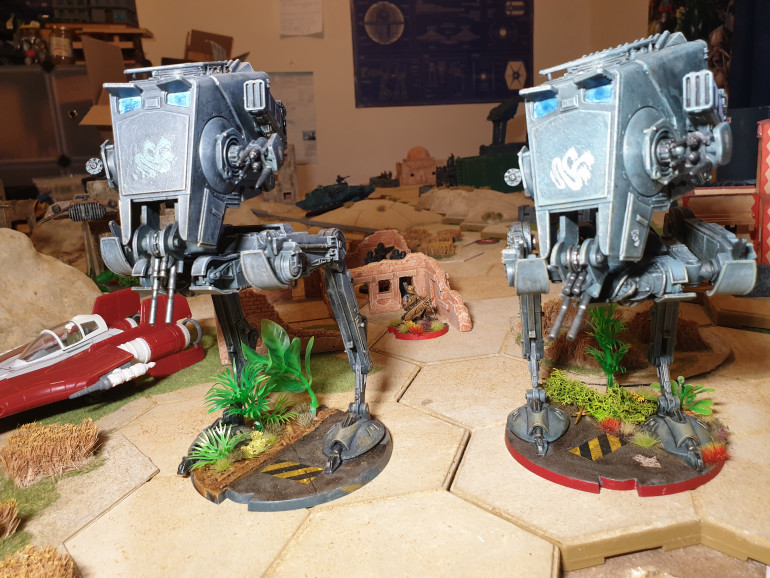
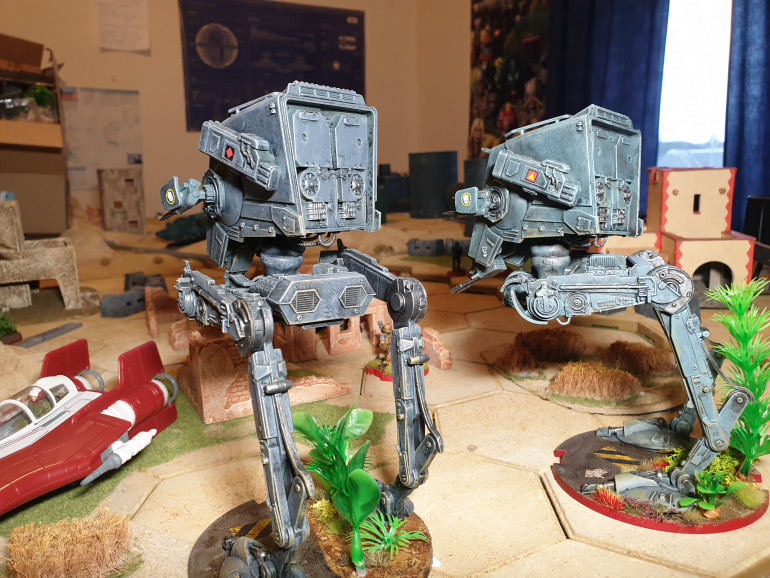
- Well the last Walker is Finished all but a coat of Matt Varnish, and here it is in all its Glory.
Damn Part 3
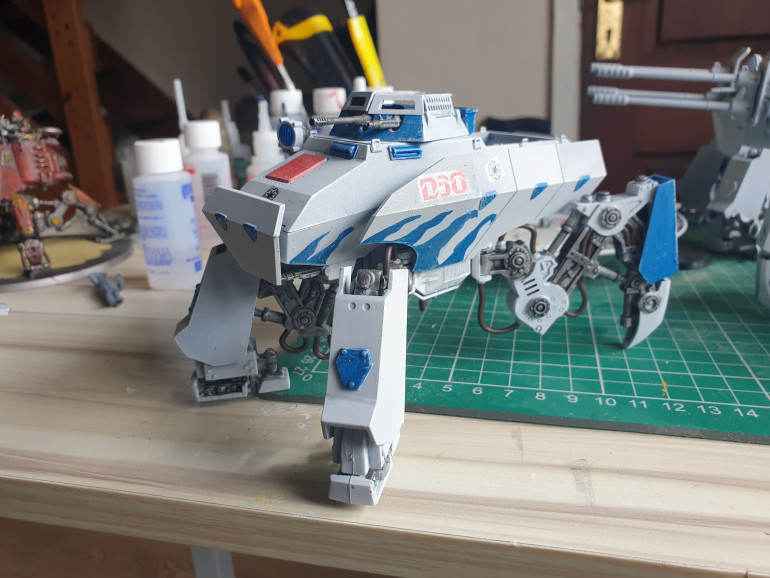
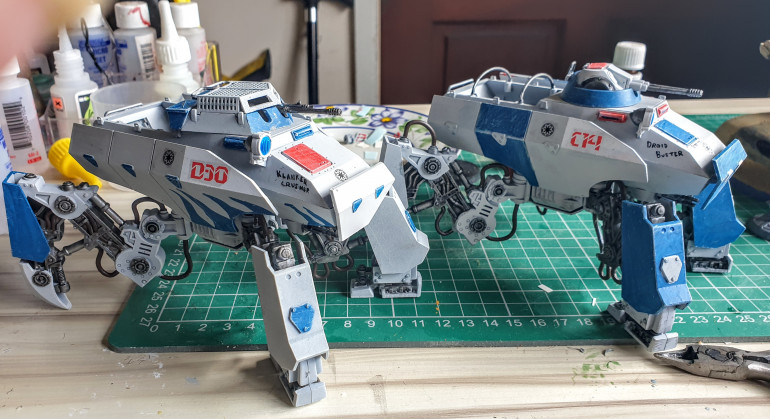
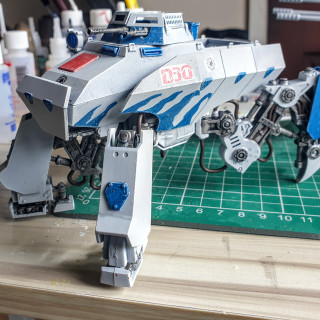
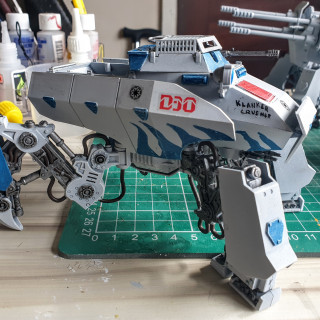
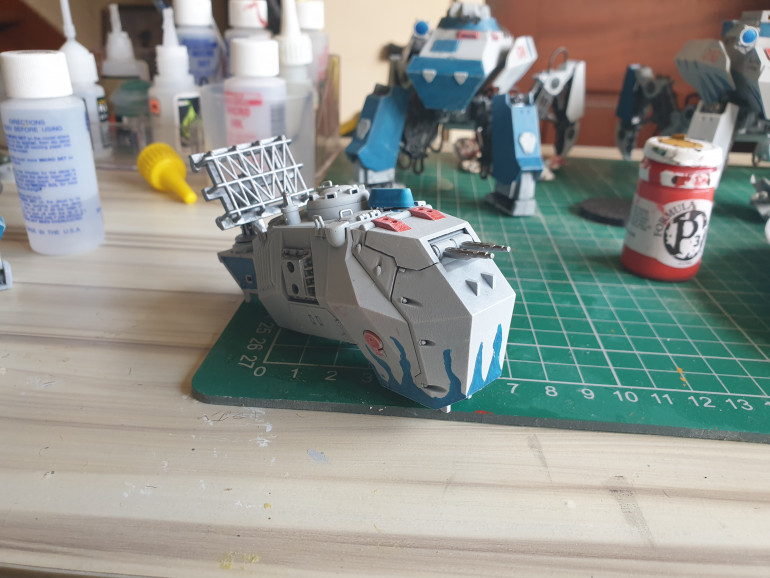
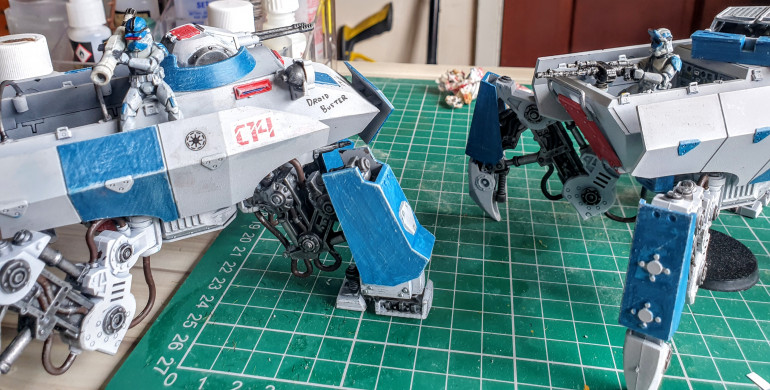
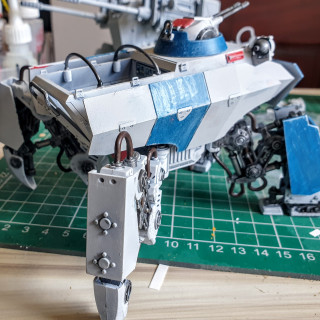
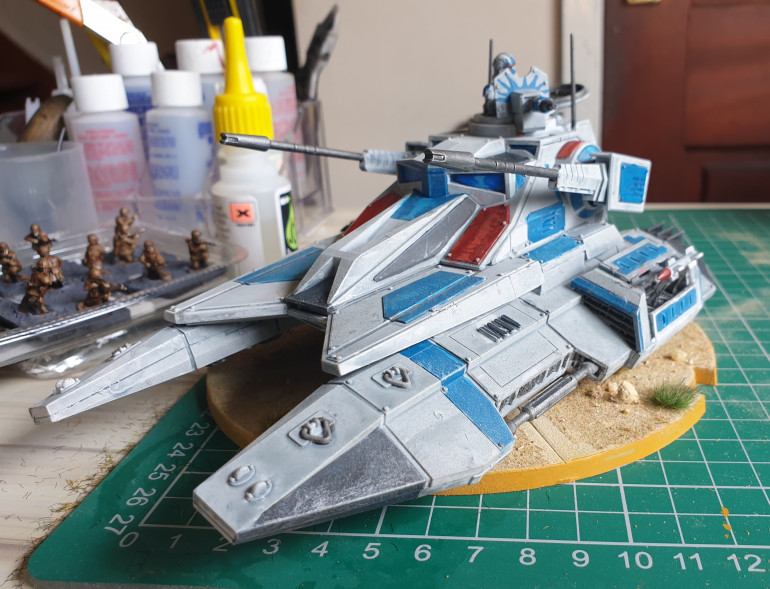
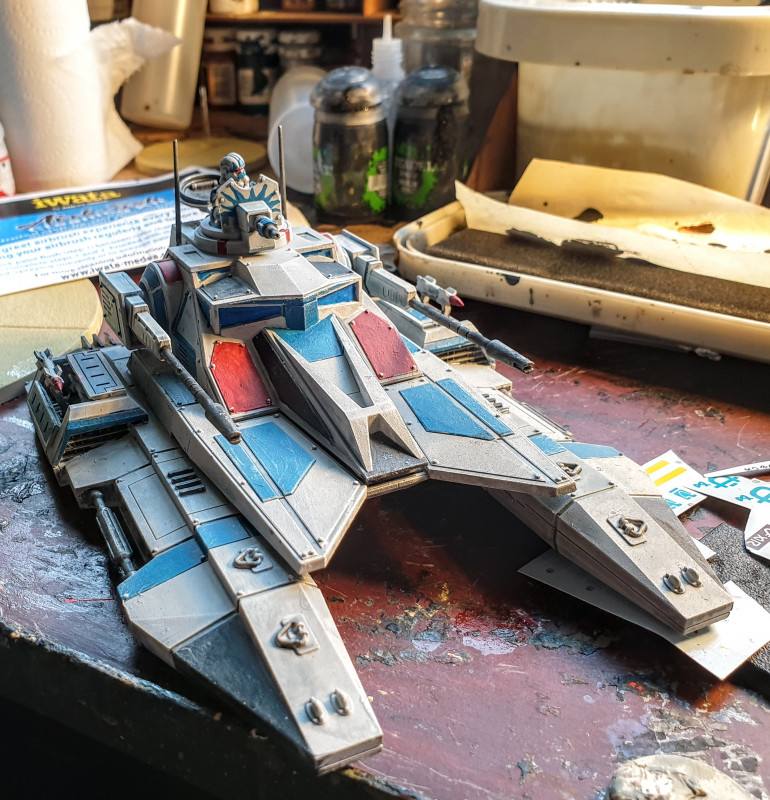
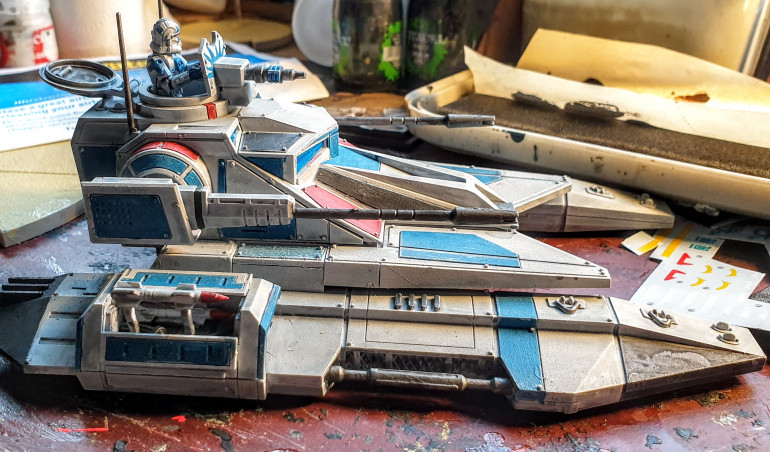
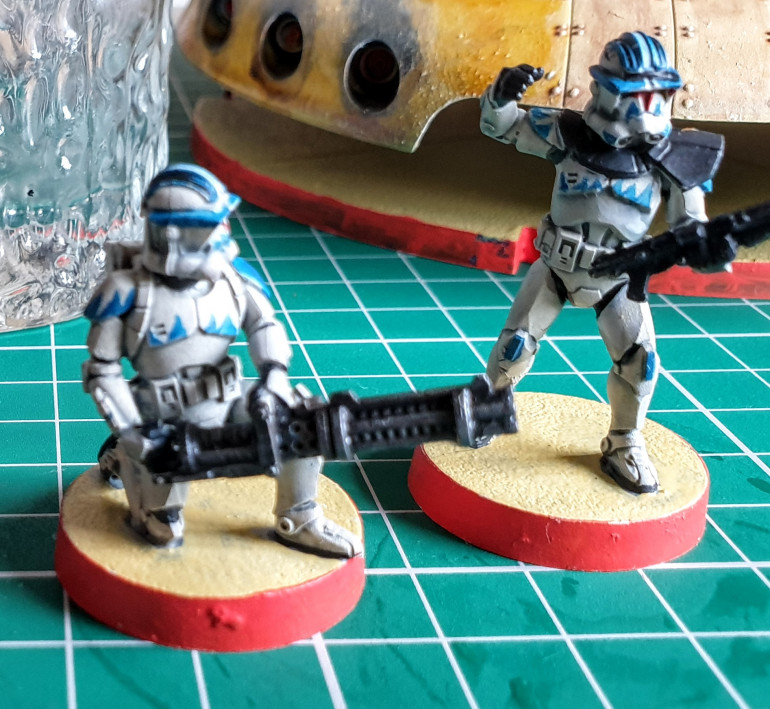
Well I got a bit more adventurous with the Blue Decoration on the 2nd Apc Walker . I’d done the squad of phase 2 Clones with varied blue Flame effects on chest and shoulder pads so decided to carry on the effect on the hull of the walker. From watching the series , these appear to be added by the clones themselves so it didnt matter if they were irregular.
On completion of the base paint work and shading I added decals, some Republican Insignia, sourced from ebay from the States , the vehicle numbers are Hammers Slammers decals from Brigade. I originally was going to use the vehicle names from same set , but they were a pain to apply and painted them myself. Ok they are in English not Galactic but I dont know Galactic. I Imagine there probably is a translation site but can’t be bothered.
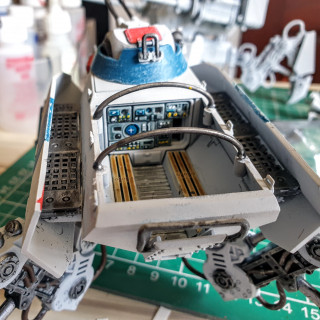
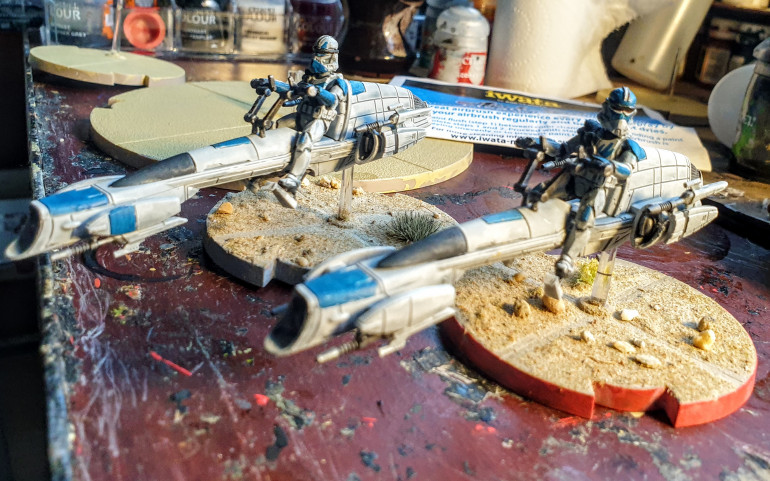
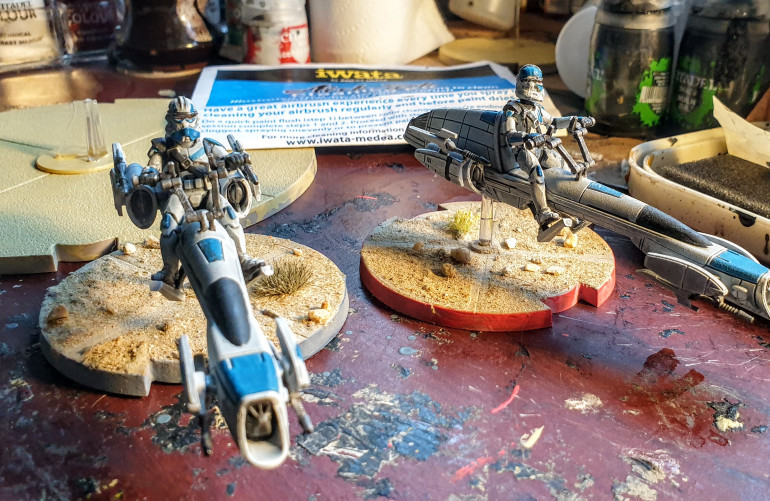
To make them a bit more Star Wars ish I dug out the sidecar riders I hadn’t used for the extra Barc Speeders and with a Little bit of Conversion work with odd bits left over from other builds(the spare commanders mg from the Empire tank and leftover Phase 2 helmets) and a bit of cutting to legs prepped 2 crew figures , one for each Walker.
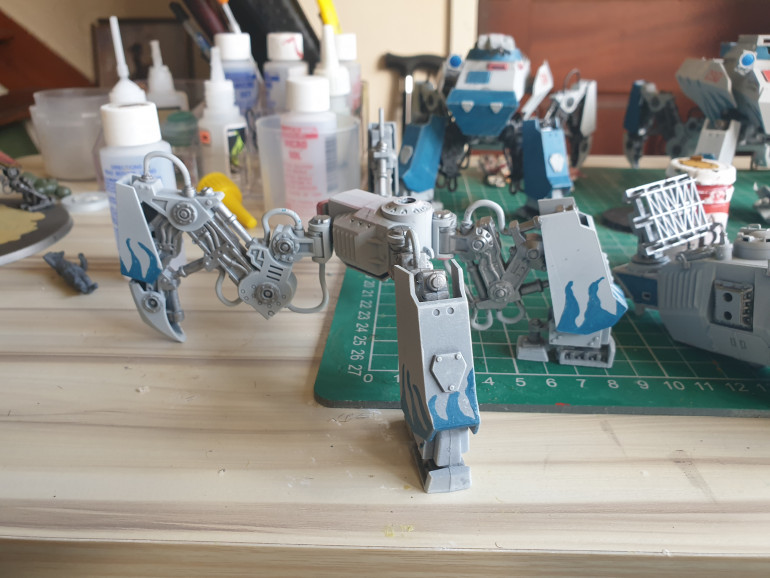
Coming to the last AA Dust walker I decided to carry on with the Blue Flame effect but added to the leg armour. Which just about brings me up to date.
Post script
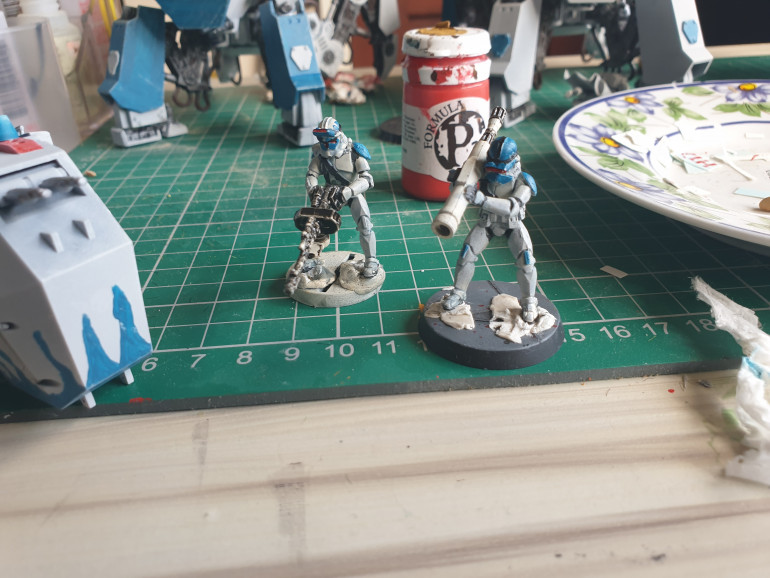
Figures now added see final picture.
Damn! Part 2
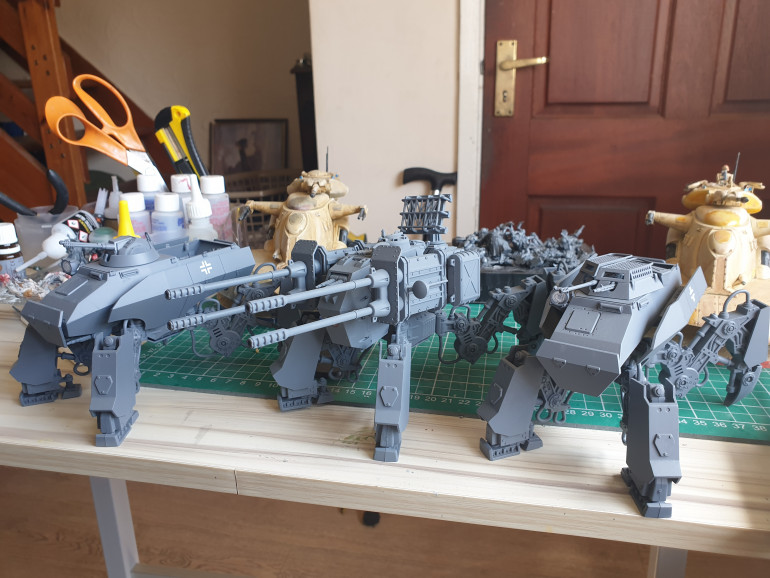
So having found the Walkers I began painting them. I wasn’t totally happy with the 1st one the contrast paint overwash even lots of medium added still went to patchy.
The Dust models were all sent base undercoated grey , and more by accident than planning found that if I didnt go to heavy with the corax white spray got a nice very light grey finish ( for future models will use the gw grey seer)
As with the 1st Walker, I dry bushed with Corax White, which gave them a subtle highlight.
Following that I pretty much block painted them as with the 1st, if you can get a holder to hold the parts as you paint them really suggest you use it as my ability to get grubby finger paint smudges was legendary, and trying to match the base colour was a pain when touching up mistakes. I decided I wasnt going to try doing the 3 as a batch and went for doing them individually as its less tedious plus I wanted to vary the colours on them for Clone individuality. Starting with one of the Apc Walkers on a whim. I did use the Apothecary Grey Contrast, but more as a pin shading wash to darken the recesses.
The above is virtually finished so have started second apc. I would like to have the same turret as above but it got put in a box which for years I’ve seen every time I looked in bits boxes but has of course disapeared in last tidy up. It will though get painted if it re-appears. I also found the spare clone Troopers from the Barc speeder outriders.
Damn!
Well thought I was doing well. I covered the GW corax white sprayed walker, with GW contrast apothecary white ( think will be more selective on next models) then dry brushed Corex white over whole model.
I block painted the metallics with Vallejo dark Gunmetal, did the details in GW Thousand Sons Blue and the Red P3 Khador Red.
I wasnt totally happy with the result as found the straight lines a pain. On a whim dry brushed lightly Corax White again and got a suprisingly nice weathering effect.
I then tidied up and painted all the pipework on the legs P3 umbral umber.
I Stuck a left over legion heavy blaster on the Turret hatch and Voila!
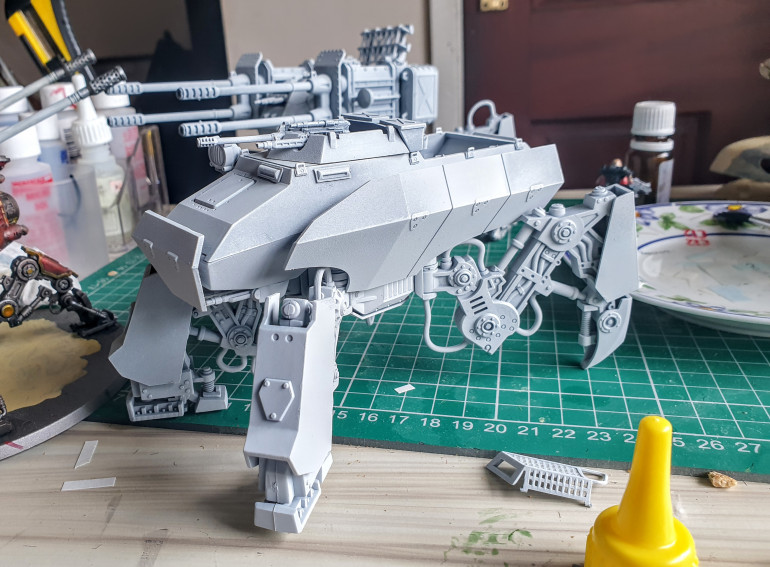
I then made the mistake of opening a cupboard and found 3 more Dust Walkers . I remembered the two skdz 252 type walkers but forgot the AA walker. Oh!
Looks like I have APC walkers for my Clones !
And if going to do those may as well Legion the other.
Bases and Walkers
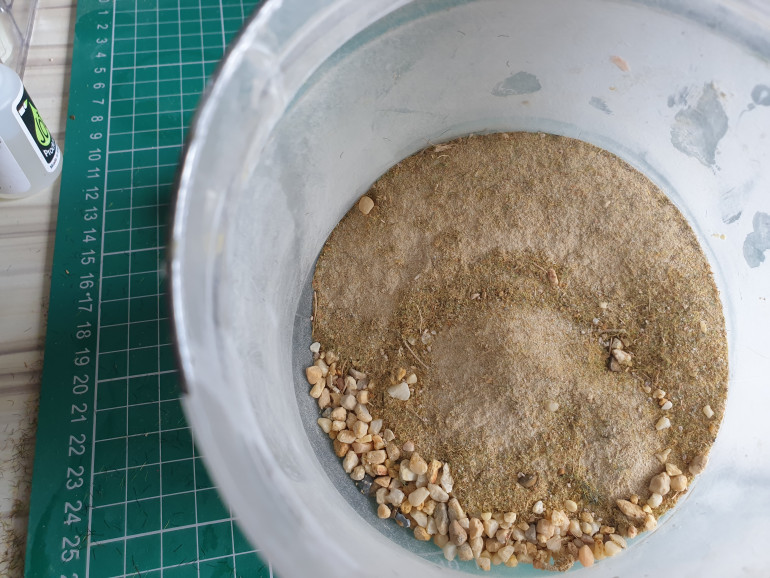
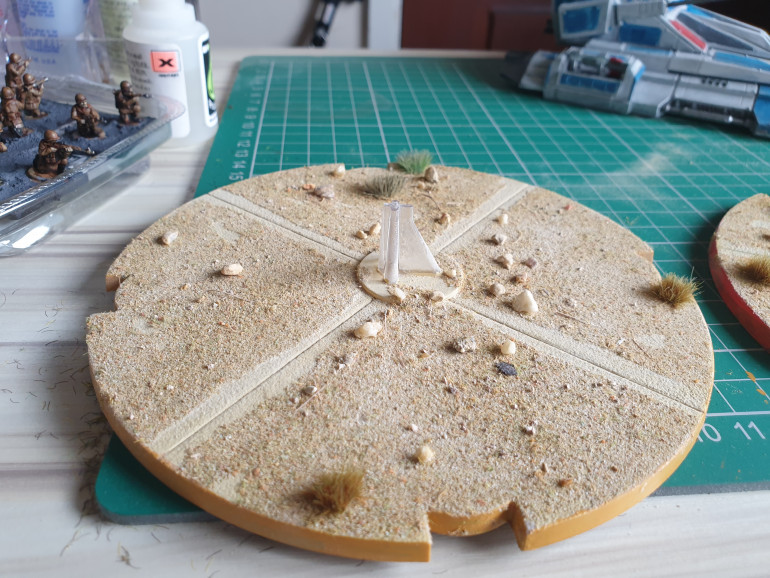
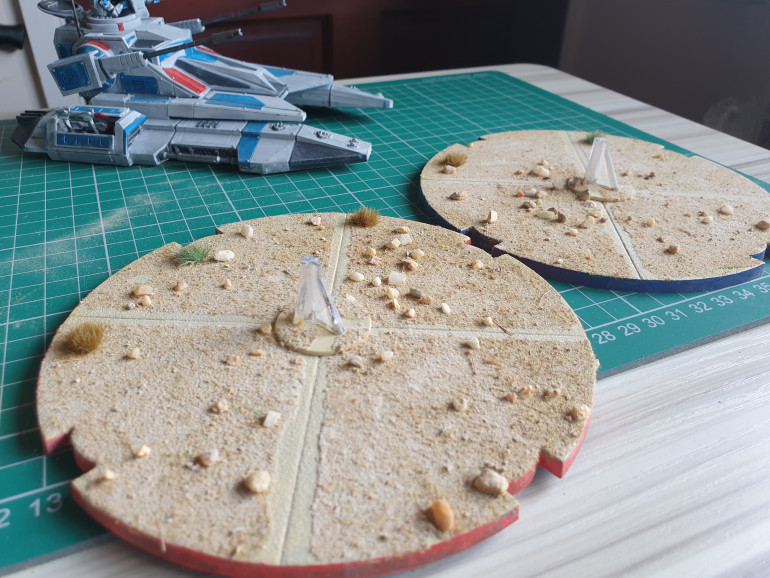
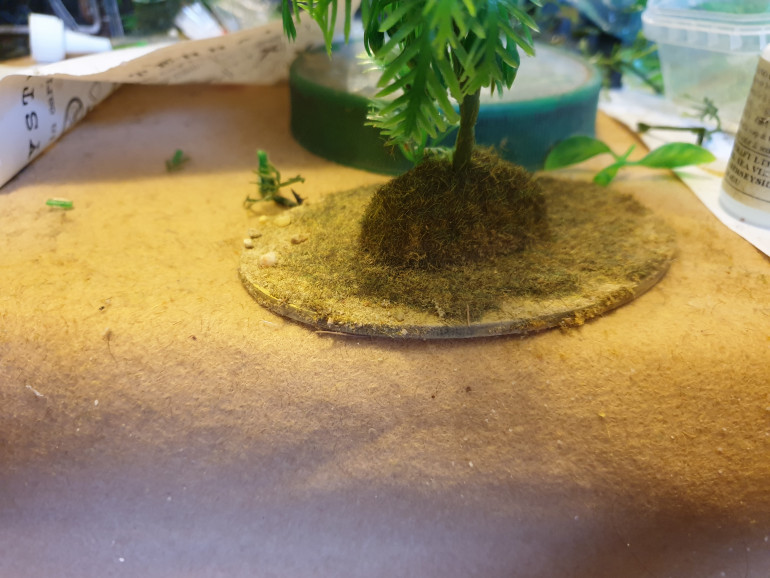
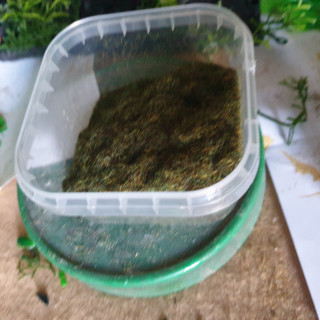
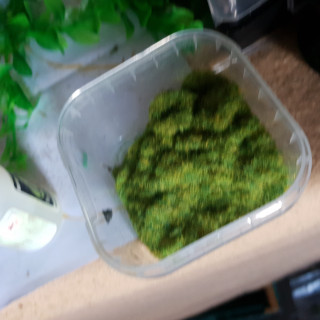
It was then time to flock the bases, my mixture is a mixture of limestone powder, a bi product of limestone quarrying and various commercial flocks added over the last twenty years on a mixture originally mixed up for the 3 boxes of Hexon Terrain I brought over 20 years ago.
The little rocky lumps at bottom of tub are a recent addition but help break up the base nicely.
Although the vehicle’s cover the base they still look good. I added a few varied army painter tufts on these and the figure bases.
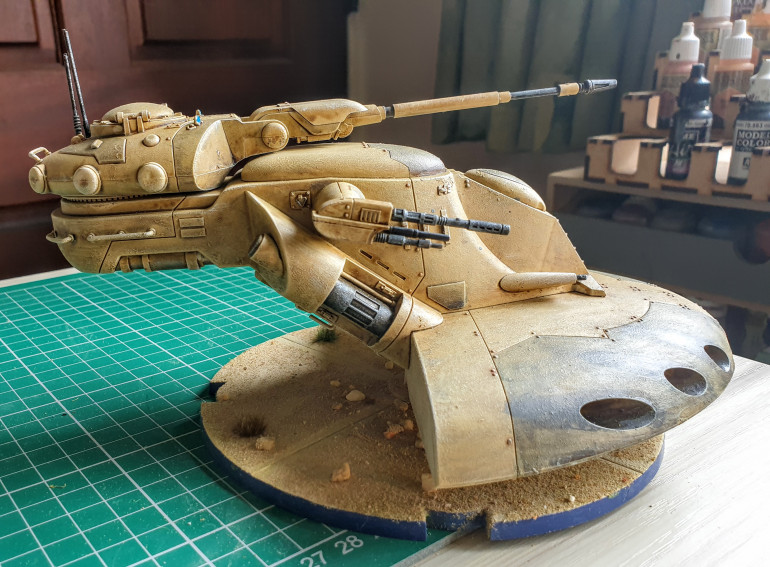
Having done them, I have begun to work on my Dust German walker , never felt it fit in to pulp WW2 but I reckon it is perfect as a Republic Walker. Painting is greatly helped by the fact it can be broken into easier to paint bits.
The Republic Response
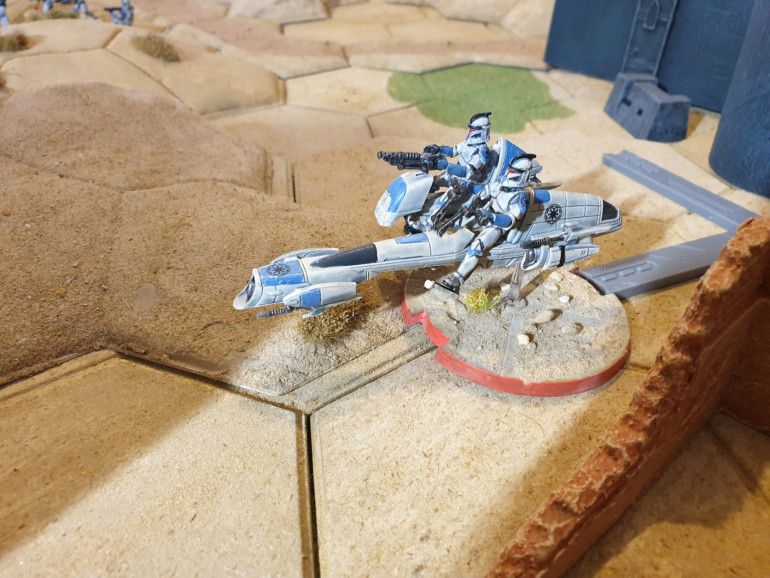
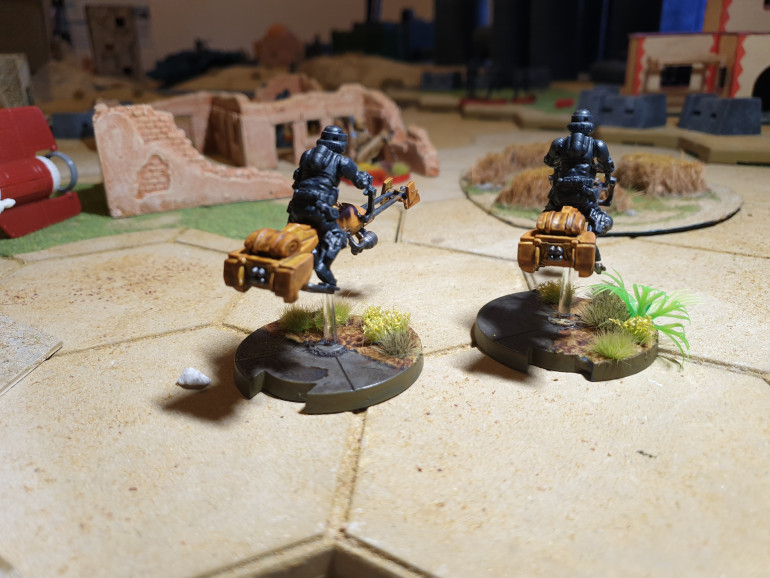
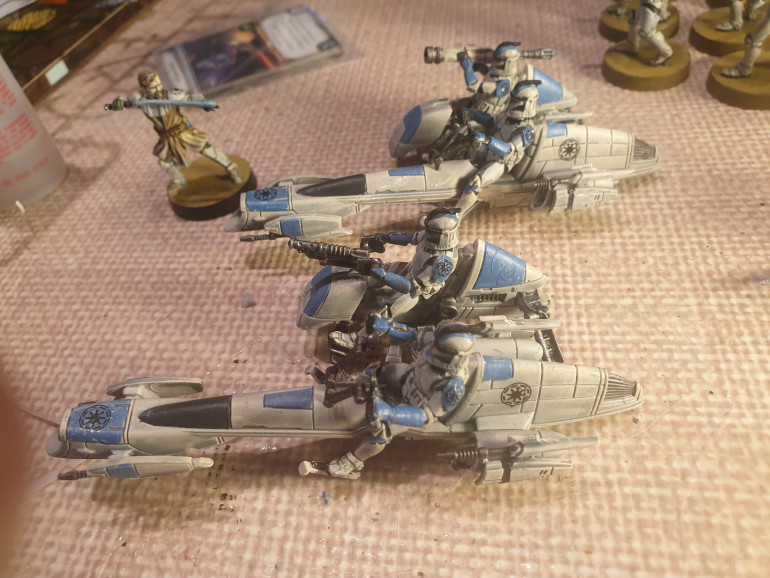
With the last entry being mainly Separatist, whst would I build for the Republic, I didnt want 2 Sabre Tanks as not that keen on Design plus what is currently avail in UK, so went for 2 more speeder bikes. I planned to build them as single bikes without the sidecar and was pleasantly suprised to find they had Alt figures with later style helmets.
I did manage to get one Sabre tank, which is a work in progress.
And just when you think you have finished!
Well back in Feb I thought I had finished this project, figures done, Jungle Terrain done, and had I had gone back to update another project. Why I thought that god knows as just as I finished I brought one box of Phase 2 Clone Troopers (all I could find at time) just before lockdown, I opened the box, saw the Sprues and it went in pile of things to build.
Shoot forward to last Wednesday, mid week day off and 1st visit to Asgard Games Walsall to say hello to Vince and get some scatter for my last platoon of British Team Yankee Brits……£158 later .
He had 2 of each of the virtually impossible to get recent Droid releases as in the Federation Tank and B2 Super Droids…..and as above.
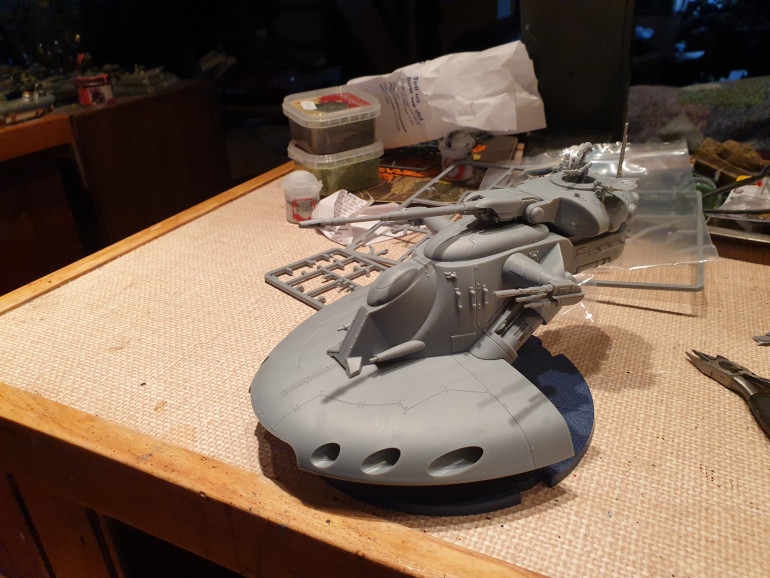
Did think they would sit to one side whilst I did odd bits to finish two other projects……..ha bored watching the telly on Thurs, found my self building one of the Tanks …
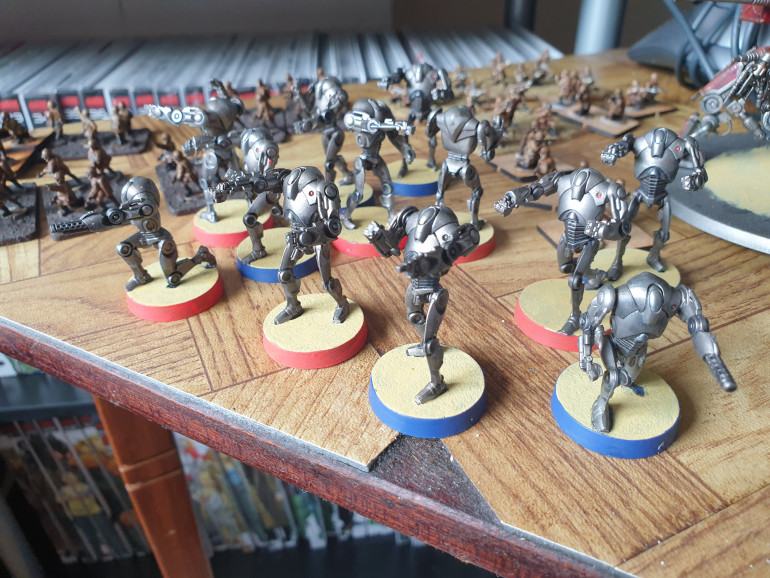
Fairly easy build except for one mistake, which was easily fixed . Friday evening on a whim opened one the B2 Super Droid boxes, took a look at the sprues which didnt look to back and put them to one side. As evening went on it began to bug me so built them, no problems at all and was done in half an hour. Was so impressed with build that I went back to the Clone box from Feb and built them. again in around half an hour. I was so impressed with how easy they were I messaged Gerry to see if had done the open the box videos.
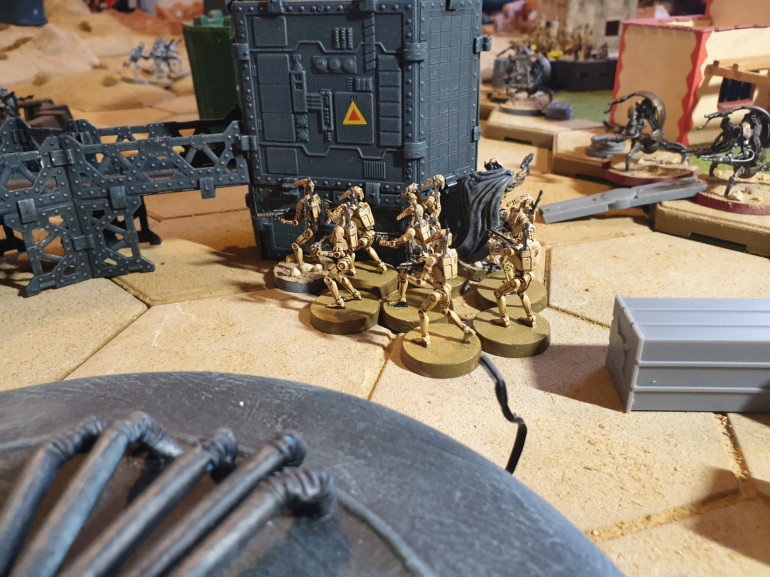
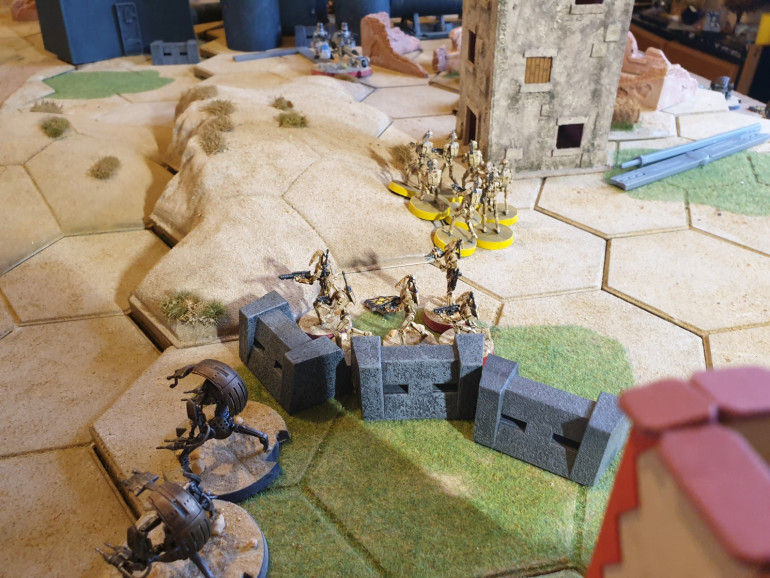
The Droids were an nice easy paint job.
GW Leadbelter spray as base coat.
Gw Basicallum Grey on lower body , arm and leg joints to darken it up.
The overall coat of GW Nuln oil
Light Dry brush with Armypainter gunmetal over top .
orange blob for little light on left hand side of body,
Mp paints Sand base
The a different colour round base rim for each squad.
They were dry brushed with Army painter dull coat and then lightly dry brushed with a gloss varnish to give a shine to the metallic edges, as I don;t like models that are too gloss.
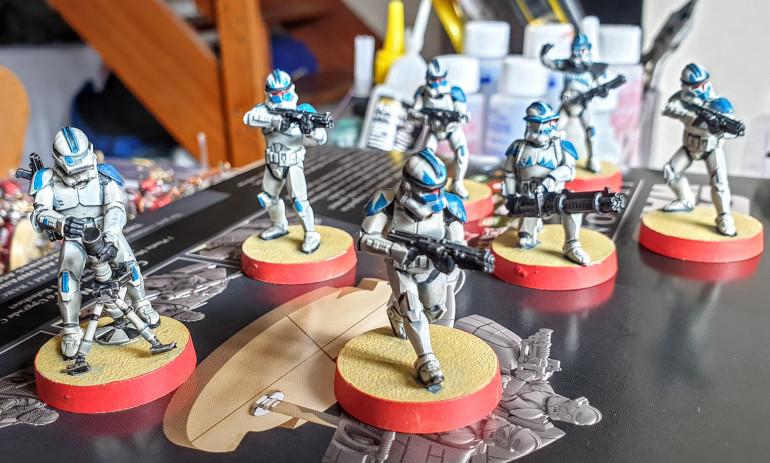
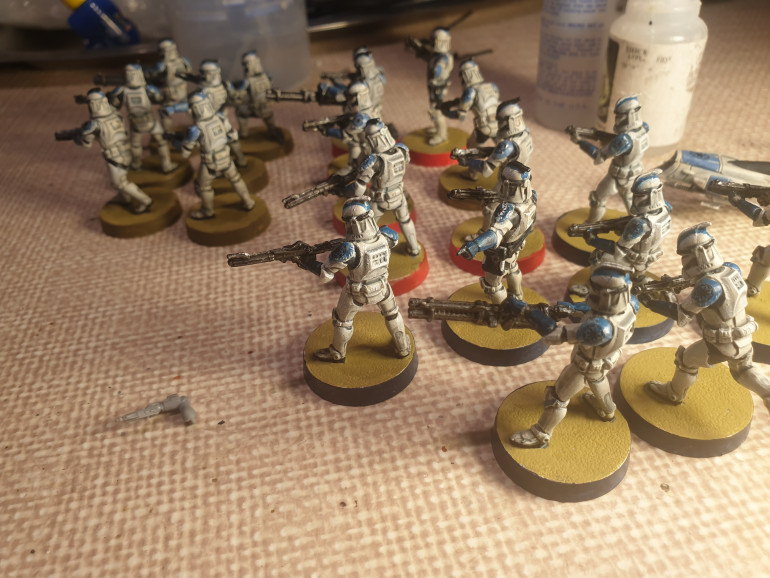
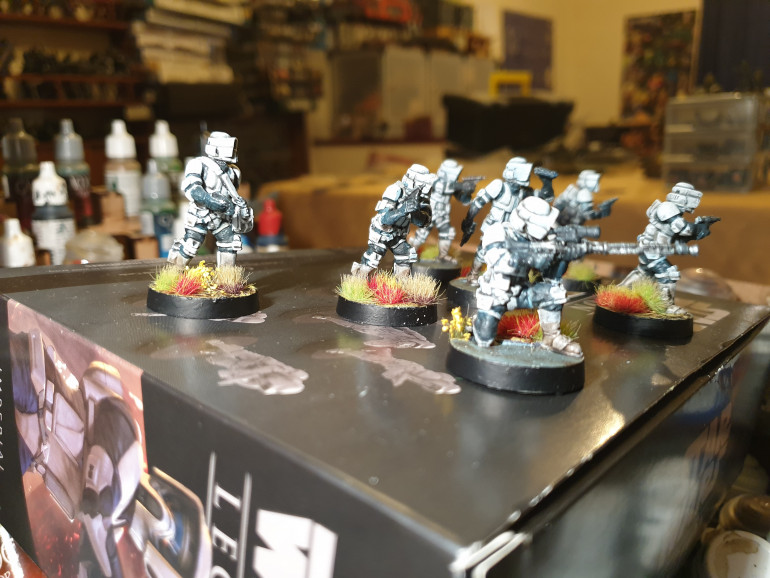
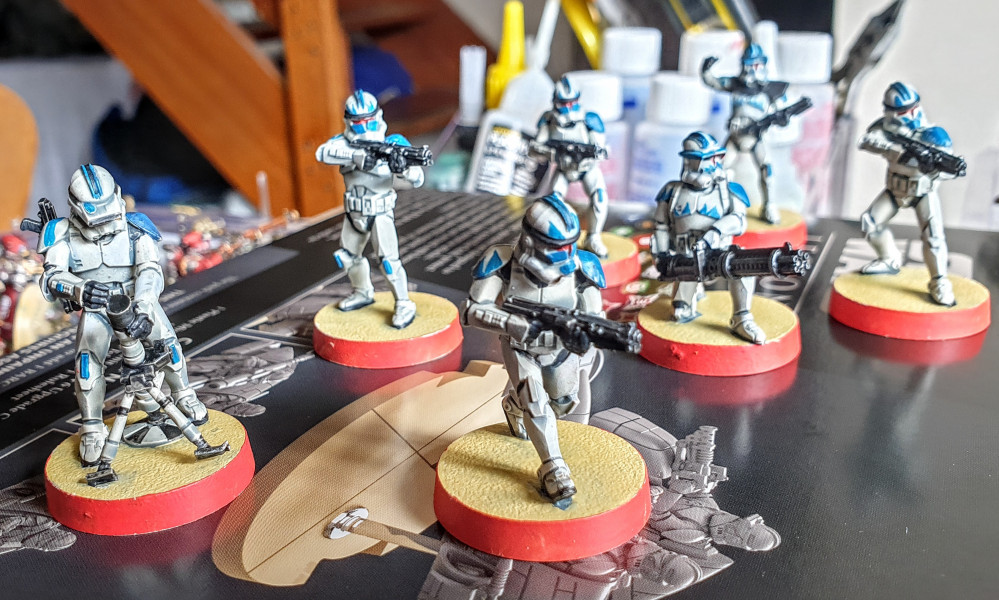
With the Phase 2 Clones, as with Phase one, a base Wraithbone spray.
Apothecary White all over,
Dry Brush Corax white.
Inners suit block panted black grey or corvus black.
Weapons vallejo gunmetal Grey.
GW Blood Angel Red Contrast for Visers
GW 1000 Suns Blue for 501st colouring on shoulders and flame emblems on armour.
Black on armour trims barrel holes
Nuln Oil on black grey and gun metal areas ( light dry brush post in std gun metal)
Sand on base.
Both these and Super Drones are awaiting a flocking in my limestone flock mix which is about 20 years old.
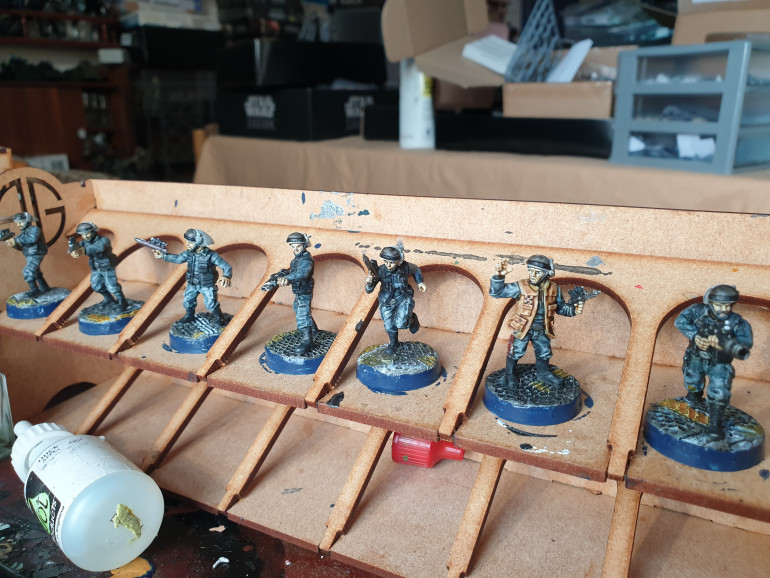
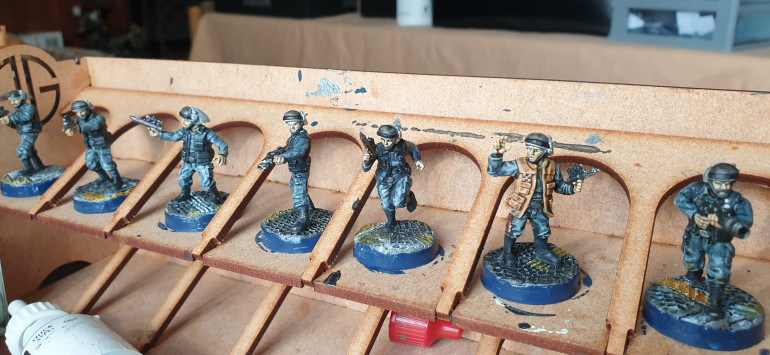
I did a bit of individuality on these later troopers using the blue to do Flame effects on various bits of the armour.
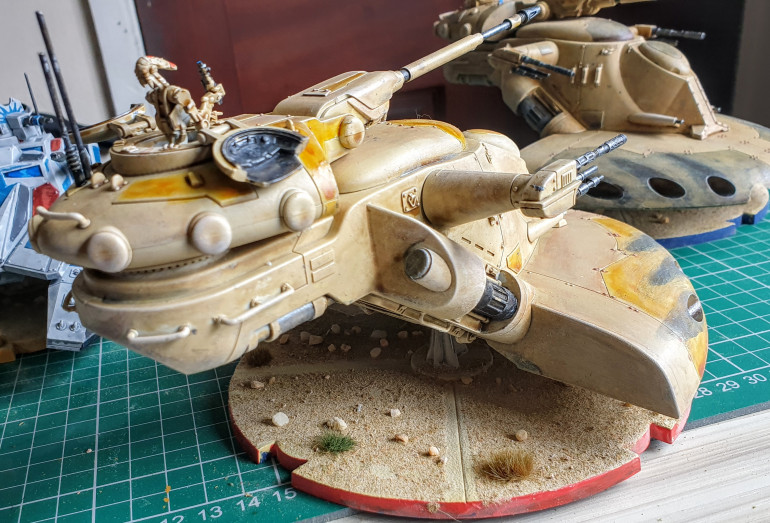
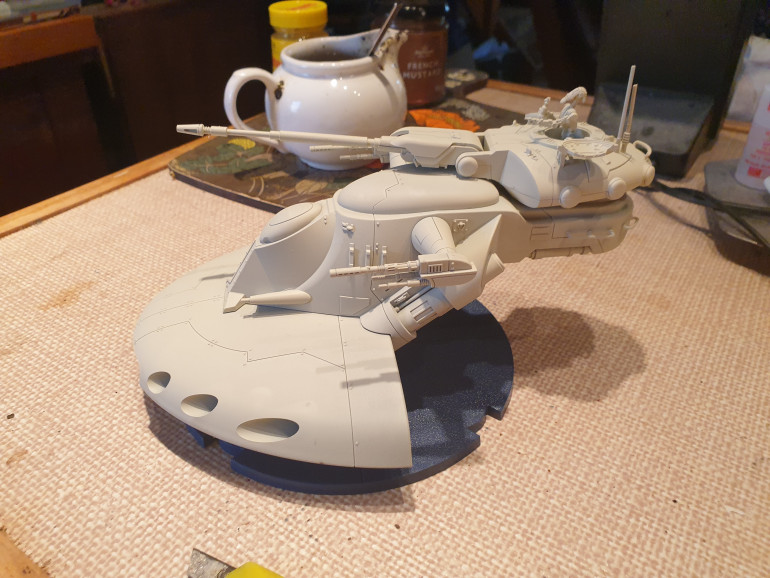
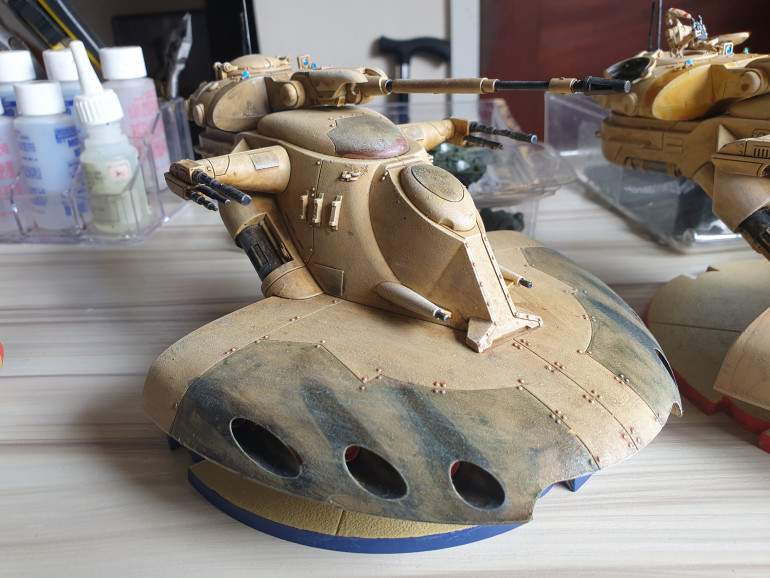
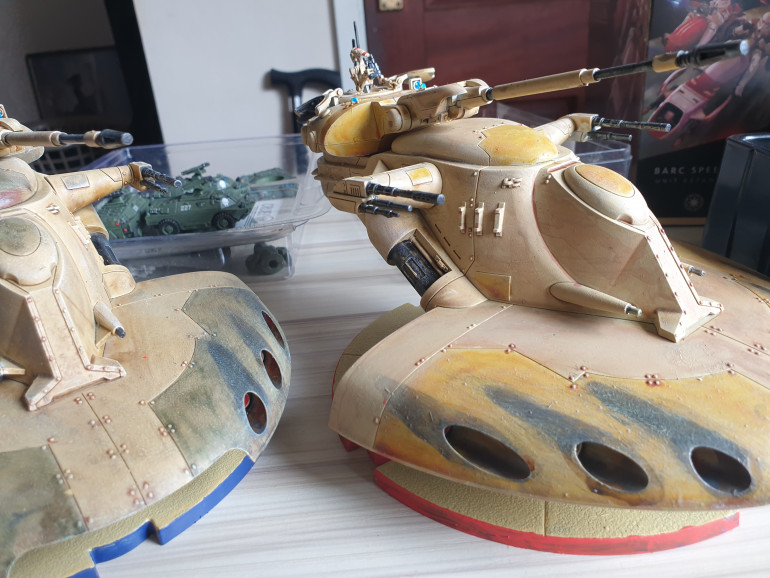
As with above done some work on Trade Federation Tanks, again wraithbone spray to start as can be seen in 2nd picture above.
I then played about with a coat of Skeleton Horde Contrast, on 1st tank neat, which made it to dark, and had to do a considerable amount of a sand/tan mix to drop it down, before final base sand and finally white dry brushing.
On the 2nd I played around with the contrast medium to lighten it and then just dry brushed Sand and later white.
The shade panels on tank one is Army Painter military shader and a contrast paint yellow on 2nd.
Gunmetal grey for metallics.
Still got decals and odd tidying up to do.
Scarif Terrain part 2
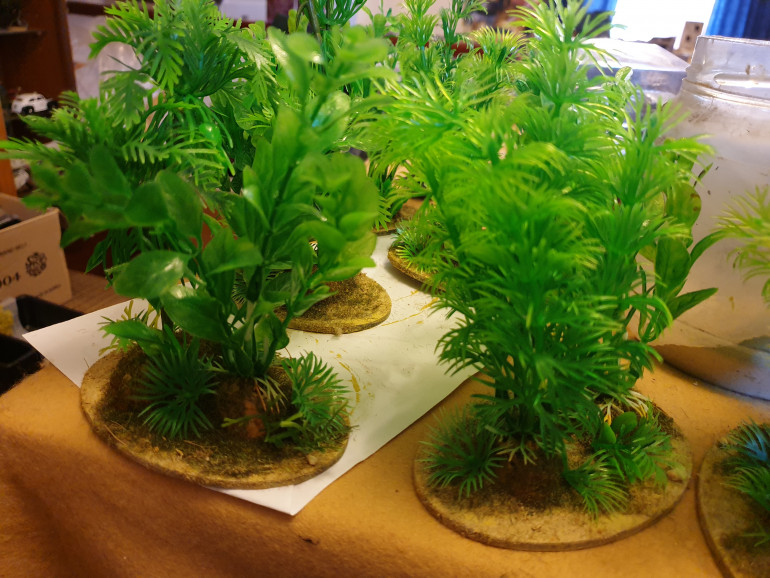
I then put the above over the plastic stand and around the centre of the bases and then left it to dry.
Once enough time had been allowed to let it dry I added my sand mix scatter over bits I missed and left it over night.
Next day I broke and cut up the ground prickly bushs that were on the large black bases on the larger plants
Plus I took the big 8″ plants and snipped them down.
I then used these to hide the lumpy bases as much as possible.
With the two bigger items I did use the paint brush protectors cut down and stuck to bases as plugs to bulk out the foliage as can be seen in last two photos on gallery.
All in all 16 bases worth has cost around £32 , bit more if you add mdf bases but if course you could use any basing material you have to hand I just happened to have these handy.
Time taken about 5 hours all told for the lot.
Scarif Terrain
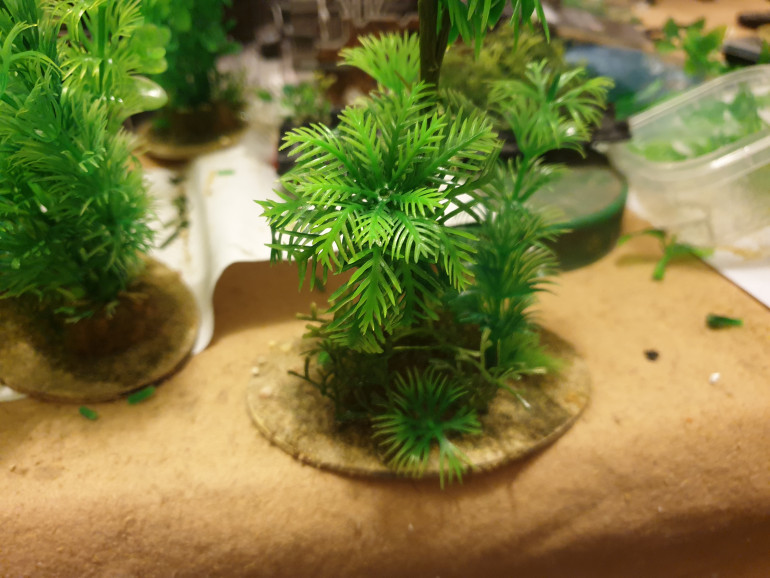
Having done for the time being all the figures thought I’d have ago at the terrain. As can be seen from previous sections of project I have plenty of desert terrain. What I don’t have is Scarif type Jungle, tropical island terrain. I plan to buy some Blue Hexon in the next few months to add to my collection and break it up into islands.
Now how to do it cheaply?
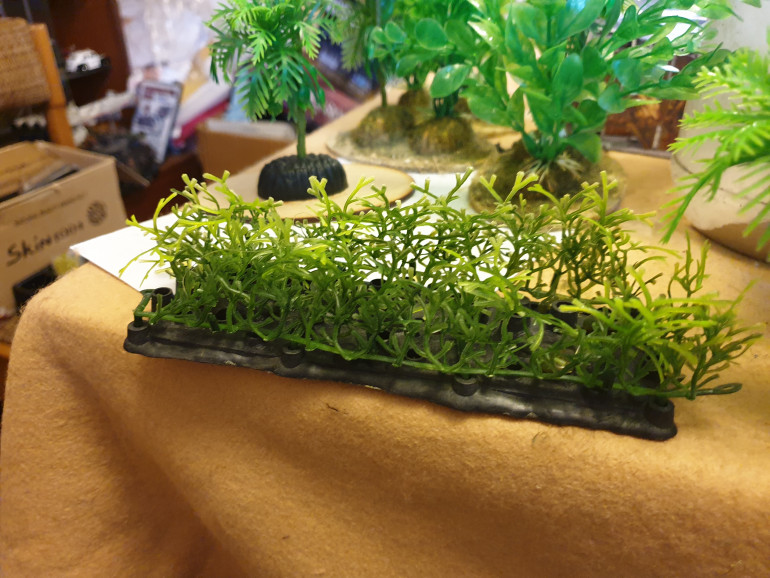
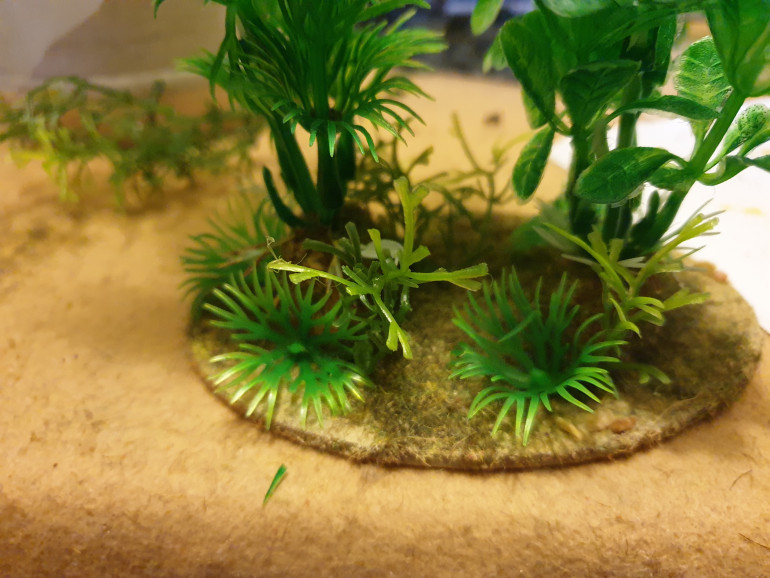
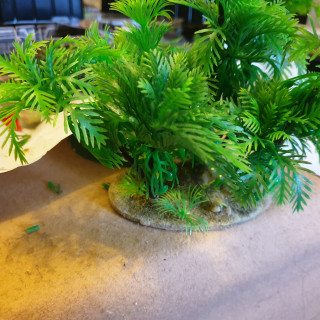
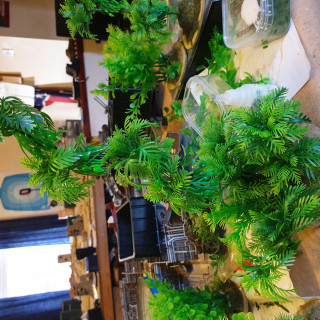
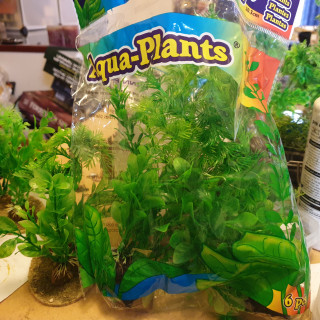
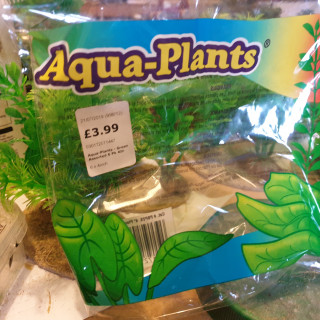
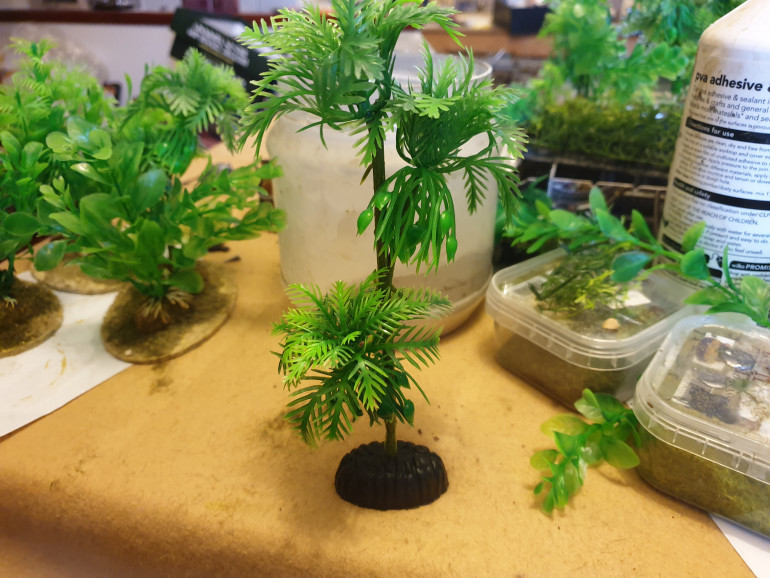
Aquarium plastic plants was my answer . I got a couple of larger pieces of Amazon but raided a local store in Willenhall West Mids for the bulk. I brought both 4″ and 8″ sets of plants. I suggest if you intend to follow my plan don’t get the 8″ ones as they are unsupported and flop all over the table. It wasn’t a waste as I was able to cut them up for use later on.
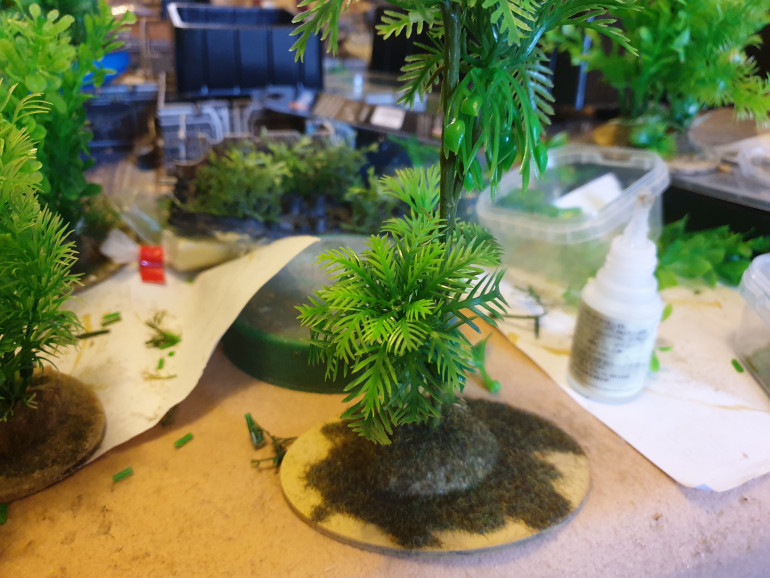
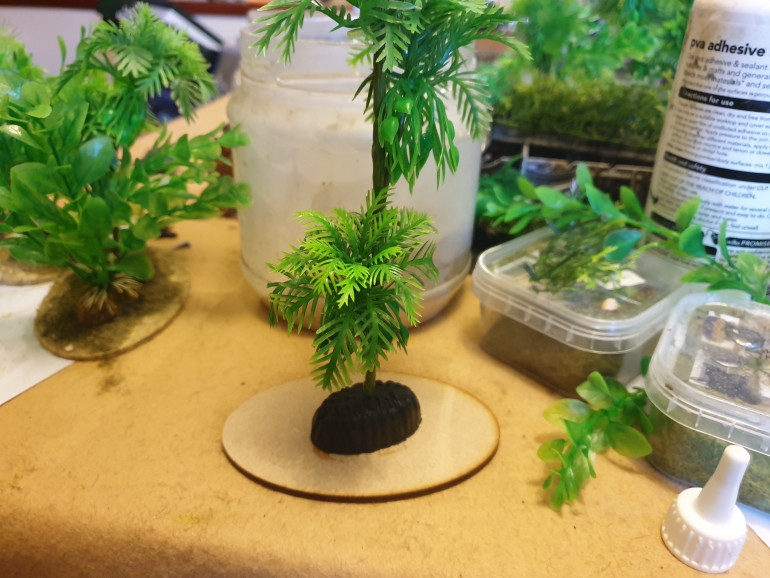
- They come with a big plasic base which initially I had intended to remove and use paint brush covers to peg down to mdf bases, but hadn’t got enough.
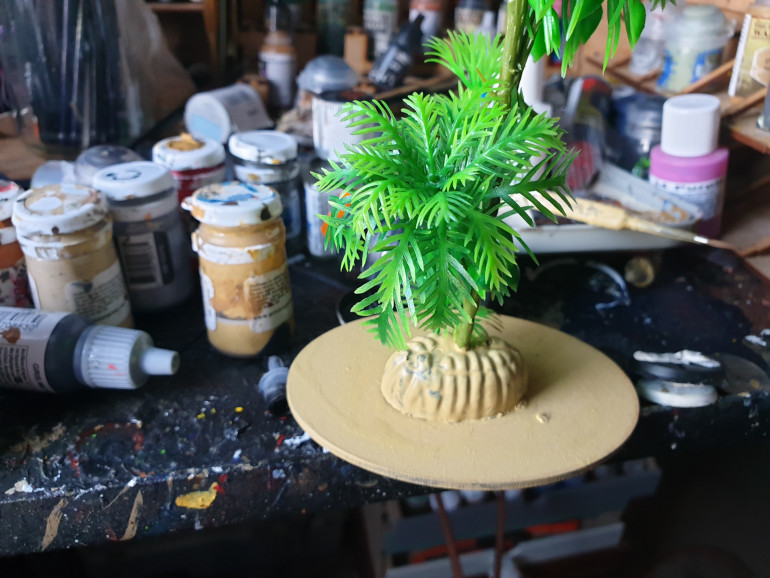
So I decided stuff it and decided to use the black bases and just hide them later. So using some mdf bases I had bought some time ago for an unstarted project, just stuck them to top.
With the larger plants , which I had broke up from the really silly square plug in bases they came with , I put one plant per base, but the smaller 4″ones doubled them up per base.
I then put just a base coat of Sand over both the black base and mdf base.
I then added flock . I had dark Steppe grass and very green static grass , neither looked right on their own so I did the Gerry thing of mixing them together.
Clone wars Completed
Bit later than promised , but here are Clone war Figures , but this time in action. Some time in the future I will try and do some better photos,plus Rex and Dooku.
The Droidikas just a basic gun metal and wash over the top ,simple but it works.
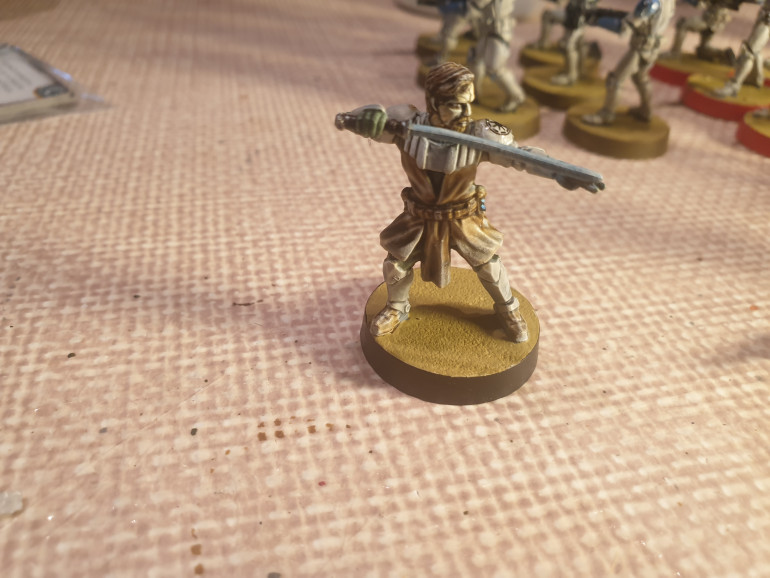
Obiwan in Action
Weturn of de Jedi
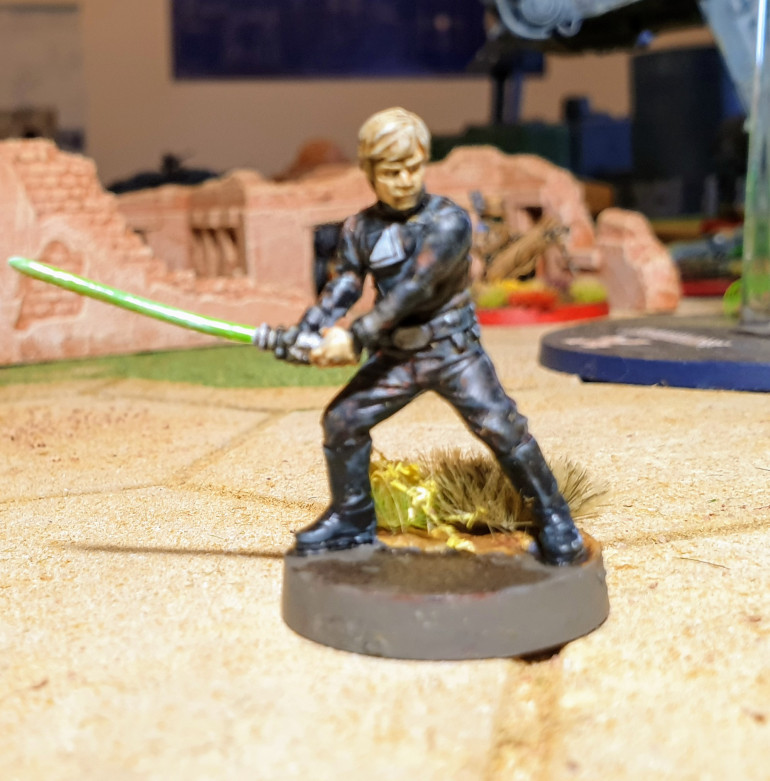
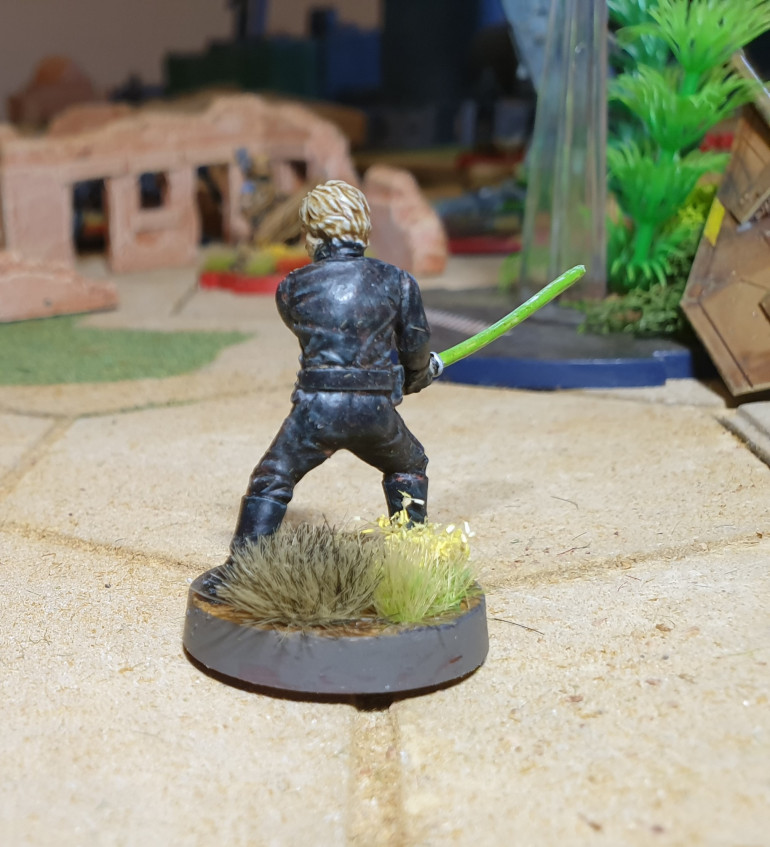
And after getting the new Vada had to get the upgraded farmboy, again a nice figure, painted using the same techniques as on Veda
Later today or tomorrow I will add the units done for Clone Wars.
Webel Speeders and hewoes!
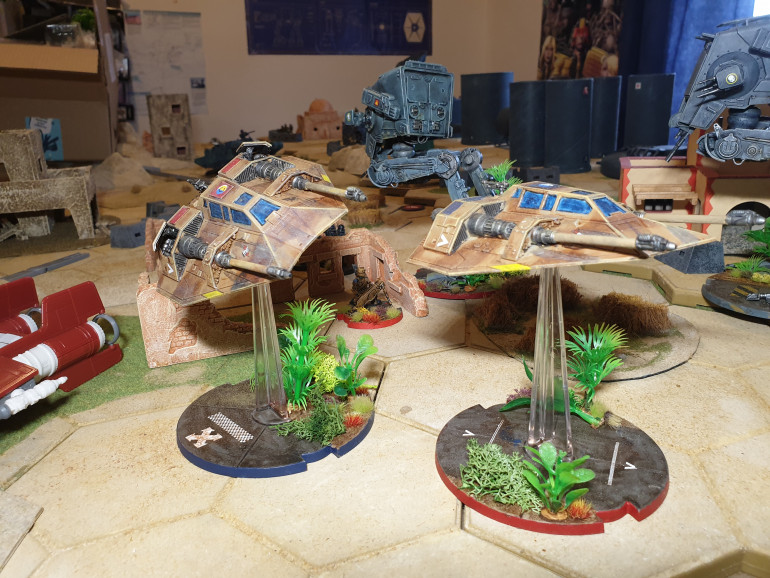
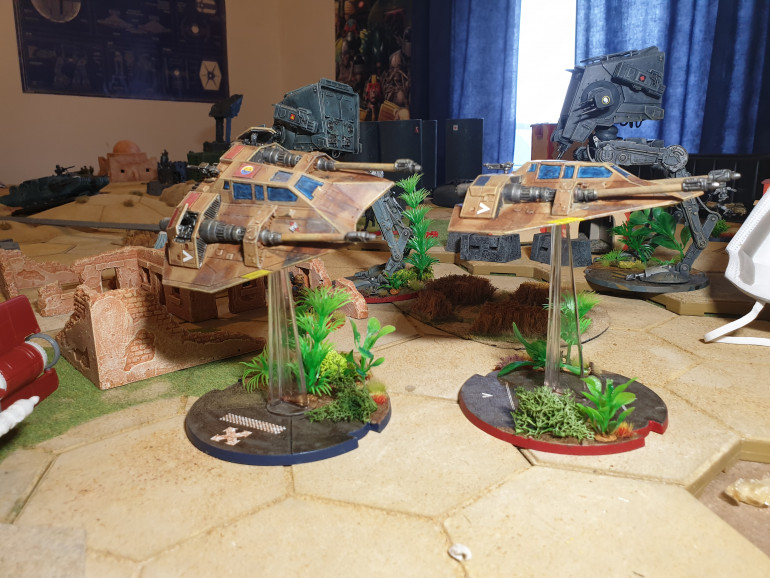
- Having watched the Empire stikes Back again recently, heard the comment that the snowspeeders weren’t they couldn’t be used to look for Luke as they had not been fitted out for conditions, so went Desert colours again.
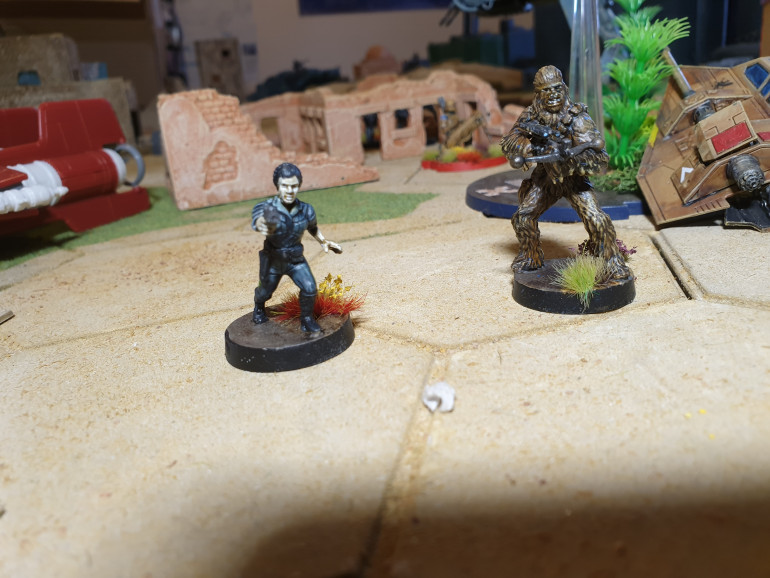
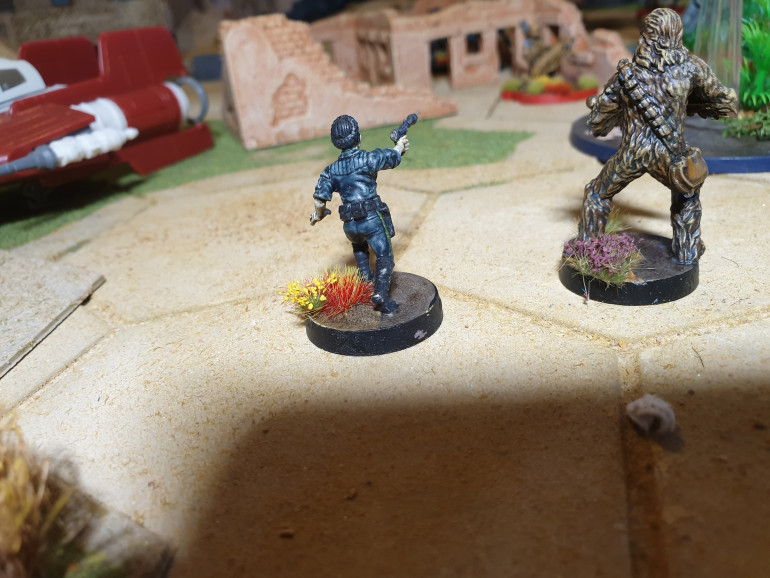
I finally got round to doing Leia having brought when 1st released and Chewie as a bonus to my bootcamp wookies.
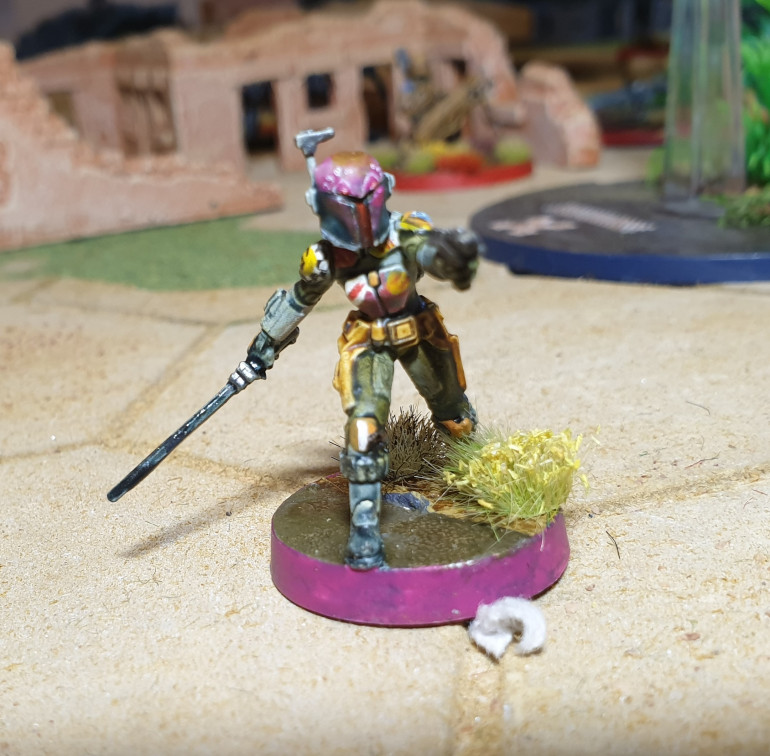
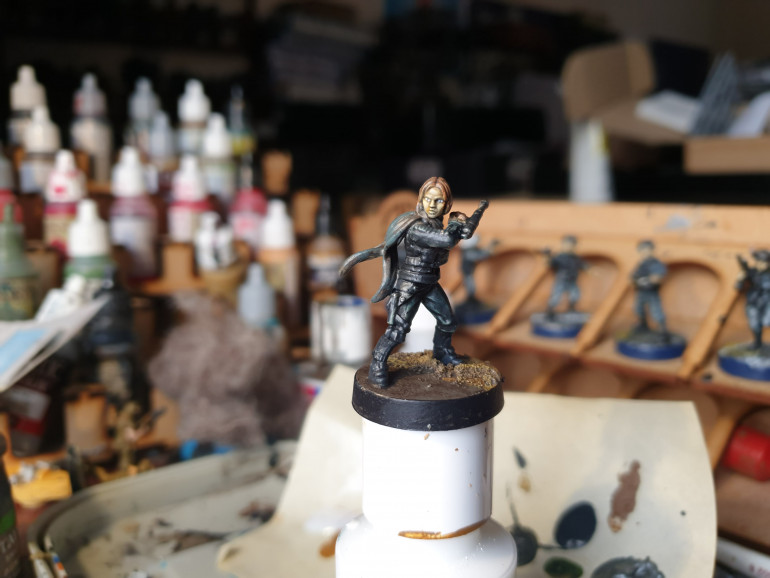
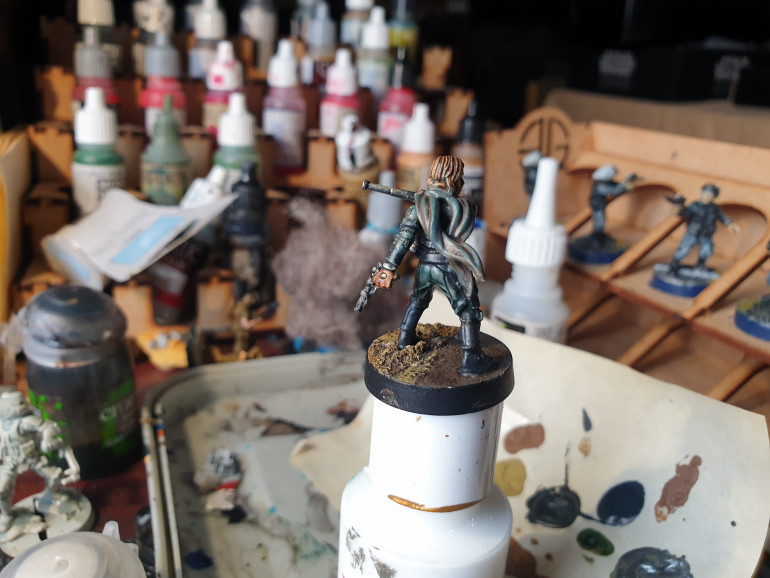
With the sudden re-release of Sabine Wren , with thanks to OTT store I virtually spent a day just painting her.
The Webel's are Wevolting!
And you dont look to good your self Sir!
Whilst doing the Imps the rebels were not forgotten;
Starting with Imperial Veterens, I again went for a desert scheme, again waith bone primer and skeleton horde as base, flak jackets were over done in snakebite leather, and once detail and faces done an overall Agrax Earthshade wash.
Liking how they came out I used the same theme for the two squads of Rebel Troopers adding the odd blob of camoflage with wash.
- For my 2nd unit of Fleet Troopers went for planet base groundbase security in same desert theme.
Imperial support
I then my Imperial specialists only the astro droid used contrast the rest used traditional paints and washs.
I also finished my AT-ST’s, old fashioned dry brushing , GW transfers on both models and base, plus more aquarium plants used miliput mounds on one, to stick them down but on 2nd cut up some of the plastic protection tubes of paint brushs and the jist plugged them in.
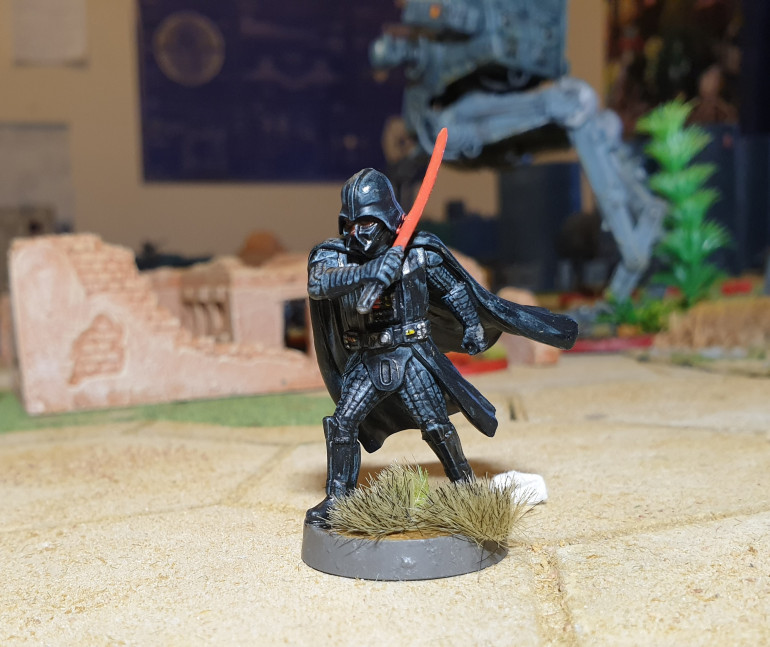
I literally in last couple of days got the new Vada figure, and what a figure . Used a wolf grey for base and then black templer contrast , wet blending gryph charger grey to darken up some of lighter parts on cloak.
- I didnt gloss varnish the helmet allover, just picked out bits, so detail wouldn’t disapear.
A Mountain of Men
Well after weeks of work the Legion project Is nearly finished.
So firstly additions to the empire. I finally succumbed and not only managed to find but also finish a unit of SnowTroopers :
As you can see went for Desert Assualt Troopers look, a base coat of GW wraithbone, then a coat of Skelton Horde, Adding a bit of brown wash to darken the cloth parts , with a final coat of Agrax Earthshade at the end.
Despite the overall Desert colours I continued my Scariff theme for the bases.
On the bases of the heavy weapons In addition to the stick on clumps I added bits of plastic aquarium plants I got from a large retail outlet in Willenhall called thee range, but about 8 packs of 8″ and 4″ plants. They are clip together , but you can clip of smaller bits easily enough to fit what you want to do.
I also finished two more units of speeders, one in traditional White and one as a scout unit for my DeathTroopers.
A Mountain of Men
Well after weeks of work the Legion project Is nearly finished.
So firstly additions to the empire. I finally succumbed and not only managed to find but also finish a unit of SnowTroopers :
A Mountain of Men
Well after weeks of work the Legion project Is nearly finished.
So firstly additions to the empire. I finally succumbed and not only managed to find but also finish a unit of SnowTroopers :
Quick update
Been a bit since I updated this project, crazy thing is I have done mountains of SWL stuff since last update in November but been so busy hobbying that haven’t teally had any time for media, and only in last couple of weeks had any time on computers at all what I have has been work related,
All my original trilogy figures are finished apart from a couple of new releases, and only have two squads of B1 Drones to do to finish my Clone Wars purchases, and I have built those!
A few shots of latest partly completed figures to tide it over till I get some photo time.
Loads more to come, when lighting better.
A Lull in the Fighting part deux
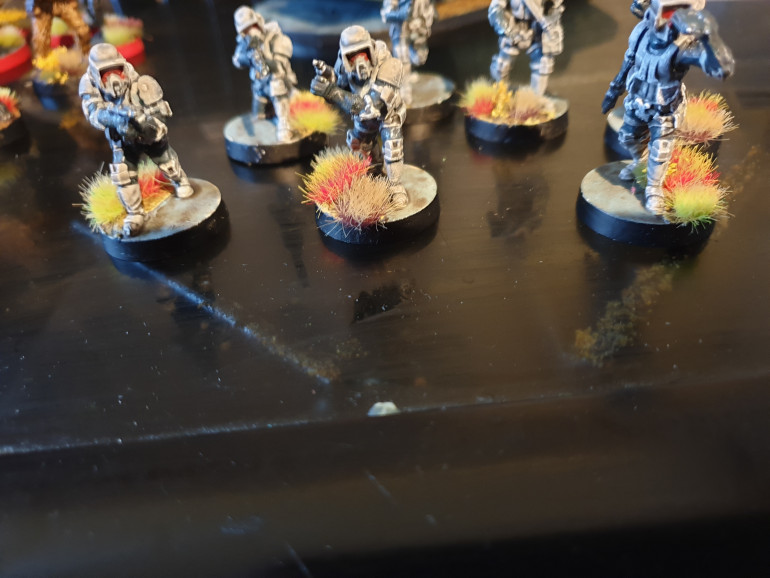
The Sundays effort on the Hobby weekend is the work I’m least happy with, in an effort to save time I did an overall Nuln Oil wash rather than doing an area wash on the darker parts, the overall effect left them a bit grubby, so intend to redo the armour. I also put Agrax Eartshade on their boots to represent walking through the Scarif Jungle.
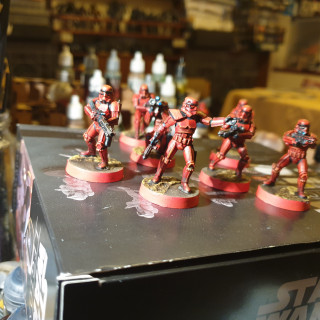
On returning home I had one last unit of Stormtrooper from my two starter boxes brought two years ago, I had already base coated them with Wrathbone and the Apothecary White, but just didnt fancy more white, so decided having seen some done red on Facebook, plus Gerry’s comments over the weekend. So coated them all over in Blood angels red, then dry brushed them with orange.
After doing the Grey undersuit , Black areas and wpns I pin washed the armour lines and joints with Agrax Earthshade.
Wonder if should make them speed 3 as we all know red ones go faster!!
- Still need to finish bases, but they were a lot quicker to paint not much more than two hours total.


