Terrain Thursdays
Getting Started
From page 4 of How to make Wargames Terrain (emphasis added):
Rather than launch off into making something large and complex, we recommend you start off small. You only really need two to three pieces of terrain to make a battlefield interesting. You can pick any pieces you like from the many examples in this book but a good place to start is to make a wood, an obstacle of some kind and a hill. Then you can quickly see how useful terrain is.
"a wood"
Rummaging in the hobby horde, I started with a couple of small pieces.
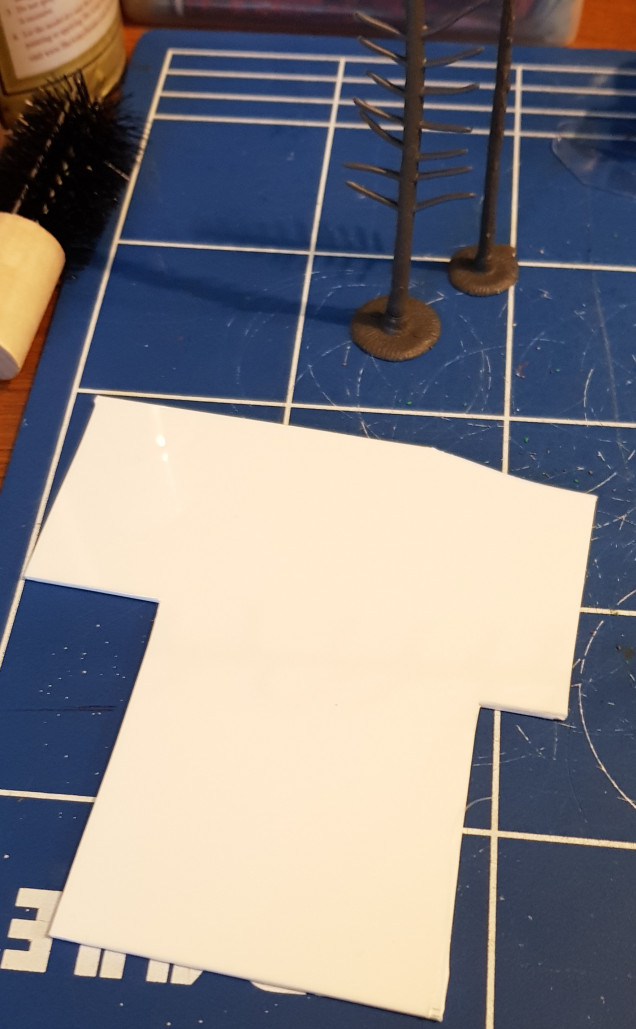
1 – I have some plasticard left over from a basing project from years ago and I’m not a big fan of it as a material so I’m happy to get it used about out the of way. I took this awkward piece, cut it in two and beveled the edge with a hobby knife.
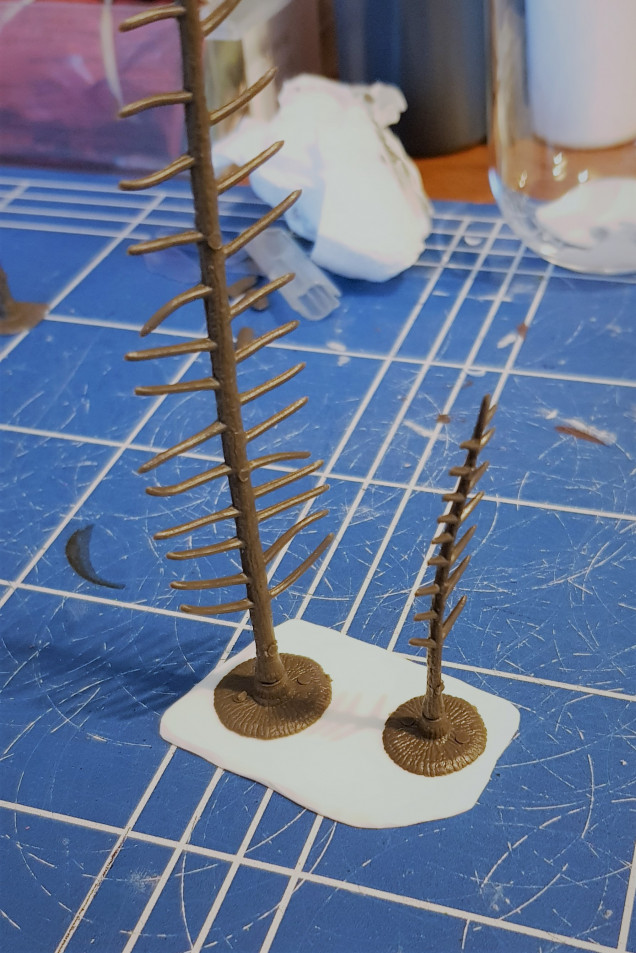
2 – I have a full box of Woodland Scenics fir tree armatures that I bought for a Frostgrave table but I’m happy to use some for a Middle-Earth/generic green table mini woodland. Superglued to the plasticard and the armatures were twisted but not glued into their bases.
3 – textured the bases with some cork chunks for big rocks and a mixture of ballast and fine sand for the rest. Don’t ask me why I hadn’t made a texture paint yet… I don’t have a good answer.
"an obstacle of some kind"
I decided on some small hedges for my obstacles at this stage. I wanted some bog standard 6″ pieces so here’s how it went:
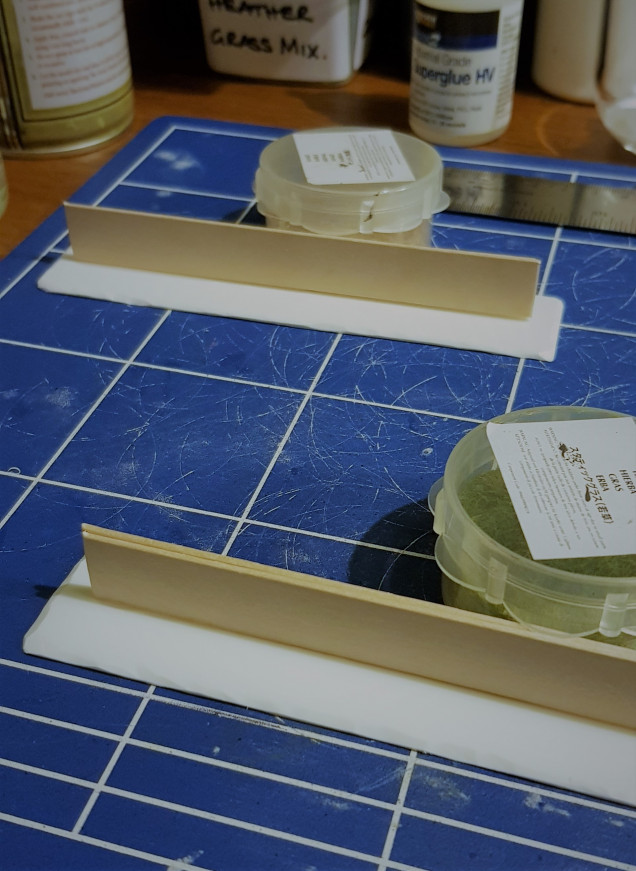
1 – cut plasticard to size and bevel the edges
2 – trim the ends off tongue depressors and glue together in pairs
3 – glue the tongue depressors to the plasticard.
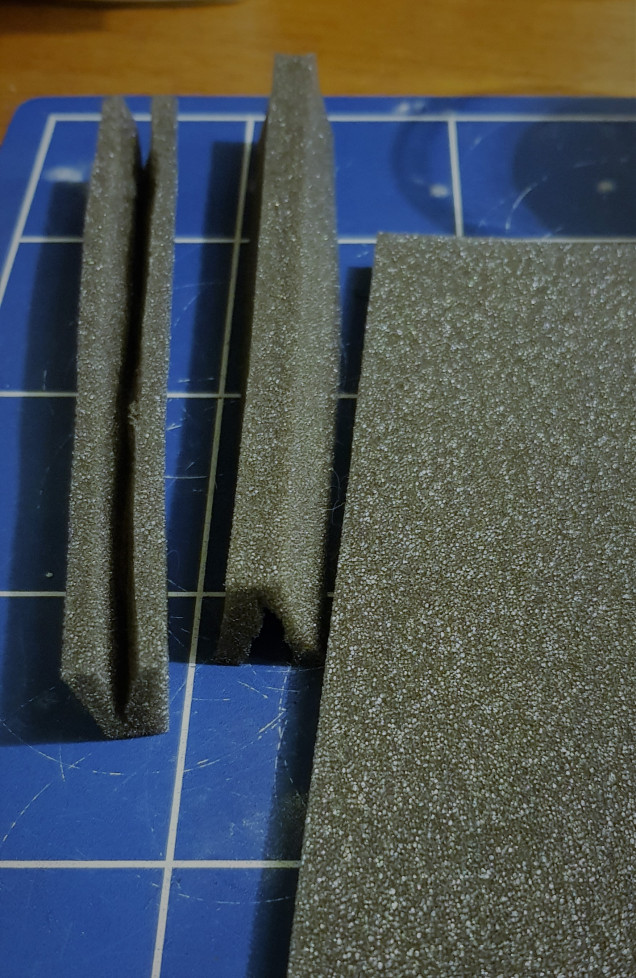
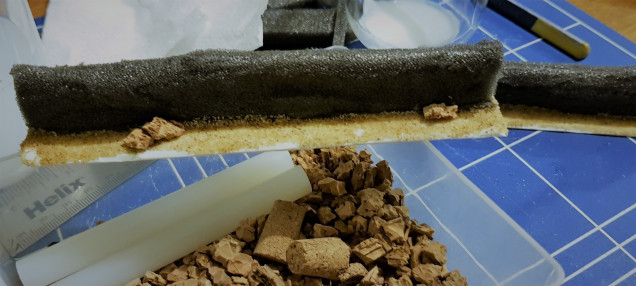
Next up was the foliage. I don’t have any scouring pads in the house at the moment and I went looking for the little bit steel wool I know is here some where when I stumbled upon the foam from a boxed malt whisky. As any good gamer should, I’d kept this from when we cleared my dad’s house after he died, safe in the knowledge that I’d find a use for it some day. There’s going to be a fair amount of that in this project.
4 – cut strips of foam and slice it down the middle almost all the way through.
5 – glue it onto the hedge skeleton inside out so that the surface is a bit rougher for it comes to flocking later
6 – texture the base by adding in a few cork chunks for rocks and using fine sand on the rest
At this point both of these are ready to prime. Everything will get sprayed with Army Painter Fur Brown. I thought about using black but the truth is I have a can of the brown sitting and I hate waste 🙂




Leave a Reply