Manda's (Amachan) Gaming Table
Steep Hill Progress
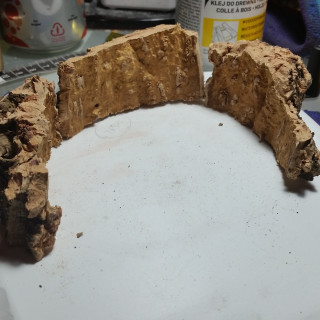
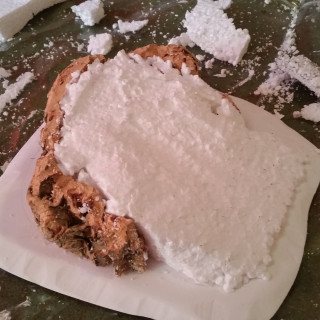
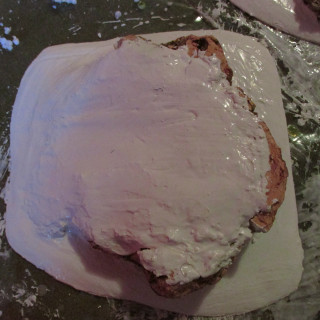
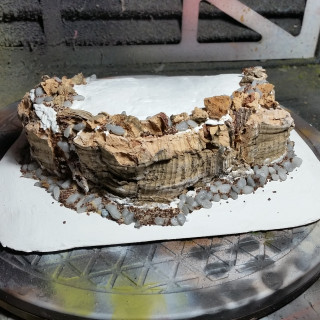
For this steep hill I started with a piece of ePVC foamboard, cut and bevelled it to the size I wanted for this piece of terrain. I then glued a couple of pieces of cork bark in a slight circle to form the cliff edge of the steep hill. I cut to shape a piece of expanded polystyrene to fill in the centre and filled in little gaps with off-cuts from the expanded polystyrene. I cut and sanded the polystyrene flat and into a shape that I wanted and then went over it and filled it in and sealed it up with filler and smoothed that out with a wet cloth. Once dry I added some rocks, sand and debris to hide unnatural areas and generally improve the look.
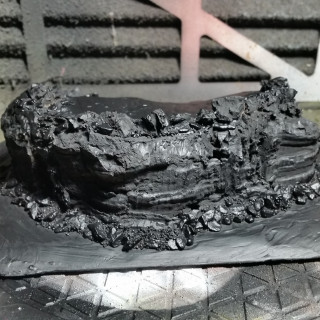
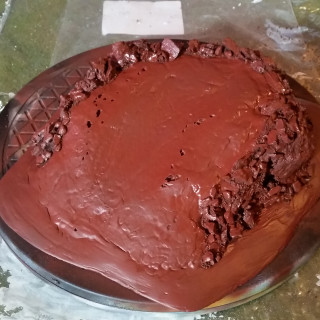
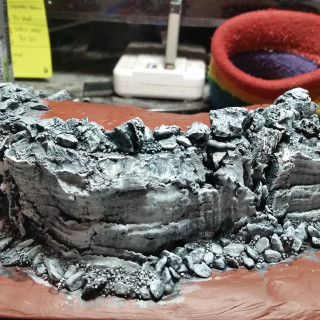
I primed it using a black aerosol primer because aerosol primers don’t get absorbed as much by the cork bark as normal paint would. I then basecoated the piece with Vallejo Surface Primer German Red Brown (73.605), this will be my new basecoat colour going forward with my terrain. You can see that in areas the filler did not fully seal up the polystyrene and the aerosol melted little holes in the piece, don’t worry, these won’t be visible in the end.
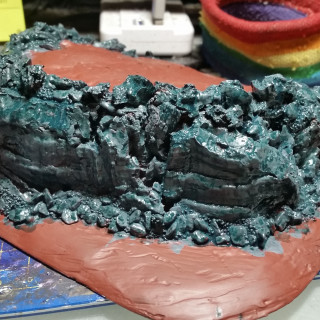
To start of is an overbrush of Vallejo Model Color Basalt Grey (70.869) over all the stone and followed by a coat of Secret Weapon Wash Algea (W013). I then applied a drybrush of Vallejo Model Color Medium Sea Grey (70.870) followed by a lighter drybrush of Vallejo Model Air White Grey (71.119) over the stone.
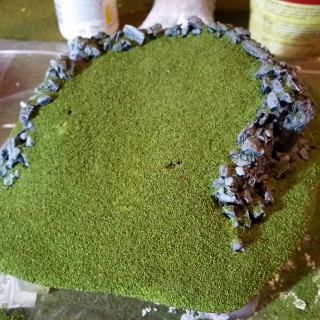
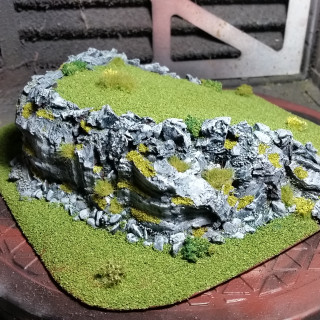
A baselayer of 3 tones of flock went down as I did before. Once that was dry and I shook off the excess I started little tufts and clump foliage in and around the cliff.
I used this video by TheTerrainTutor as my guide on how to make this piece of terrain.




























Leave a Reply