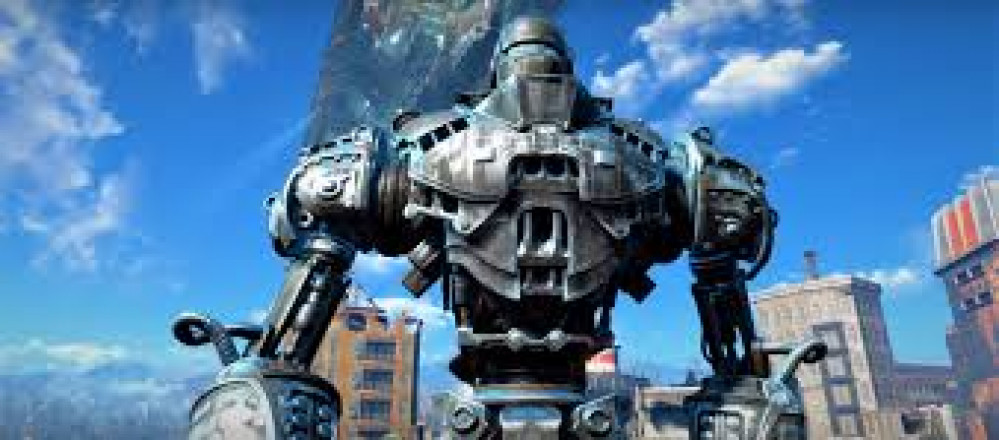
Liberty Prime is back online!
The Voice of Liberty!!
Having taken a break from voice work as I decided to change power sources (the AAA battery pack was just to big so I got a rechargeable lithium with an adapter for the board) I was happy to finally finish installing parts into the base.
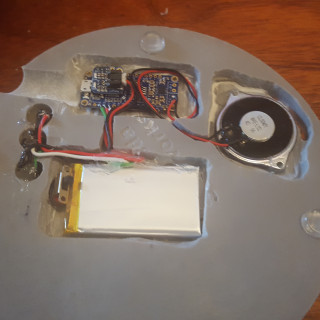
I desoldered the battery pack from the board using my handy suction tool (I had a video for this, or at least I would have if I had hit the record button instead of the camera button), heating the connections back up the suction tool (a plunger with a nozzle basically) pulls the melted solder off, with small connections like these were you may need to pull on the wire slightly as the solder is melted to remove it then clean the pad with the suction tool I ten attached the batter adapter directly to the board, this raised the profile of the board but was still less then the battery pack. The adapter allows the board to recharge the battery via the same USB used to transfer the audio files to it so I also made sure to grind a cable channel on the base so it could connect up easily. I also installed the switch from the battery pack I discarded inline with the positive cable of the battery so I could toggle it off and on.
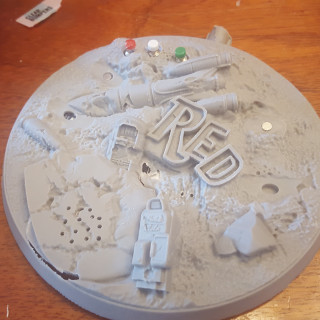
With the parts assembled and tested again it was finally time to install them into the base. For this I just used hot glue, it’s non conductive so I don’t have to worry about shorting anything out and provides a good solid connection. I seated the switches into the cone shaped holes I drilled for them, the glue seating them solidly with the switch tops poking out enough (I used a step drill bit for these, it’s a brilliant tool, starting at a small hold and every 1/2″ or so getting larger, this allowed me to fit the switches perfectly). I then applied extra glue to reinforce connection points and secure the cables into the channels I had dug for them.
With everything secure in the base the board was still slightly sticking out, so I added some small plastic “feet” to the bottom of the base to elevate it slightly.
Everything complete I assembled prime in his magnetized glory and proceeded to test the audio, SUCCESS!!
With this first part complete I am now free to move onto fixing the damaged parts of the base with a bit of green stuff, then paint the model.
Or I would if the idea of lighting up the visor and coils on his back had not been put into my head, so at least one more update to come!


Leave a Reply