Making Crucibles for the Shattered City
Making Crucibles for the Shattered City
Here’s a how-to of how I made crucibles for one of the sides of the Shattered City board pack.
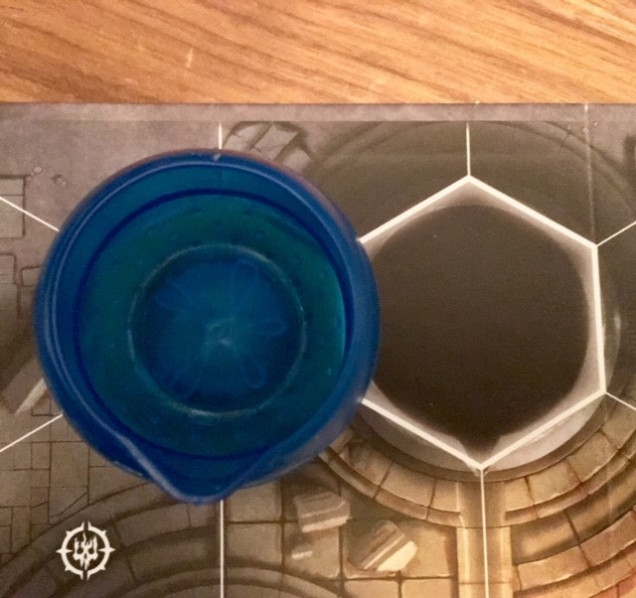
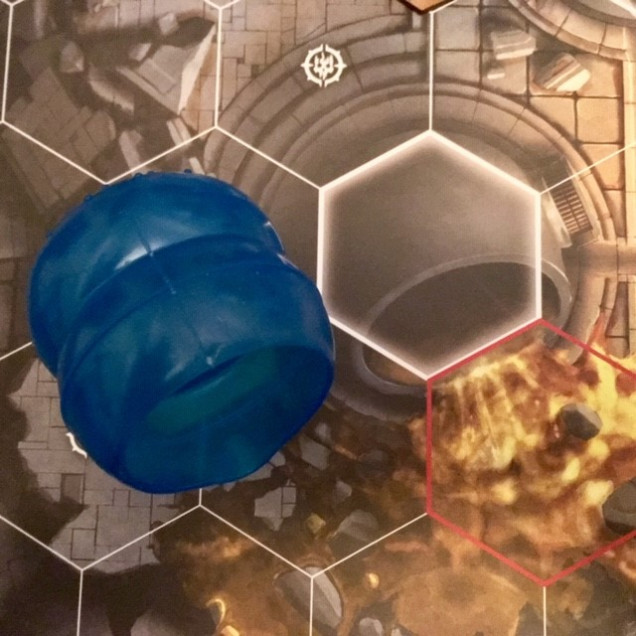
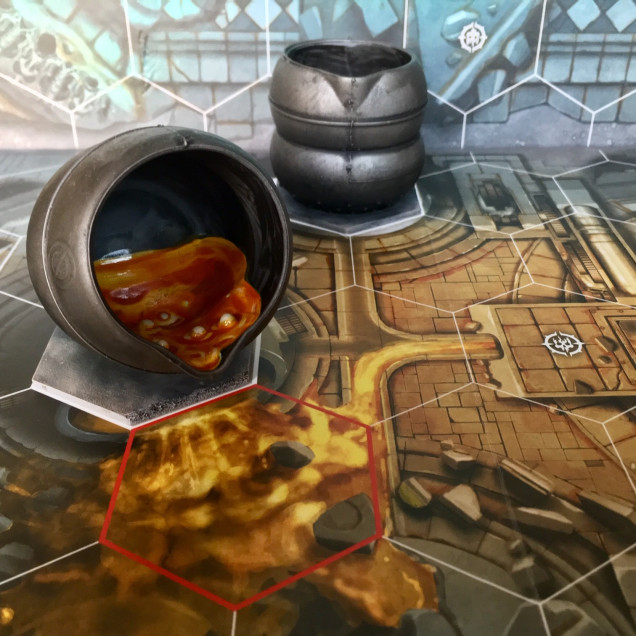
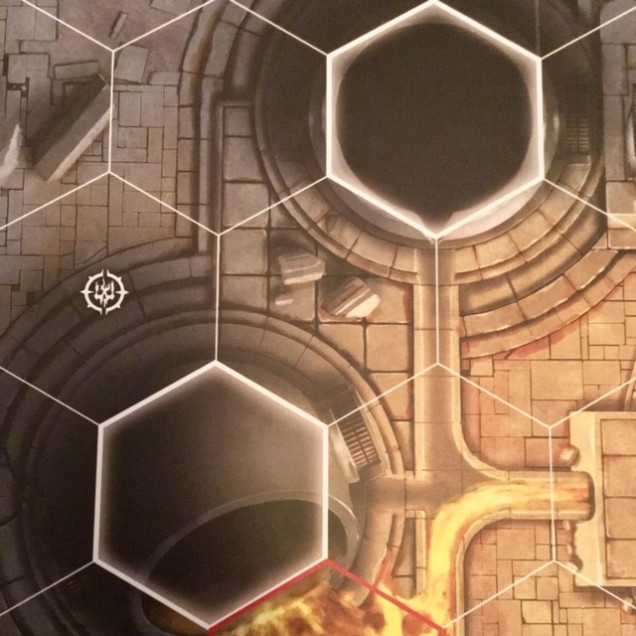 The board has these two blocking hexes. One is upright, and one is at a pouring angle. Both crucibles have a small spout
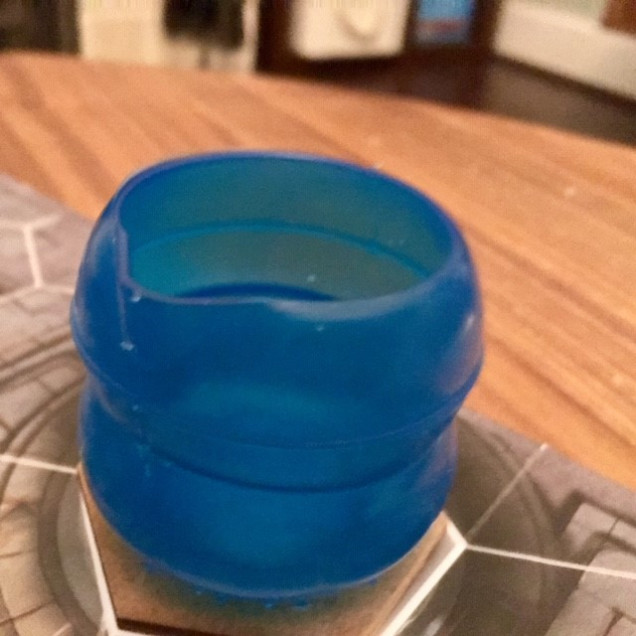 Detergent measuring cups are a near identical match! They're a bit rubbery, but lets see how they work
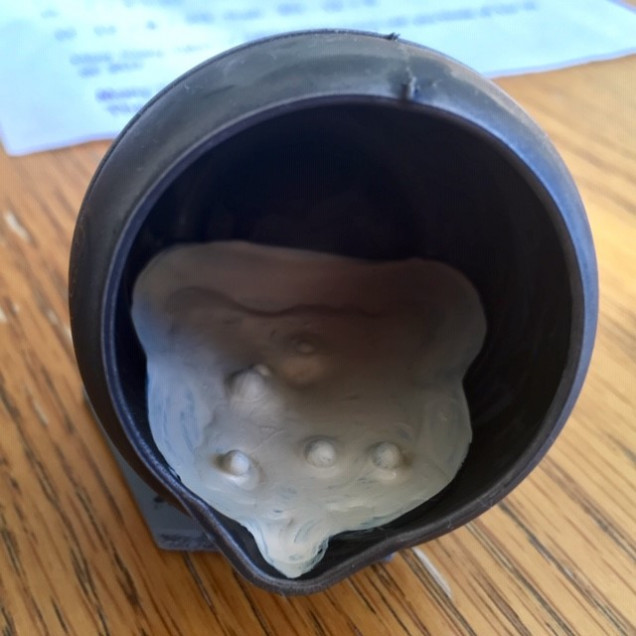
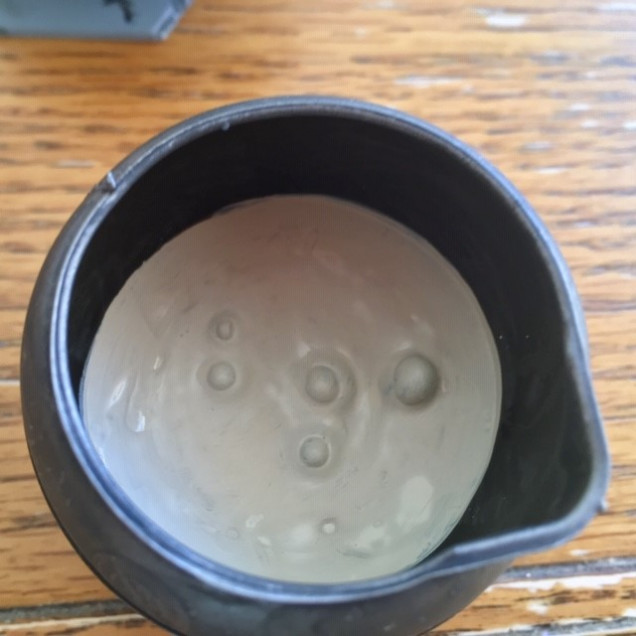
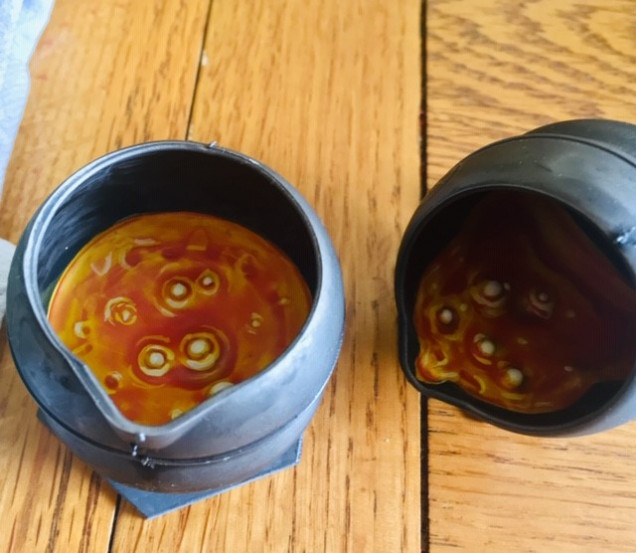
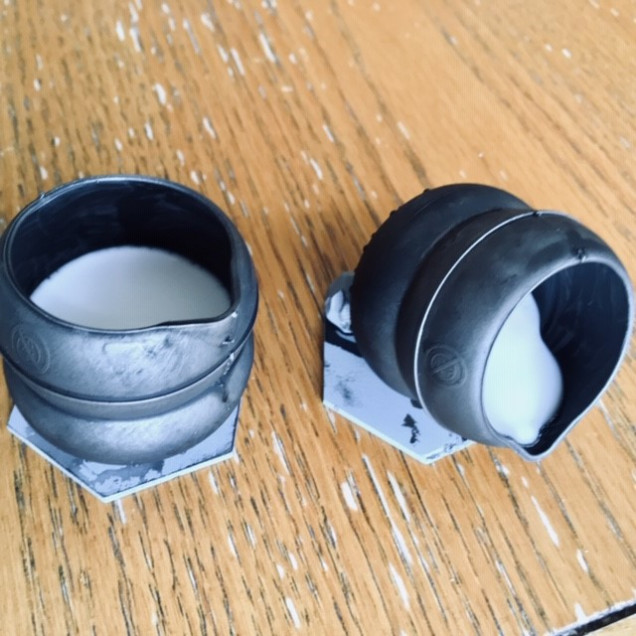 Painted black and then drybrushed with leadbelcher. I then filled them with PVA glue. I should have done this stage in thinner layers letting each dry thoroughly.
I found a couple of months later that the PVA had really shrunk down. The paint stayed good, but they certainly don’t look as good as when I first made them.
If I was to do it again, I’d definitely pour in layers or maybe use something like cardboard to make a ‘cap’ to then pour less PVA onto.











Leave a Reply