Marauder Destroyer
Recommendations: 80
About the Project
Painting an Aeronautica Imperialis Miniature.
Related Game: Aeronautica Imperialis
Related Company: Games Workshop
Related Genre: Science Fiction
This Project is Completed
Unboxing and Assembly.
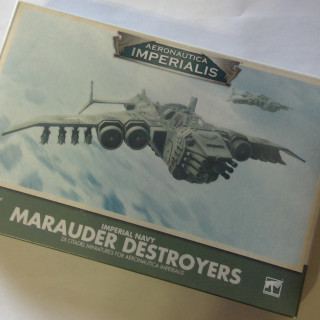
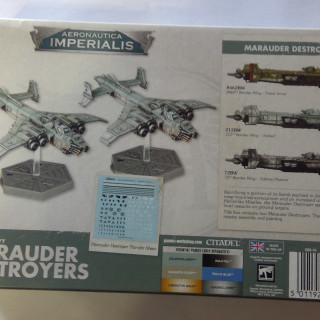
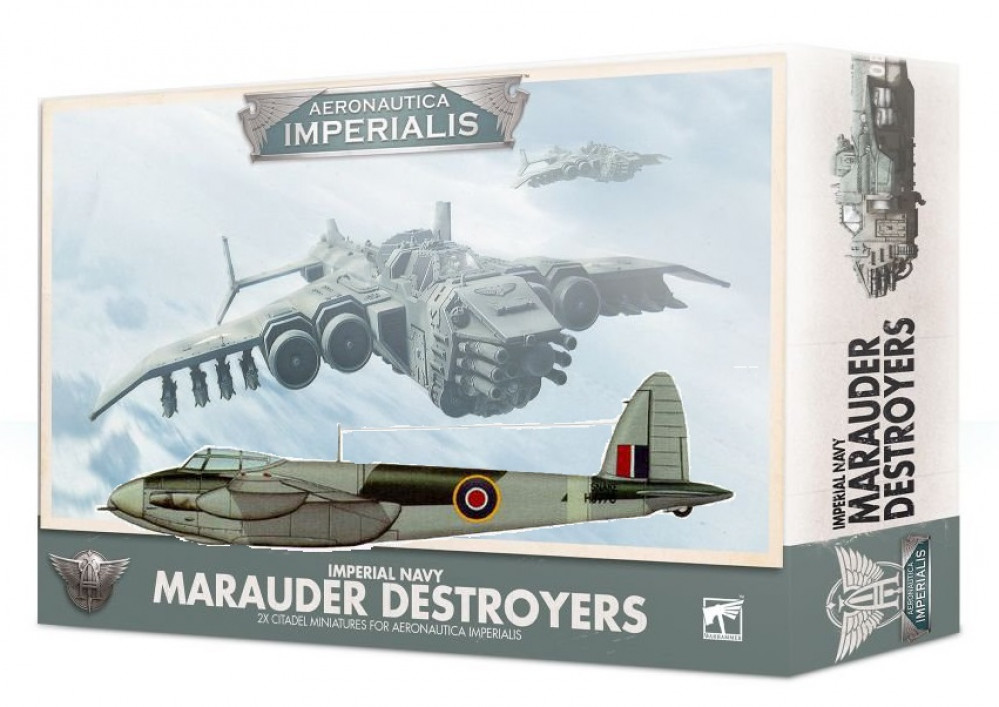
The Marauder Destroyer miniature comes in a set of two. The aircraft is similar to the RAF Mosquito from WW2.
Below the unboxing.
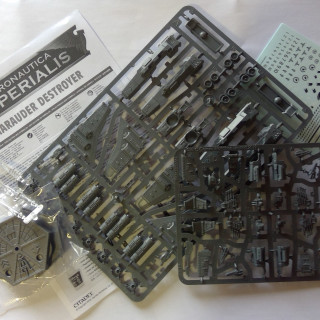
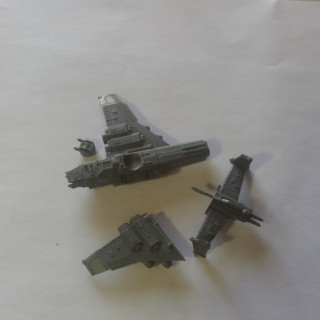
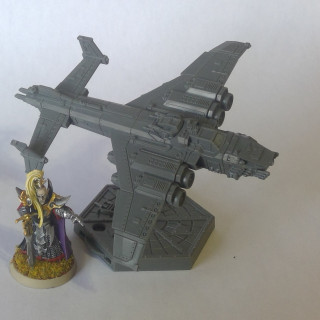
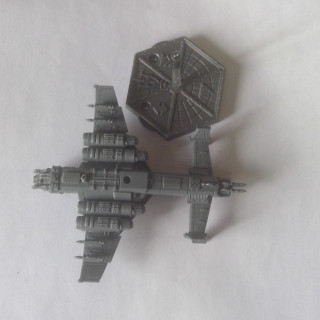
The kit comes on two sprues. The first spruce is the main body of the aircraft. This sprue is used for both destroyer and bomber. The second sprue is specific to the destroyer only parts.
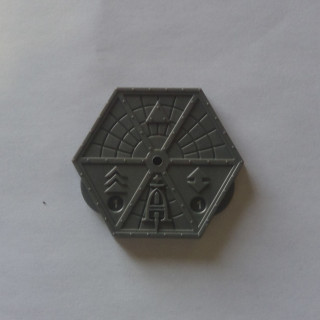
The box also contains two bases, four clear flight posts, and a AI transfer sheet. The transfers are black and white, no other colours.
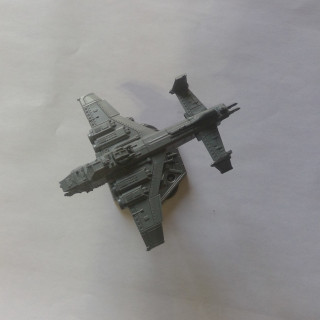
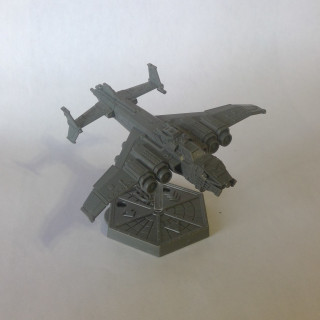
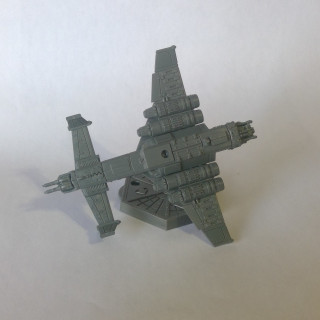
The assemble was straight forward; just follow the instructions.
The photo with dark elf model is just for a comparison of size.
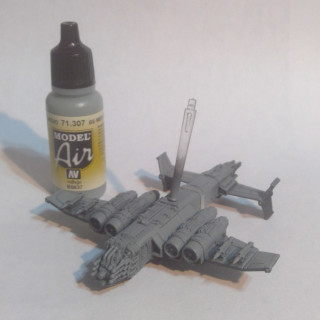
Some missiles where added. The missiles were left overs from the Marauder Bomber kits. Strange that GW did not have an missiles in the destroyer kit.
Painting
Aeronautica Imperialis has that World War 2 aircombat feel. And like so many others, I decided to paint my aircraft like a RAF aircraft from WW2.
The Marauder Destroyer is a very similar to the RAF Mosquito. Thus the plan is to paint the miniature like an RAF day fighter from WW2.
Below are some pictures of the Mosquito. The day fighter has the bottom half of the fuselage is a light grey and the top is a slightly darker grey with green. Wanted to try using some masking and air brush to paint a stripe on the fuselage. Often the propeller hub has a colour different the rest of the aircraft. This will be duplicated by painting the engine inlets differently.
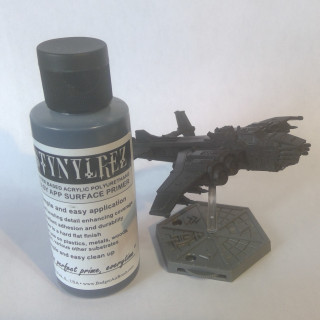
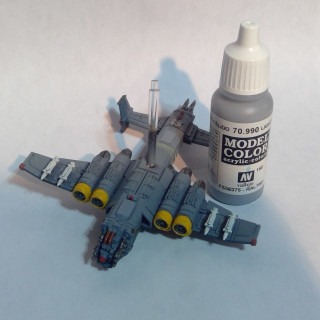
Primed and base coated with airbrush. Painted the fuselage stripe and then asked area. Continued to paint the base colours.
Just a note, let the paint for awhile before masking.
The green was painted by hand as this provide more control than the air brush.
Lead Beacher was applied to the guns and mechanical bits. Some brass was applied to engine vents.
Painted the windows with a varying light blue paint and later highlight with white.
Red was applied to any lense or light. The missiles painted white. A splash of yellow was added to break up the greys. A light grey was used on doors on the bottom of the aircraft. A little bit 9f black wash was applied to the metal bits.
The miniature is mostly painted. May do more with the wash or drybrush a highlight. Still would like to use the GW technical paint on the lenses to give a glossy effect. The base will be painted later.
Here it is at a table top quality painting.
Extra Painting
Went to back and painted some more details. Painted the lenses with technical paint. Added some red and blue details. Used a lighter yellow to apply a highlight to the engines intake.
Painted smoke/exhaust from engines. This was based on some pictures of Lancaster Bombers. This was a fun detail to add. Applied streak of black wash, then dry brush grey followed buy a dry brush of white.
Lastly the model received a protective clear coat.
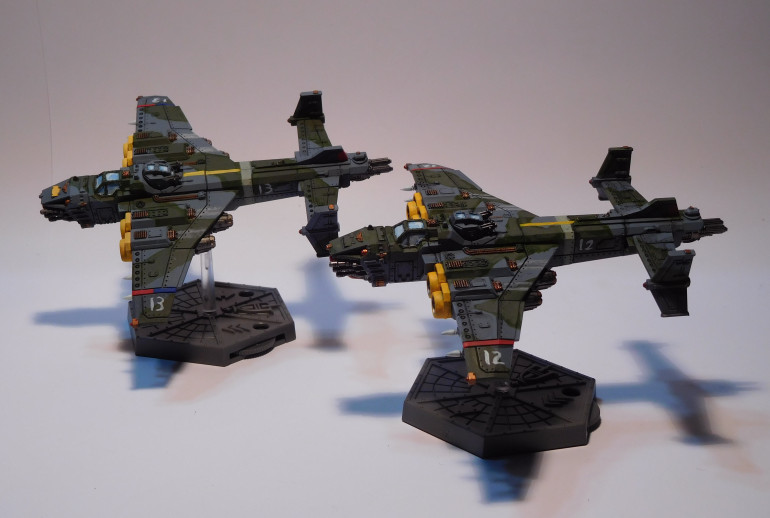
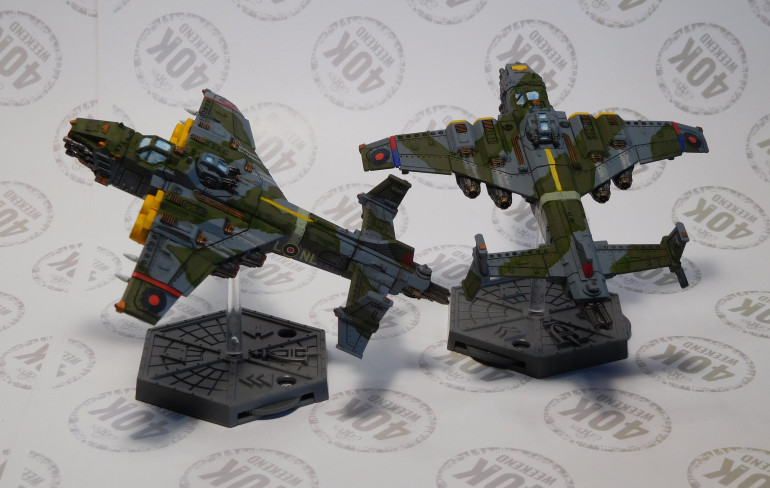
Finished minitaures; the Marauder Destroyer comes in pairs.
Finishing the Models
I was not happy with the hand painted number on the models. I wanted some sort of markings to identify which was which, but I just don’t have the experience doing such fine detail free hand. Thus, I ordered some decals from Warlords’ Blood Red Skies range. Below is the results…


